My E-HERMS Build - LOTS OF PICS

Homebrew Talk - Beer, Wine, Mead, & Cider Brewing Discussion Forum

Help Support Homebrew Talk - Beer, Wine, Mead, & Cider Brewing Discussion Forum:

This site may earn a commission from merchant affiliate links, including eBay, Amazon, and others.

canyonbrewer

Well-Known Member
Joined
Sep 28, 2010
Messages
181
Reaction score
5
Location
south carolina
Hello All -

PJ probably doesn't remember, but he talked me into a HERMS (rather than RIMS)

Just wanted to start a thread to post my progress...

starting with some random pics....more to come
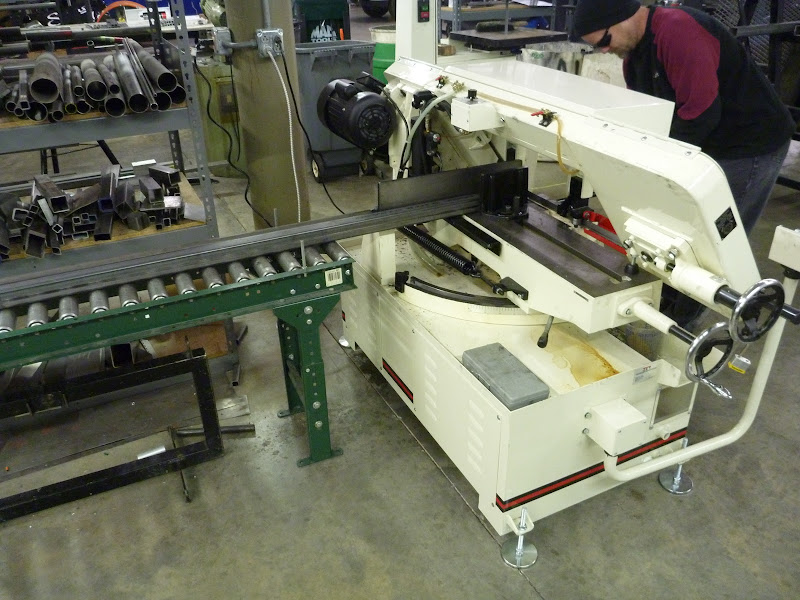
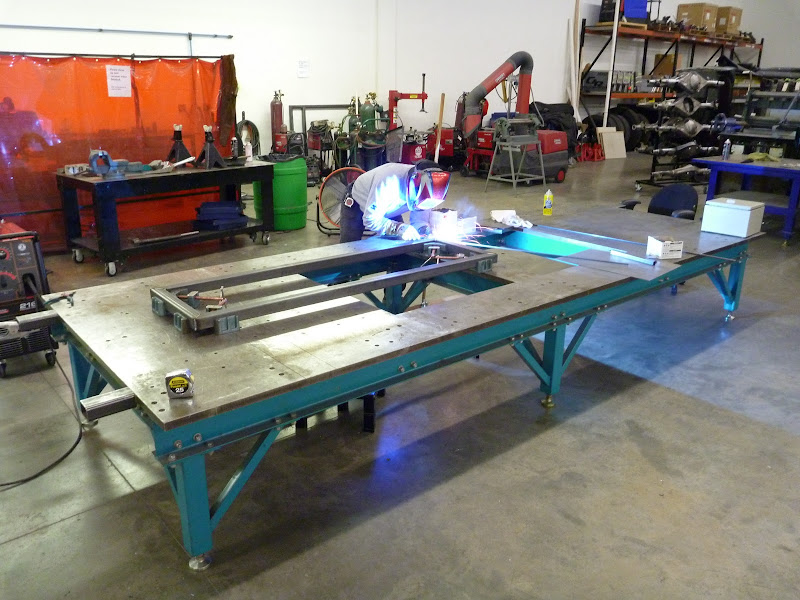
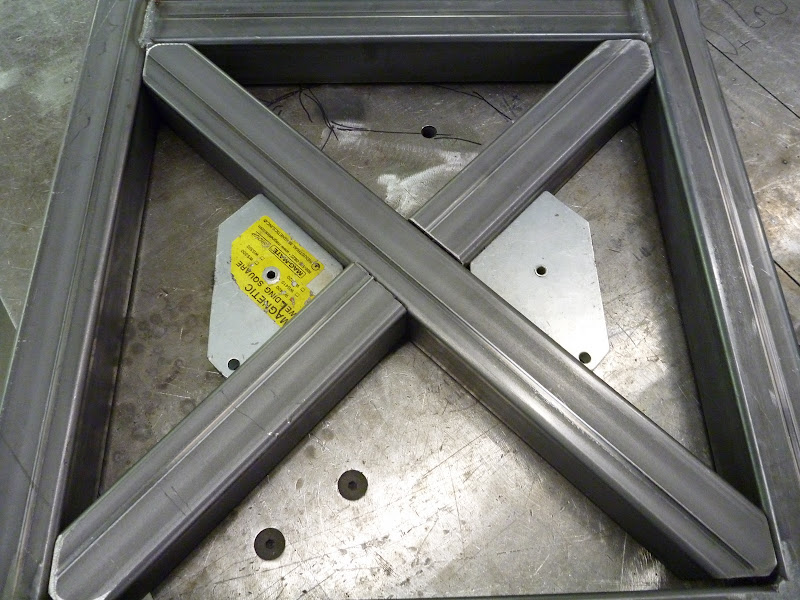
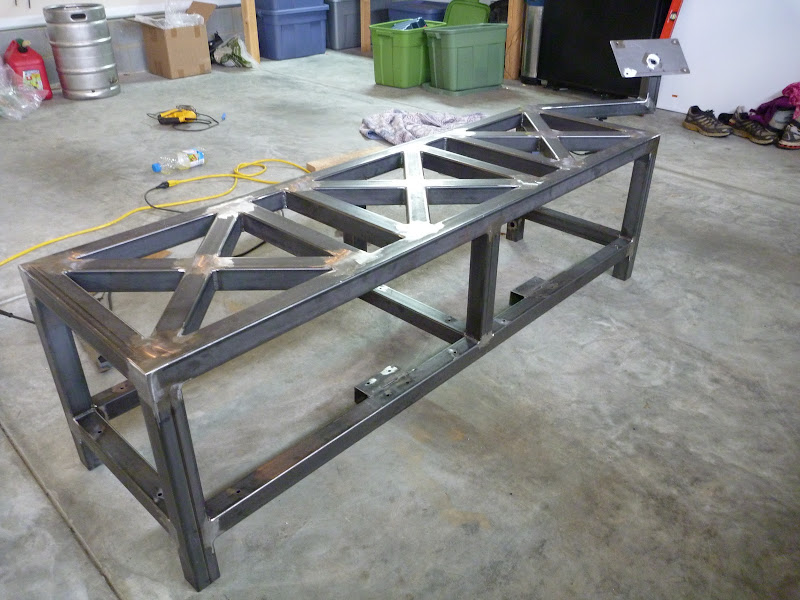
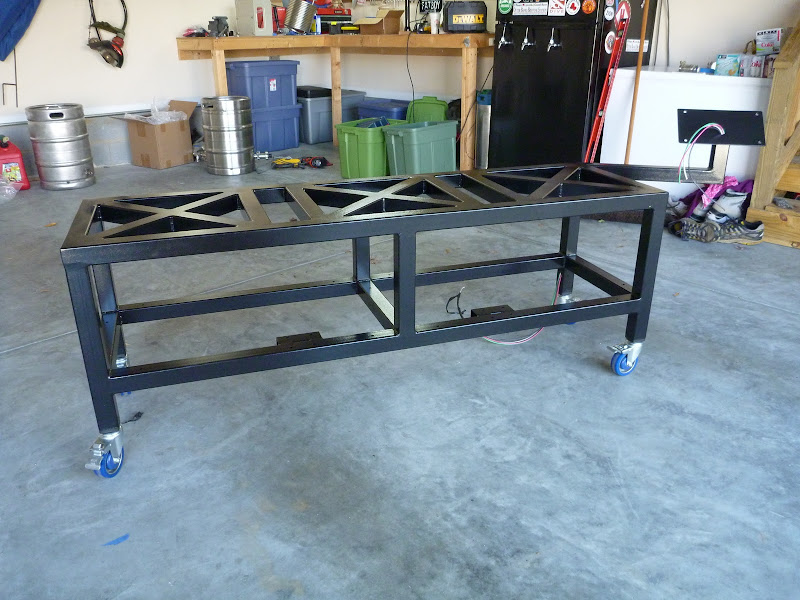
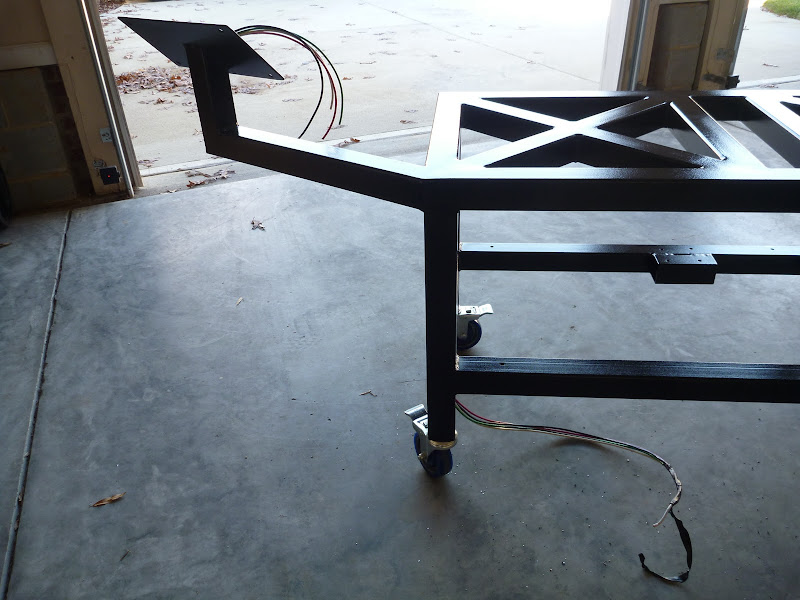
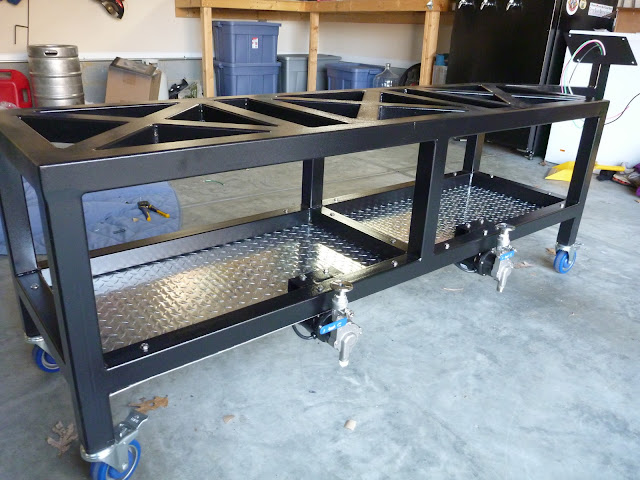
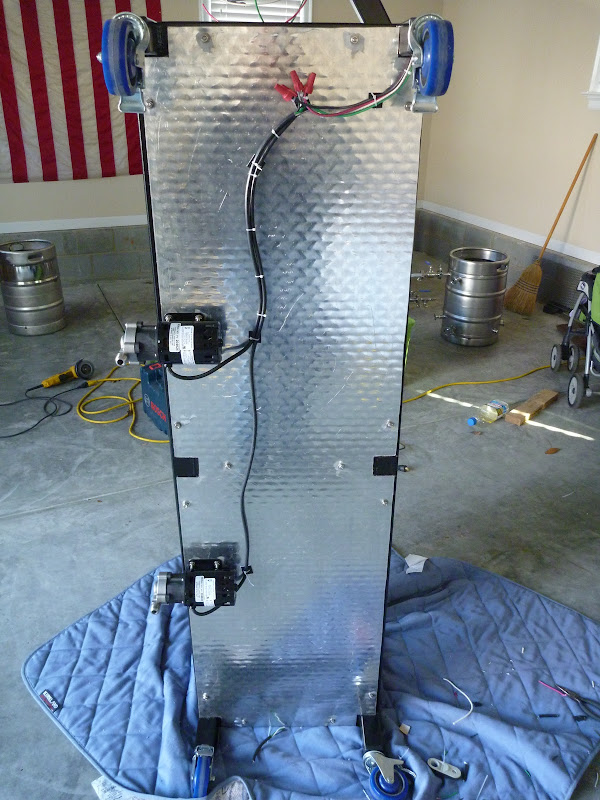
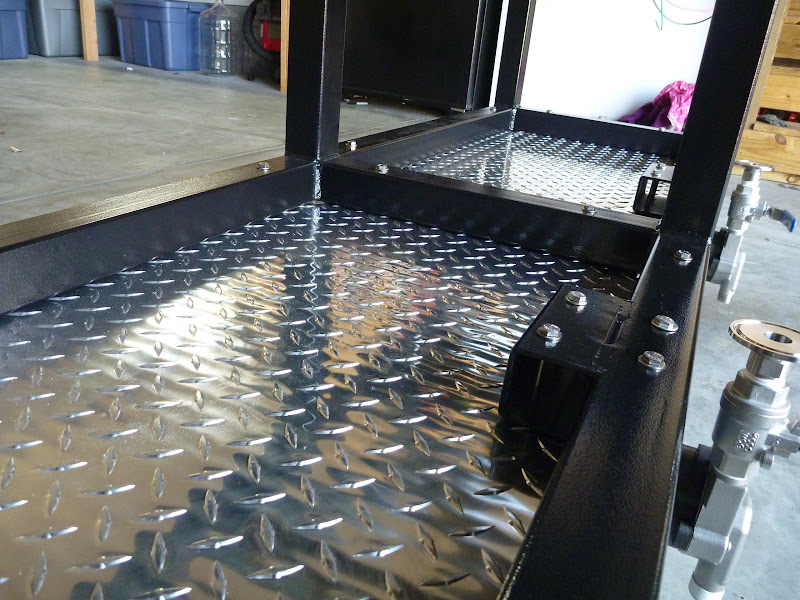

metal for stand
P1030768.JPG


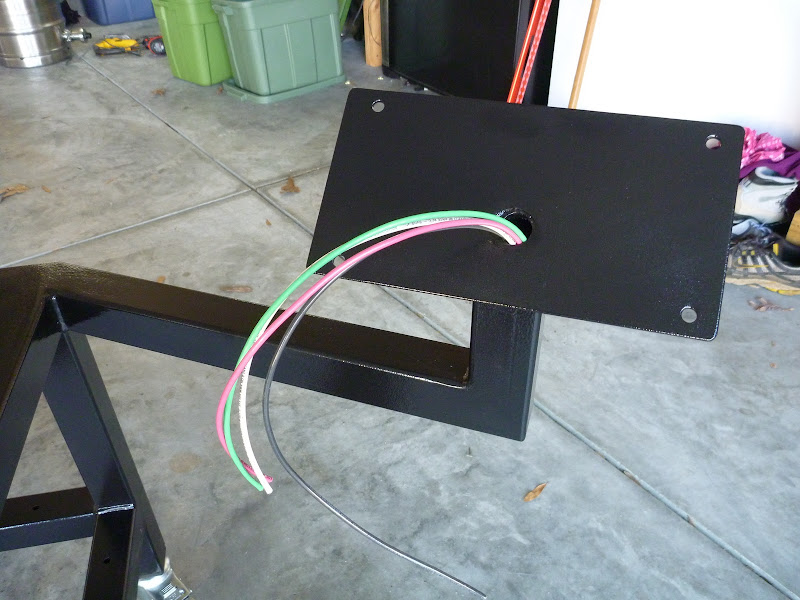
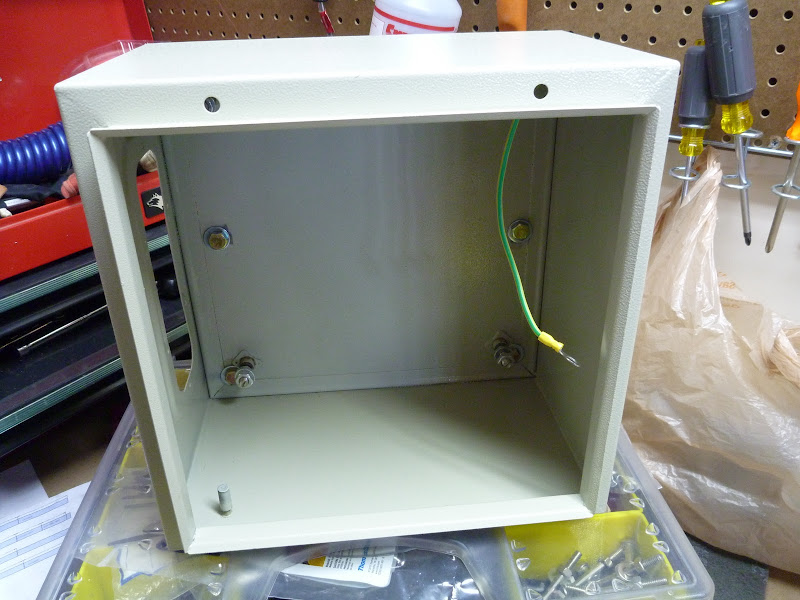
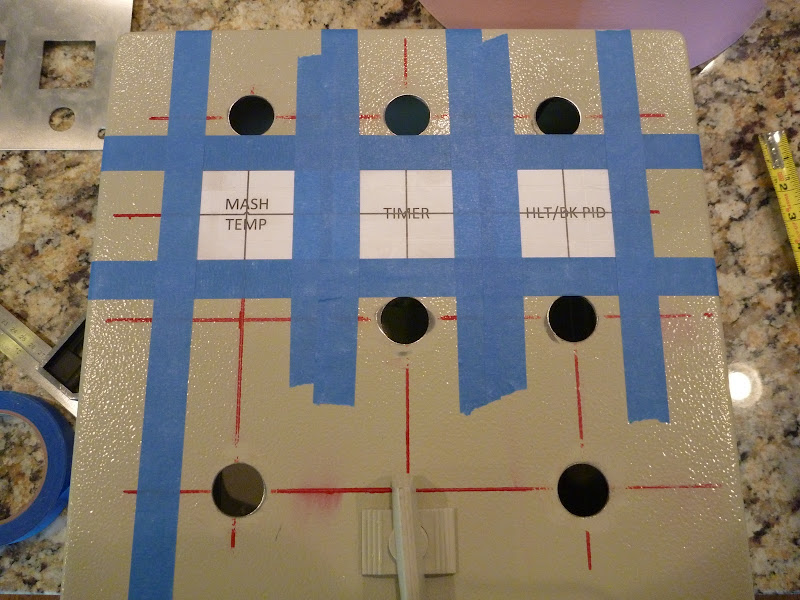
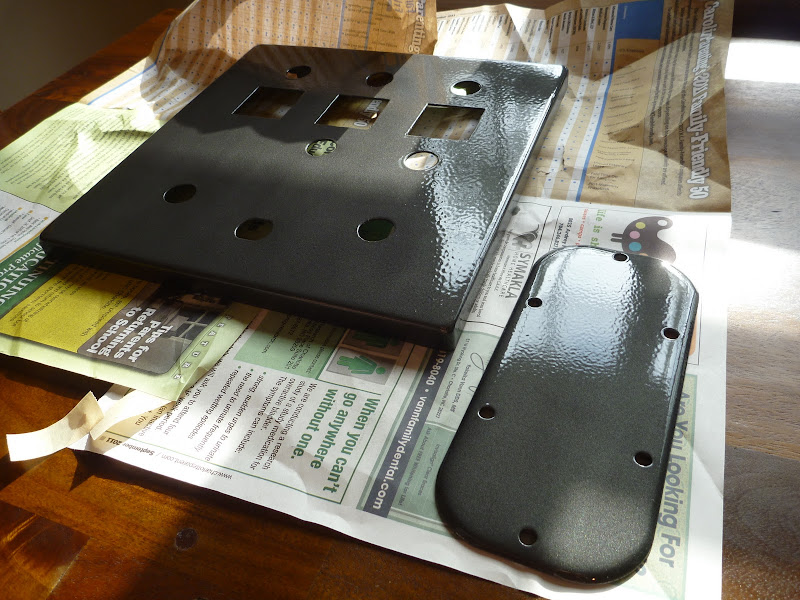
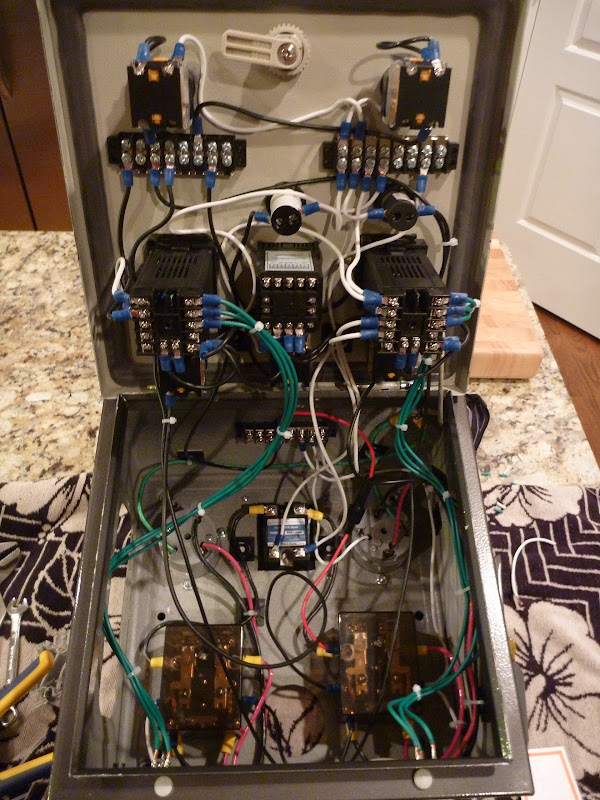
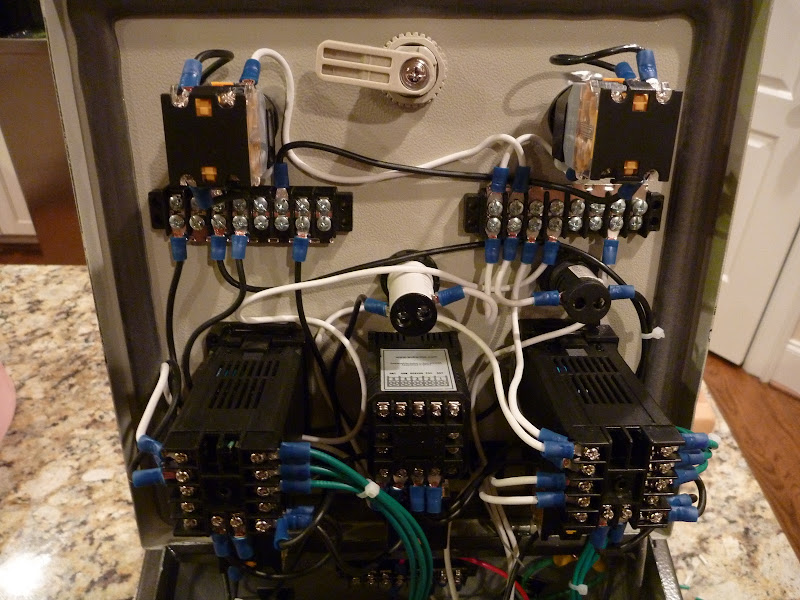
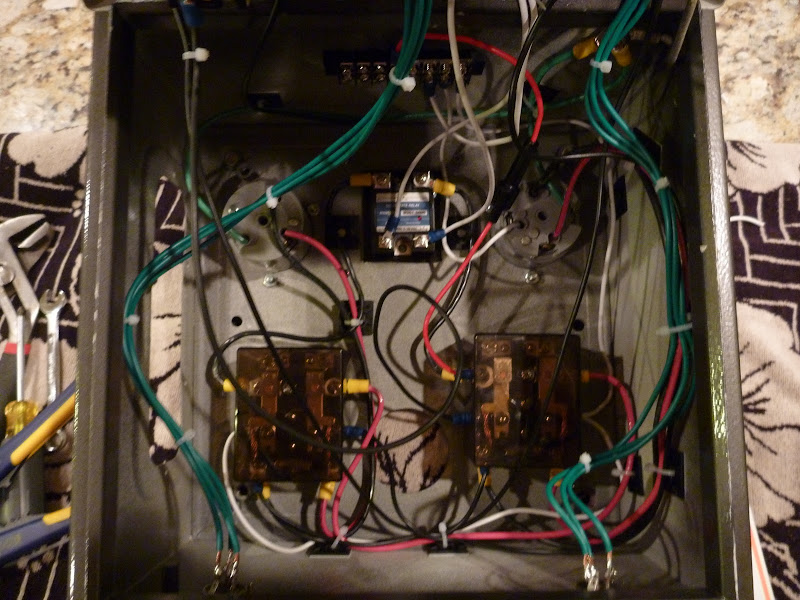
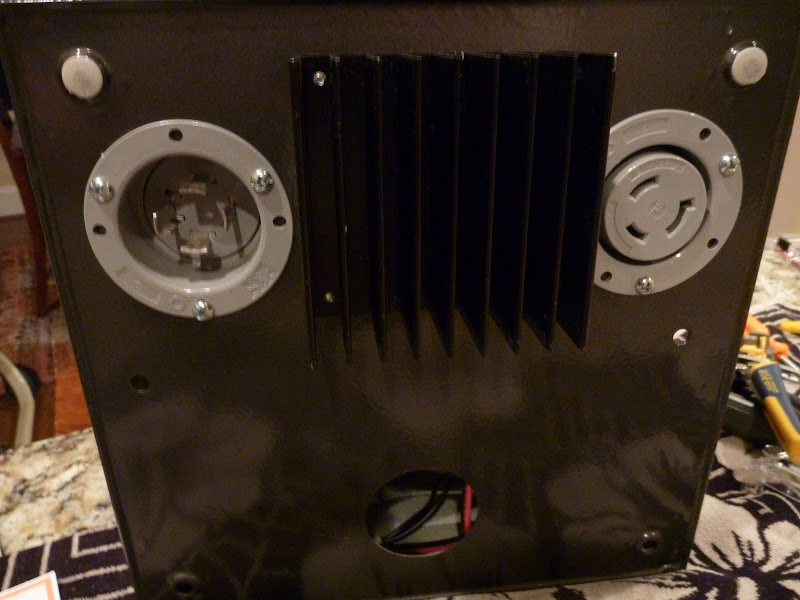
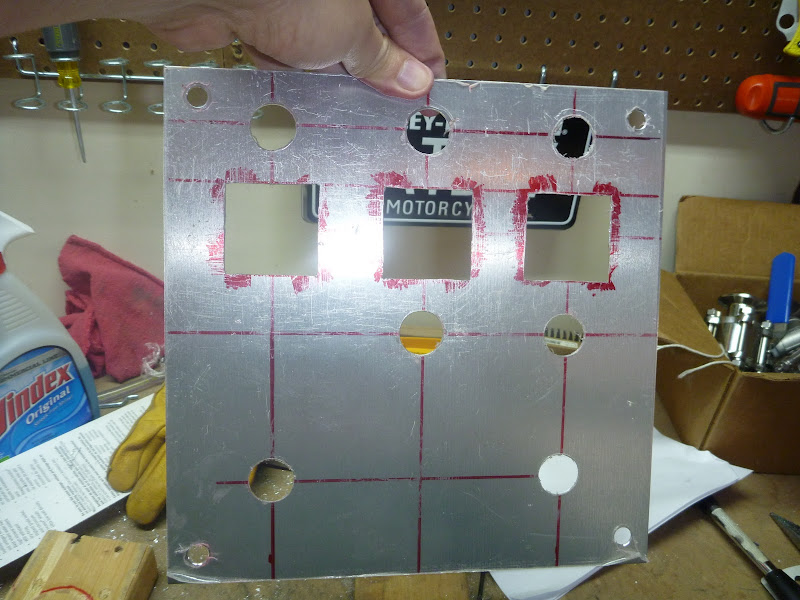
cut inner control panel - this is aluminum that will go inside my control box using custom standoffs
P1030771.JPG


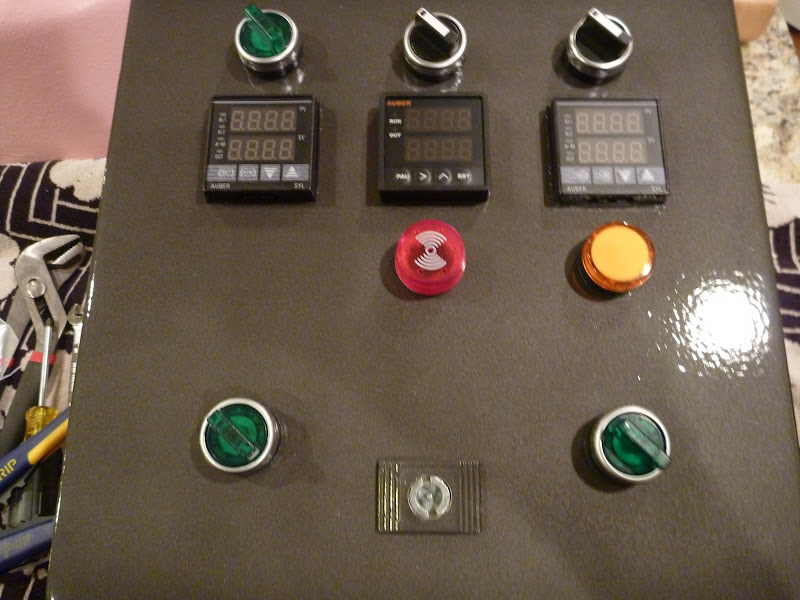
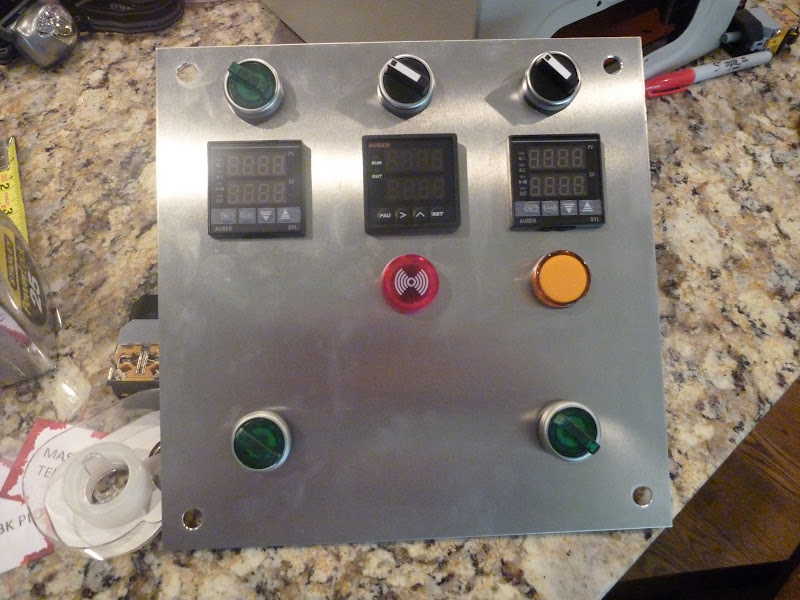
control panel with components mock installed
P1030773.JPG


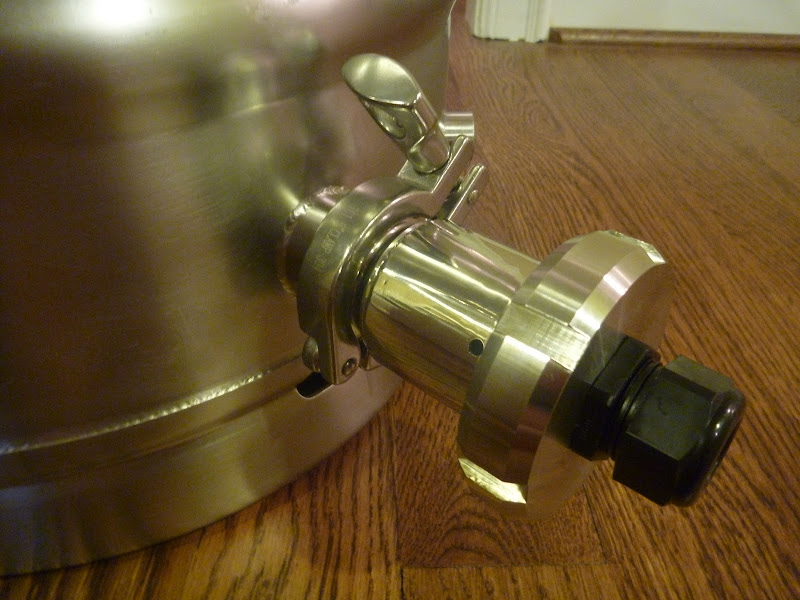
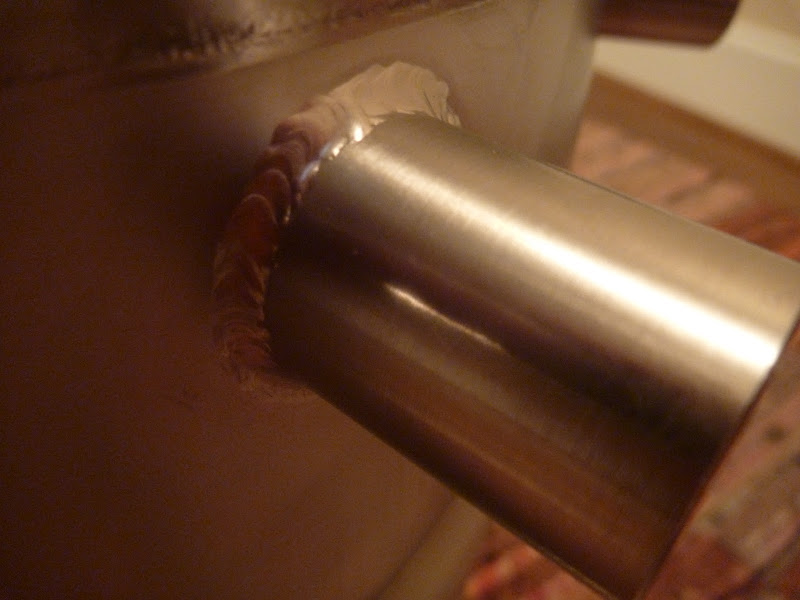
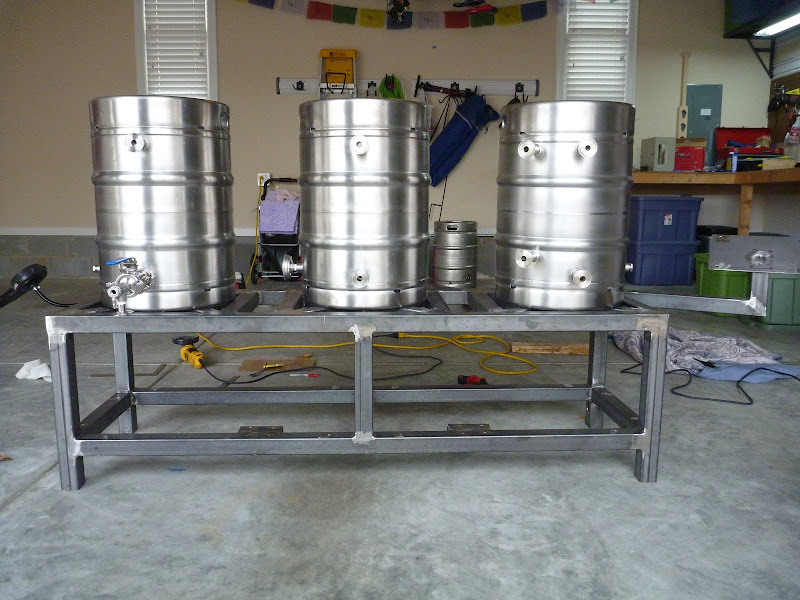
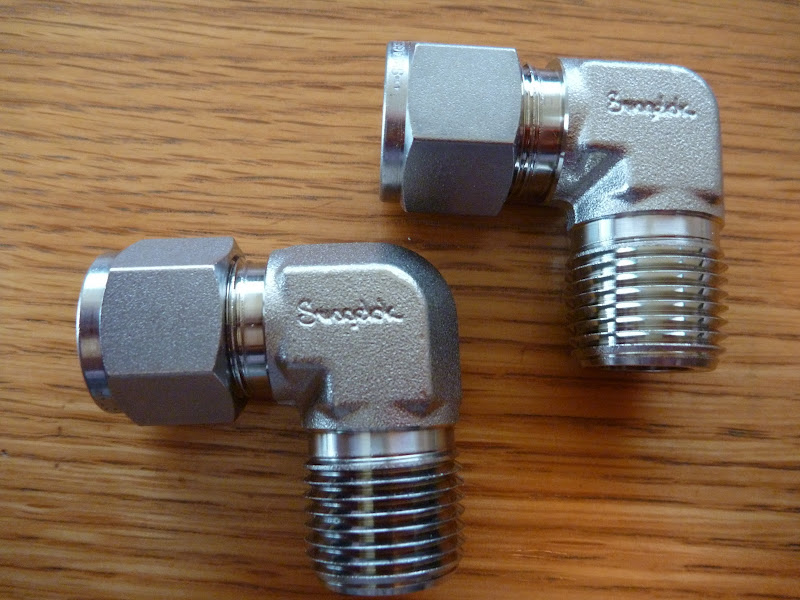
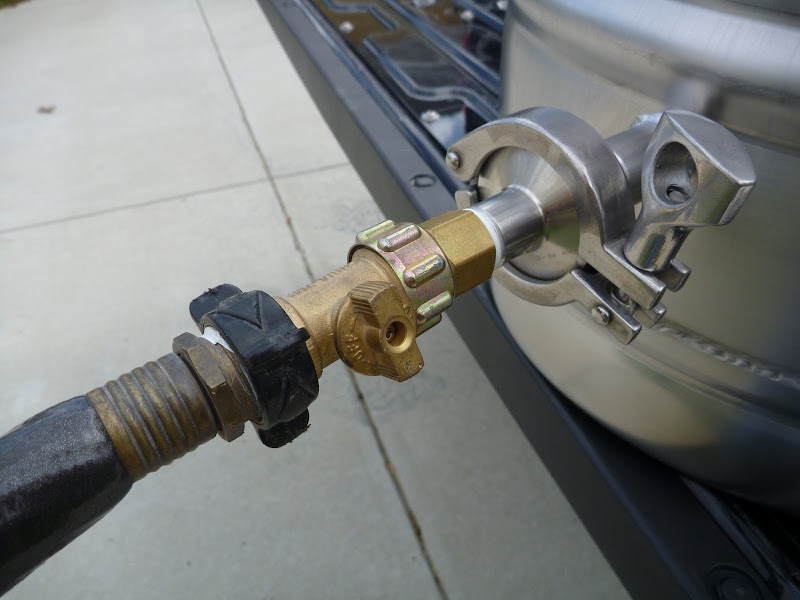
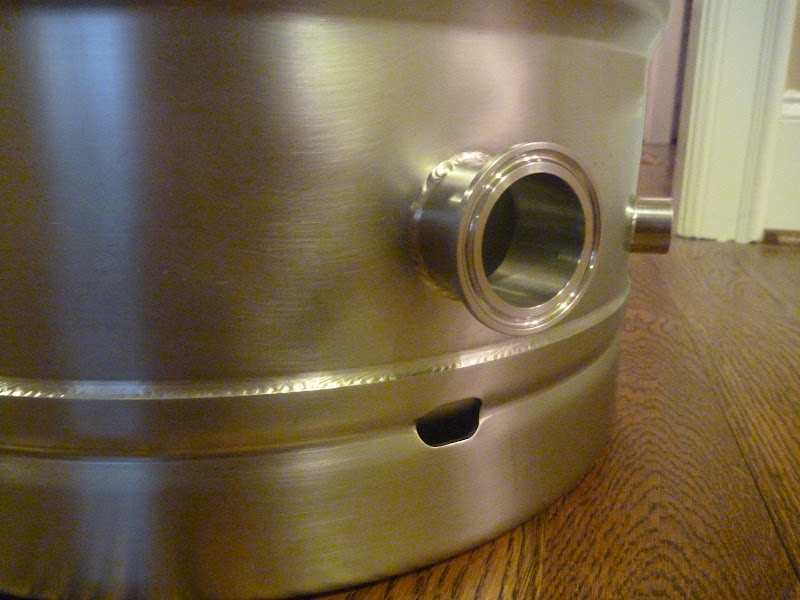
new TC port on my brew kettle - for electric element
P1030775.JPG


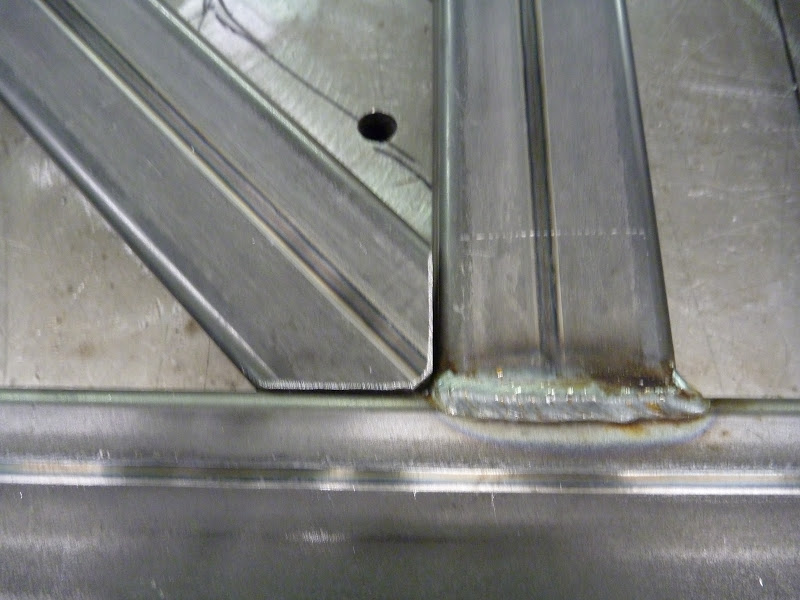
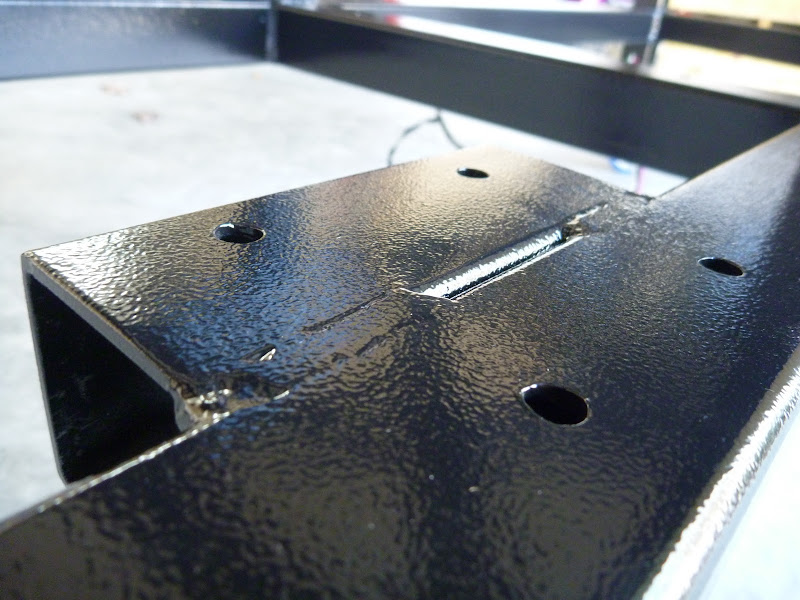
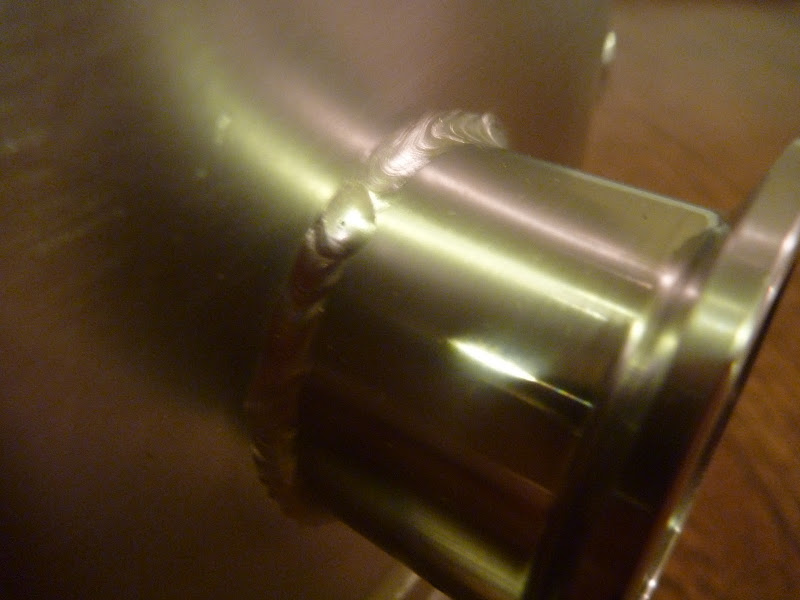
great weld...crappy picture
P1030776.JPG
 
more pics


element adapter from Brewer's hardware
P1030777.JPG


view inside...element comes close, but does not touch my pickup
P1030778.JPG


blurry pic of both of my elements and adapters
P1030784.JPG


HLT with new HERMS ports
P1030781.JPG


these tigs are perfect
P1030783.JPG


view from inside
P1030779.JPG


herms coil waiting to be installed
P1030780.JPG


HLT and BK next to each other
P1030785.JPG
 
very nice! this forum (you included) are just trying to make me jealous! I look forward to seeing your progress.
 
Some have reported rusting from the element. Did you do anything to prevent that?

Why did you opt for tri clamp vs weldless?
 
Some have reported rusting from the element. Did you do anything to prevent that?

Why did you opt for tri clamp vs weldless?

haven't done anything yet...but I have heard some people put high temp silicone on the base of the element (where the rust usually occurs)

I'll probably test it out first, and decide at that point.

i really liked the idea of the element adapter, and I also have alot of 1.5" TC in my brewery. It's well built, affordable, and I don't have to worry about leaks or building an enclosure, etc.
 
Doh! You must have bought the last one of those chillers! I ordered one for the same purpose a few days ago because they still had it as being in stock and they just called yesterday to say that they were actually out and will be out of stock 'for a month or so' so I just decided to go with copper.

Really beautiful build BTW. Are those new kegs?
 
My buddy welds for Joe Gibbs Racing...so we built my brew stand up there this past weekend.

My truck next to all their "junk" cars....you should see the showroom where the nice cars are kept.

2011-11-19%252520002.JPG


one more of the cars

2011-11-19%252520004.JPG


horizontal band saw and rolling supports...made for easy cutting

2011-11-19%252520003.JPG


this table is used to build race cars...perfectly flat and level - you can see some differentials and suspension parts in the background

2011-11-19%252520007.JPG


fitting the top cross members

2011-11-19%252520013.JPG


nice fit

2011-11-19%252520009.JPG


all finished back at the house - took 2 of us about 10 hours to build

2011-11-23%252520002.JPG


seeing how the keggles will sit

2011-11-23%252520004.JPG
 
Nice MIG welds on the kegs! If anyone can MIG weld, it's a roundy round car builder!

Edit: Wait, I just noticed you said that they are TIG welds. Are you sure? Not that it matters, just curious!
 
Very sexy. I'm jealous of people that can weld. The weldless bulkheads on my pots work fine, but there's just something aesthetically appealing about welded ones to me. Especially with triclover bling all over them.

Ok, time to real my tongue back in.
 
I wanna see the herms coil installed, do the herms coil fittings protrude into the keggle? How are you connecting it? Stainless Threaded compression fittings?

Also are you going to power coat or paint the stand to prevent rust?
 
ok all, got the stand powdercoated. Chose standard black with a hammered finish. The powdercoat guy said this was the most durable thing out there. Said they were powdercoating a bunch of construction stuff for IngerSoll Rand in the same color.

cost me $125

Also got the internal pump wiring in place, installed the threaded inserts from McMaster and put on my caster city casters.

enjoy the pics...hopefully I will have the bottom shelf and pumps mounted this weekend. Also going to try and finish the control box - waiting on a hole saw for my panel receptacles though.

stand looks good to me
E-HERMS%2525202011-11-30%252520001.JPG


control box mount - those are the pump wires hanging out
E-HERMS%2525202011-11-30%252520002.JPG


some close ups of the finish

E-HERMS%2525202011-11-30%252520003.JPG


E-HERMS%2525202011-11-30%252520004.JPG


E-HERMS%2525202011-11-30%252520005.JPG


shot showing where my wires are running...only took us 5 minutes to snake the wires...we were smart and drilled nice internal holes before welding

E-HERMS%2525202011-11-30%252520006.JPG


these are some swagelok fittings I got yesterday...gonna use them to mount my herms coil inside my HLT

E-HERMS%2525202011-11-30%252520007.JPG


couple shots of the control box before components are installed and holes are cut. I am going to mount the box so that the lid will open up

E-HERMS%2525202011-11-30%252520008.JPG


E-HERMS%2525202011-11-30%252520009.JPG
 
I wanna see the herms coil installed, do the herms coil fittings protrude into the keggle? How are you connecting it? Stainless Threaded compression fittings?

Also are you going to power coat or paint the stand to prevent rust?

gonna mount the herms coil next using those swagelok elbow fittings. I chose elbow because I didn't want to have to deal with the 90 deg bend in the coil.

the full couplers in the kegs are mounted flush on the inside....so I have a TC adapter on the outside and will connect the swagelok to the inside.

Only concern I have is that the coil will be too close to the kettle wall... we'll see I guess. I'll post pics when the coil is mounted.
 
Thanks for casters site mention, that site is sweet. Which model did you go with? The cart is awesome.
 
Great looking build tell your buddy at JGR that they need to give Denny some of your beer when you get this done, made it will help him run better in 2012! Keep up the great work, thanks for sharing...I will be starting my own thread soon as well, amassing parts and pieces now!!!
 
Those kegs look like Daleks sitting on the stand with the tri-clover fittings on them. :rockin: (any other Dr. Who fans out there???)

This is going to be a good thread, that stand/kegs look awesome so far.

-Steve
 
hey all -

as promised, here are some more pictures and a video

I finished installing and leak testing the herms coil.


herms coil began it's life as an immersion chiller from midwest brew. here it is after cutting off the excess.

2011-12-04%252520002.JPG


as you can see, the coiling process puts a troublesome oval shape in the tubing

2011-12-04%252520003.JPG


i worked the ends with a pair of channeloks to try and get it more round

2011-12-04%252520004.JPG


after 20 minutes of messing around, I could still only get the nut on about 1 inch. After this, I decided to quit messing around and I drilled out the nut bigger with my step bit. after that it slid right on

2011-12-04%252520005.JPG


here is the coil installed

2011-12-04%252520011.JPG


close up of swagelok connection inside

2011-12-04%252520007.JPG


leak testing

2011-12-04%252520008.JPG


my water-in connection...random off topic, but shows what I do

2011-12-04%252520006.JPG


here is a video of my leak testing the newly installed coil...plan on putting some pressure on it for the next test...maybe with a valve or something

[ame=http://www.youtube.com/watch?v=2vWzQCEPPTM]HERMS Coil Leak Test - YouTube[/ame]

used a visio created template to layout the PID holes -worked great in real life too...not just my imagination

2011-12-03%252520003.JPG


control panel is getting primed, painted, and cleared

2011-12-04%252520016.JPG
 
Nice work on the Herms coil. I did the same thing as you, I bought a SS chiller and used it for the coil. I saw all the threads about bending your own and said no to doing it that way.
 
got alot more done on my rig this week. control box is fully wired. bottom shelf and pumps mounted and wired. just waiting on my GFI breaker and my L14-30 wall receptacle to test everything.

control box

2011-12-08%252520002.JPG


my rats nest...i don't have the patience to make the wiring as nice as some of you all on here

2011-12-08%252520003.JPG


couple more

2011-12-08%252520005.JPG


2011-12-08%252520004.JPG


xlr for temp probe

2011-12-08%252520006.JPG


back side...power in, heat sink, power out. I will manually unplug the HLT and plug in the BK when time to boil. Same PID will control both. 1 PID will just "monitor" mash and not control anything.

2011-12-08%252520007.JPG


bottom shelf doubles as a pump cover/shroud - it's 1/8 alum diamond plate

2011-12-10%252520004.JPG


view from bottom - pumps mounted and wired

2011-12-10%252520001.JPG
 
Back
Top