OP
OP
Grab a couple all stainless nuts or something and toss 'em in the bag.
That's a good idea, I might see about that.

Grab a couple all stainless nuts or something and toss 'em in the bag.
Make the drain holes in the steamer basket a lot larger and your problem will go away.
There is a thread about that issue on here somewhere. The brewer used a punch set to increase the drainage.
Voltin,
How do you like your setup now that you've used it a bit? I'm thinking of building something similar. Do you find yourself using the alarm? Anything you would change? Thx
voltin said:The only problem is that I sized my kettle for 5G batches, so I can not do full volume BIAB.
In order to overcome this oversight, I heated up the remaining water on my stove top and did a mini-sparge.
voltin said:EDIT: Forgot to mention that I ended up modding my steamer basket to give it that swiss cheese look. It seems to help the flow, but like I said my pump isn't working so it remains to be seen how much it helped.
Hey Voltin, awesome build. I am going to replicate your build as I slowly acquire peices to do a full 3V build similar to Kals. Last night I purchased a fiberglass enclosure a little bigger then yours off ebay for $10! Well it seems it was to good to be true as the enclosure did not include a sub-panel. Question, as the box is fiberglass is it insulated enough that I do not need to ground the ground bus to metal? Can I just ground all my components to the ground bus that is just screwed onto the fiberglass? I saw your build and you have it grounded to the sanded away metal sub-plate. Please let me know if you don't understand my question.
I have to turn down my 5500W element to about 60% when boiling about 6.5 gallons.
Umm...this doesn't reduce the draw. It draws 100% power 60% of the time... I'm just saying.
Would this element work? I am looking to run this on the same control panel I am parting together, which is a replica of yours.
Voltin,
Great build, I have now looked at this several times. Just wondering, is there anything you would have done differently?
Thanks
Great build, I'm going with the same setup, thanks for posting all your details!
I'd like to add a digital voltmeter and ampmeter like Kal but a bit confused if I can just add it (the voltmeter is up to 300VAC so should be no problem?) but the ampmeter is DC4.5-28V input. Do I need a transformer and adjustable power supply like Kal or can I just do a transformer for the ampmeter or?
I'd like to make sure the brightness of the LED is the same for both too, so do I do the same thing to both even though the voltmeter is rated high?
Anyone can give me a hand?
Links to voltmeter and ampmeter respectively:
http://www.ebay.com/itm/271022616522
http://www.ebay.com/itm/160944741481
Thanks.
Great build, I'm going with the same setup, thanks for posting all your details! I'd like to add a digital voltmeter and ampmeter like Kal <snip> Thanks.
This is an honest question; hope it doesn't sound like I'm being disagreeable: what purposes do an ammeter and voltmeter serve?
1. If all your electrical components are sized appropriately for the elements, pumps, bells and whistles, and the breaker back at the box is sized appropriately, what useful information do these additional components provide?
2. In what scenarios would the voltmeter or ammeter help me or provide me with some kind of warning that something untoward might be about to happen?
Respectfully,
Keith
Chris7687 said:voltin- I have all my parts, just need to buy the power plus (Spa Panel to Box and Box to Element). Had a question for you though, how much do you think the pump helps maintain the mash temp? I am debating whether I really need it or not as it would save me approx $175-200. Do you think leaving the PID on at 5% will help maintain the temps with a occasional stir?
voltin- will this mount work for the RTD sensor?
Can someone verify the electrical part for me? I am putting everything in my "cart" and want to make sure it is all correct before I buy it all.
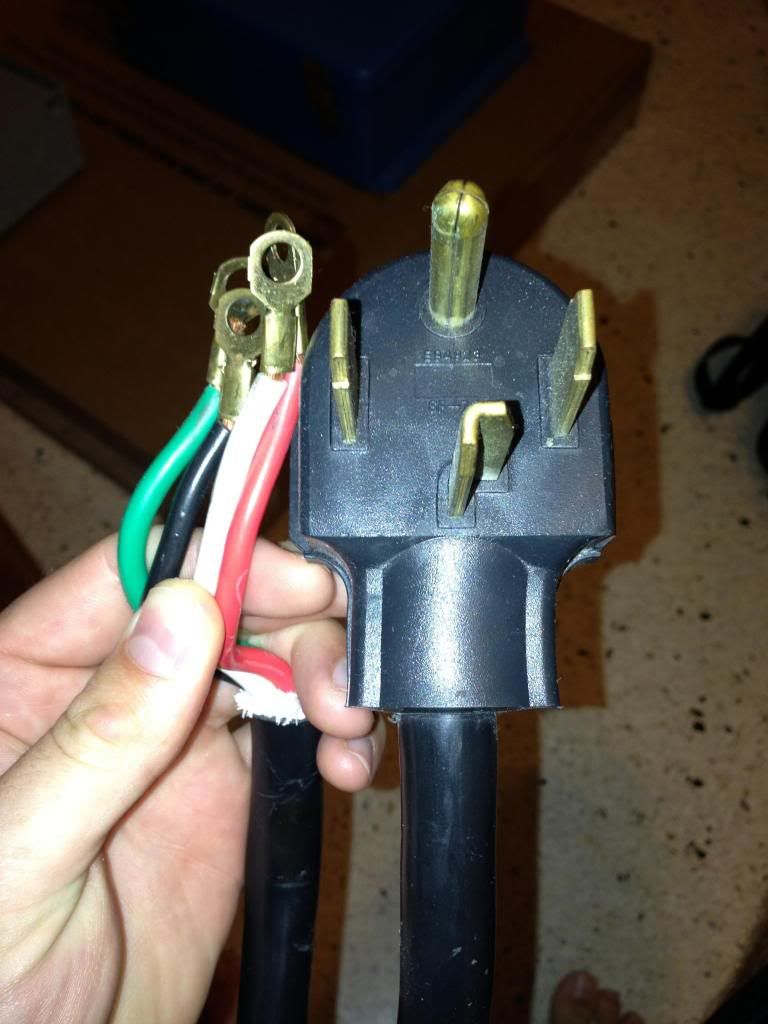
From my house main panel I will be installing a 30A Two Pole Breaker from there I will be running a 10/3 wire to the spa panel which is a 50A GFCI. In the spa panel I am going to install a 30A Flush mount outlet which will plug into with this.
This is where I am a little uncertain:
With the male plug, listed above, I will run another 10/3 wire from the spa panel to the control box which is connected by a connector to a Flanged Inlet Locking Receptacle, correct? Am I missing something? Lastly, going from the control box to the kettle I will have a L6-30P Locking Plug which is plugged into Flanged Outlet Locking Receptacle which leads to the heating element on a 10/3 wire.
Please let me know if you see anything flawed here. Hoping to order everything by the end of the week.
Lastly, going from the control box to the kettle I will have a L6-30P Locking Plug which is plugged into Flanged Outlet Locking Receptacle which leads to the heating element on a 10/3 wire.
Enter your email address to join: