Double Demi Chamber Build!!

Homebrew Talk - Beer, Wine, Mead, & Cider Brewing Discussion Forum

Help Support Homebrew Talk - Beer, Wine, Mead, & Cider Brewing Discussion Forum:

This site may earn a commission from merchant affiliate links, including eBay, Amazon, and others.

CidahMastah

Well-Known Member
Joined
Nov 12, 2010
Messages
4,201
Reaction score
46
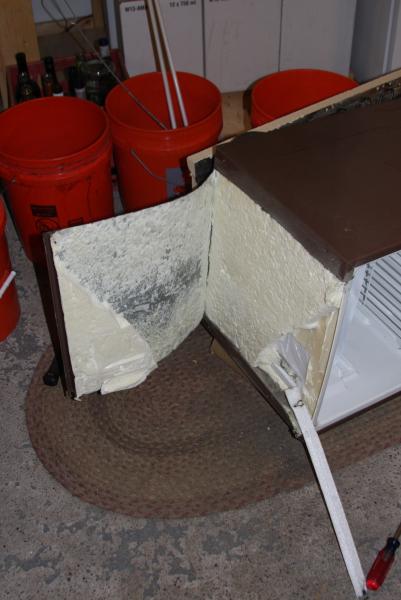
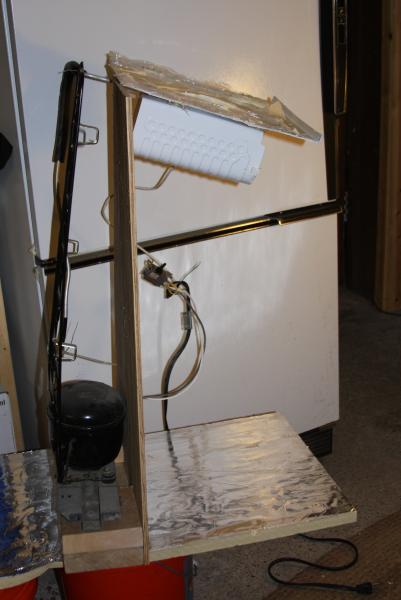
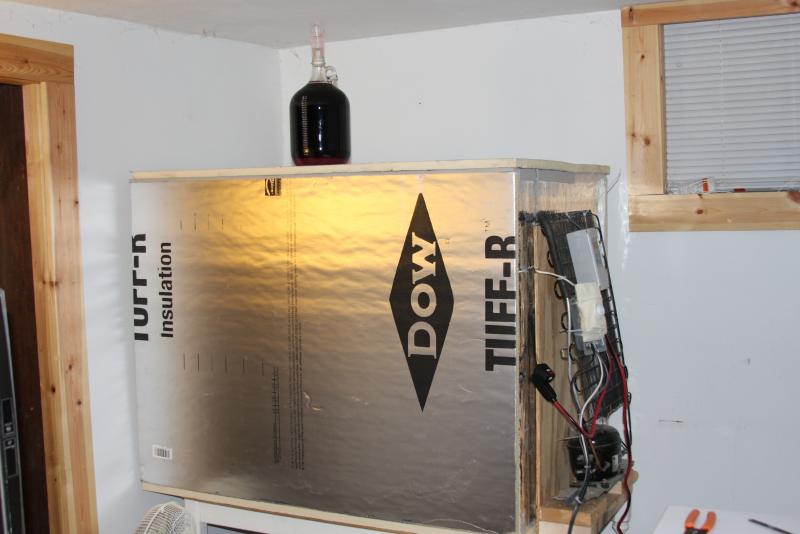
OK just started to gut my college refridge for a fermentation build. Plan is to take out the internals and use them in a double demi john fermentation chamber.
 
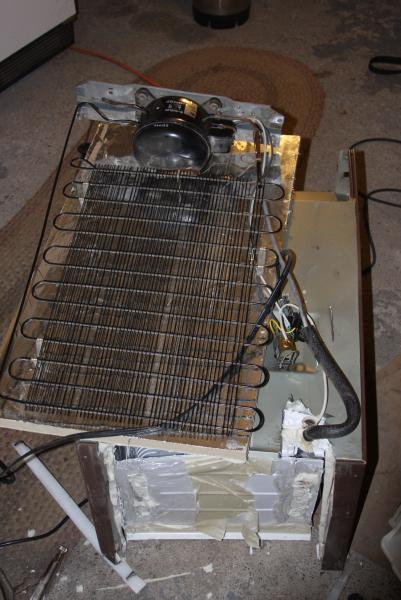
I disconnected the compressor and then I used an angle grinder to cut into the top of the refridge so I could take out the cooling element. When I started to get close to the coolant lines I used tin snips.

1.jpg


2.jpg


3.jpg


4.jpg
 
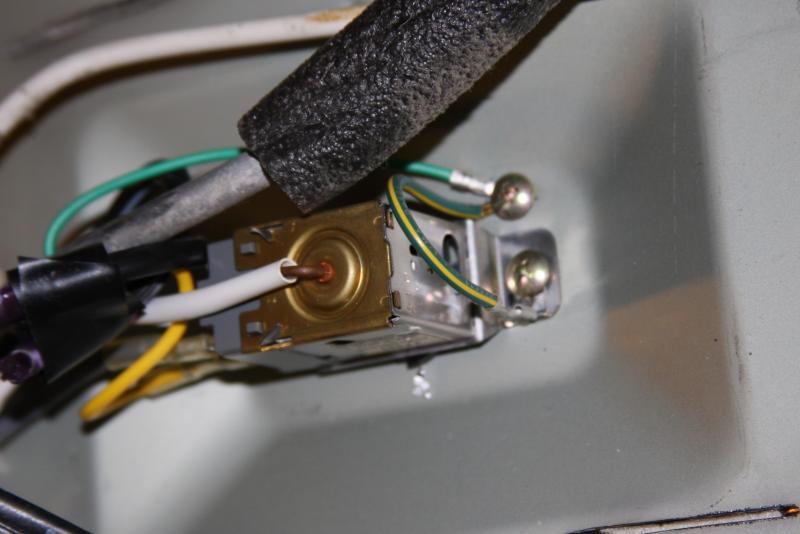
Then I disconnected the thermostat control button from the inside of the refridge and unscrewed it from the back. Once I carefully cut into where the coolant line rand I was able to take out the internals.

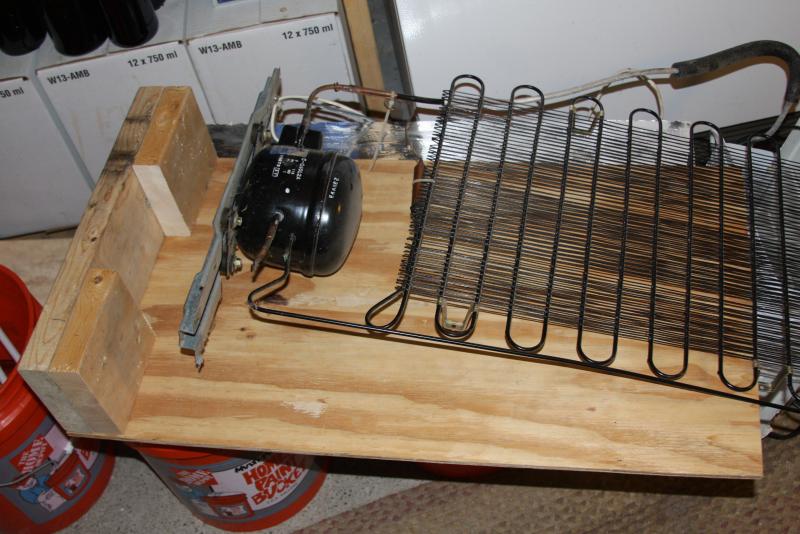
I used some scrap lumber to back a supporting back plate to hold the compressor and coolant lines.

5.jpg


6.jpg


7.jpg


8.jpg


9.jpg
 
So now that I have the internals out I zip tied up the wires for support to the back plate I made. I put the thermostat back together and put that on the unit.

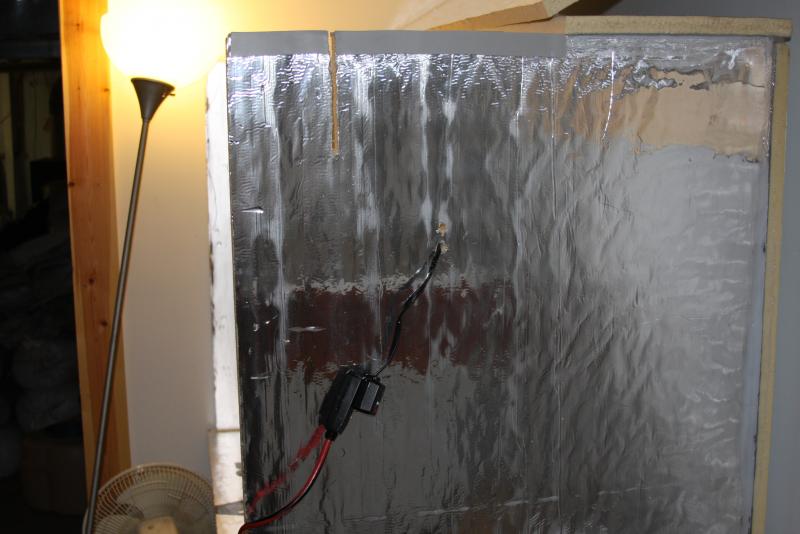
I scored some insulation for half price with an R value of 6.9 I think. Cut it up and put a sheet of wood down so the demijohns don't crush it. I might need to add more insulation, but I thought I would start here since there was less insulation than that in the little dorm refridge.

After caulking up the corners with silicon I let it to dry for 24 hours. I only did the bottom, back and sides because I need to figure out how I am going to make a door for the chamber.

For now Kate the Great and Denny's bourbon vanilla porter are sitting in the chamber, but they won't benefit from the chamber, I will have to watch those and monitor the fermentation temps.
 
Ok so I started to wrap up the project for my fermentation chamber here are some picks of:

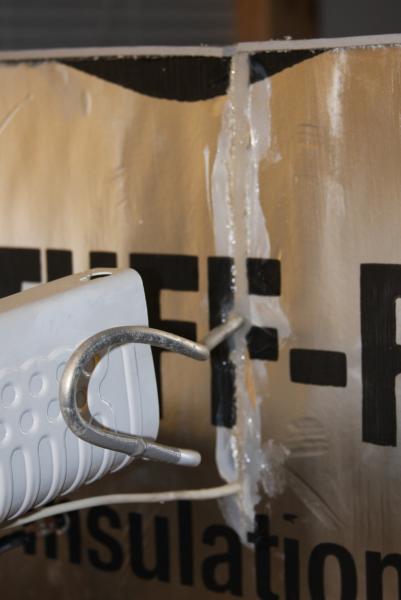
1. drilling and cutting holes to install the compressor I took off and feed wiring through the side wall.
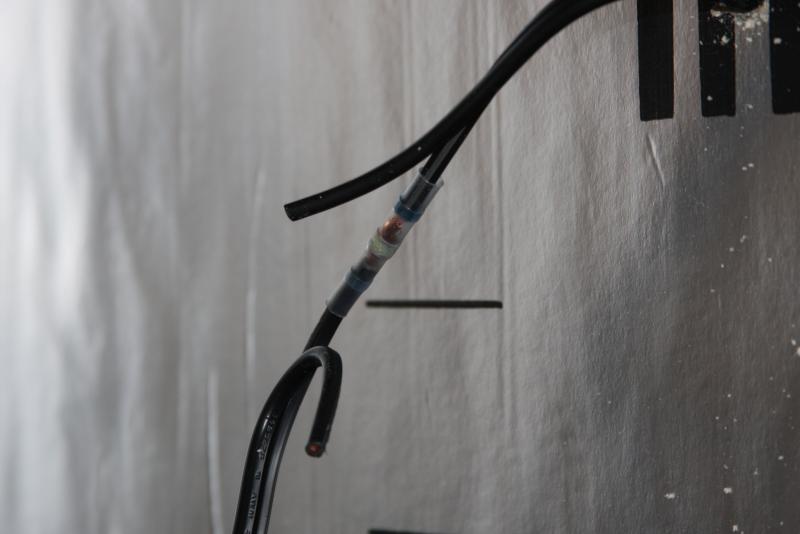
2. Those cool little shrink wrap/ solder connections
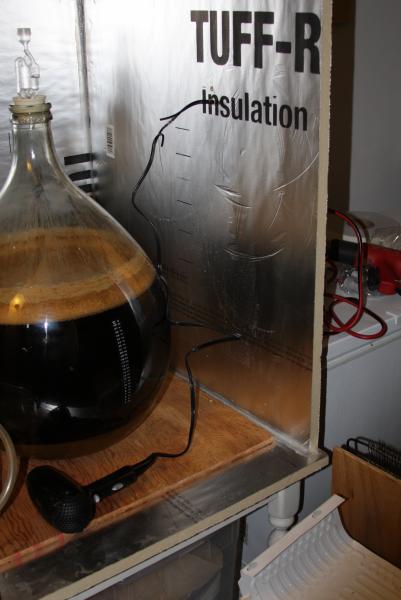
3. My foldable hair dryer for heating the chamber
4. Siliconed up after install
5. Using the ranco.

1.jpg


2.jpg


3.jpg


4.jpg


5.jpg
 
So after i siliconed it all up I hooked up the hair dryer for a test run (my brews are at about two weeks and were starting to fall to 64GF). Since I wanted them at 68 and not just the chamber I cut a piece of insulation and wrapped it around the temp probe and taped it to the fermenter. Closed it up and left it. Came back every couple hours and the unit was infrequently cycling (good thing). Came back this a.m. and the fermenters were spot on 68F. Good stuff and just what I was looking for - cheap fermentation chamber!

I hinged the top on this so I am able to pour into the fermenters directly.

6.jpg


7.jpg


8.jpg
 
Amazing! I have an old college fridge that I want to do the same with. I may try to find cabinets on Craigslist to camouflage it tho. Did you use an off the shelf temperature controller? If so, did you get it locally? It seems to me that we live in the same county!
 
Amazing! I have an old college fridge that I want to do the same with. I may try to find cabinets on Craigslist to camouflage it tho. Did you use an off the shelf temperature controller? If so, did you get it locally? It seems to me that we live in the same county!

I used a one stage ranco for this one, because I have a 2 stage for my lagering chamber already so I figured with ales I could get away with a 1 stage, either cooling then maintaining 68F with a little hair dryer.

Cabinets would be a better way to go; I had to do it on the cheap! However it works great as is and will maintain two demijohns at once, using cooling or heat, so I am really happy with that. The chamber is airtight more less all the way around except for the front panel and the top front portion. However, since it works I am very happy. Still not sure if I could get 11g lagering (or 22g) in this unless I found a good way to temporarily seal up the couple areas that are not airtight.

I wired my temp controller myself but here is the one that I bought.


Also - since your are a syracusian, you interested in bulk grain? Just wanted to make sure you saw the thread for the bulk syracuse buys, saves you a ton of money on grain purchases. Let me know if you need more info.
 
Also - since your are a syracusian, you interested in bulk grain? Just wanted to make sure you saw the thread for the bulk syracuse buys, saves you a ton of money on grain purchases. Let me know if you need more info.

I'm still extract brewing. I read the bulk grain posts (thats how I figured we are fellow Syracusians) but alas I don't know even where to begin with that huge PDF list!
:drunk:
I would like to transition to all grain in the next year or so. At that point, I hope to participate in the grain buys.
 
I'm still extract brewing. I read the bulk grain posts (thats how I figured we are fellow Syracusians) but alas I don't know even where to begin with that huge PDF list!
:drunk:
I would like to transition to all grain in the next year or so. At that point, I hope to participate in the grain buys.

Ah yes! Well everyone moves their own pace, but all grain isn't much harder than doing extract with specialty grain steeping. I won't push it on you though!

If you do want to buy grain or extract and need a hand in figuring out the cost - post to the thread and people can help. In the beginning I thought the same, but now I look at it and it all makes perfect sense :D
 

Latest posts

Back
Top