New 10 Gallon Herms! Pics!

Homebrew Talk - Beer, Wine, Mead, & Cider Brewing Discussion Forum

Help Support Homebrew Talk - Beer, Wine, Mead, & Cider Brewing Discussion Forum:

This site may earn a commission from merchant affiliate links, including eBay, Amazon, and others.
Thanks guys...

I only hope that my new build will be half as successful. Hopefully I can get this nest of wires and electronics set up to make wort. The Brew Beast proved a few concepts for me and helped me to nail down my process so that I could then concentrate on the fine points.

I am glad to help support you guys build and operate this rig, even though mine is gone.
 
I am on the very slow build pace. Buying a few peices a month as the budget will allow. I am almost done with all the stainless atm, so itle be downhill from there. I was hoping you would still have the spreadsheet and could send it to me. If not I was going to pester the other people that you've sent it to in this post. :)
 
I am on the very slow build pace. Buying a few peices a month as the budget will allow. I am almost done with all the stainless atm, so itle be downhill from there. I was hoping you would still have the spreadsheet and could send it to me. If not I was going to pester the other people that you've sent it to in this post. :)

Send me a PM with your email and I will send it over. I still have all the info needed to help support people building/running this system. Gone, but not forgotten!
 
Hey Pol, wanted to ask your input on this... I decided it would be best to go with a SS instead of copper for the heat exchanger, so I was looking for a 25' 1/2" SS chiller that I could make work. It seems the only place that has a 25' SS chiller is midwest supplies, but I asked and they said that the 25' chiller is 3/8". Based on your new build thread I've taken that the midwest 50' chiller is 1/2" so I figured I would go with that instead. My concerns are flow rates. You've stated many times in this thread that you onced used 3/8" plumbing and had poor flow rates, through a number of changes including going to 1/2" plumbing you were able to get much better performance. The problem is that if I add 25' of tubing by using a 50' chiller that would probably have an adverse effect on flow rates as well. I was thinking that I could counter this by buying one of those Little Giant 1/12 HP pumps you are using in your new build, but wanted to know what you thought of that since this is your build and you probably know it well.
 
Hey Pol, wanted to ask your input on this... I decided it would be best to go with a SS instead of copper for the heat exchanger, so I was looking for a 25' 1/2" SS chiller that I could make work. It seems the only place that has a 25' SS chiller is midwest supplies, but I asked and they said that the 25' chiller is 3/8". Based on your new build thread I've taken that the midwest 50' chiller is 1/2" so I figured I would go with that instead. My concerns are flow rates. You've stated many times in this thread that you onced used 3/8" plumbing and had poor flow rates, through a number of changes including going to 1/2" plumbing you were able to get much better performance. The problem is that if I add 25' of tubing by using a 50' chiller that would probably have an adverse effect on flow rates as well. I was thinking that I could counter this by buying one of those Little Giant 1/12 HP pumps you are using in your new build, but wanted to know what you thought of that since this is your build and you probably know it well.

How fast do you plan on recirculating your mash? 3/8" ID wont restrict it to a large enough degree to matter. I mean, you are only pumping at .5gal/min anyway right? Hope that helps~!
 
Good point. I don't think I will need high flow rates for recircuilating or sparging. It may affect how fast I can fill the MLT for mash in but I am not terribly impatient. Thanks!
 
Excuse me for dwelling on minutia, but I'm wondering about the sight gauges that you built for the Rubbermaids. Somewhere (hard to remember after reading thru 100+ pages of these threads) you mentioned bending the PolyCarbonate tubing. Can you expand on that any? I'm having problems getting enuff accuracy from my dipsticks - besides which it would look really great to have the same style sight gauges on mine. I'm also concerned with how to seal the wall of the cooler after inserting the sight gauge. Did you use a compression fitting behind a 1/2" NPT weldless connection?
Thanks for your help - I appreciate the fact that you keep helping others build this system even after moving on to something else.

Most of his build stuff is in his brewingfriends link in his sig. Here's the sightglass portion.
 
Pol - if you ever want to run for a national political office you're gonna get a terrific amount of support from all of us whose faltering steps you guided. Thank you!
 
Pol - if you ever want to run for a national political office you're gonna get a terrific amount of support from all of us whose faltering steps you guided. Thank you!

Some day, as an independent... maybe. If I had the backing of beer loving Americans, I think I could win!
 
hey pol do do what he (point up) said cause you will then change and we cant have any more change, but your new build thread has more hits than this one just thought i would point this out!
 
Excuse me for dwelling on minutia, but I'm wondering about the sight gauges that you built for the Rubbermaids. Somewhere (hard to remember after reading thru 100+ pages of these threads) you mentioned bending the PolyCarbonate tubing. Can you expand on that any? I'm having problems getting enuff accuracy from my dipsticks - besides which it would look really great to have the same style sight gauges on mine. I'm also concerned with how to seal the wall of the cooler after inserting the sight gauge. Did you use a compression fitting behind a 1/2" NPT weldless connection?
Thanks for your help - I appreciate the fact that you keep helping others build this system even after moving on to something else.

Not a problem! I do enjoy helping out, people have helped me build what I build too... it is the circle of life ;)
 
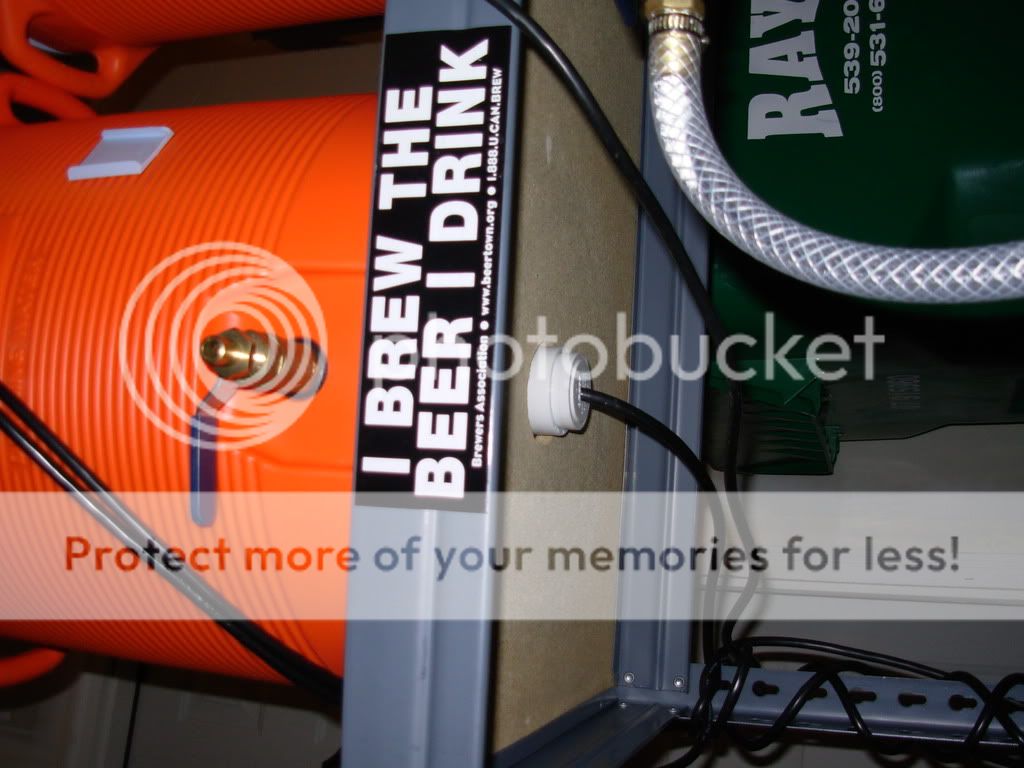
Sealed heating element compartment
DSCN0782.jpg

Quick question on this. I thought for sure I saw a pic of this view and you had the ground lead from the element power cord pigtailed out of the PVC and landed on the frame....?

I'm currently thinking of how to land my ground wire (no stand yet) so I can do my heat test. Leak test was successful last night. Looks like I'll finally get to use this thing :)
 
And while you're thinking about grounding - how do I ground components with a wood frame?

Shot-In-The-Dark question. Would it be possible to put in a 240 volt 45 or 55 hundred watt element and have a switch to cut it to 120 volts (giving 1/4 of the watts) after the water gets up to temp? I'm thinking of that both for the boil and the HLT.

This is what I'm considering too. If I do an all wood stand, I'll just mount a steel plate, maybe 6"x6" on the under side of the wooden top and ground to that.
 
What I did on mine (it sits on a wood workbench) was to create a grounding ring from a sheet of aluminum I got at HD.

Basically I cut a hole in the aluminum square so I could screw it on the element then used snips to cut a ring out of the rest of the square leaving a "tag" on one side. I soldered the ground to that tag.

Hasn't tripped any GFCI or breaker yet.

I'd seen another person had done that method and was going between that and just to an outside plate. Only reason I'm doing the outside plate is it's just easier than getting my hands in to mess with. But that fact that this method works is the same as just grounding to a metal plate attached to the underside of the wooden table top.
 
Shot-In-The-Dark question. Would it be possible to put in a 240 volt 45 or 55 hundred watt element and have a switch to cut it to 120 volts (giving 1/4 of the watts) after the water gets up to temp? I'm thinking of that both for the boil and the HLT.

If you had a double throw for one side, say up is hot, down is neutral I would think that should work. While the other leg is the other hot. This is to avoid a pid?
 
........ This is to avoid a pid?

Yes - but now I don't feel so sure about it. Went to buy a 240 v "Low Density" element today and the guy at the hardware store said that I have to run it through a thermocouple. He said that since there are only two contacts on the bottom, it's like a 120 volt. You can only hook up one of the two 120 volt "legs" to the element. Huh? I showed him the heat stick that I just finished (1500 watts, 120 volt and it works) but he says that these 240's don't work that way - you can't hook up both "hots" to one contact and the neutral to the other. Guess it shows my ignorance again, but he couldn't say how to wire it without the thermocouple, so maybe he's not right either.

Help! I don't want to re-read all 387 pages of build threads again. Besides - I'm pretty sure that if I had to have that thermocouple thing (it looked like a bus bar) Pol would have listed it in his BOM. :(
 
you can't hook up both "hots" to one contact and the neutral to the other. Guess it shows my ignorance again, but he couldn't say how to wire it without the thermocouple, so maybe he's not right either.

No, it's one double throw switch with the hot and neutral. That will make it 240/120 depending on where the switch is at. The other just has the hot going to it, it can be on a switch to turn it off or on.

Thermocouple :confused:
 
No, it's one double throw switch with the hot and neutral. That will make it 240/120 depending on where the switch is at. The other just has the hot going to it, it can be on a switch to turn it off or on.

Thermocouple :confused:

Sorry - now I think he said Thermostat. I looked at a bunch of elements on ebay and some have those "extra" thingies with lots of screw terminals and stuff. Going to use a PID. Called Auber and the guy there was very helpful about changing the one that I've got on a lead melting pot to make it work with an "RTD" for beer. Still got to find two elements - one for the HLT and one for the BK. Oy vey! :drunk:
 
I prefer the CAMCO elements... you can get them at some stores, or google it, they are online.
 
Bought two of those Camco "Ripple" 5500 watt ULD elements. I like the fact that they can survive "low water" (even if only for a while). Probably never need that power in the HLT but with the PID it can't hurt (much).
 
Bought two of those Camco "Ripple" 5500 watt ULD elements. I like the fact that they can survive "low water" (even if only for a while). Probably never need that power in the HLT but with the PID it can't hurt (much).

You will find uses for that power I assure you!
 
Kinda having a hard time finding a 30 amp breaker (but I do have a "Best Offer" in for one). Can I use two separate 120 volt GFCI breakers and just "bring them together" to create a 240 volt circuit?
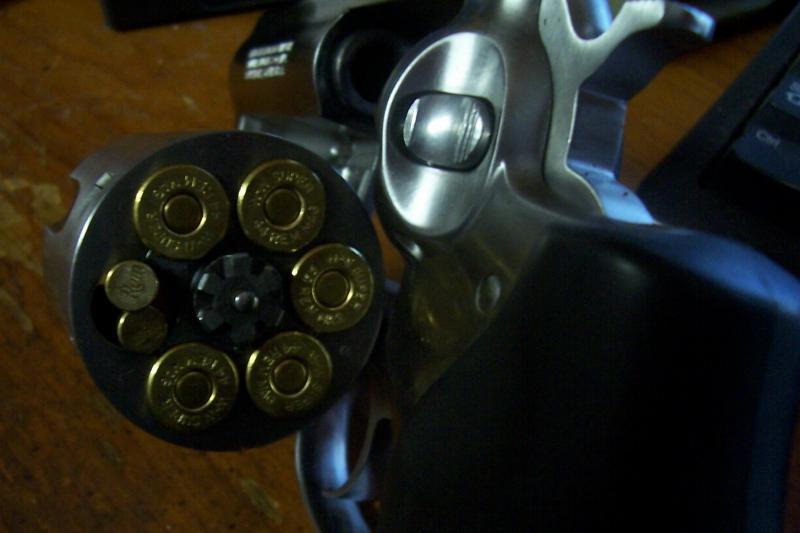
Reminds me of the kid who tried to rob a store with a .44 - didn't have the right ammo so he jammed two .22 LR cartridges in each chamber. Makes sense - in a way.

44-22.jpg
 
Bought two of those Camco "Ripple" 5500 watt ULD elements. I like the fact that they can survive "low water" (even if only for a while). Probably never need that power in the HLT but with the PID it can't hurt (much).

Home Depot has Camco ULWD 5,500 watt straight elements that are folded back over thenselves. They can be dry fired plus lifetime replacement. They can fit straight thru a 1' coupling, not those wavy 5,500 watts elements your talking about.
 
Next you'll tell me they're cheaper too........:(

Edit: Just took another look at those puppies. They're wavy and they're doubled and they'll go thru a 1" opening! :ban:
 
Next you'll tell me they're cheaper too........:(

Edit: Just took another look at those puppies. They're wavy and they're doubled and they'll go thru a 1" opening! :ban:

It was over month ago and I still have $17 in the back of the mind as I was looking for something else at the time just happened to see these elements, had to stop and make mental notes. I was looking at the 5.5KW elements not the 4.5KW and 3.5KW they had. They were made for hard high mineral content water and can be dry fired as well had a special exterior material like inconel which is the best you can get.
If it weren't for the 1" thread it looked like they would fit into a 3/4" ID tube.
Way better looking than the wavy elements that need 4 plus inches to just swing and tighten them up. They were 14" long. This makes for a design change for my future brewery build. I'll stock up on six 5.5KW elements for this future build, close to home no shipping costs.
 
Wish I wasn't such a timid soul - now you've got me worried about these elements. Might keep one for the BK and try to swap the other for a short SS HD for the HLT. The ones I bought are that Incoloy stuff, but they're almost 13" tall which is going to make for fun times in the Rubbermaid. Manic -Depressive. Need another beer............:D

http://www.drillspot.com/products/278618/Camco_02963_5500W_240V_Ripp_Element
 
I am in the process of building a replica of Pols setup and I have a few questions I did not see answers to in the 1000+ pages I just read. :D

1. What is the thread of the 1" SS hex nut I need to screw the element down to the HLT? A mcmaster item # would be great.

2. I want to use a 2000w element and I read the JC A419 or Ranco will only support 16amps. Of course the 2k element is 16.67 amps. Is anyone using a 2k element? If so, what did you use for your temp control?

3. I am a little confused on the thermocouple. I did not see any pictures of how this is brought down the the bottom of the HLT. I know Pol said he uses a SS tube to get it down there, but I was hoping someone could post a pic of their setup. It would be a great help.

4. Last really dumb ?. After the mash is finished and you go to sparge, are you just disconnecting the hose from the ball valve of the MLT and connecting the pump inlet to the ball valve on the HLT and then the outlet of the MLT goes into the BK, correct?

Thanks, Scott...
The FNG
 
I am in the process of building a replica of Pols setup and I have a few questions I did not see answers to in the 1000+ pages I just read. :D

1. What is the thread of the 1" SS hex nut I need to screw the element down to the HLT? It is just a 1" SS lock nut, it is NPS, straight thread.

2. I want to use a 2000w element and I read the JC A419 or Ranco will only support 16amps. Of course the 2k element is 16.67 amps. Is anyone using a 2k element? If so, what did you use for your temp control? Over the JC419 amperage... you need a PID and SSR probably

3. I am a little confused on the thermocouple. I did not see any pictures of how this is brought down the the bottom of the HLT. I know Pol said he uses a SS tube to get it down there, but I was hoping someone could post a pic of their setup. It would be a great help. It is a SS dip tube that is crimped at one end and pushed through a gum stopper. The JCA419 probe then goes down the tube into the HLT

4. Last really dumb ?. After the mash is finished and you go to sparge, are you just disconnecting the hose from the ball valve of the MLT and connecting the pump inlet to the ball valve on the HLT and then the outlet of the MLT goes into the BK, correct? YES

Thanks, Scott...
The FNG

Hope that helps
 
It does. Thank you for getting back to me so quick. Looks like I will prob just go with the 1500w element.

I am working on putting in my order with McMaster right now and they have different threads for the SS nut, that is why I asked.

1"-8, 1"-12, or 1"-14 thread.

Thanks again for posting this thread. Outstanding!!!

Dude, if you PM me your address, I can send you a SS nut for it, I have (2) on hand.
 
I found it. It is a 1" NPSM fitting on those elements. Works with a 1" NPT which is 1"-12 thread. Thank you for the offer though. Fixin' to put in my first McMaster Carr order. Can't wait to get this thing up and running. Thanks again for all of your help. I sent you a PM with my email for those Excel SH's. Would be much appreciated.

Scott...

It is sent... anytime
 
So it looks like I will be able to use the 2000w heating element with the Ranco Single Stage ETC-111000-000. I called the ETC Store and they have a relay they will install for $21 that allows it to control up to 20 amps. He said there is a light on it to let you know when it is over the normal 16amp capacity. I will have to make sure I have a separate 20amp plug just for the controller. Here is a link if anyone is interested:

http://www.rancoetc.com/etc-controllers-c-36.html

The guy was very helpful and said it would ship out today. $86 total with shipping.

Scott...

Awesome...
 
So it looks like I will be able to use the 2000w heating element with the Ranco Single Stage ETC-111000-000. I called the ETC Store and they have a relay they will install for $21 that allows it to control up to 20 amps. He said there is a light on it to let you know when it is over the normal 16amp capacity. I will have to make sure I have a separate 20amp plug just for the controller. Here is a link if anyone is interested:

http://www.rancoetc.com/etc-controllers-c-36.html

The guy was very helpful and said it would ship out today. $86 total with shipping.

Scott...

That would be 15 not 16 amps on a resistive load, reread the specs.
Any stat working hard will pit the contacts and allow a wider span of temp control. If you wire it to a relay and let the relays contacts take the beating
the stats contacts will not pit and maintain a tight temp zone that repeats
dead nuts for many years.
 

Latest posts

Back
Top