I've been brewing for many years now, but have never come up with a good name for my "brewery". Lately I've been brainstorming a new single tier system... And I woke up at 3am last night with the answer! (my brain solves a lot of things when I sleep)
Salvage Brewing Co.
"Several men's trash, is another man's brewery."
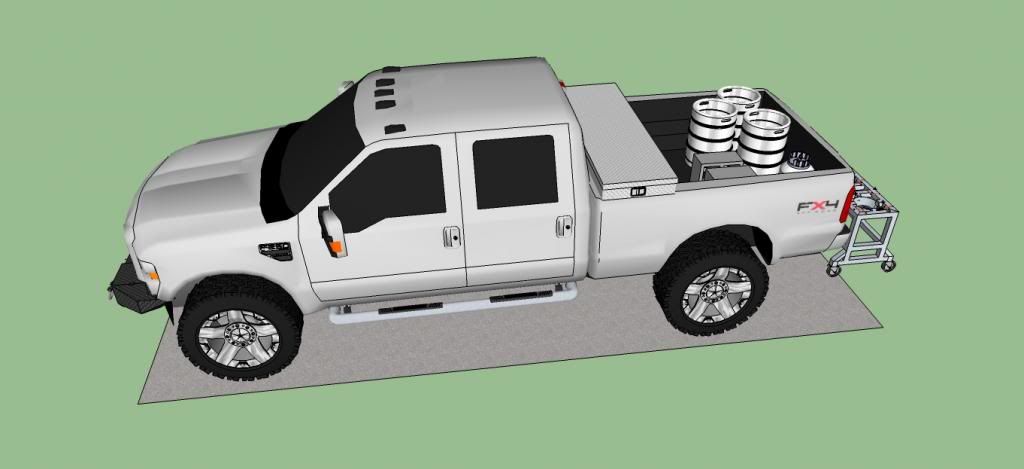
Background: I did buy a lot of new stuff when I started out, but quickly realized that I could repurpose many things to accomplish the same ends - delicious beer! When I moved to all-grain, I snagged two 10gal powerade coolers from the university, destined for the dumpster. Next, I dug out my great uncle's (and namesake) 100 year old aluminum lobster pot from the rafters of my parent's garage. Boil kettle, mash tun, check. Cost, $15 in fittings.
This worked great for several years.... Until I stumbled on a 1/2 bbl keg, sitting on the side of a friend's parent's house for over 15 years (since a high school party I might have been at). It was upside down and the skirt was full of dirt and had grass, dandelions and maple saplings (literally 3' tall saplings) growing in it. Now it's a boil kettle.
This brings me to my best salvage piece(s) to date:
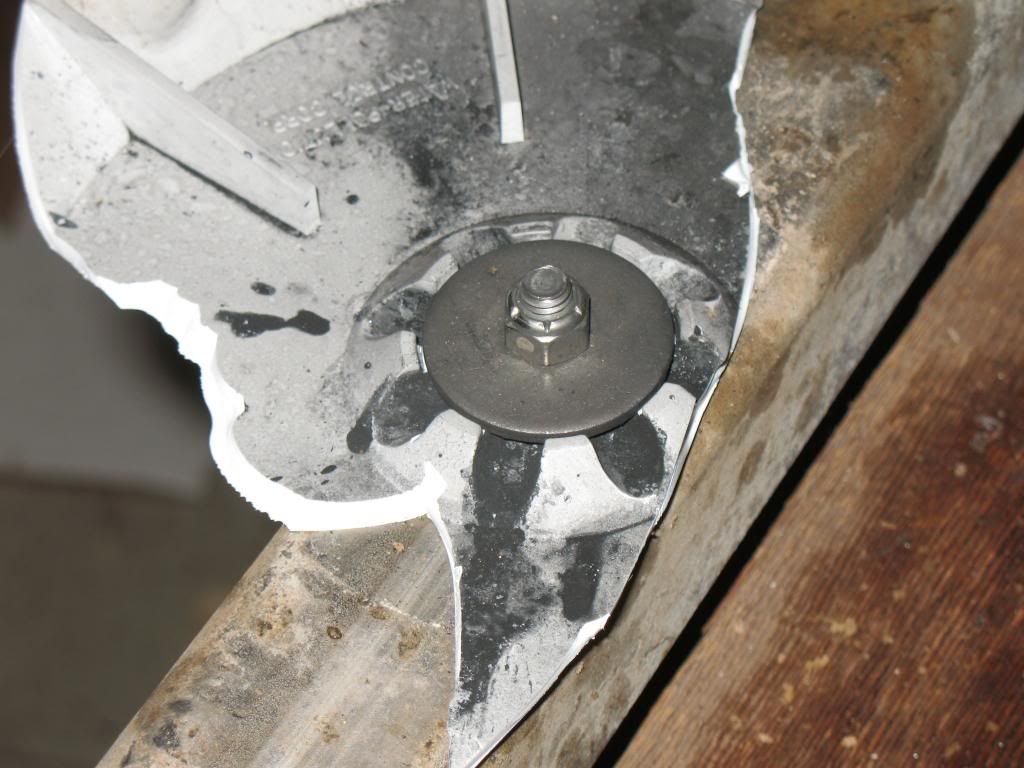
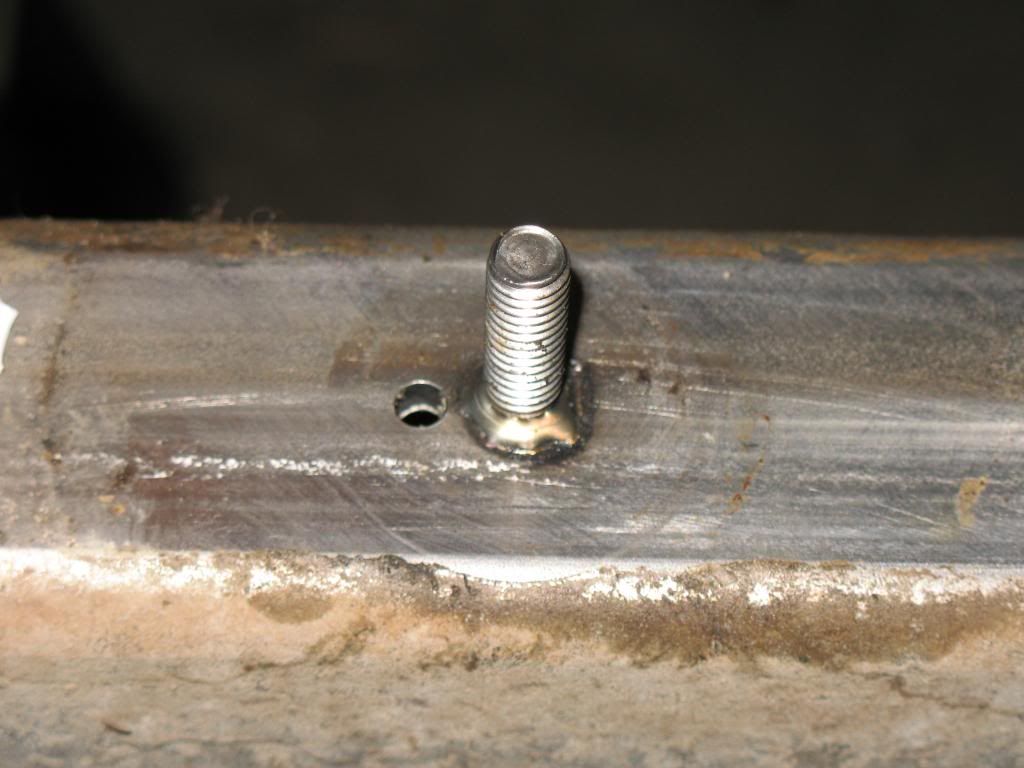
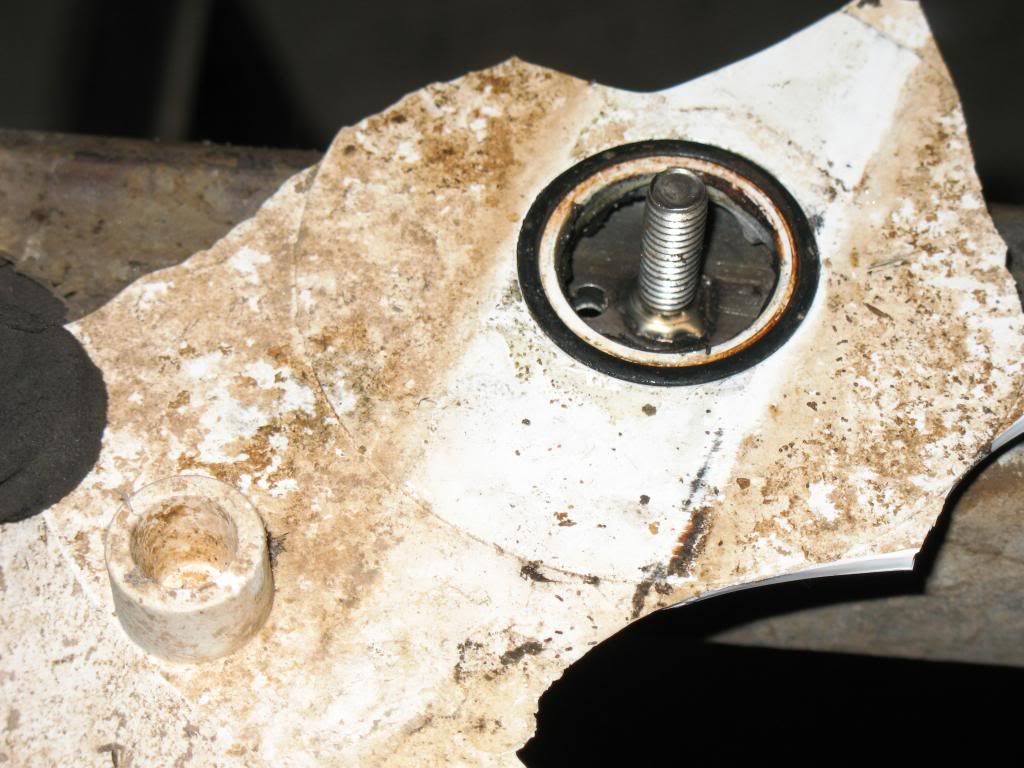
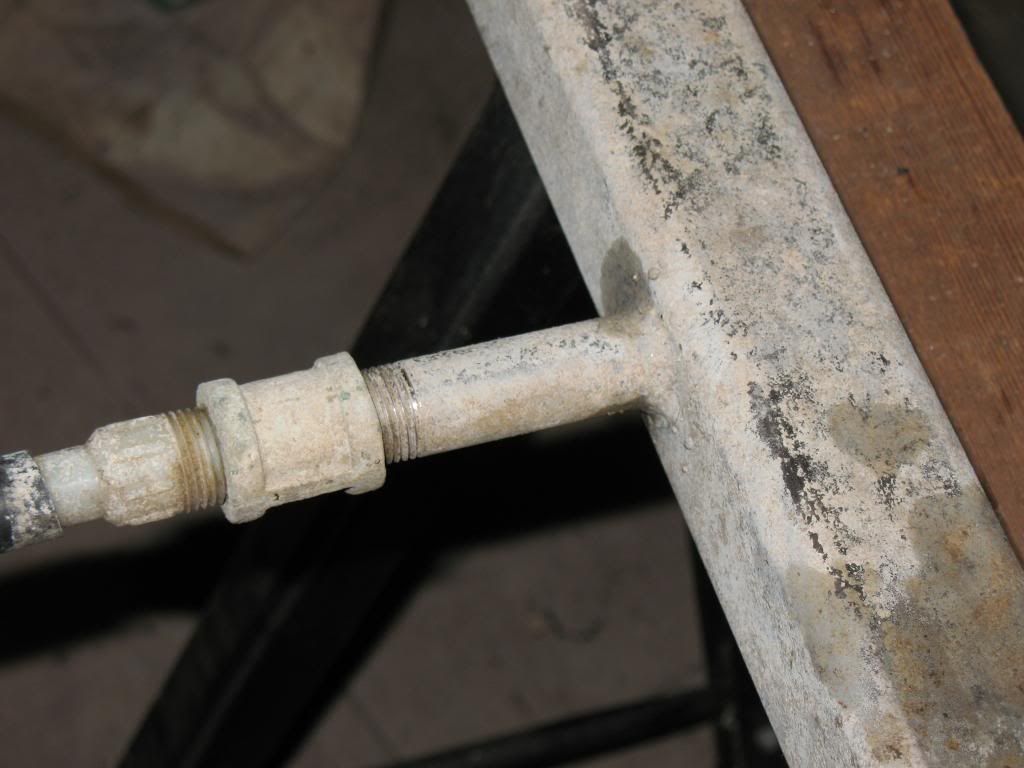
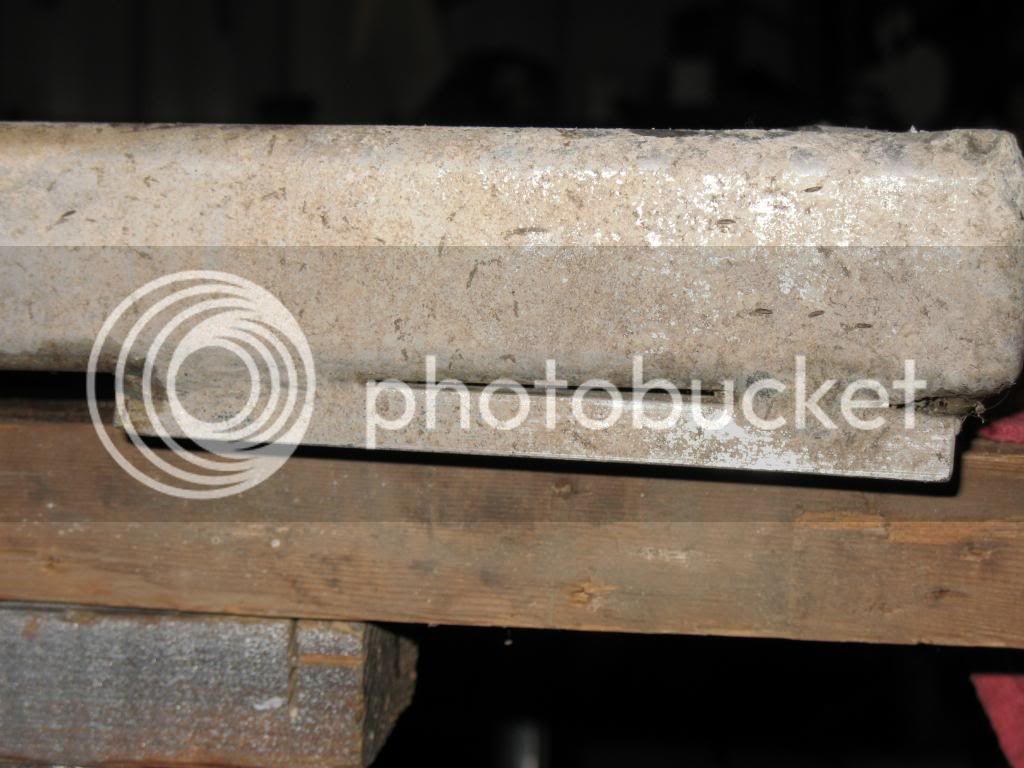
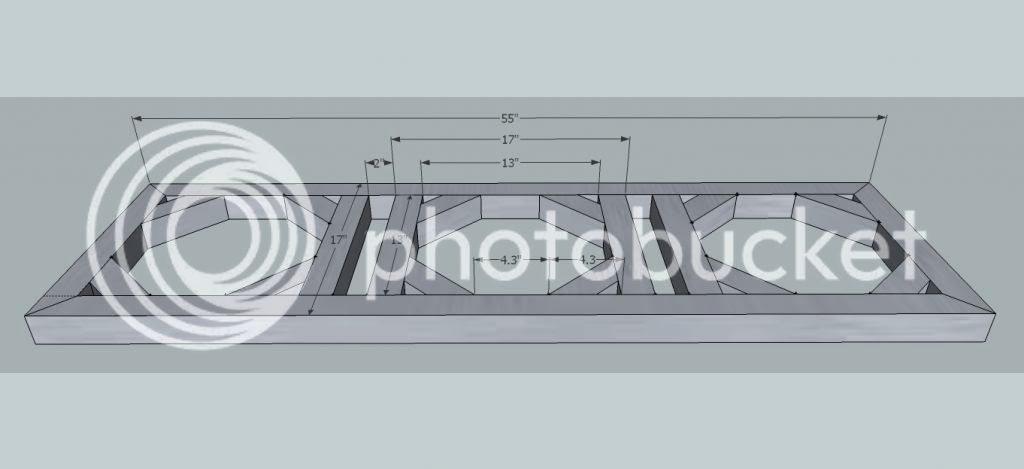
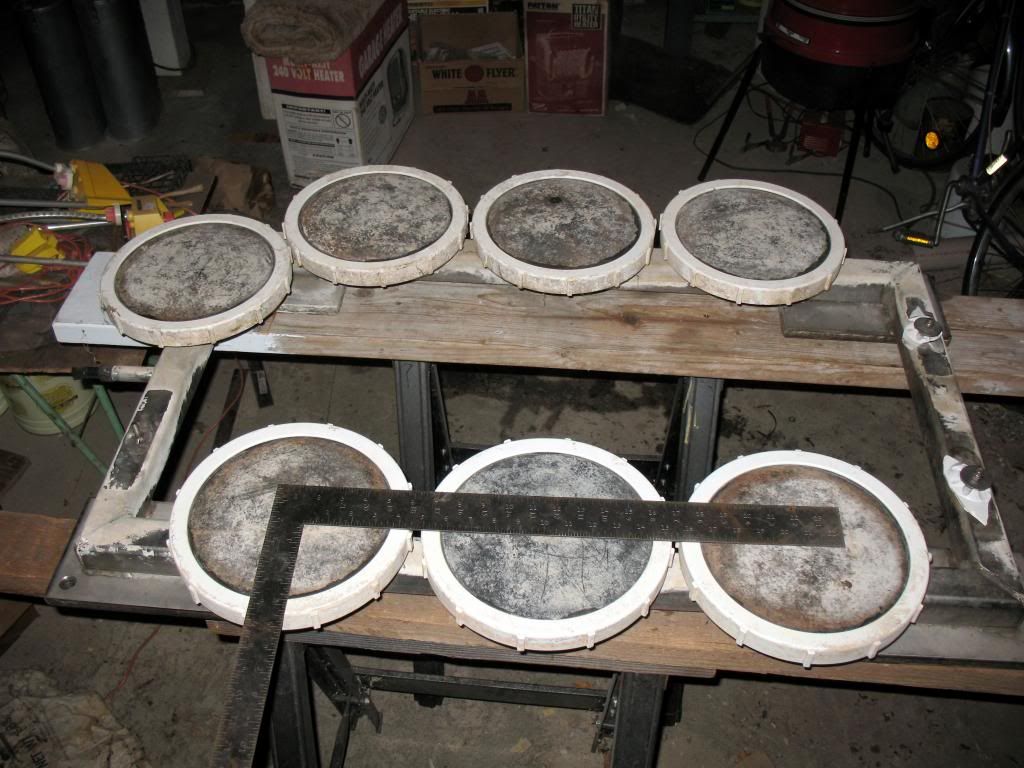
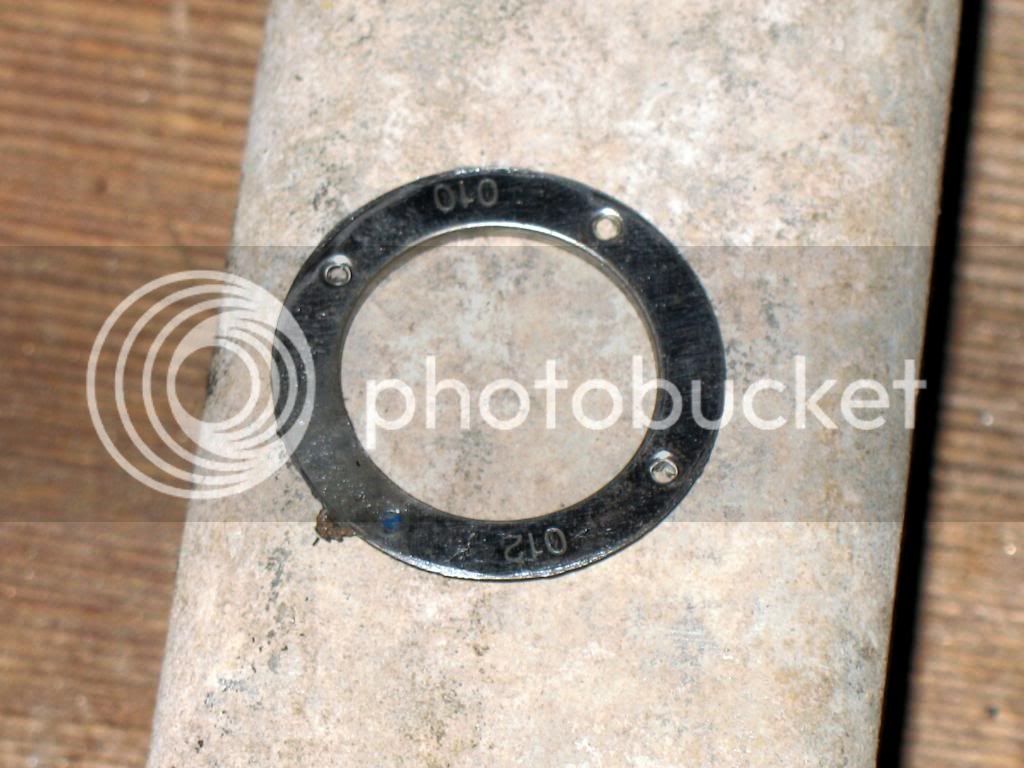
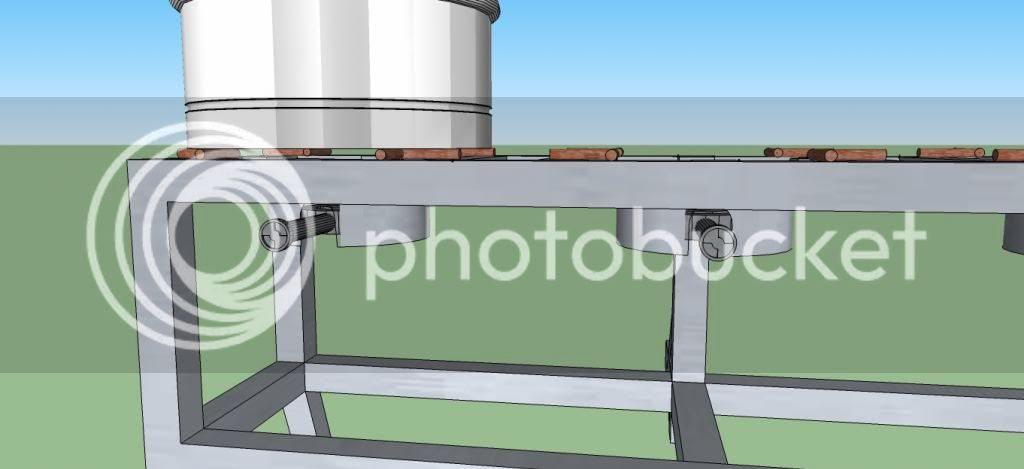
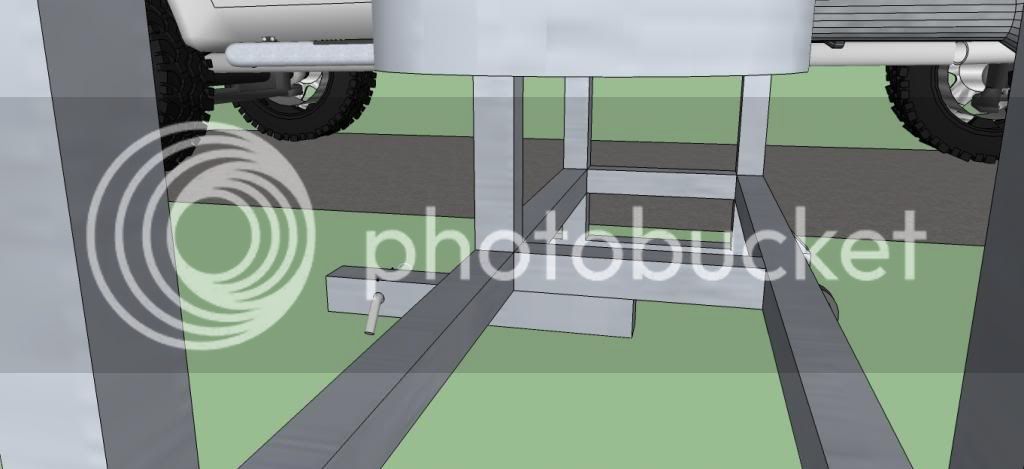
That's a custom made diffuser for an aeration system in a lake or pond. I manage lakes and ponds for a living, and these were old, clogged and useless for aerating...not to mention way way way over engineered for their intended end-use. We replaced them with normal diffusers and the home owner's said to get rid of the old ones.
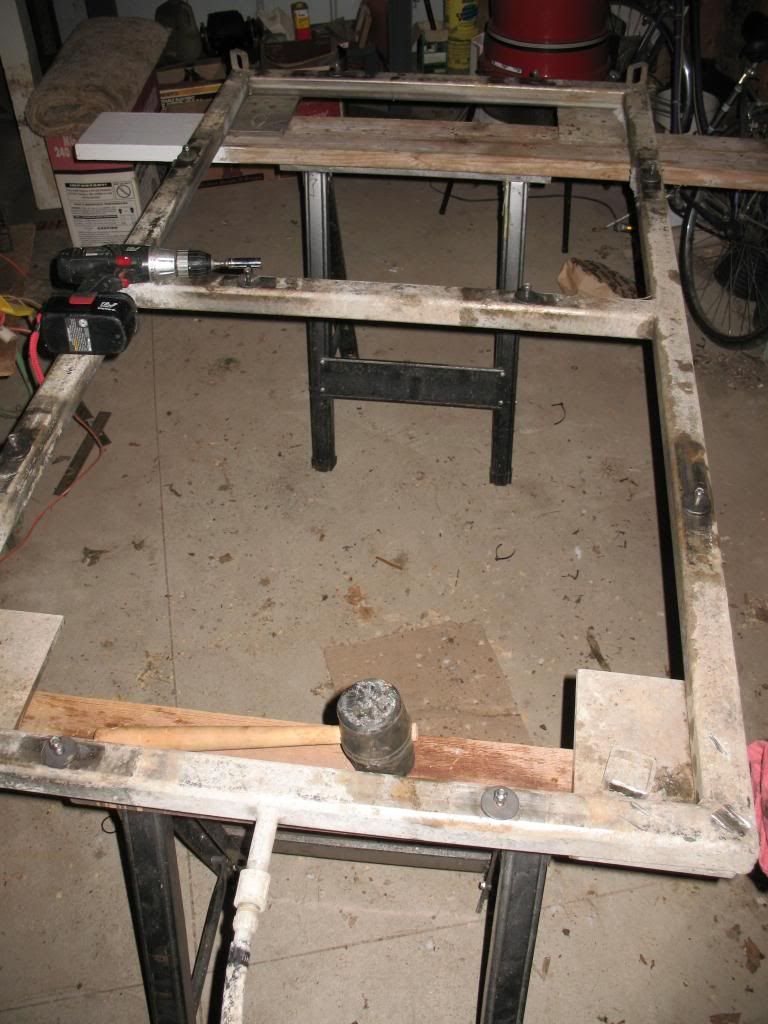
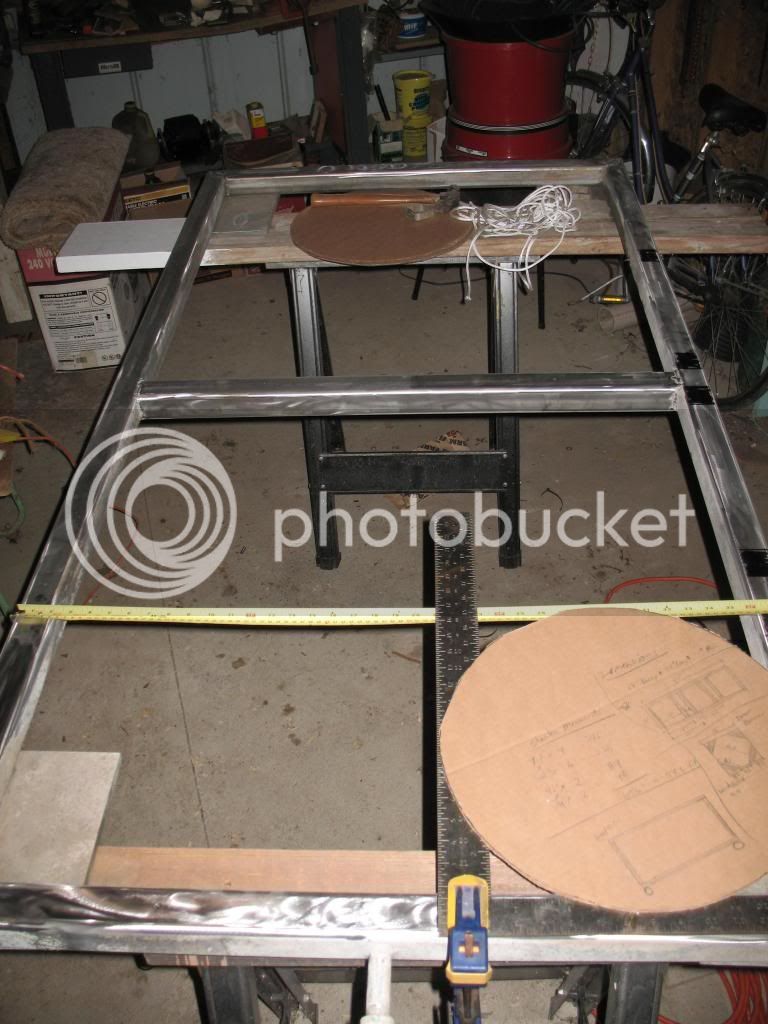
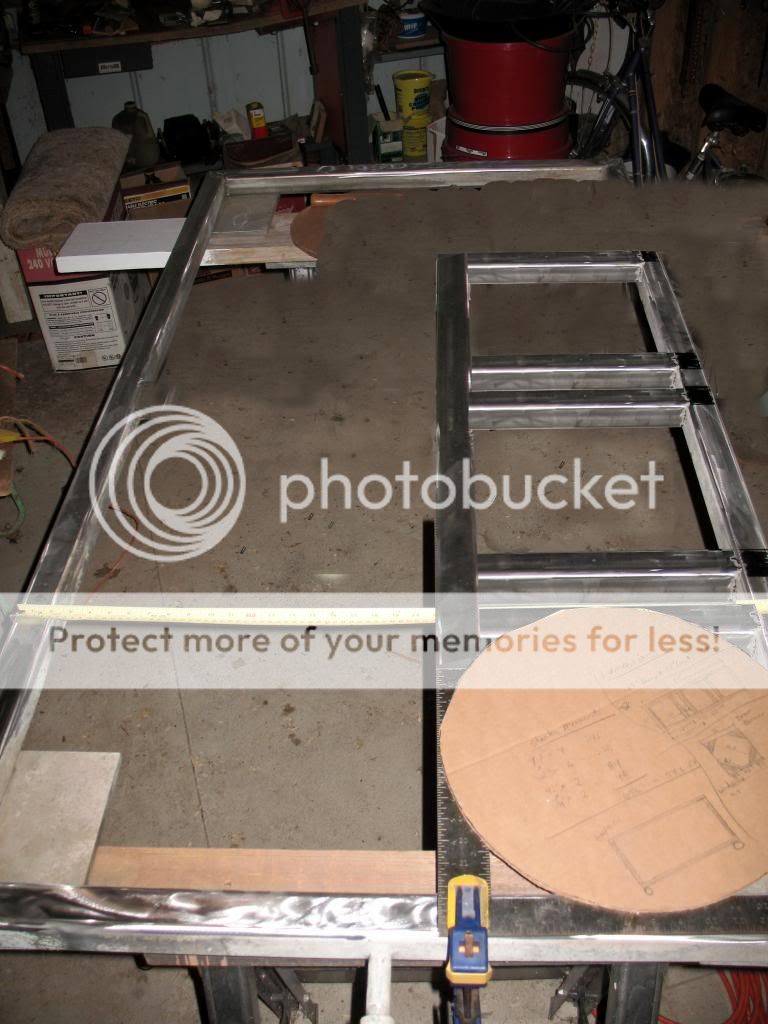
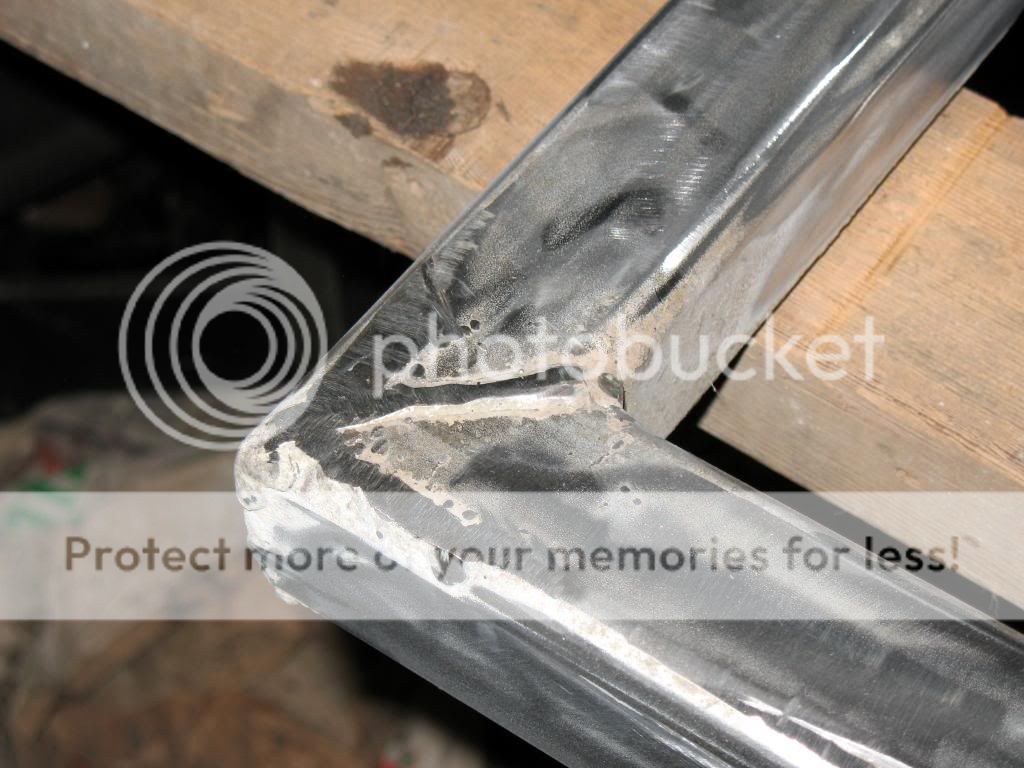
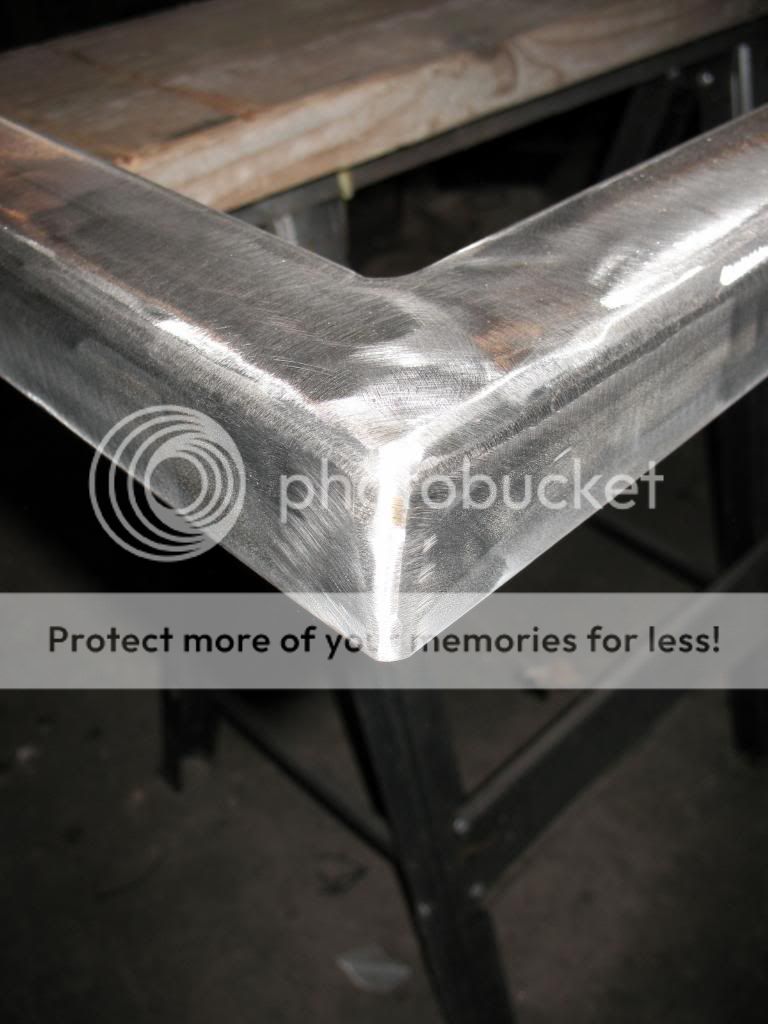
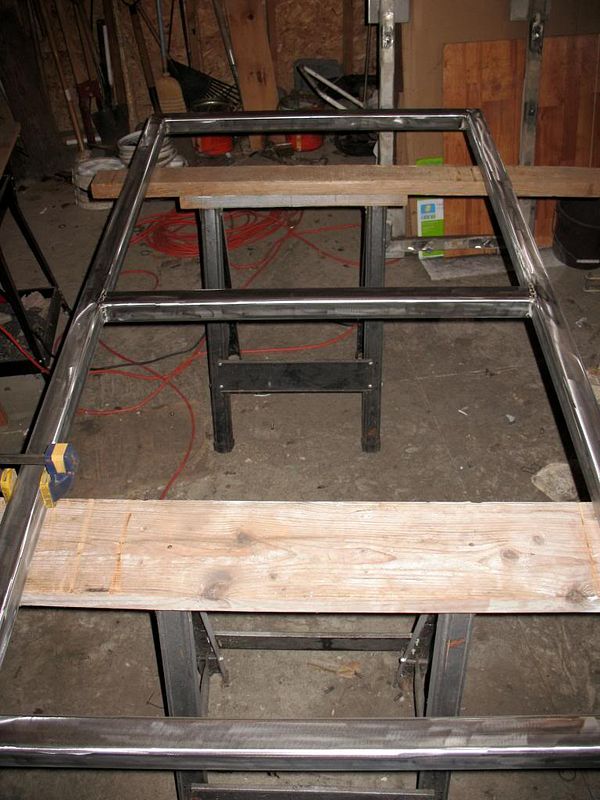
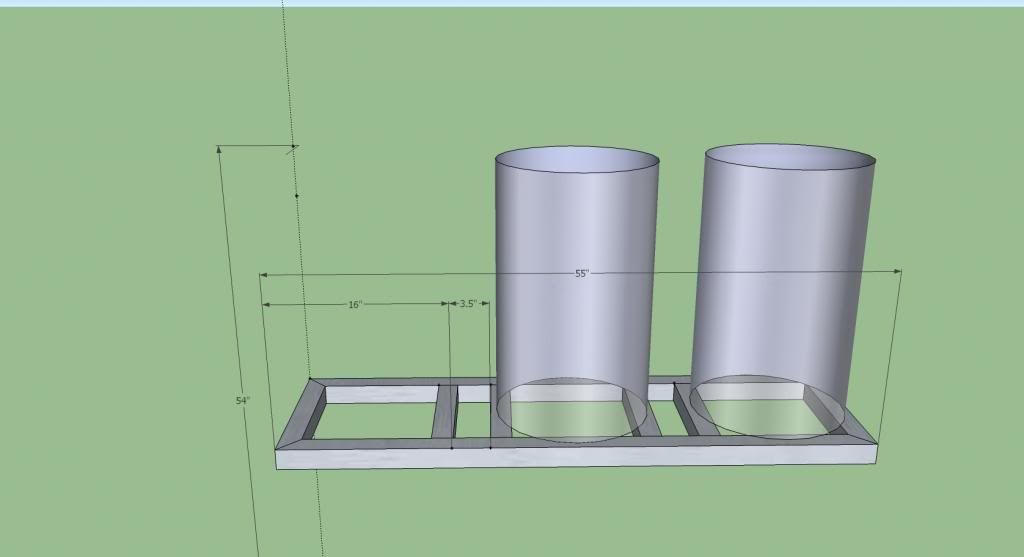
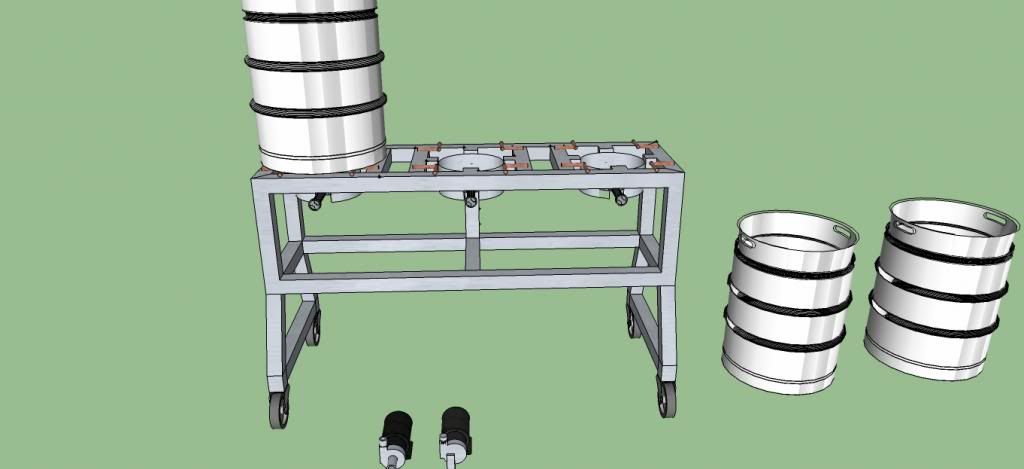
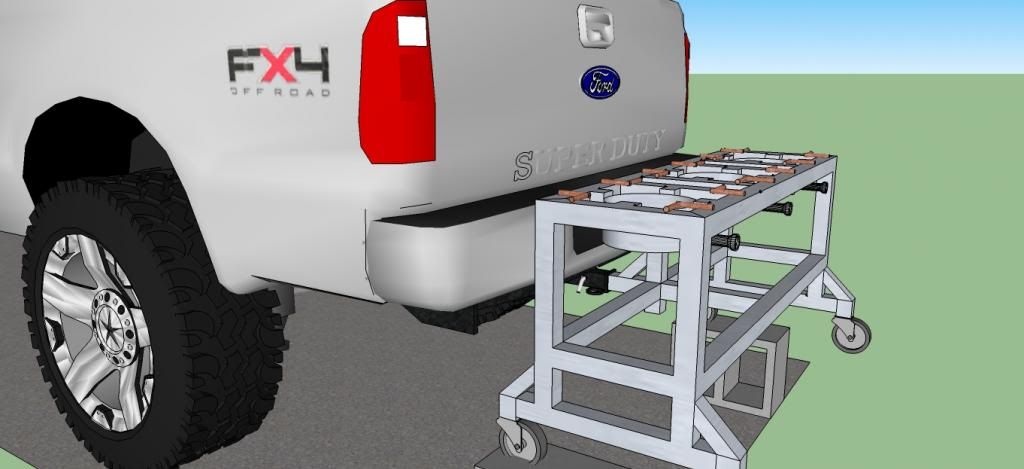
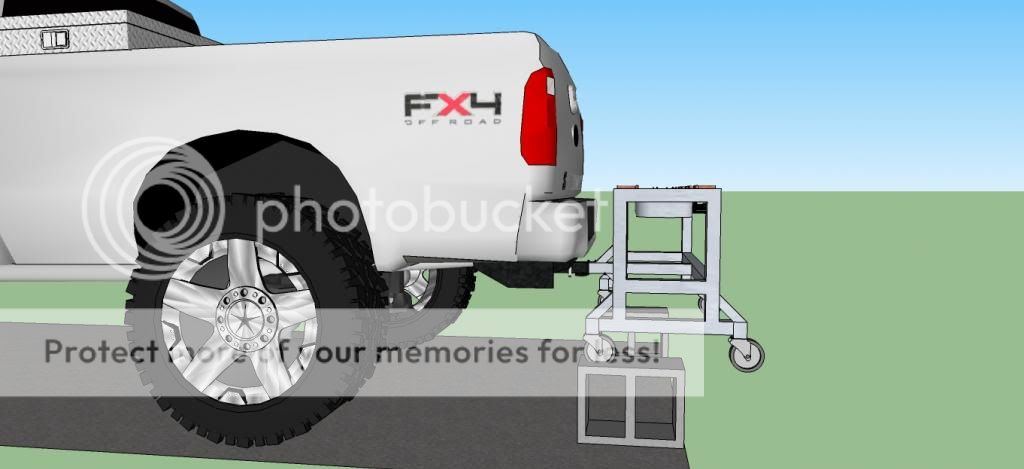
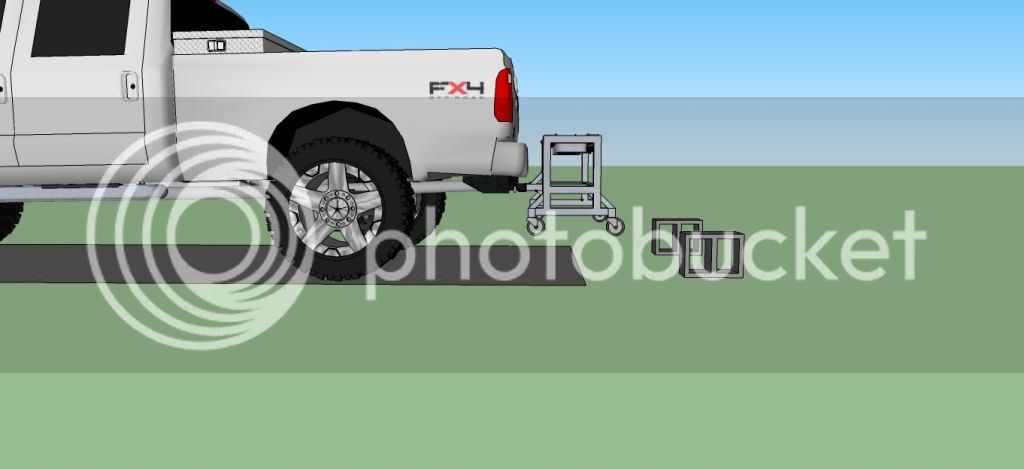
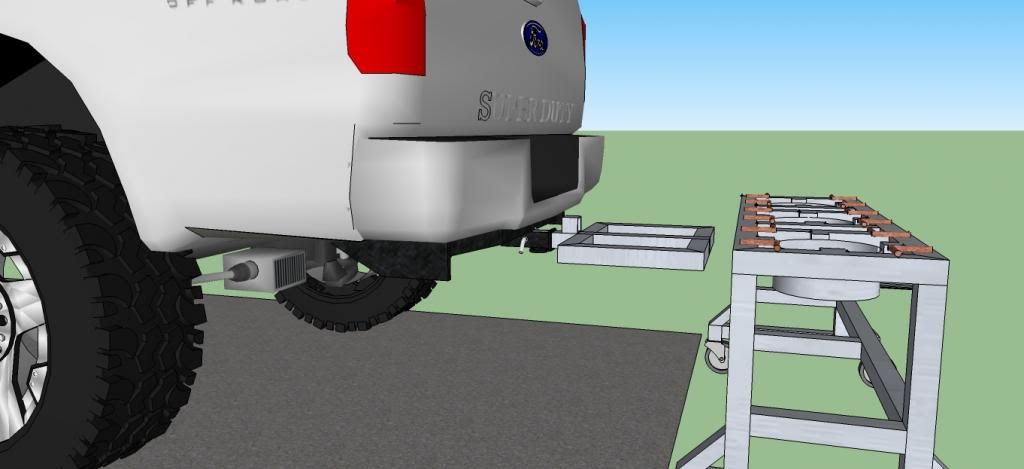
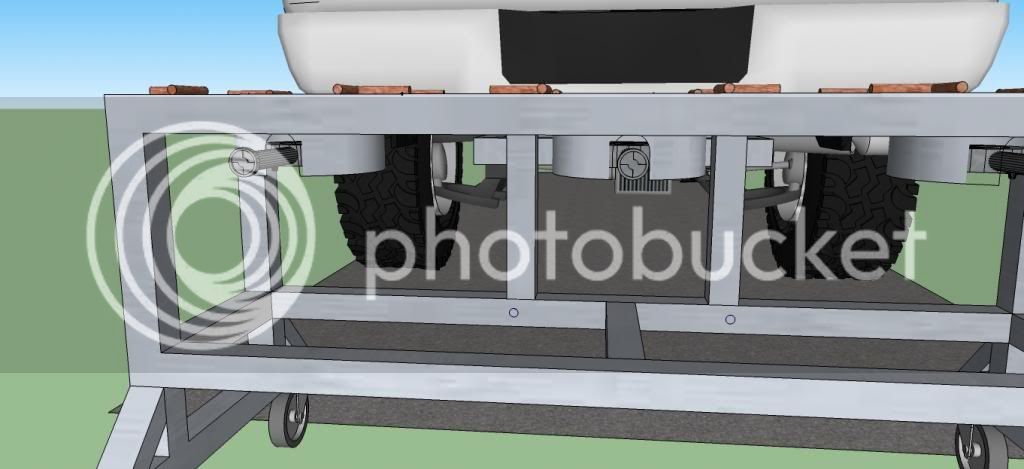
Lucky for me, they used all stainless square tubing and 1/2" stainless plates and I have 3 of 6 right now...... Perfect for a single tier brew stand!")
I will update this build thread as I make progress. I would really like to find one Miller and one Coors keg, to make a BMC keg trio (have the B).
MT
Salvage Brewing Co.
"Several men's trash, is another man's brewery."
Background: I did buy a lot of new stuff when I started out, but quickly realized that I could repurpose many things to accomplish the same ends - delicious beer! When I moved to all-grain, I snagged two 10gal powerade coolers from the university, destined for the dumpster. Next, I dug out my great uncle's (and namesake) 100 year old aluminum lobster pot from the rafters of my parent's garage. Boil kettle, mash tun, check. Cost, $15 in fittings.
This worked great for several years.... Until I stumbled on a 1/2 bbl keg, sitting on the side of a friend's parent's house for over 15 years (since a high school party I might have been at). It was upside down and the skirt was full of dirt and had grass, dandelions and maple saplings (literally 3' tall saplings) growing in it. Now it's a boil kettle.
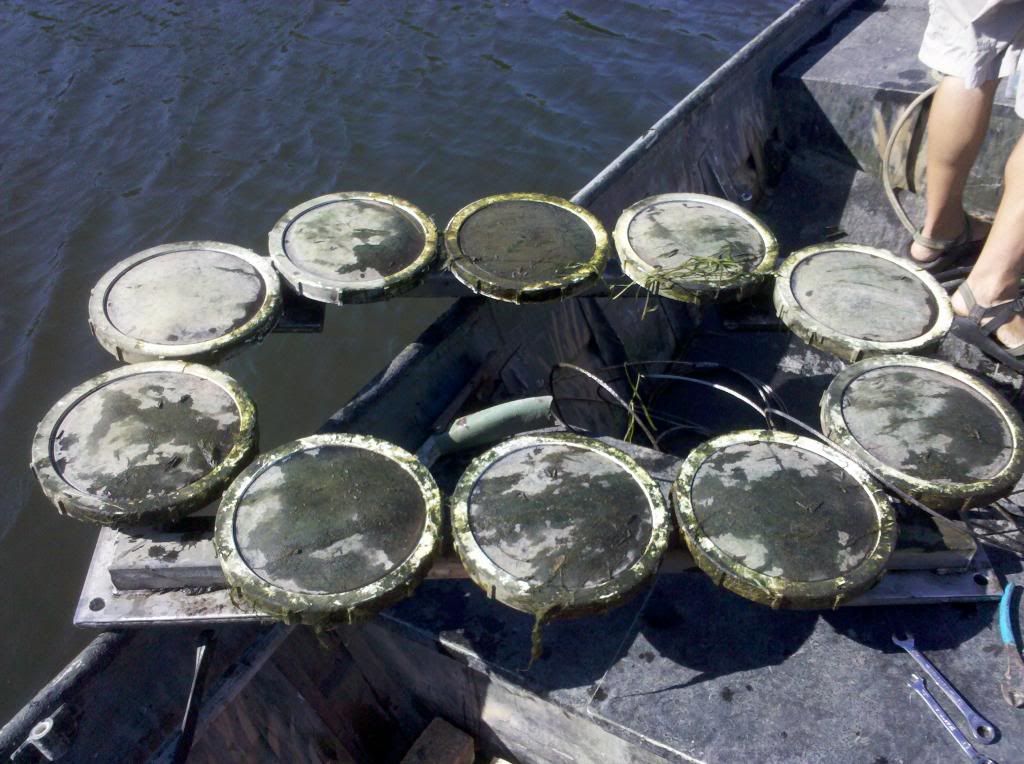
This brings me to my best salvage piece(s) to date:
That's a custom made diffuser for an aeration system in a lake or pond. I manage lakes and ponds for a living, and these were old, clogged and useless for aerating...not to mention way way way over engineered for their intended end-use. We replaced them with normal diffusers and the home owner's said to get rid of the old ones.
Lucky for me, they used all stainless square tubing and 1/2" stainless plates and I have 3 of 6 right now...... Perfect for a single tier brew stand!
I will update this build thread as I make progress. I would really like to find one Miller and one Coors keg, to make a BMC keg trio (have the B).
MT