alien
Well-Known Member
Live exposed prongs = bad idea.
You want male on the pot, female on the supply. Always.
You want male on the pot, female on the supply. Always.

+1 to that.
You should be able to plug anything in and never be exposed to live current, no matter what the device is.
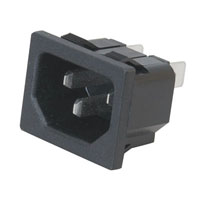
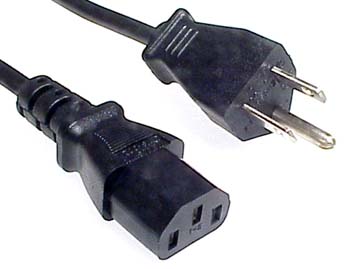
This is why wall plugs are always female.
This is why the a removable power cord for your PC/toaster/TV has a female end on the part that plugs into the TV. Like this:
If it stays plugged into the wall socket but comes undone at the appliance, there are no live wires.
Kal
") .
.How many amps is that good for?
Personally, I'd go with a twist-lock and they are available in 20A.
Turn-Lock Three-Blade Male Flanged Receptacle, NEMA L5-20
McMaster# 7162K9


That looks like regular 300v computer cable. It's 18g stranded is only 7 amp safely, 10 max.
They are 240V 20A plugs. Who would use a 7A plug on a heating element?
From where this sub-topic started - Who would use a female input socket / suicide plug
that's why I would never try to build something like this without this place...They are about $2 each and are letter "H" on this page...
http://www.mouser.com/catalogviewer...61-PX0596/63&catalogculture=en-US&catalog=645
can't see them on the page you linked?
Go down to figure H and scroll to the right
I was looking for those but I couldn't find any rated for 20a. I might have to just go with a short 12g cord hanging off the kettle. Not what I really wanted but it sounds like a better option then live prongs laying on a wet floor
JayMac said:Here is the one I bought. Rated for 20A
http://www.amazon.com/gp/product/B00917YZMW/ref=oh_details_o02_s01_i01?ie=UTF8&psc=1
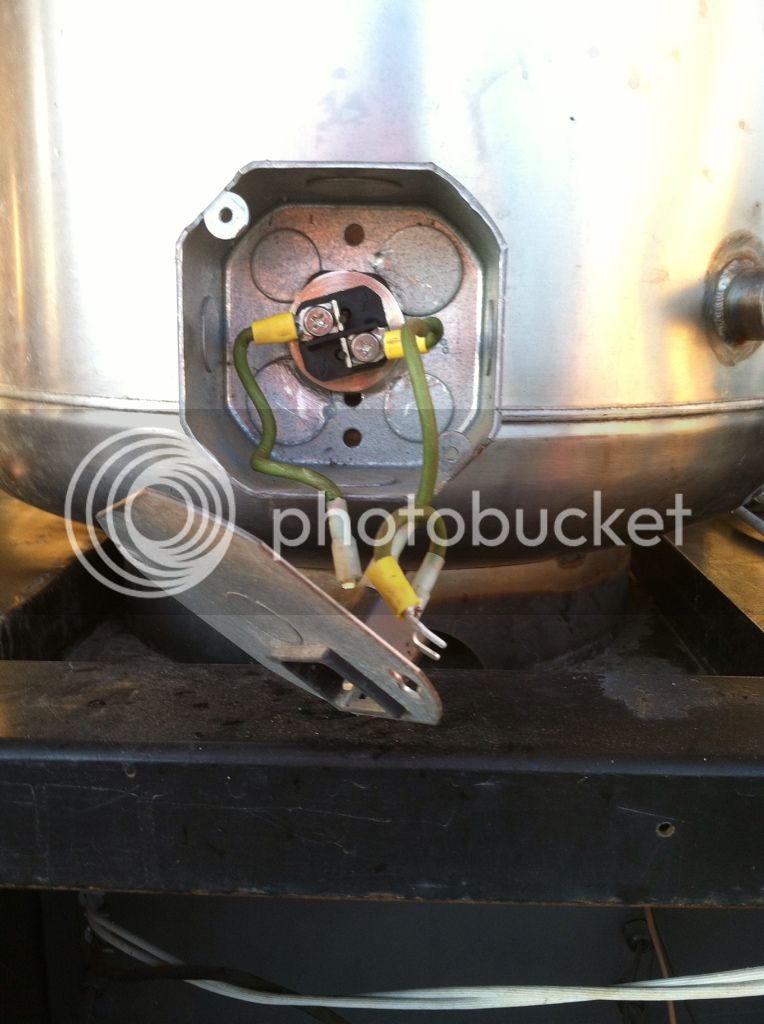
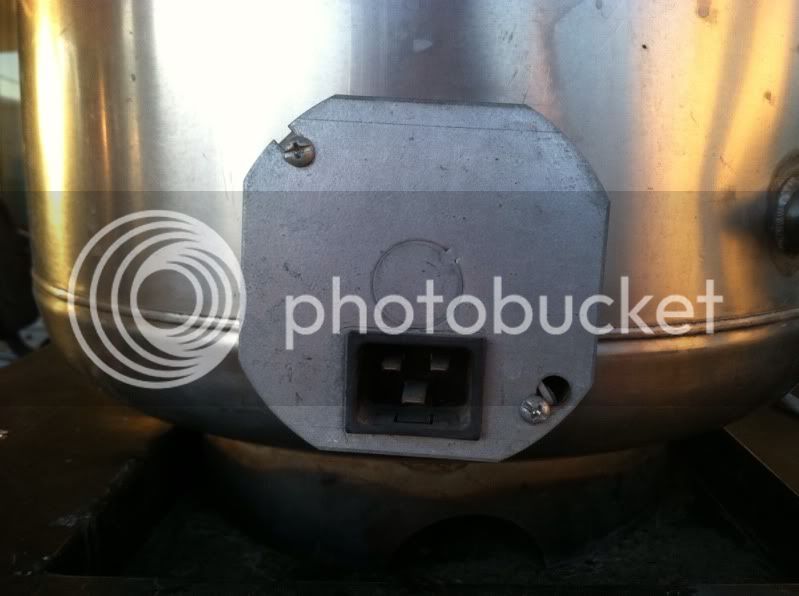
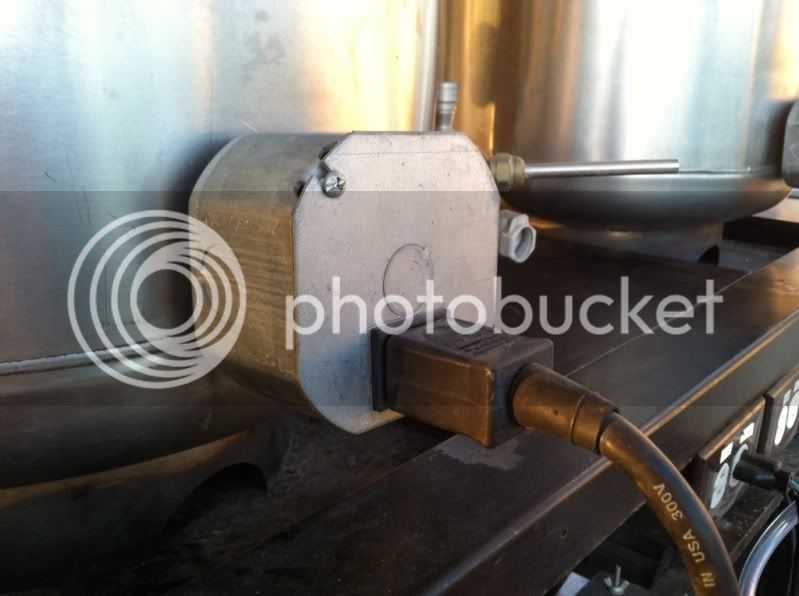
This is what I use (/will use when it arrives) for the power to my control box. My element has a 12ga power cord that connects to the element inside a gang box. On the other end, the prongs connect to an outlet built in to the control box. No live wires!
However, I do agree that the twist lock receptacles are safer and look nicer. unfortunately, they are more expensive, but it depends what you're going for.
Curious. What C19 cord or connector are you using?Here is the one I bought. Rated for 20A
http://www.amazon.com/gp/product/B00917YZMW/?tag=skimlinks_replacement-20
Curious. What C19 cord or connector are you using?


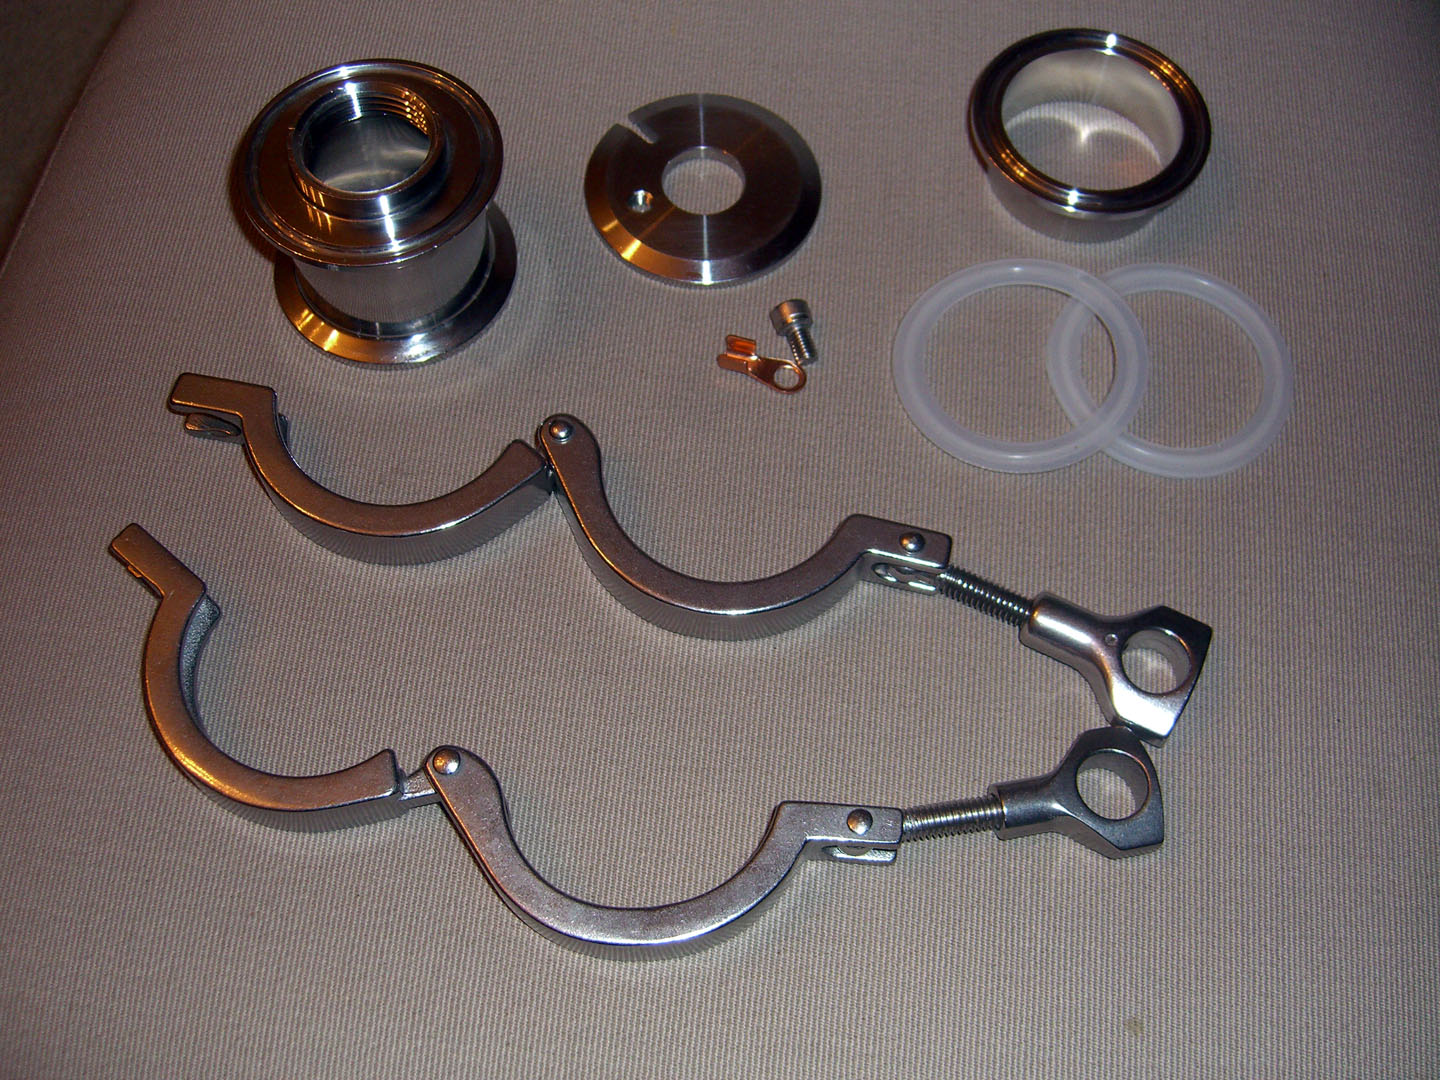
I got mine from Stout. BrewersHardware.com also sells custom kettles as do the makers of Brewhemoth.Yambor44 said:Not sure where to ask this but.... I want to purchase a 20 gallon stainless kettle and have a tri clover fitting welded to fit an element piece from Brewers hardware. Does anyone now know where I can purchase the kettle with the fitting welded in or... send one and have it done?

Yambor44 said:Thanks heckels. That's exactly what I want when it's done. Did they weld the TC fitting into the kettle for you? I have a contact form into BH and waiting to hear back from them. Forgive me but what's a Hubble strain relief?


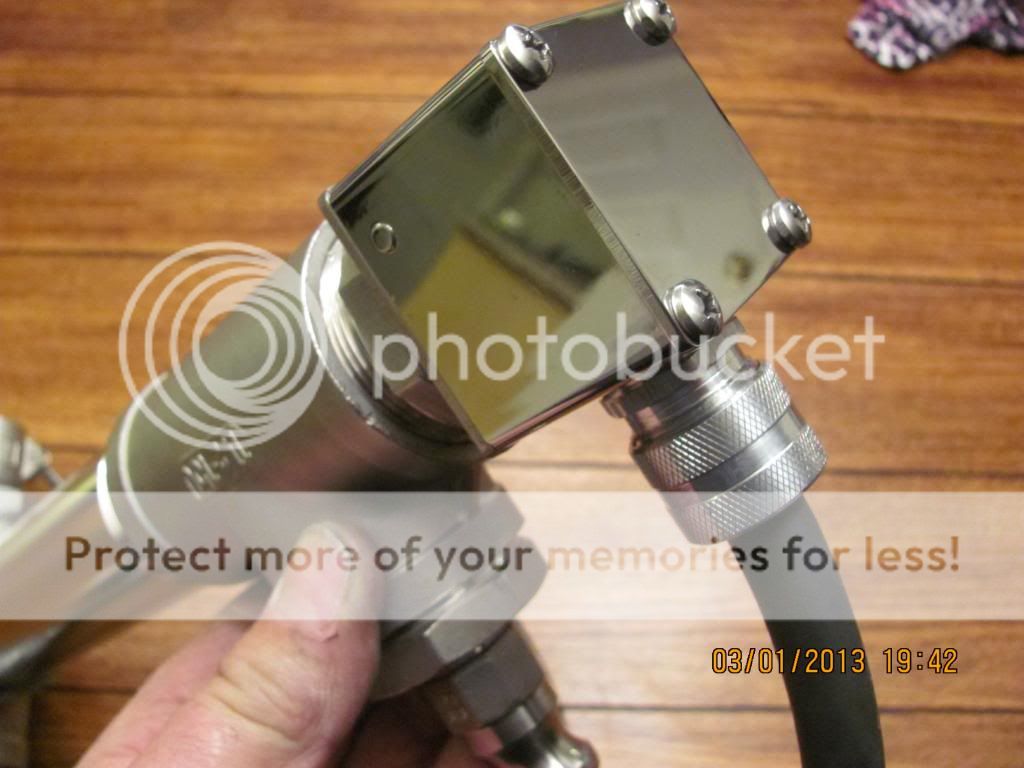
My element enclosure was inspried by Bobbie's new enclosure except I sandwiched a welding spud with the lid of a stainless steel kitchen shaker with silver solder. See my build linked in my sign for more details.
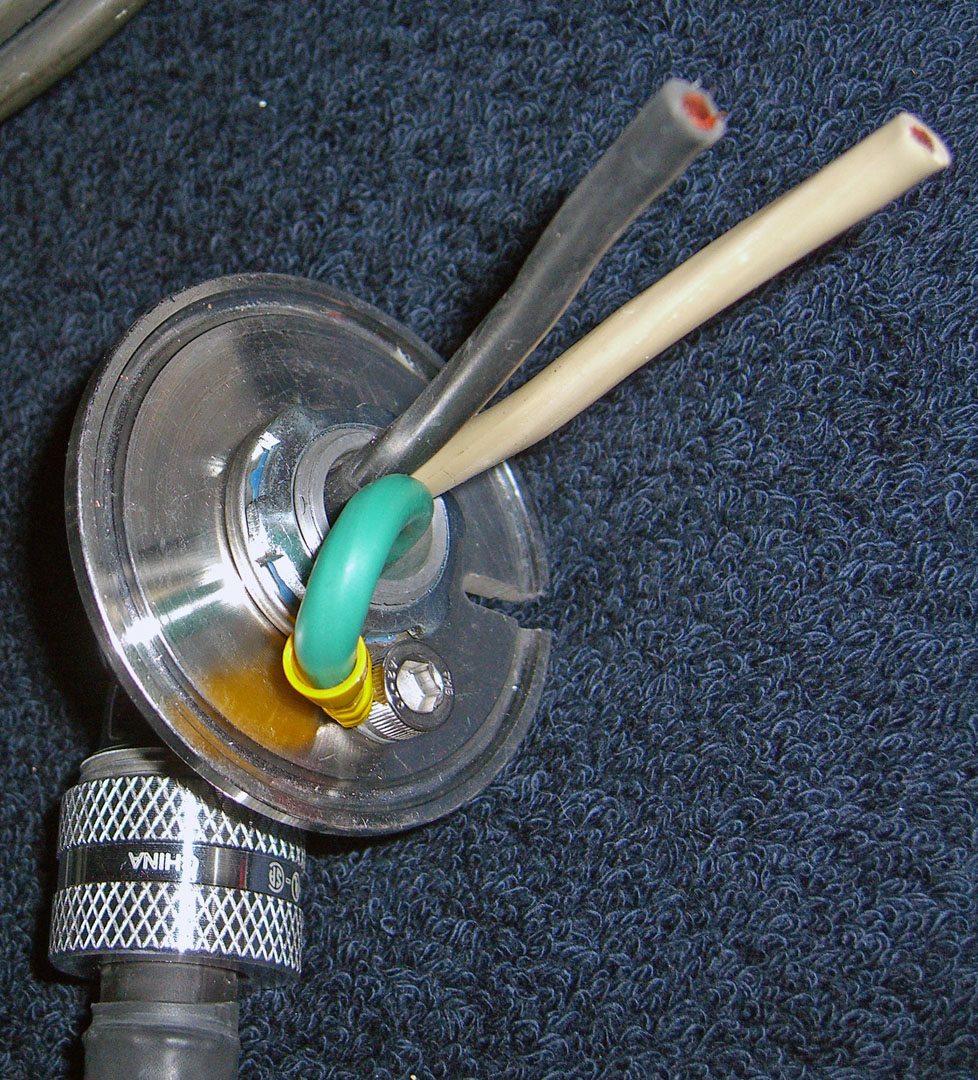
Silver soldered the ground lug
This turned out to be too much wire. I didn't account for the ground wire taking up space inside the can when I wound the wire (there is about 4' of each color). In the end there is only about 2' of each color within the can (except the ground).
The final product with the connectors pushed into the switchcraft plug (that was a pain).
Just before it was screwed on (I put a reverse torque on the wires before screwing them in so they would relax when tightened).
And complete


That looks pretty great! Who did your welding on the Blichmann?
I LIKE THIS!!!
Did you just the lid that came with it, with all the holes and stuff?
Tim


Enter your email address to join: