Making the switch to all grain

Homebrew Talk - Beer, Wine, Mead, & Cider Brewing Discussion Forum

Help Support Homebrew Talk - Beer, Wine, Mead, & Cider Brewing Discussion Forum:

This site may earn a commission from merchant affiliate links, including eBay, Amazon, and others.

davidamerica

Well-Known Member
Joined
Jul 4, 2010
Messages
47
Reaction score
0
Location
arizona
So far brewed 7 batches of extract brews but want to make the switch to all grain. Been to youtube, different sites and heard of different ways to brew all grain and different types of equipment you can by or make at your home to do the job. Does anyone have any reccomendations of where I can go and get a good set of instructions on how to get started with all grain brewing? Let me know.


Thanks


davidamerica
 
I'm using the BIAB method for grain... I did my first mostly grain brew on Monday (3 pounds of DME, 10 pounds 2 Row plus specialty grains)... Only issue I had was my pots are only 5 gallons (have two)... BUT, today I re-found my 70 quart cooler (was in the basement) which I'll be using for my mash/sparge tun moving forward. That should keep me going until I'm ready to start making 10 gallon batches.. :D

Get a large cooler (10 gallon or larger) to use for the mash/sparge and you'll be a lot happier. If you do it in your kitchen (which I've been doing) I would also use old towels on the floor to keep cleanup to a minimum.
 
Pick up a turkey fryer. The 30 quart pot is big enough to do five gallon batches of your normal gravity beers when doing BIAB. I did my first bag last night, after having done a bash of brewing with 3 vessels in smaller batches. I'm never going back to the headache, BIAB for LIFE!!!
 
The are a lot of ways to do it from BIAB to the automated brew systems. Brew in a bag is the cheapest way to start. I just took some pis of a 2 gallon batch I made that way. It's simple, uses only one pot and leaves very little to clean up. It's also no sparge that can make higher quality wort.

I use a Coleman xtreme 52 qt MLT.

P1010434.jpg


I boil in a cheap SS 60 qt pot.

I took a bunch of pics on a brew day way back with my old five gallon water jug MLT.
https://www.homebrewtalk.com/f85/just-another-brew-day-114658/
 
Conroe,

What size fittings did you use on your Coleman Xtreme cooler? I have the 70 quart (green :D) model that I'll be using moving forward.

I cannot get any more pots just yet, so I'm using what I have on hand (two 20qt, one 16qt, plus a few 8 and 8-1/2 qt pots)... Once I'm working again, I'll be getting a large pot for boiling with (32-40 qt, no need for a 60 quart just yet)...
 
I used 3/8. I'm not sure of the nipple's length. I think it's about the smallest they had. I have a 70 now too. I found it lost in the middle of a back road. I might convert it sometime but the 52 has been exactly the right fit for me so far.
 
Pulled the stopper/plug out of my cooler earlier (on Sunday) so that I can take it to the hardware store (Lowe's or HD) once the snow storm/blizzard is over, and get the right size fittings to install a ball valve. Since I'm using the BIAB method, I don't think I'll need to install a filter tube/hose/line inside the cooler. I'll just make sure to either use a fitting on the end of the valve (on the 'out' side) so that I can install a run-off and be able to direct the flow better... Planning on testing this over the coming weekend with a brew day (will test it with regular water first, to make sure I don't have any leaks)...
 
There is no need for a cooler when you brew in a bag. Lautering is done as you lift the bag from the pot and wring it out.
 
There is no need for a cooler when you brew in a bag. Lautering is done as you lift the bag from the pot and wring it out.

There is when all you have are 5 gallon pots and use more grain than they can contain (along with the correct amount of water)... After making a mess with my previous batch, I decided that a large cooler was a wise idea. Luckily, I have a 70 quart cooler already, so I really just need to get a ball valve setup for it (will do this week)... Then I'll be able to do the grain amount I want in it (for my 5 gallon batches) without any worries... The brew on the calendar for this coming weekend has about 17 pounds of grain (for a 5 gallon batch)... The brew after that will have less (about 10 pounds of grain)...

I'm thinking about getting a 30-40 quart aluminum pot this week, so that I can do full batch boiling once the sparge is done... Otherwise, I plan to split the mash/sparge water into both pots (as evenly split as possible) and boil there.
 
So essentially you will be using the bag as the false bottom in your cooler? Sounds like an interesting approach. Doing it that way you can mash with a "normal" amount of water for better efficiency with adjuncts, then sparge like a normal three-vessel approach. I like it. What are you using for bag material? Cheap mesh seems to be all the rage, but I am having good luck using muslin, and I know that it is food safe.
 
I'm using a grain bag (about 24" square) that I picked up at my LHBS before I made my last batch. More than large enough for the 11-12 pounds of grain that day. From what I could see, it will also be large enough for the brew I'll be making this coming weekend (about 17 pounds of grain)... I might pick up a second bag this week, just in case. I'm planning on using some butchers twine to tie the bag(s) off, so that I can let it 'float' around inside the cooler.

I just checked the pricing on a 32 qt aluminum stock pot (restaurant supplier I have access to)... I think I'll use my xmas money to pick one up... That should be large enough to do my full boils for the 5 gallon batch sizes... I'll also have enough head space for adding hops and such to the pot... I think the 24 quart will be too small, and the 40 quart (and larger) are really too large for now. I might even sparge right in the pot, then transfer the mash water into it for the boil...

I've ordered my grain (and hops) from FarmHouse Brewing Supply (just placed the order) for the coming brew day, plus the following, and should have at least some grain left over. I'll only need to get a little grain, and yeast, from the LHBS for the coming brewing... I'm also setting up to be able to wash yeast, so that I'll be able to save there.

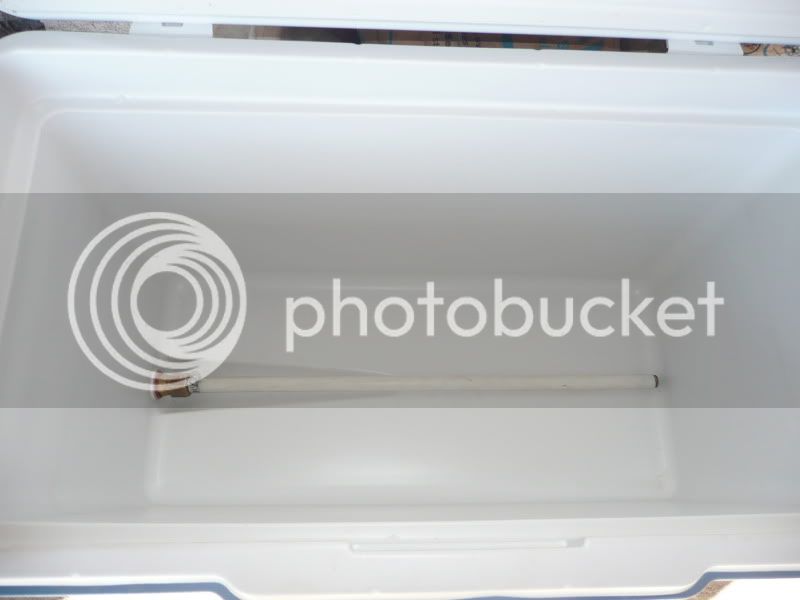
At this point, I'm not looking to make the cooler a 100% mash tun, so installing just the ball valve assembly, and keeping what I pulled out of it (it unscrewed easily) means I can always convert it back into a dedicated cooler. Or just fill it with ice for when I need to keep things fermenting during the warmer months. Although it could be a tight fit for what I'm fermenting in for the current cooler. I might end up picking up an old fridge to use as a brew chamber during the warmer months (or even cooler ones if I install a heat source in it)...
 
I just picked up a 35 qt pot (boxed as a turkey frying pot) on sale for $35 at farm & fleet!... can't wait to brew my first a/g batch
 
Also make shure to read deathbrewers tutorials on partial a/g & stove top all grain, very helpful
 
Also make shure to read deathbrewers tutorials on partial a/g & stove top all grain, very helpful

Agreed, his method of sparging helped me go from ~55% to ~70% efficiency.

In addition, the photos help a lot. DeathBrewer is a saint (Don't know if that's a compliment for him or not). :D
 
Back
Top