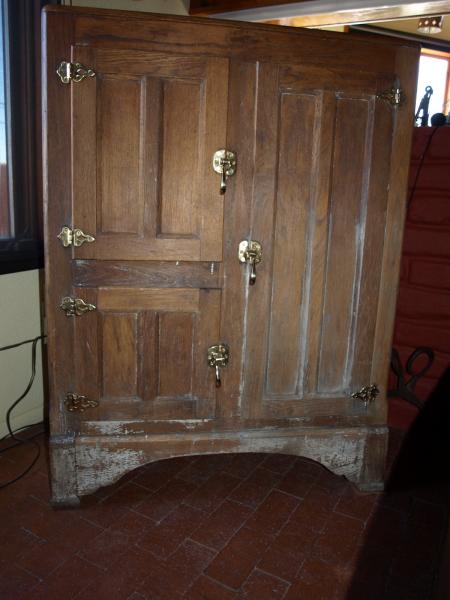
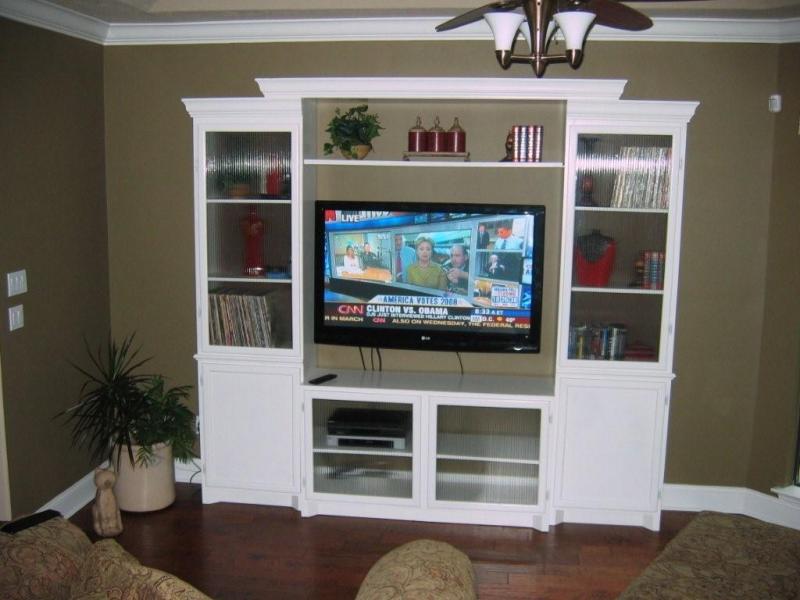
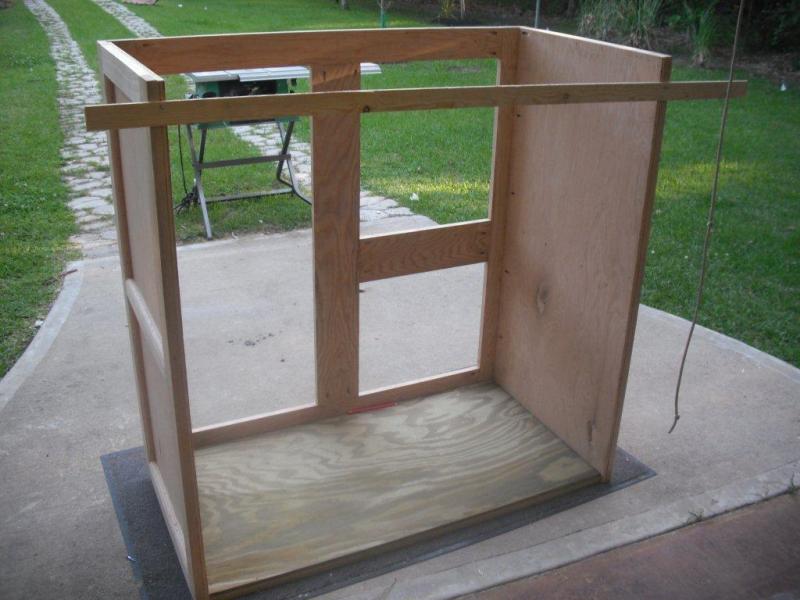
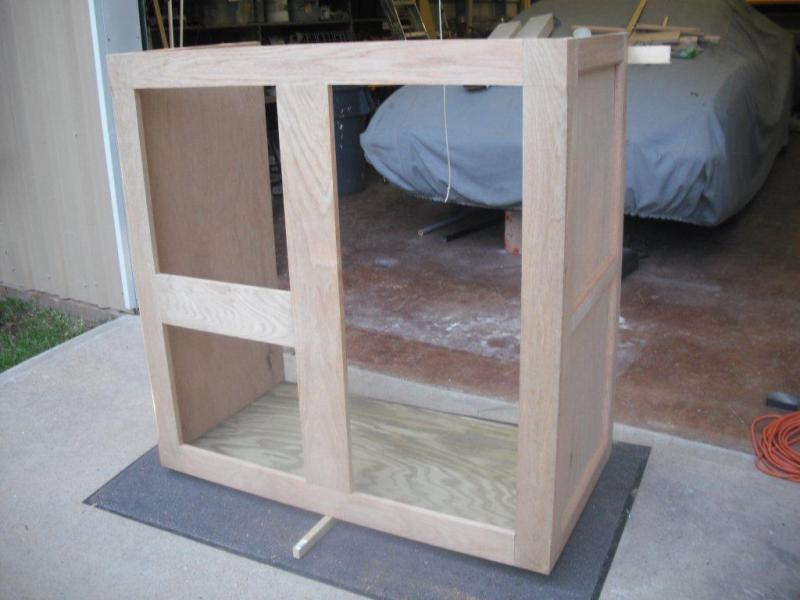
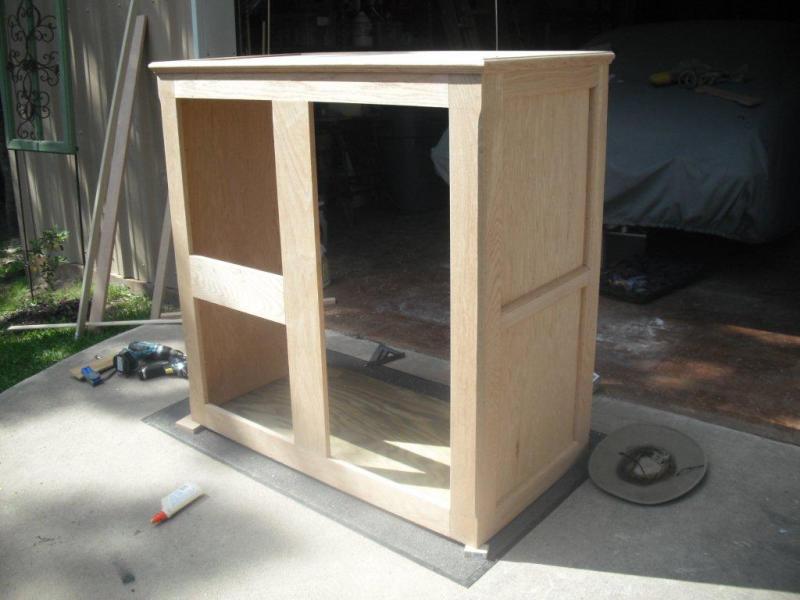
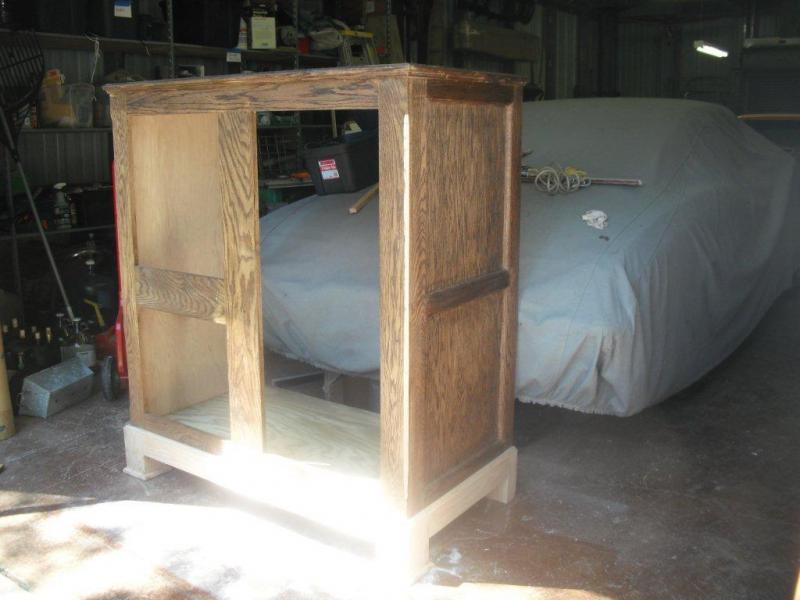
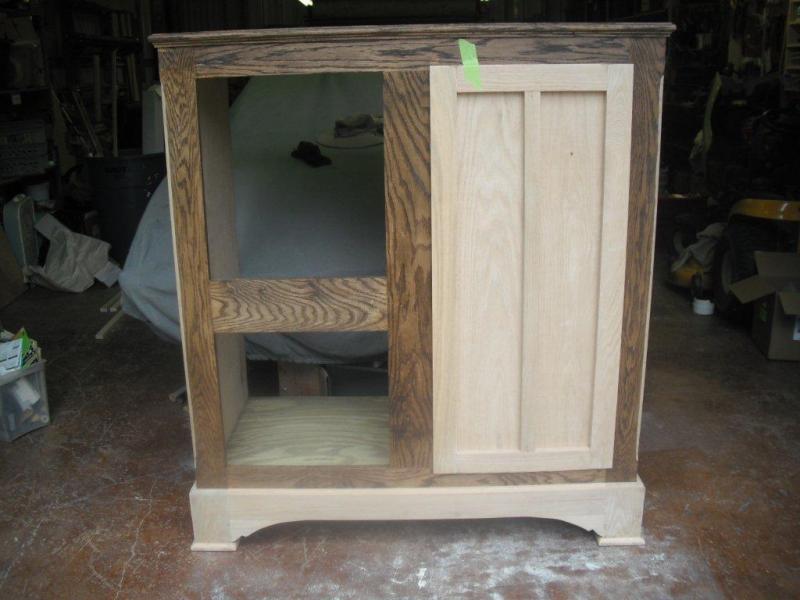
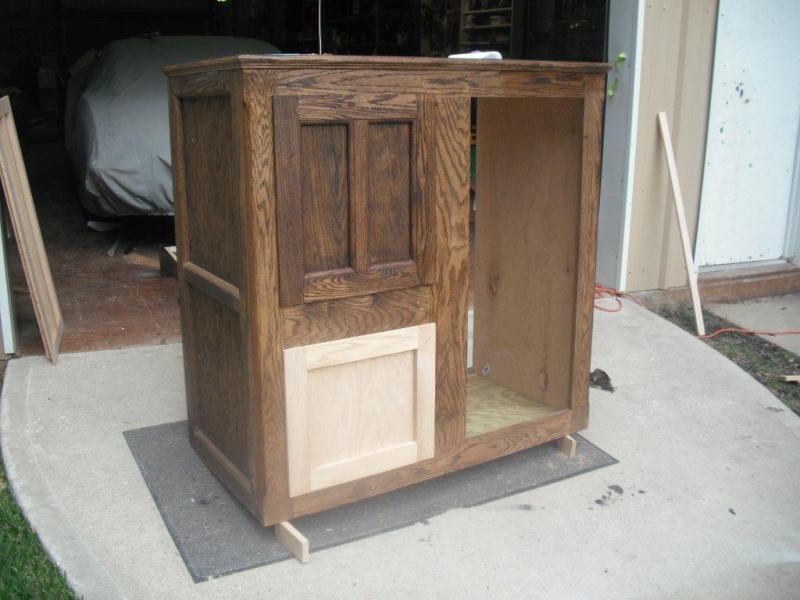
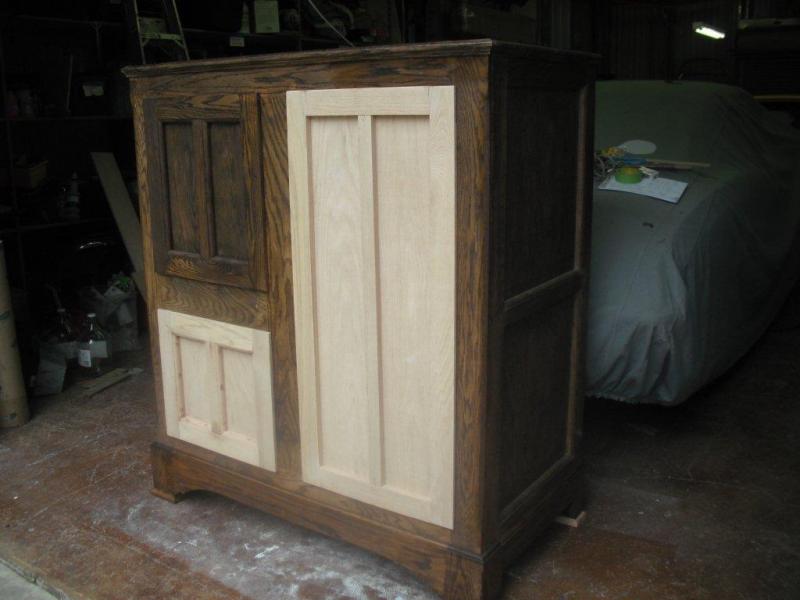
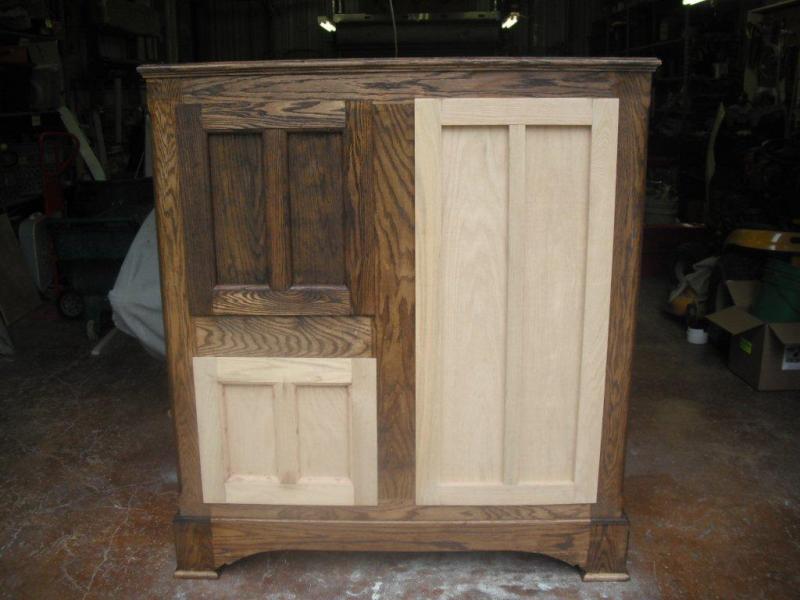
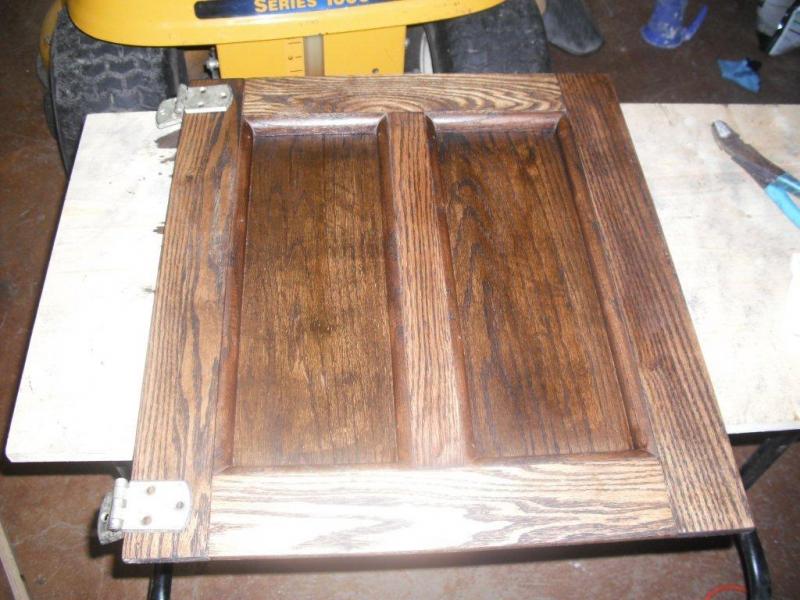
I want to make a fermenter/cooler out of one of those antique style iceboxes. If i cant find one cheap enough I am going to build myself. I have been looking at designs anyone do this? I like the 3 door style and I will install mini fridge guts to cool... I did a search came up with nothing.
You are using an out of date browser. It may not display this or other websites correctly.
You should upgrade or use an alternative browser.
You should upgrade or use an alternative browser.
Icebox
- Thread starter vinper
- Start date

Help Support Homebrew Talk - Beer, Wine, Mead, & Cider Brewing Discussion Forum:
This site may earn a commission from merchant affiliate
links, including eBay, Amazon, and others.
Are you talking about a wooden ice box, like this: http://www.rockler.com/product.cfm?page=187?
I think it's a great idea in theory. It would look fantastic. You just need to insulate with rigid foam and put gaskets on all the doors. Using the guts of an old mini-fridge won't be easy, but I think it's doable. I would actually recommend making your own icebox from scratch to make this part easier. You can integrate the insulation and cooling as you build and assemble, rather than having to retrofit an existing icebox.
My only concern is the interior size. Would you use it for a beer fridge? Or are you going to try to stuff carboys in there? Not sure if you can fit more than one if going with the 3-door design. You could always make the left side be one large door that looks like two separate doors. Then you could probably size it to hold two carboys.
Also, the "Similar Threads" below look like they have some ideas you can consider.
Im pretty handy , I can build from a picture . I want 2 carboys on the big door side and store bottled beer and wine on the other.. the hardest part will be the patina ,I want it to look old.... I think 2 carboys will stack on the big side 40"wide 48'' tall by 20" deep is what im thinking
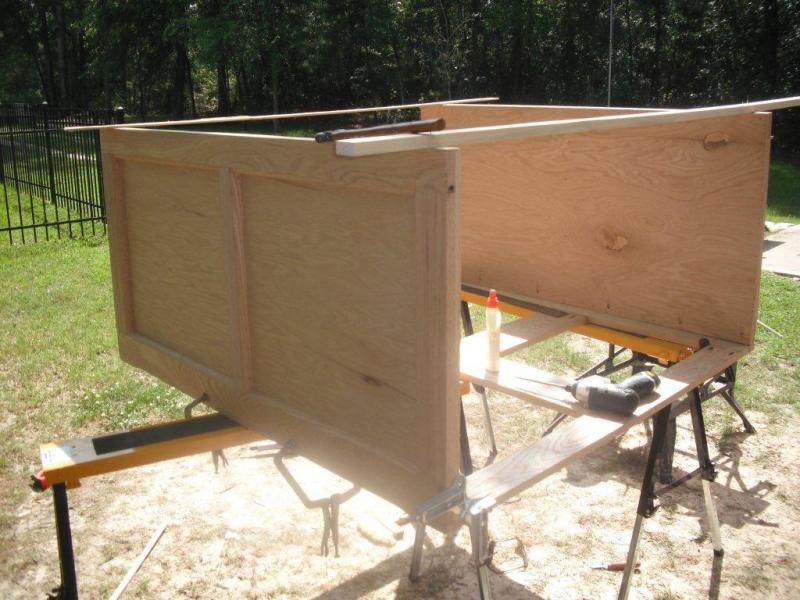
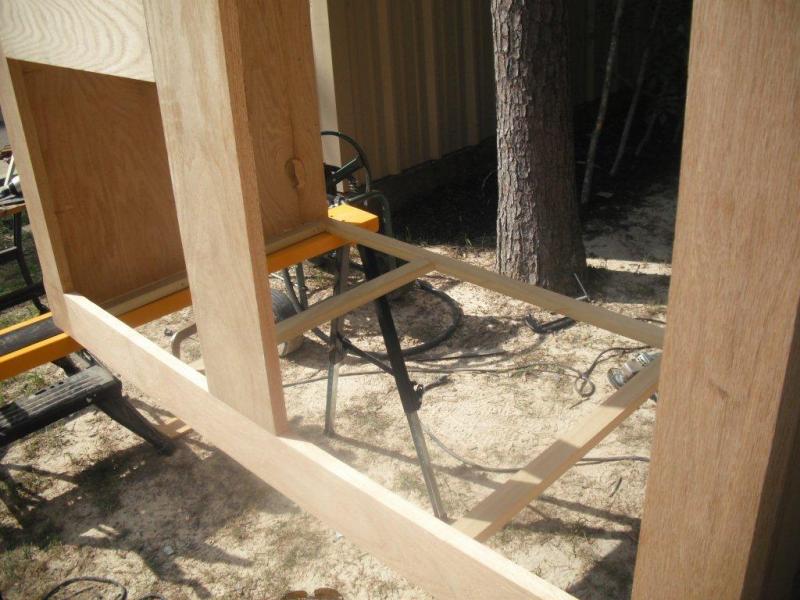
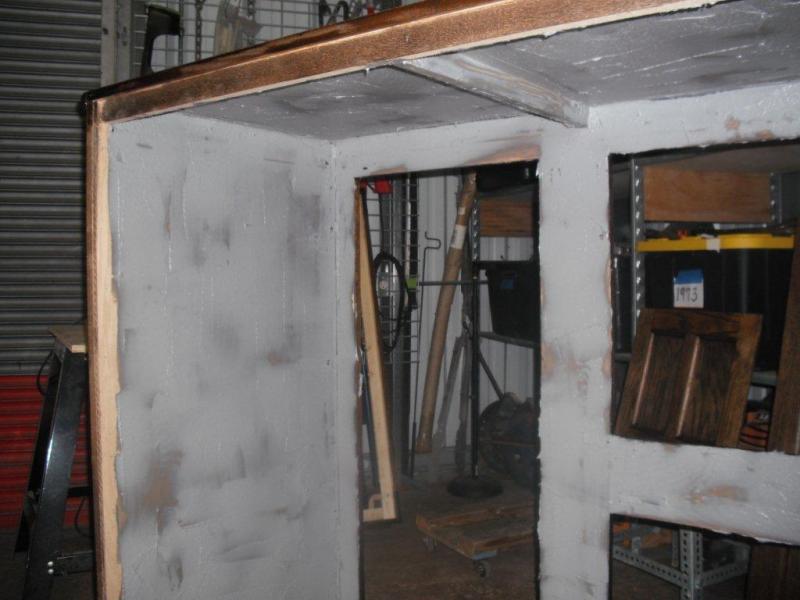
Ok well I started going to copy the one in the pics, only got to work 1/2 day on sunday . But I got the sides made , red oak is expensive probably could by one for $500 and come out even, just could not find one locally on short notice


madcow_number_6
Well-Known Member
- Joined
- May 28, 2010
- Messages
- 91
- Reaction score
- 1
My wife would totally let me keep this in the house instead of having to hide it in the garage. Please do continue, sir
I like your idea and want to follow your steps in doing this. This could be furniture quality.
Yes will be furniture quality , the plan is to have in my shop ,but the wife might change her mind . Now I am bidding on some original hardware and looking for a craigslist fridge to dis-assemble and the temp controller and a old antique style dial face mounted thermometer ...I will post the build but I can only work on it during the weekends
AnchorBock
Well-Known Member
Looking good, how are you planning to cool/heat and insulate?
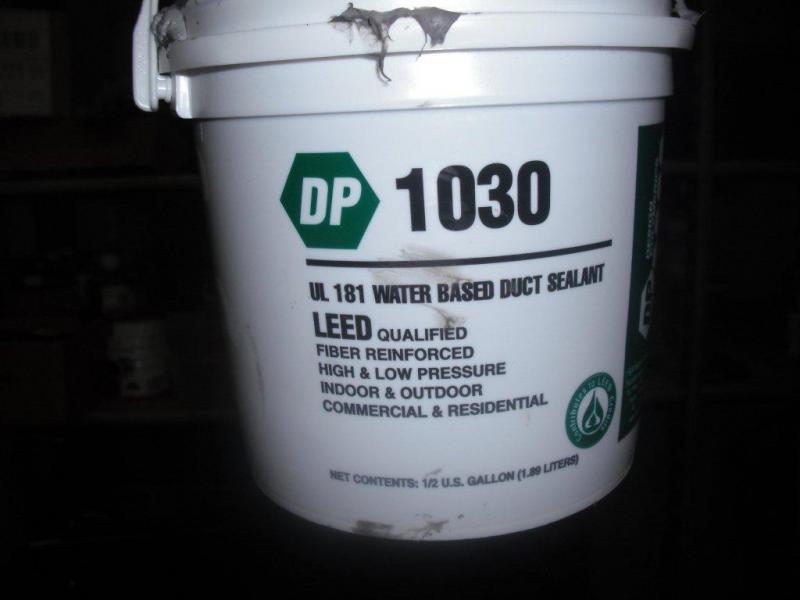
1st coat the inside with a/c duct sealer then 1 1/2" of poly foam board.cover interior with either Galv. sheetmetal which I prefer or FRP . add stainless wire shelves. going to disassembly a fridge ,mount the evap. inside .condeser/compressor on the back , not concerned with heat since I am in Texas,,, I am following all the fermenter builds for help with the temp control
AnchorBock
Well-Known Member
1st coat the inside with a/c duct sealer then 1 1/2" of poly foam board.cover interior with either Galv. sheetmetal which I prefer or FRP . add stainless wire shelves. going to disassembly a fridge ,mount the evap. inside .condeser/compressor on the back , not concerned with heat since I am in Texas,,, I am following all the fermenter builds for help with the temp control
Nice - I'm planning on doing something similar to this, but haven't gotten permission yet

RazzBarlow
Well-Known Member
Very nice build, vinper! I can't wait to see more.
Junkster
Well-Known Member
Very nice!! Have you seen this hardware link?
http://www.iceboxes.com/hardware/repros/repros.html
http://www.iceboxes.com/hardware/repros/repros.html
Flaviking
Well-Known Member
mother of god that's awesome... Build me one please !!!!
Ohh yeah close call , nail gun was shooting in 1.5" nails around the door frames from the back on an angle so nails would not penatrate through the front . I mistakenly was holding frame in front of me pointing back toward me . The nail richcet off the oak hit me in the stomach . wow shock . nail then fell to floor . thought I been shot . lifted shirt apparently the nail bent when hit the wood and did not hit me straight on ,it hit me sideways .. phew trying to be carefull . I had just reduced the pressure because it was sinking nails to deep ... a nail in the belly would have ruined my whole day
Ceedubya
Well-Known Member
Subscribed!!
AnchorBock
Well-Known Member
Looking good - great craftsmanship. Are you going to use something on the doors to get a good seal?
atldal
New Member
You might want to look at this place for your hardware.
http://www.vandykes.com/search.aspx?query=ice box hardware
http://www.vandykes.com/search.aspx?query=ice box hardware
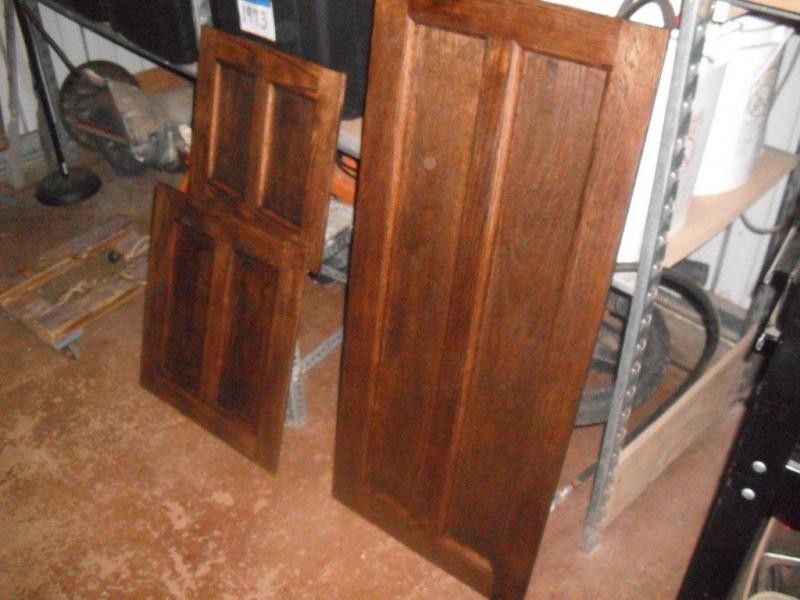
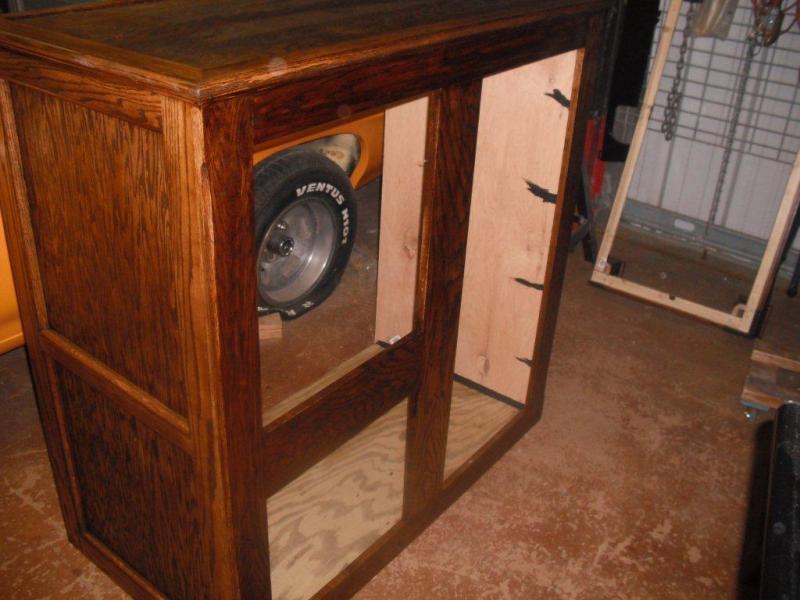
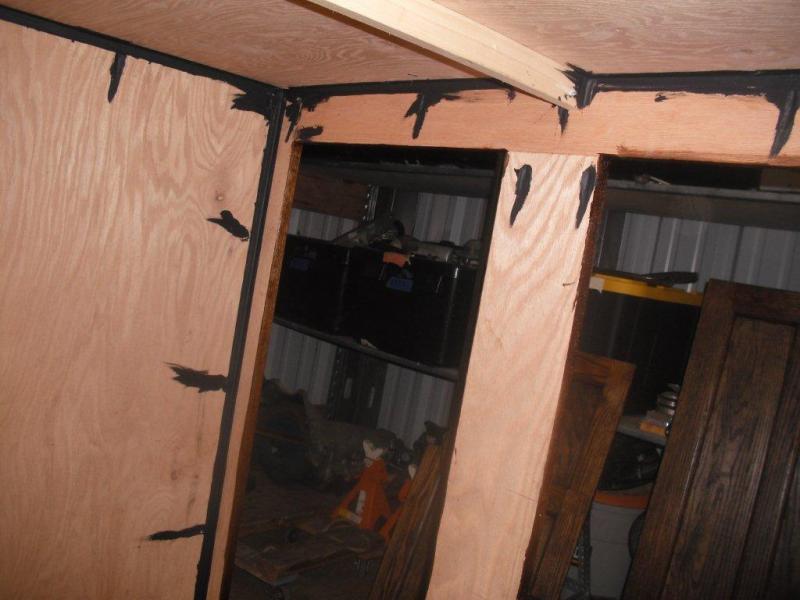
Got the doors and cabinet staining finished, too windy to spray on the clear coat sealer...FYI Dont get carpenters glue on any exposed wood areas , It will not stain and F-ks up your finish ,I had to sand 3 times.... I caulked all the interior seams .And ordered the harware...


RazzBarlow
Well-Known Member
Looking fantastic, vinper!
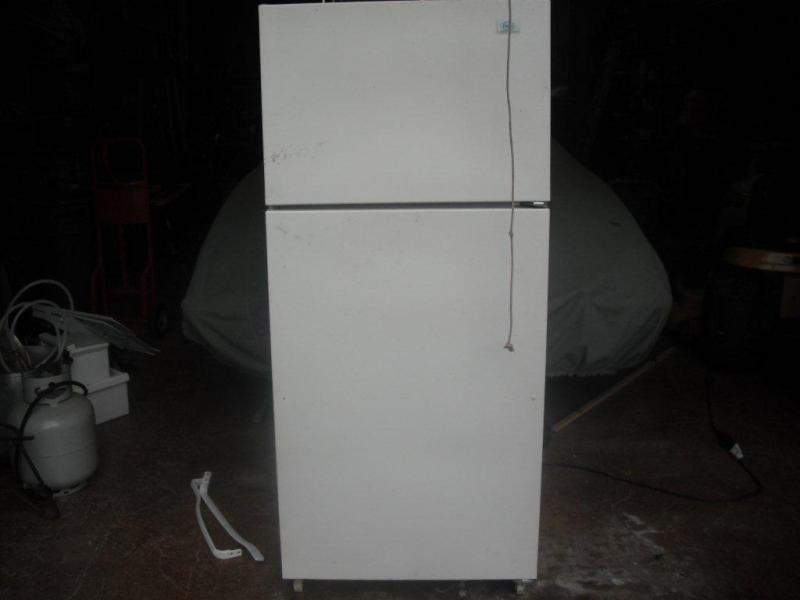
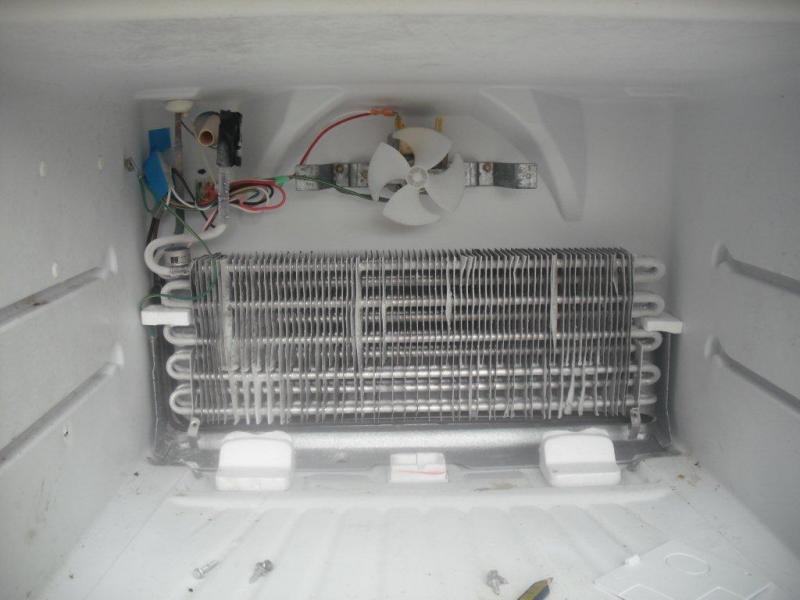
ok got my fridge , went with a mobil home unit ,felt I would need bigger that mini fridge . wanted a freezer with coils and fan . also needed condenser coil on the back not bottom . I hope I can bend the lines alittle instead of having to cut a re weld ... my plan is to remove sides and top and keep the back wall in one piece . I want to fit it all in ,then insulate around and up to it , will start cutting tomorrow.


Similar threads
- Replies
- 9
- Views
- 832
- Replies
- 7
- Views
- 1K

