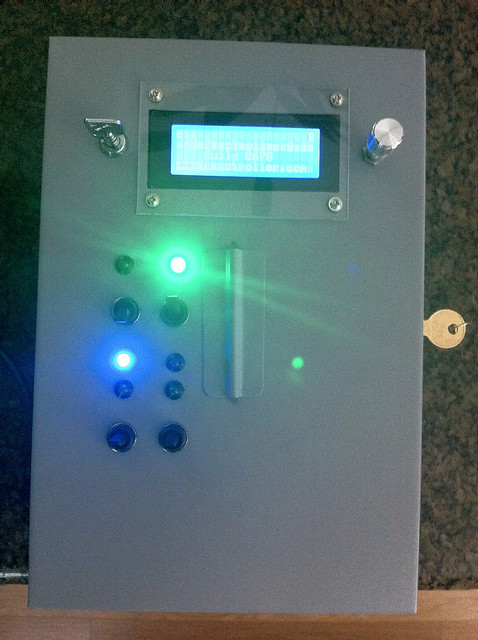
I have been patiently waiting for months now to make this post. I decided to bypass all the build posts and instead start towards the end of the project when most of the build is done. All that's really in limbo now is the Brewtroller.
The short story:
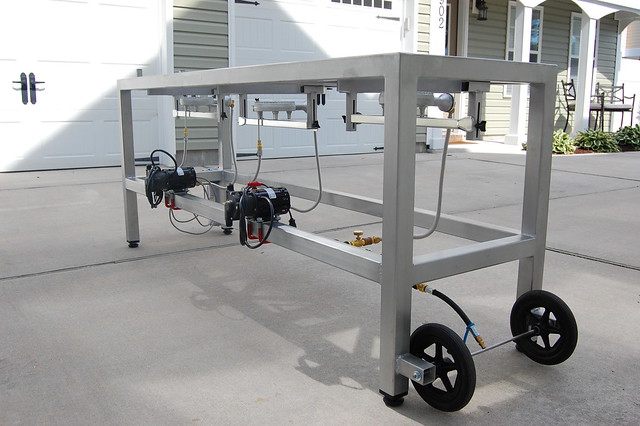
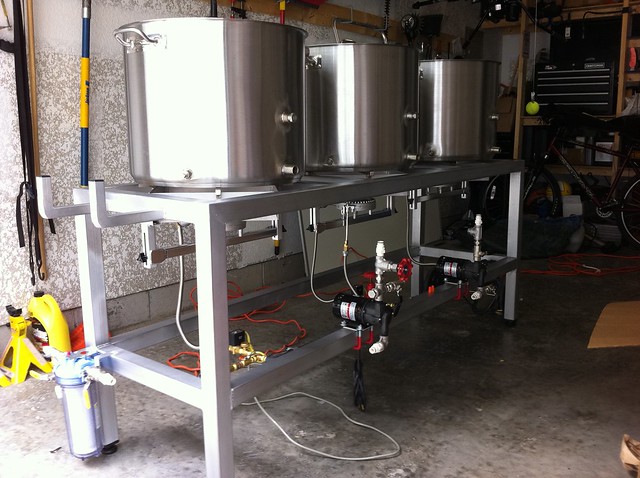
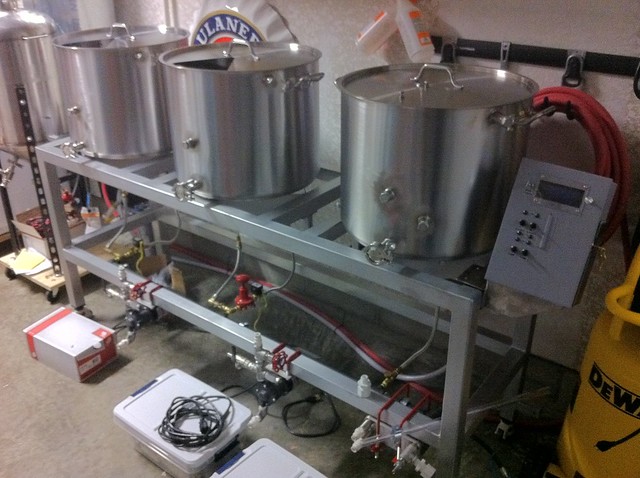
- 2" steel tube, coated in Cermachrome (Ceramic coating with a chrome like sheen when you can burnish it)
- Adjustable leveling legs
- Hose(s) holder(s)
- Heavy duty wheels to ease moving it around
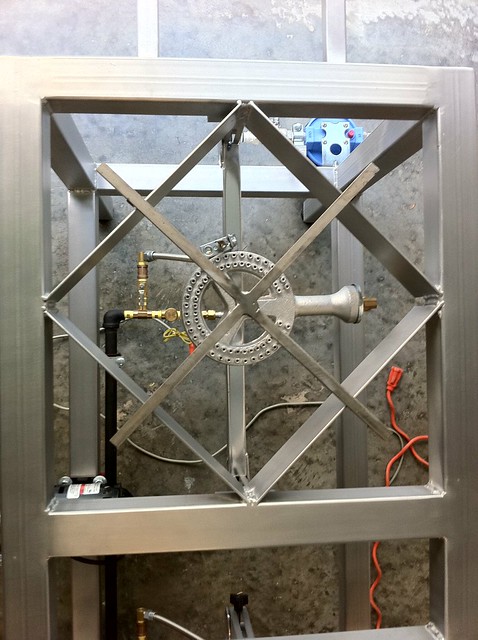
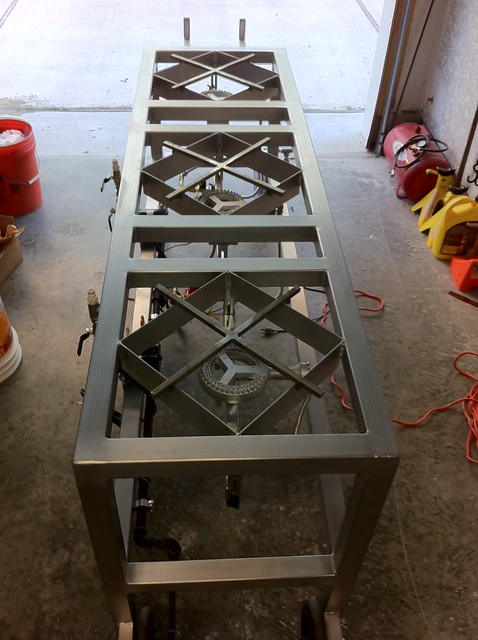
- Integrated wind shields
- 6" ring burners from Agrisupply
- Adjustable height burners (+/- 2")
- Adjustable height pilot light burners
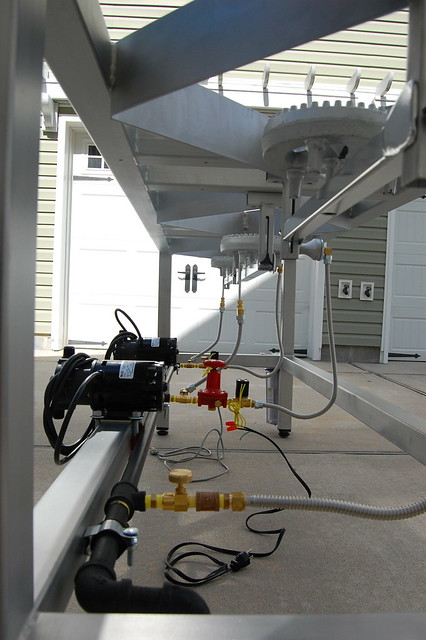
- BIP main rail painted black with high-temp paint and secured by conduit clamps
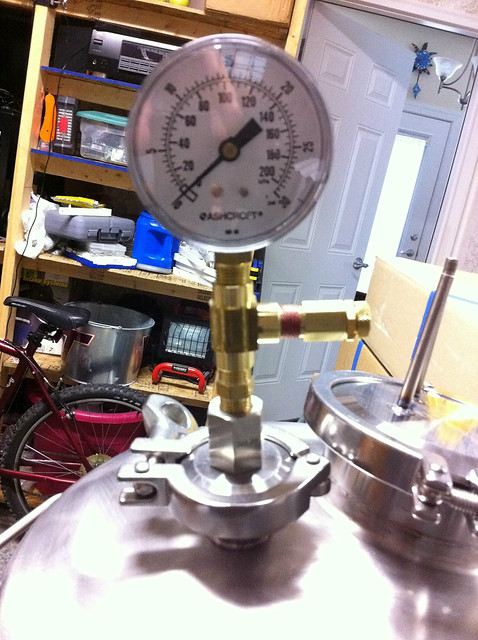
- A plethora of brass fittings, regulators, valves, etc. Open to any questions!
- 1/4" Aluminum tubing to the Q314A pilots
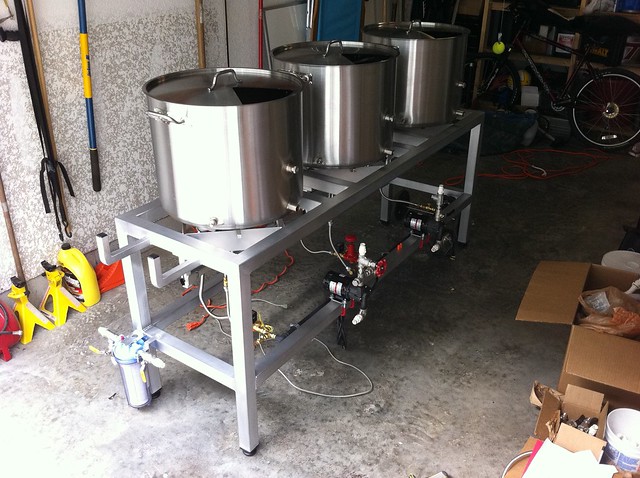
- 2 x 809HS March pumps secured by U-Bolts and Plastidipped to protect the frame
- Secured water filter with bypass for unfiltered water (cleaning pots, etc)
I think that's about it. Open to any questions or comments. Thanks!
Build Photo Set: http://www.flickr.com/photos/57569099@N06/sets/72157625905054883/
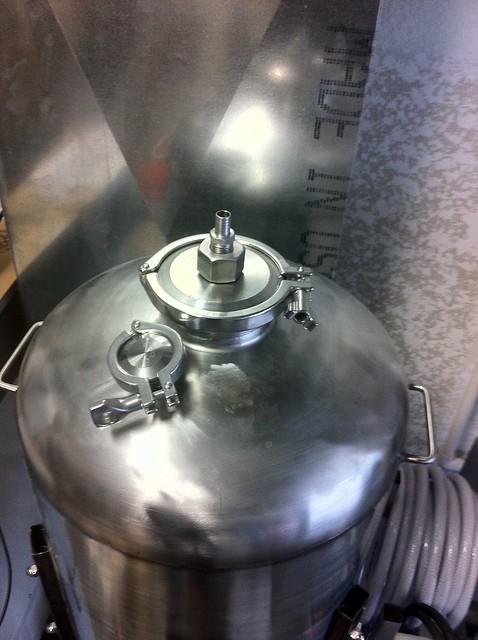
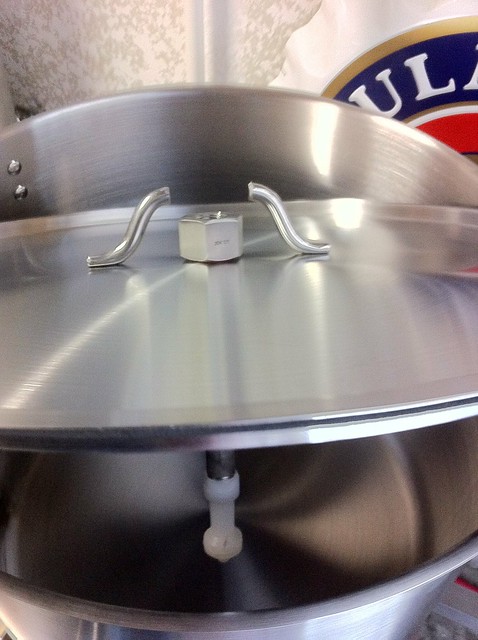
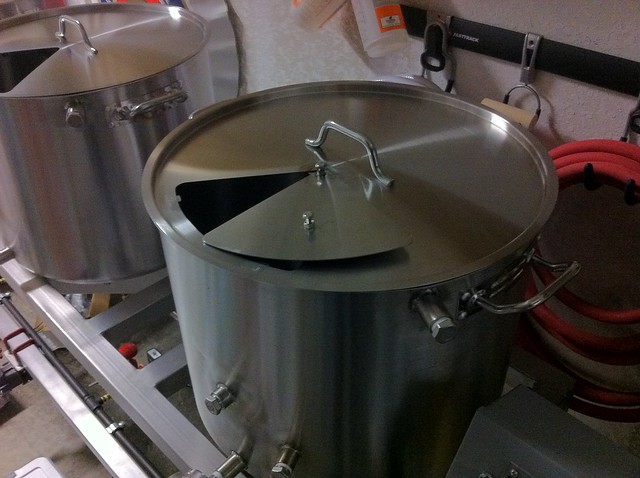
IMG_0765 by brewerJP, on Flickr
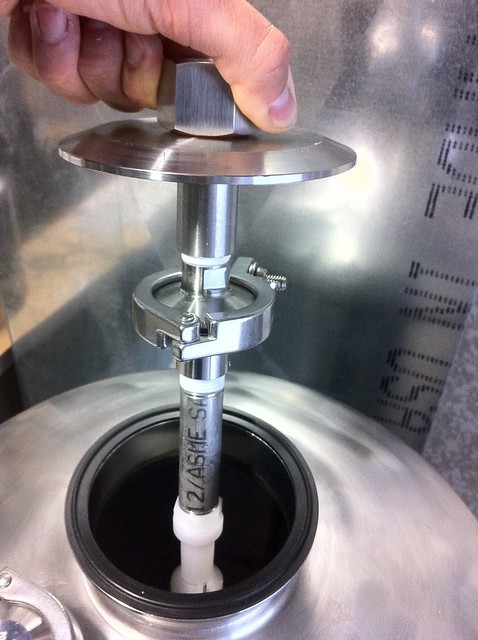
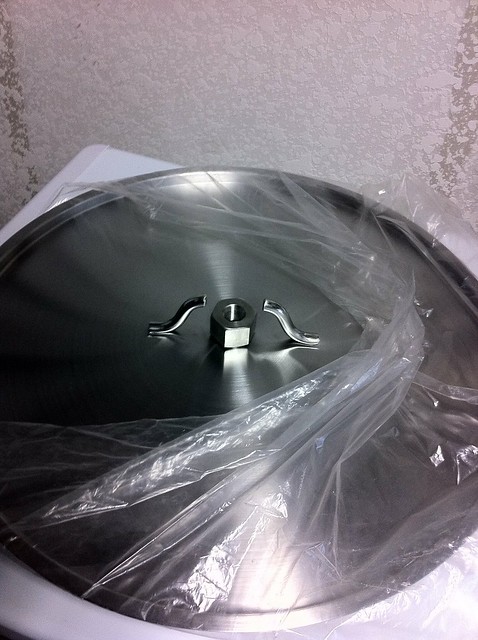
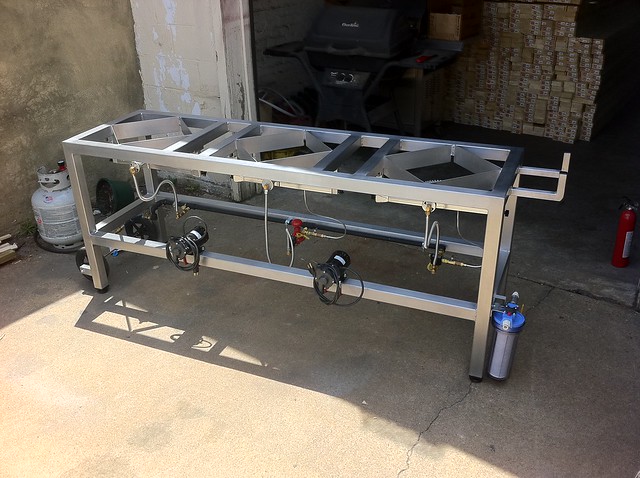
IMG_0777 by brewerJP, on Flickr

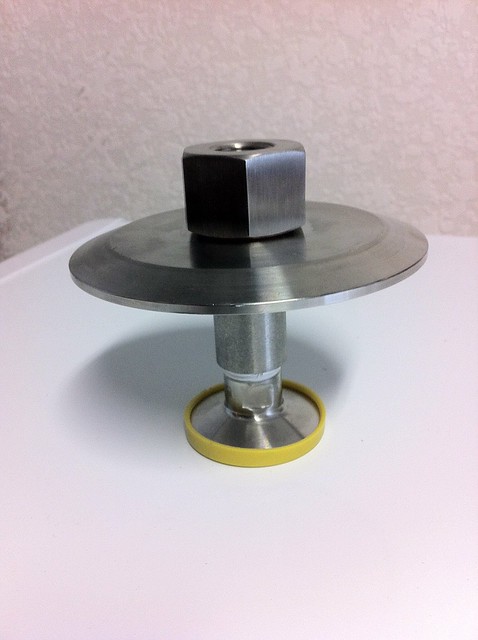
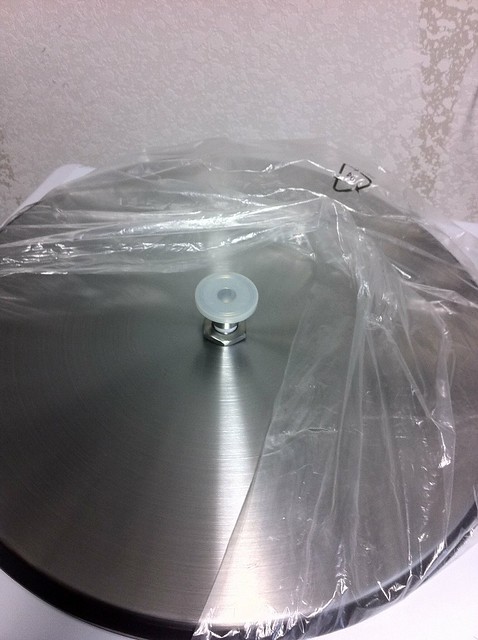
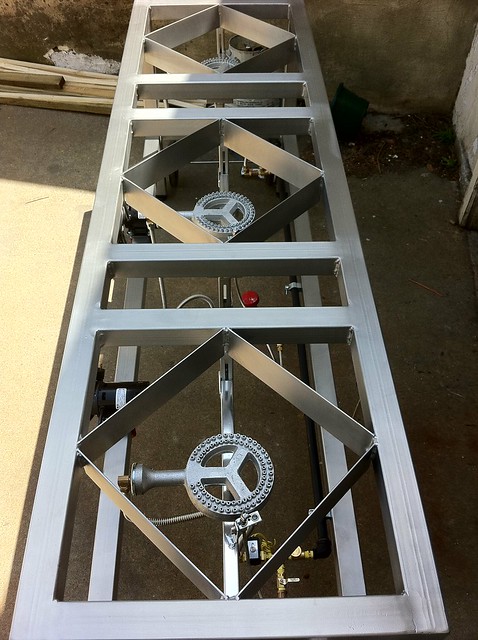
IMG_0767 by brewerJP, on Flickr
The short story:
- 2" steel tube, coated in Cermachrome (Ceramic coating with a chrome like sheen when you can burnish it)
- Adjustable leveling legs
- Hose(s) holder(s)
- Heavy duty wheels to ease moving it around
- Integrated wind shields
- 6" ring burners from Agrisupply
- Adjustable height burners (+/- 2")
- Adjustable height pilot light burners
- BIP main rail painted black with high-temp paint and secured by conduit clamps
- A plethora of brass fittings, regulators, valves, etc. Open to any questions!
- 1/4" Aluminum tubing to the Q314A pilots
- 2 x 809HS March pumps secured by U-Bolts and Plastidipped to protect the frame
- Secured water filter with bypass for unfiltered water (cleaning pots, etc)
I think that's about it. Open to any questions or comments. Thanks!
Build Photo Set: http://www.flickr.com/photos/57569099@N06/sets/72157625905054883/
IMG_0765 by brewerJP, on Flickr
IMG_0777 by brewerJP, on Flickr
IMG_0767 by brewerJP, on Flickr
")