jkatz419
Well-Known Member
ugh, I thought pics showed up after you hit 25 posts? EDIT: never mind, was copying the wrong link from flickr 


nice, what kind of wood/stain is the collar?


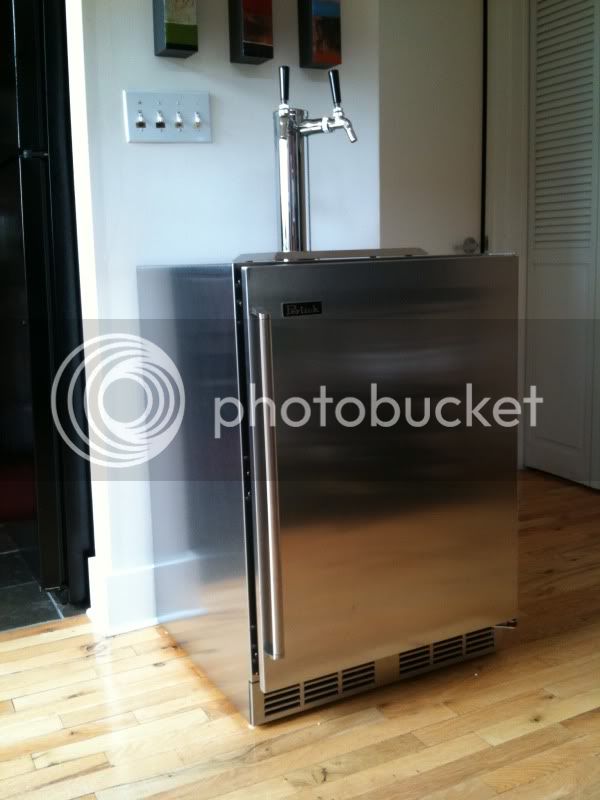
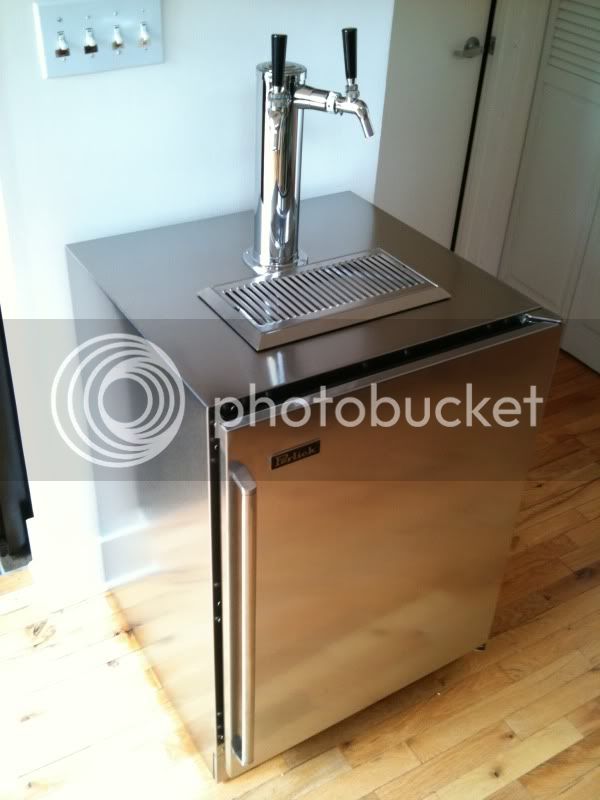
Finally finished my kegerator. Now I just need to fill a couple more kegs to get all four taps flowing...
")
those small black balls are my favorite tap handles
After drop ceiling, I just need carpet installation throughout the rest of the basement and she's finally done! Only took me 3 years to finish the basement so far, but I'm finishing just under 2000 sq. ft. by myself and these damn home brewing projects, like the keezer build, keep slowing me down. I promised my wife that the basement would be 100% complete before I start building my single tier, 3 vessel, all grain rig, but who the hell know at this point. 


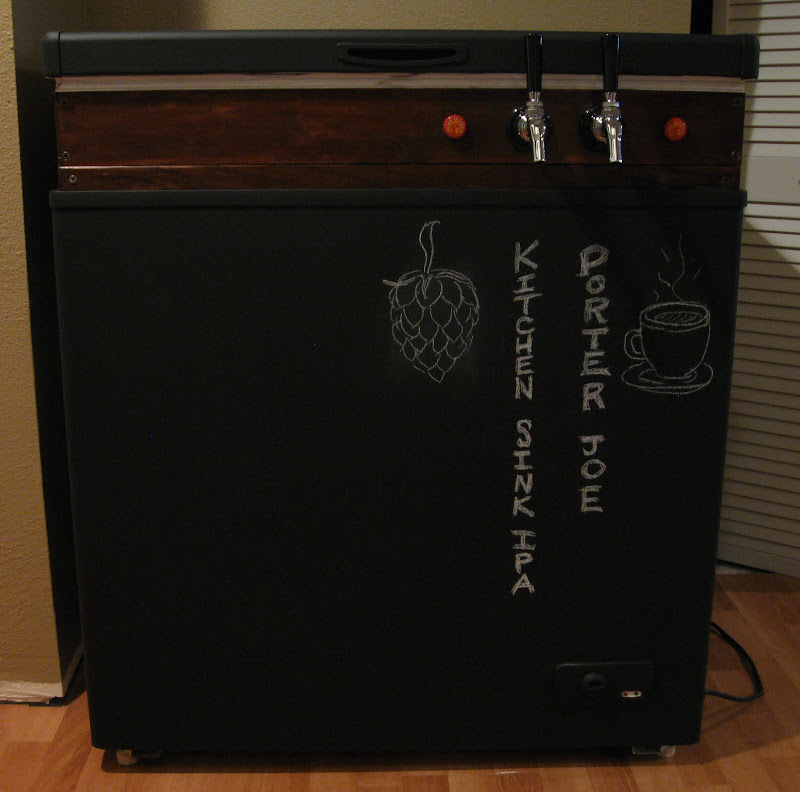
Here is my keezer placed in it's final resting spot in my basement bar. The bar is not 100% complete, but almost there. Still need drop ceiling & accent lighting installed, log bar stools refinished, and the slate tile cleaned and sealed. I'm making one final push over the next few weeks to knock this thing out. Here's what I have so far.
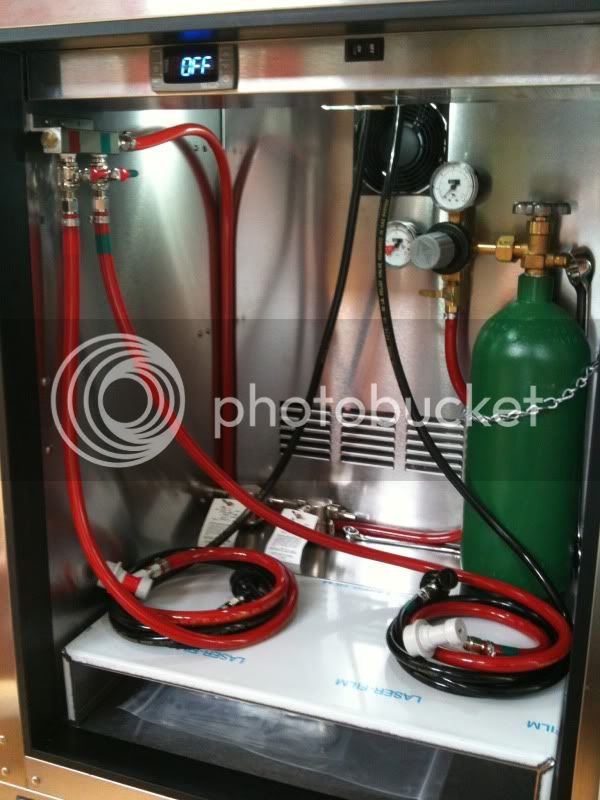
What are you using for your temperature read out?


No drip tray, but I may just put something simple on the floor for simplicity sake. Hi-Res here: http://www.flickr.com/photos/31525331@N00/sets/72157627150048913/
Looks great! Where did you get the chalkboard from? What are you using for the glasses mat?
btw... love the stainless vent on the front! matches bar sink and ties that bit of industrial to sink
now you lust need a steel front for the white fridge! lol
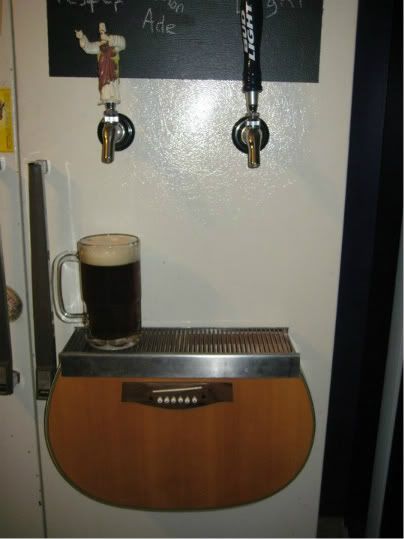
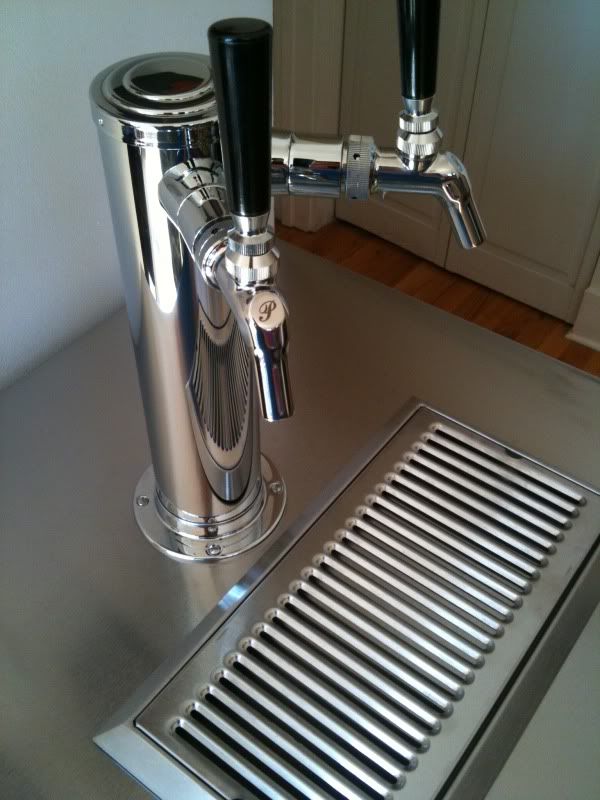
Finally got around to adding a drip tray. A friend found the grate and gave it to me, then I cut up an old guitar that I had lying around. Once I removed some of the inner bracing from the guitar, the grate slid right over it.
That cracks me up and makes me sad at the same time ... very creative!
For what it's worth, it was a very cheap, low-quality guitar. A family member found it in a closet in their house and gave it to me a while back. I figured that a few people would probably be distraught to find that I cut up a guitar and a 24" stainless drip tray.
Somewhere a kid without a guitar is weeping.


Finally got around to adding a drip tray. A friend found the grate and gave it to me, then I cut up an old guitar that I had lying around. Once I removed some of the inner bracing from the guitar, the grate slid right over it.
Finally got around to adding a drip tray. A friend found the grate and gave it to me, then I cut up an old guitar that I had lying around. Once I removed some of the inner bracing from the guitar, the grate slid right over it.
Where did you get the buddy christ tap handle? did you make it?
Enter your email address to join: