Stc-1000
- Thread starter jordanIPA
- Start date


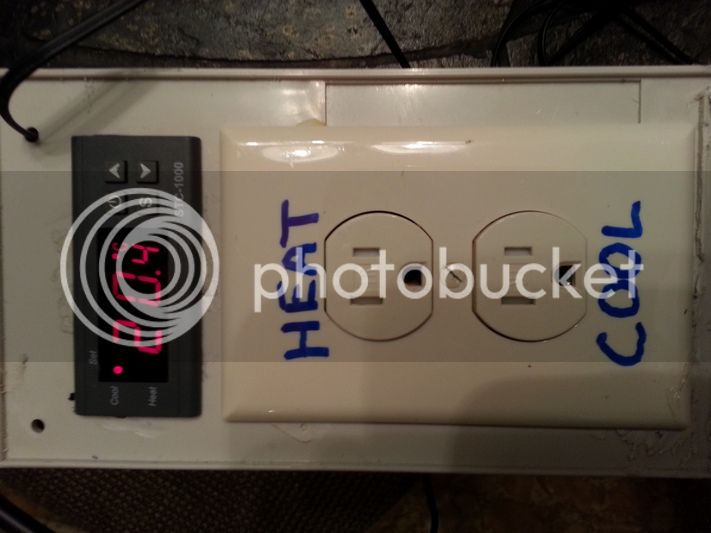
Okay, I understand the wiring and now I might have a really stupid question. You plug the fridge into the cooling plug in, and maybe like a heating blanket to the heating plug? Sorry if this is rediculous!
Okay, I understand the wiring and now I might have a really stupid question. You plug the fridge into the cooling plug in, and maybe like a heating blanket to the heating plug? Sorry if this is rediculous!
To me, it seemed like a much more in depth (and unnecessary extra work) to build an external temperature control box, but to each his own. I just cut a hole in the door and sealed it with caulking around the unit.
")
I didn't understand a word that USMC Payne wrote.
HAHAHA, well, I understand that what I think is easy may not be so easy (I am an electrical engineer according to my degree though I don't use it any longer).
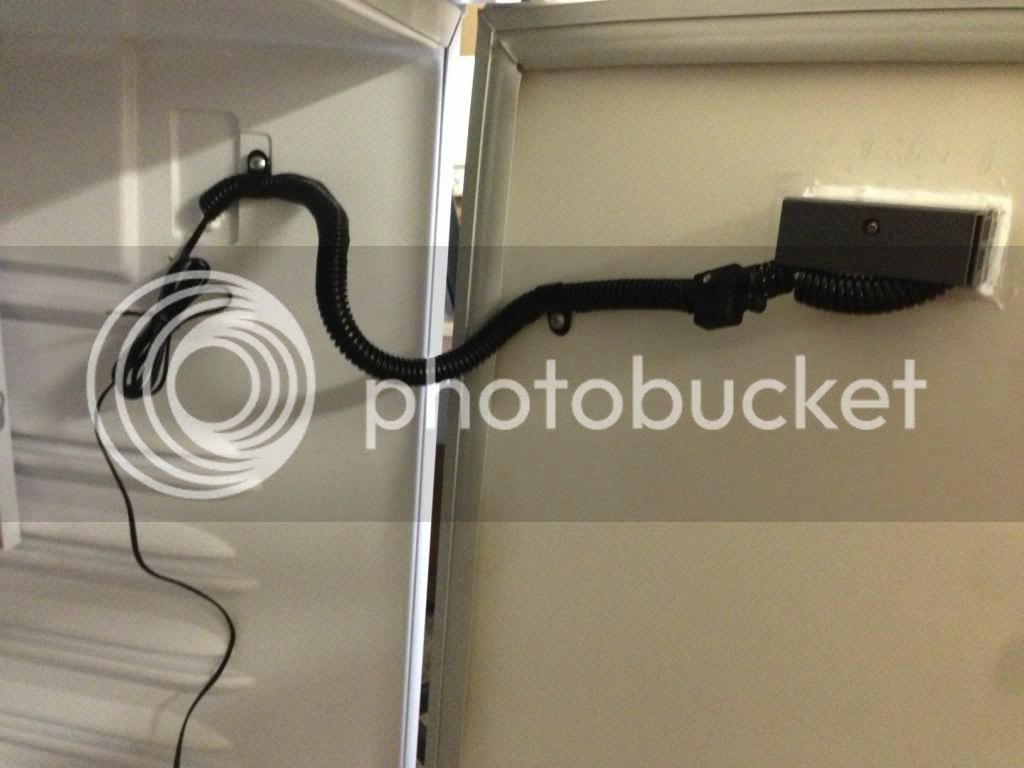
Step 1 - remove thermostat from inside fridge
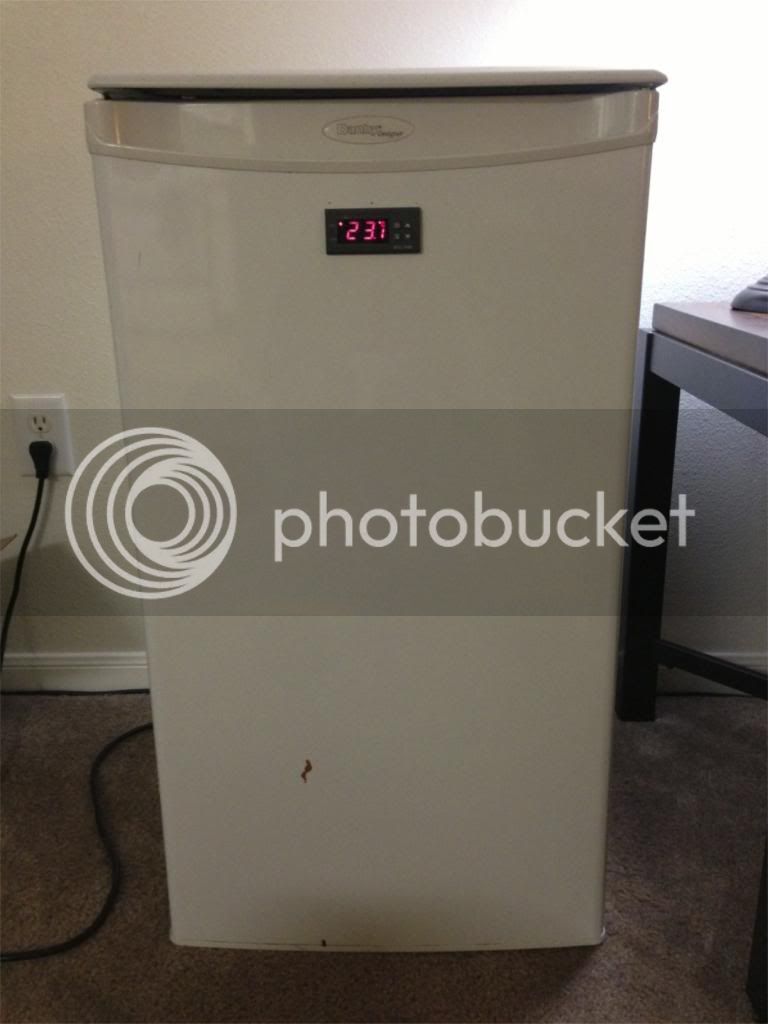
Step 2 - cut hole in door
Step 3 - wire existing wires from thermostat to STC-1000
Step 4 - add wire from fridge plug neutral to STC-1000
Step 5 - caulk
Step 6 - turn on & ferment
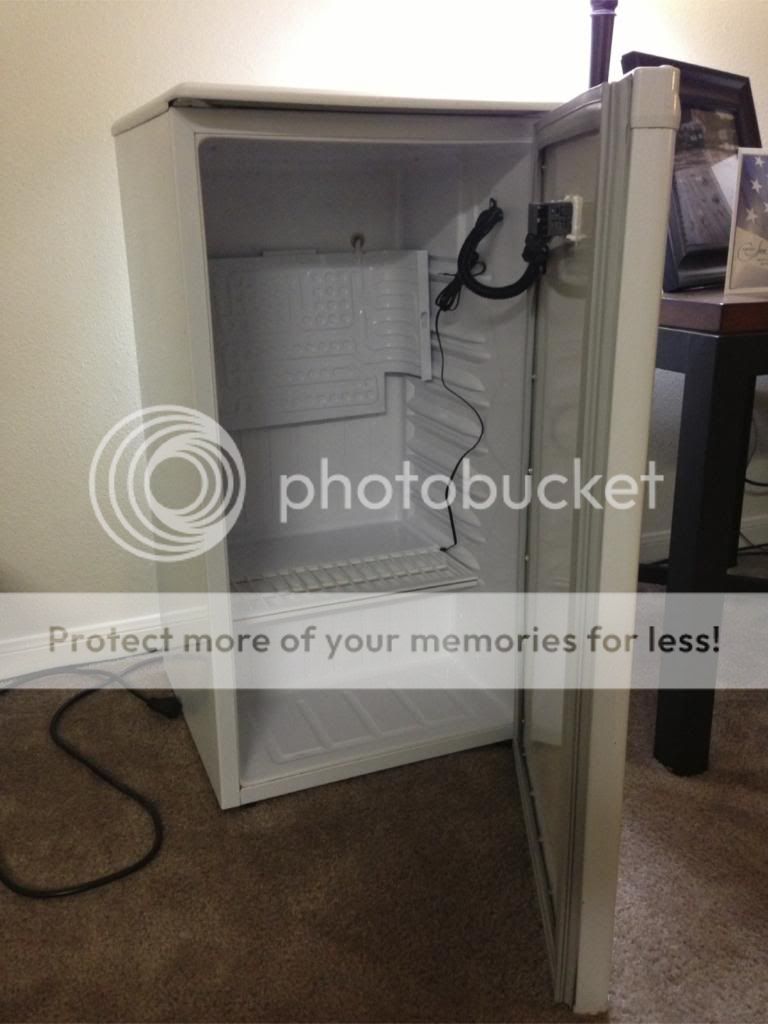
Doesn't get much easier than that in my book. Took me about 2 hours total time to remove shelving and door panels, measure and cut the door hole, bend the freezer section, caulk it in and fire it up.
HAHAHA, well, I understand that what I think is easy may not be so easy (I am an electrical engineer according to my degree though I don't use it any longer).
Step 1 - remove thermostat from inside fridge
Step 2 - cut hole in door
Step 3 - wire existing wires from thermostat to STC-1000
Step 4 - add wire from fridge plug neutral to STC-1000
Step 5 - caulk
Step 6 - turn on & ferment
Doesn't get much easier than that in my book. Took me about 2 hours total time to remove shelving and door panels, measure and cut the door hole, bend the freezer section, caulk it in and fire it up.
Enter your email address to join:
