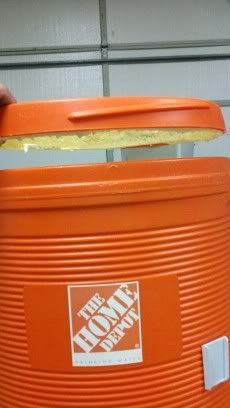
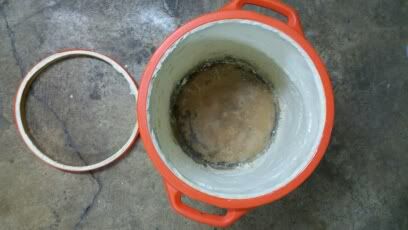
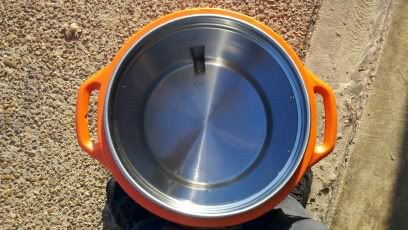
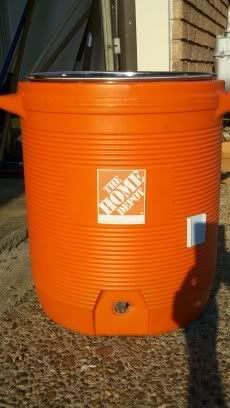
For years now I have been using a round drink cooler for a mash tun and have been unhappy the entire time because it always leaked and warped on the inside. I looked online for a new mash tun and didnt want to spend the money on a blichman, minibrew, or another cooler. I found a 44 quart stainless steel pot that I picked up for a great price and that is almost the exact same size as the drink cooler
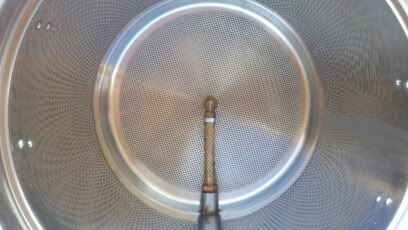
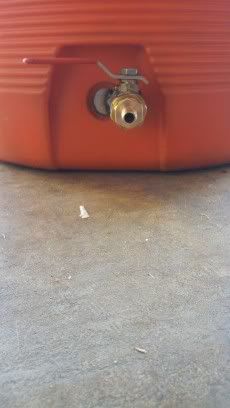
http://www.amazon.com/Bayou-Classic-.../dp/B000VXHKMC. I cut the threaded top off of the cooler and trimmed the foam from the inside to make the pot fit. I had a welding shop cut the handles off and weld a pipe fitting in the bottom of the pot for me. The pot slides perfectly inside of the trimmed cooler and if I would have lined up the hole a little better it would have been a perfect fit. I am using the same false bottom for the drink cooler in this mash tun. Here are a few pics of what I have done so you guys can check it out.
You said you "cut the threaded top off".
Could you have trimmed the top of the pot to make it fit better?
I ask mostly for storage reasons... I would like screw the thing down when I put it way... I have limited storage space and hate stuff falling down on me.
DPB

 Well, that and shaving the insulation out. That sucked royally IMHO. I spent at least 3 hours shaving insulation so the fit would be tight; but that stuff is nasty when in dust form. Make sure to wear a dust mask at least.