optimatored
Well-Known Member
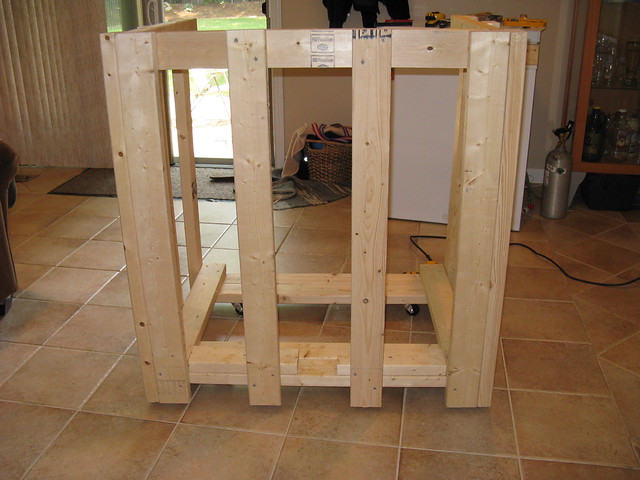
First off, thanks to all who posted their keezer builds online. I am taking something from everyone on this project. The body/base construction will be based off of Hoppopotomus's Knotty Pine Keezer. I like the space it allows between the freezer walls and the cabinet wall.
Well...I really began this project like 2+ years ago when I purchased a Holiday 5.0cuft chest freezer, digital temperature controller, and keg setup... but as many projects go, it took some time/$$$ to get going.
Equipment thus far:
Chest Freezer
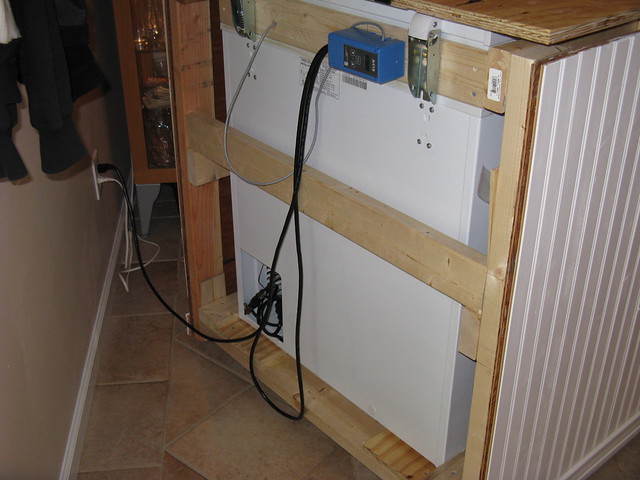
Temp Controller
Two Five-gallon Corny Kegs
5gal gas tank
Party tap (woohoo!, im ready for the real deal though)
Single Body Regulator
Plans/additional equipment:
Three-way gas distributor
Draft Tower, with a double or triple faucet (not sure yet)
2 Three-gallon Corny Kegs
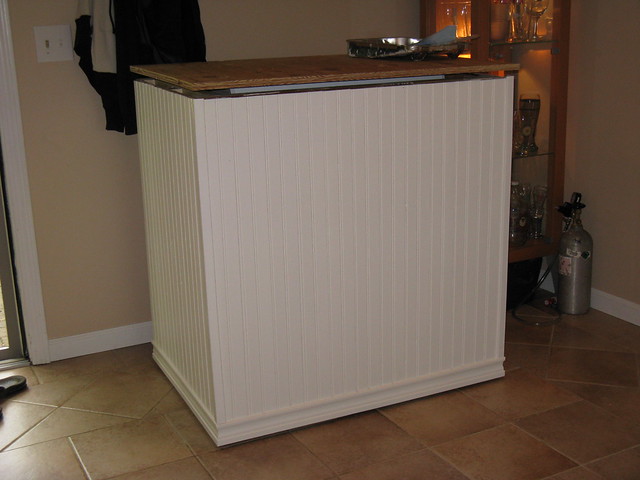
Tile for the lid
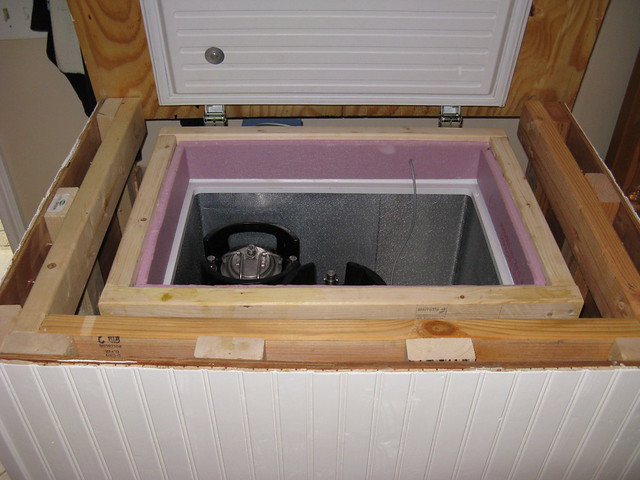
The first step was to build a collar that would allow for three-gallon corny kegs on the hump, and if empty I could put two 5 gallon carboys for fermenting. I still need to add some caulking and insulation to the collar...plus attach the lid to the collar.
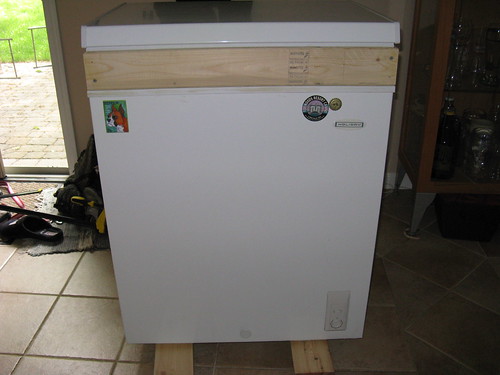
Front, Collar on by http://www.flickr.com/people/56869530@N06/, on Flickr
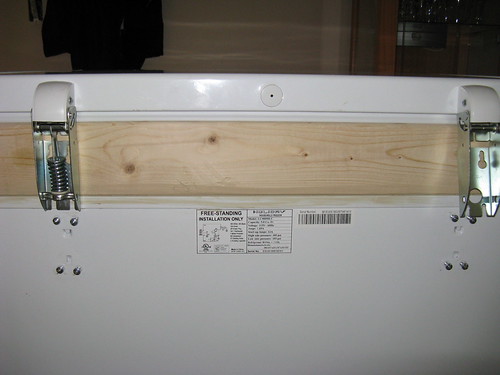
Rear, Still need to bolt on by http://www.flickr.com/people/56869530@N06/, on Flickr
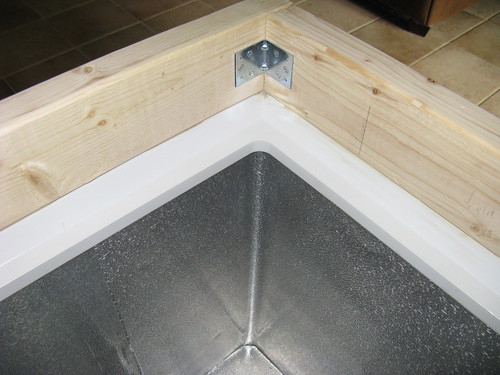
Corner Plate by http://www.flickr.com/people/56869530@N06/, on Flickr
Rear, Still need to bolt on by http://www.flickr.com/people/56869530@N06/, on Flickr
Well...I really began this project like 2+ years ago when I purchased a Holiday 5.0cuft chest freezer, digital temperature controller, and keg setup... but as many projects go, it took some time/$$$ to get going.
Equipment thus far:
Chest Freezer
Temp Controller
Two Five-gallon Corny Kegs
5gal gas tank
Party tap (woohoo!, im ready for the real deal though)
Single Body Regulator
Plans/additional equipment:
Three-way gas distributor
Draft Tower, with a double or triple faucet (not sure yet)
2 Three-gallon Corny Kegs
Tile for the lid
The first step was to build a collar that would allow for three-gallon corny kegs on the hump, and if empty I could put two 5 gallon carboys for fermenting. I still need to add some caulking and insulation to the collar...plus attach the lid to the collar.
Front, Collar on by http://www.flickr.com/people/56869530@N06/, on Flickr
Rear, Still need to bolt on by http://www.flickr.com/people/56869530@N06/, on Flickr
Corner Plate by http://www.flickr.com/people/56869530@N06/, on Flickr
Rear, Still need to bolt on by http://www.flickr.com/people/56869530@N06/, on Flickr