milldoggy
Well-Known Member
They are in the isle with shiney bare metal and plastic wall boxes.

I'm trying to find these on Lowes.com and can't. Does anyone know what they are specifically called? Damn thing is driving me crazy!!!
Just found out. The last time the light turned on I was there and put my hand on it to feel how hot it got. Foil apparently was touching the metal threads of the bulb and now my hand feels funny.
I just ordered mine today (I read through this whole damn thread so yes I made sure I got the 110V one lol http://cgi.ebay.com/ws/eBayISAPI.dl...998461&ssPageName=STRK:MEWNX:IT#ht_4169wt_905)
I have a Johnson A419 for my keezer build. I plan on using this DIY build for a heated fermentation chamber only so I don't need it to cool. I have a few questions.
First, I assume the above diagram will work for heating and a fan. I just need to switch the two wires going into the cooling terminals of the controller to the heating terminals.
Second, I want to use a reptile ceramic bulb to heat the chamber with a fan blowing the air around. Will these work ok plugged into the controller?
http://www.amazon.com/gp/product/B0002AQCXM/?tag=skimlinks_replacement-20
http://www.amazon.com/gp/product/B0002AQCPU/?tag=skimlinks_replacement-20
Nm Connector?

The fridge will cycle less often when you have something in it, and when you tape the probe to the vessel. During peak ferm, it will cycle more than finished beer would, but less than if the probe was in air.so you guys are setting your differentials at almost zero? I know hitting those fermentation temps are important, but is there that little room for swinging temps?
my preliminary tests (before the actual fridge is fully sealed and ready for action) tell me that my fridge runs every 40 minutes for about 5 or 6 minutes. I feel those numbers are pretty decent. is that around the times you guys are getting with your finished fermentation chambers?
also, did anybody try to cut down on the space to be cooled by adding styrofoam where it might not be needed? I added a 2x2 piece of insulation on all corners. my thinking was it would seal any spaces where cold air could get out, AND cut down on the amount of space to be cooled. does this make sense to anyone, or am I totally out of my league on cooling techniques here?


rack04 said:Completed my build today. I'm happy with the results.
Is this excessive?
Inaugural run....
Is this excessive?
Inaugural run....
Got mine today, $25 shipped from a different seller. Installed everything, flush mounted to my cabinet. Turned it on, heat worked but not cooling. Spent the next 45 minutes troubleshooting, only to find out that the compressor delay is initially on, so it takes 3 minutes before starting the ac.
Guess I should read more before starting projects.
here is a quick outline of my two plugs, switch and lamp light control unit. all done in a 7X5X3 box. quick and easy.

olsond said:I'm no electrician (AT ALL) but are the hot block, neutral block, etc in the above just wire nuts? Can it be wire nuts?
Also I'd like to bypass the switch and LEDs. This is just a matter removing those wires from the diagram right?
ParadiseBeer can you help a brother out! Maybe you can send closeup pics of your actual build.
The original post has a wiring diagram for use without led's. You can wire everything together, blocks and outlets are not necessary
olsond said:I wanted to do the 2 outlet rig so this one looked closer to what I wanted. But, I think you're reply answers my Qs thanks.
Is there a way I can wire speakers on the inside my ferm chamber? I really want to play classical music to the fermenting wort when its cooling.
I think you want the wine forum...
beer wants rock-n-roll :rockin:

I beg to differ, beer and country go waaaay back!
At any rate I think we can agree that classical is for wine. 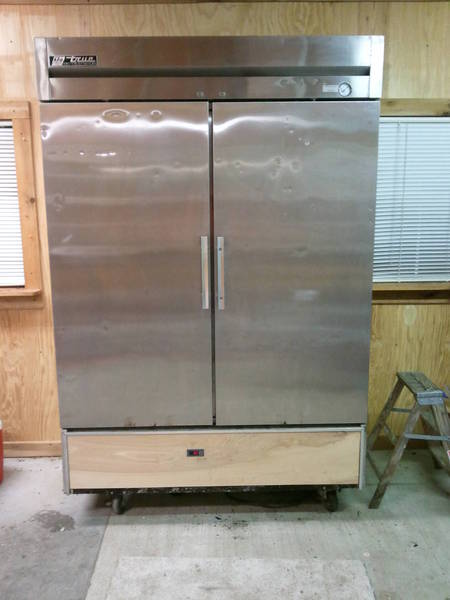
ere109 said:Subscribed! And at $16, this is a GREAT solution over the digital temp controllers other have been buying and using in the $50 price range.
No, the tab is still there.
It appears that it does not matter whether the temp is below or above the parameters both outlets are getting power in both situations.
Enter your email address to join:

