Stephonovich
Well-Known Member
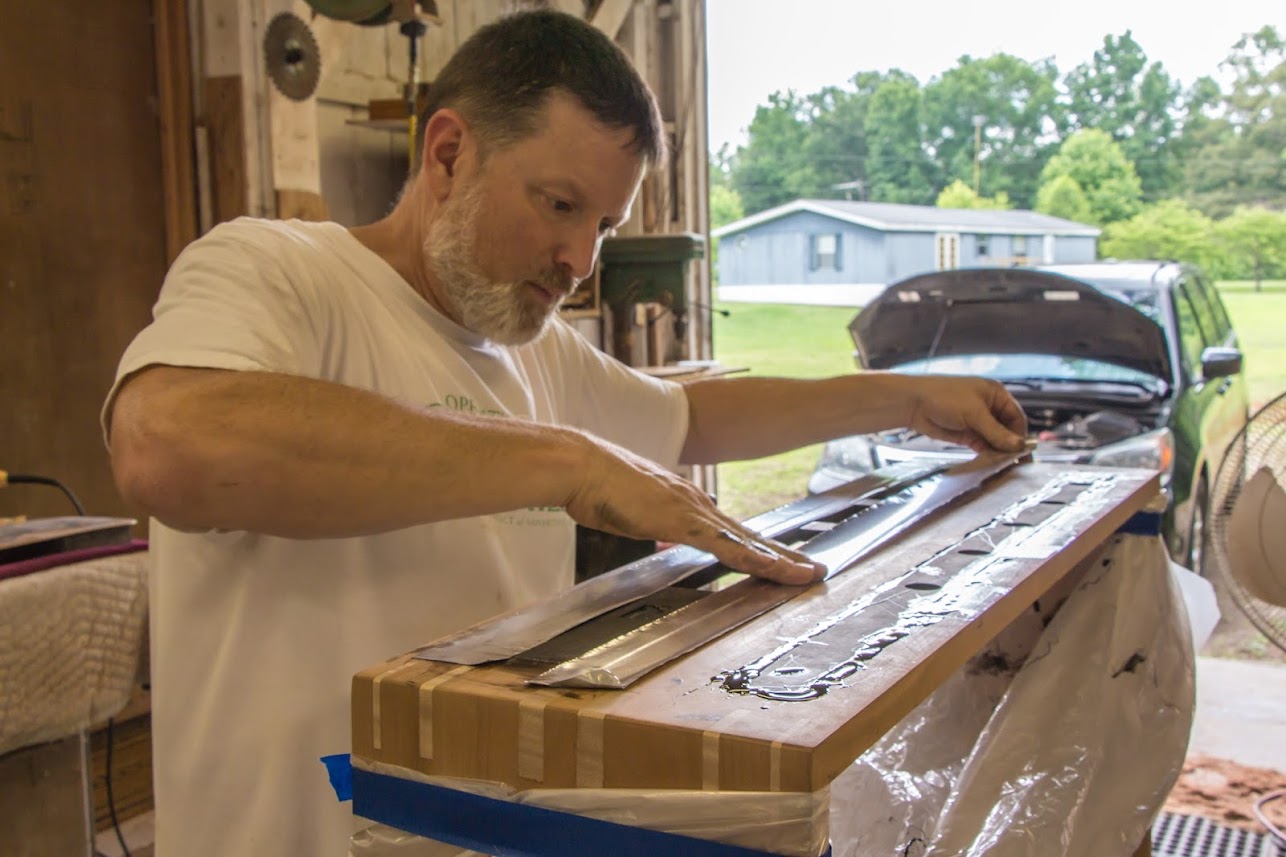
So with a recent bonus from work, I'm blowing part of it on a keezer build. I'm going with the GE 7 cf, and building an 8" collar. I plan on having up to five kegs (currently three), with external CO2 and Beergas tanks.
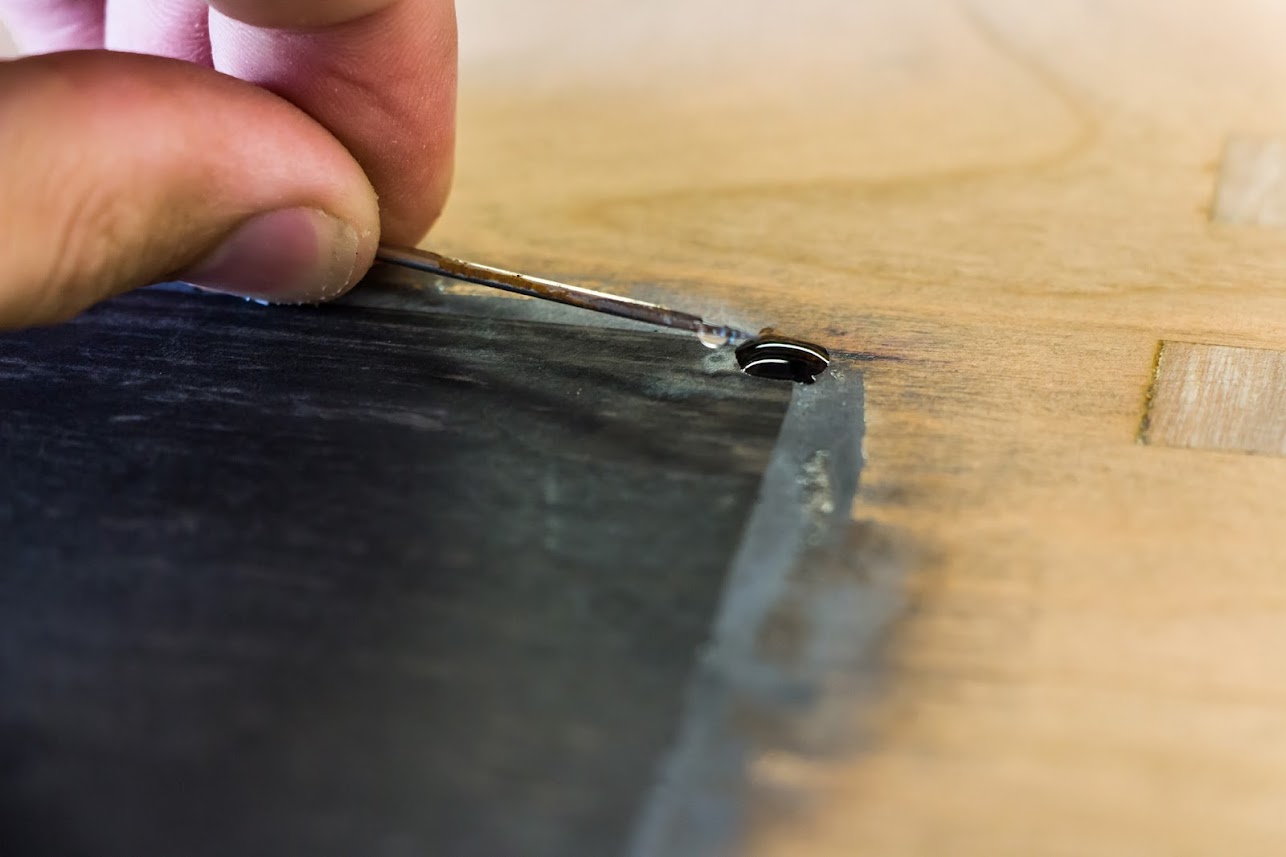
I already have a 5# CO2 with dual regulator and some MFL QDs, so I plan on running that into the 4-way secondary for most of the kegs. I decided to go with secondary regulators to have more control over each beer. The Beergas tank will have its own regulator and will be dedicated to whatever stout happens to be on tap at that time. I'm going to drill holes in the back of the collar for the gas lines. I don't want to modify the freezer in any permanent way.
Not included is a stout tap (Guinness from eBay, $30), recirc fan (eBay, $15), drip tray (eBay, $30 for 19" SS), hose line (McMaster Carr, $25), clamps, etc., as well as supplies for the collar. I estimate the total to be around $1200.
Any thoughts before I pull the trigger?
I already have a 5# CO2 with dual regulator and some MFL QDs, so I plan on running that into the 4-way secondary for most of the kegs. I decided to go with secondary regulators to have more control over each beer. The Beergas tank will have its own regulator and will be dedicated to whatever stout happens to be on tap at that time. I'm going to drill holes in the back of the collar for the gas lines. I don't want to modify the freezer in any permanent way.
- Chest Freezer - http://tinyurl.com/mgelmst - $198
- Perlick Combo - http://tinyurl.com/p73oubk x4 - $228
- 4-way Secondary Regulator - http://tinyurl.com/p2xbdzj - $175
- Kegco Line Cleaner - http://tinyurl.com/lb7b4jf - $50
- Ball Lock MFL Coupler - http://tinyurl.com/n5hsyfv x4 - $64
- Johnson A419 - http://tinyurl.com/m2vkh4o x2 - $150
Not included is a stout tap (Guinness from eBay, $30), recirc fan (eBay, $15), drip tray (eBay, $30 for 19" SS), hose line (McMaster Carr, $25), clamps, etc., as well as supplies for the collar. I estimate the total to be around $1200.
Any thoughts before I pull the trigger?

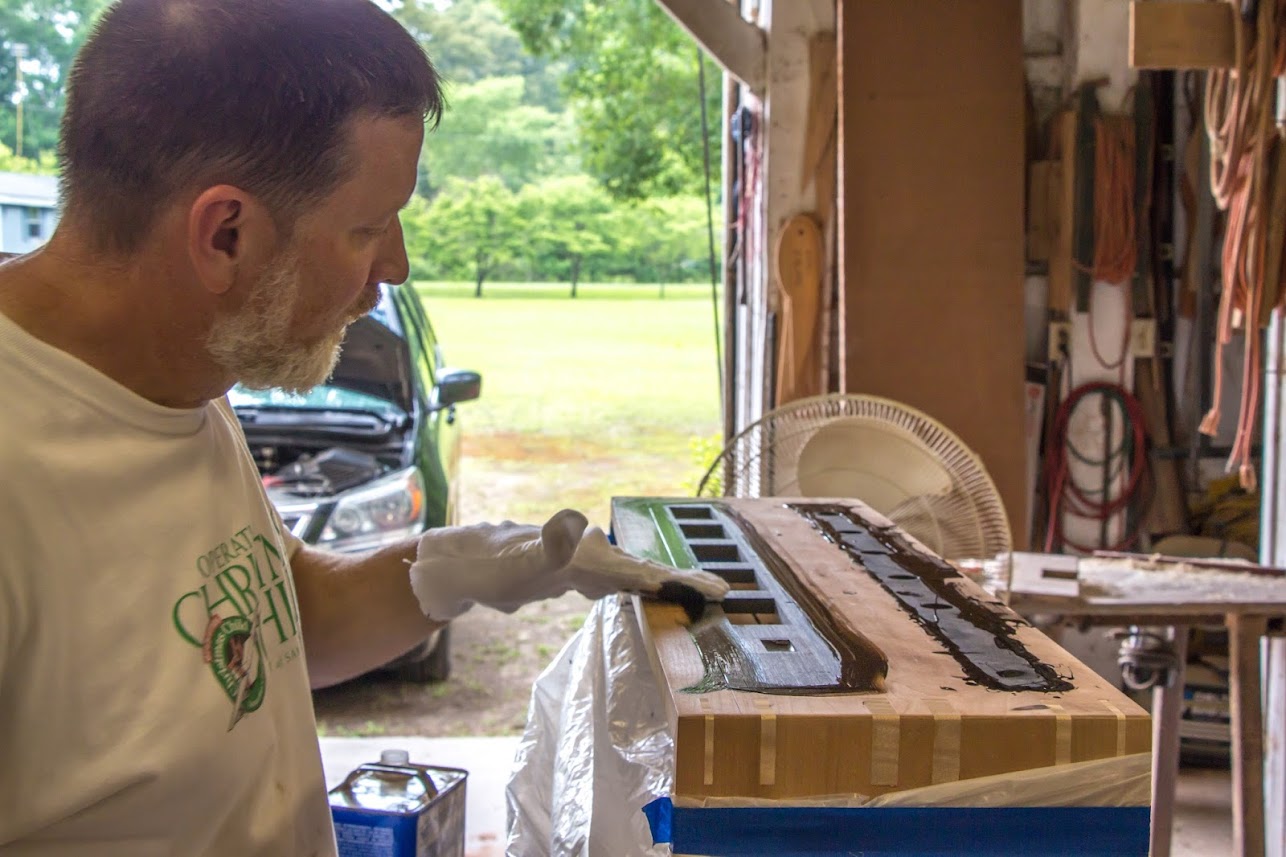
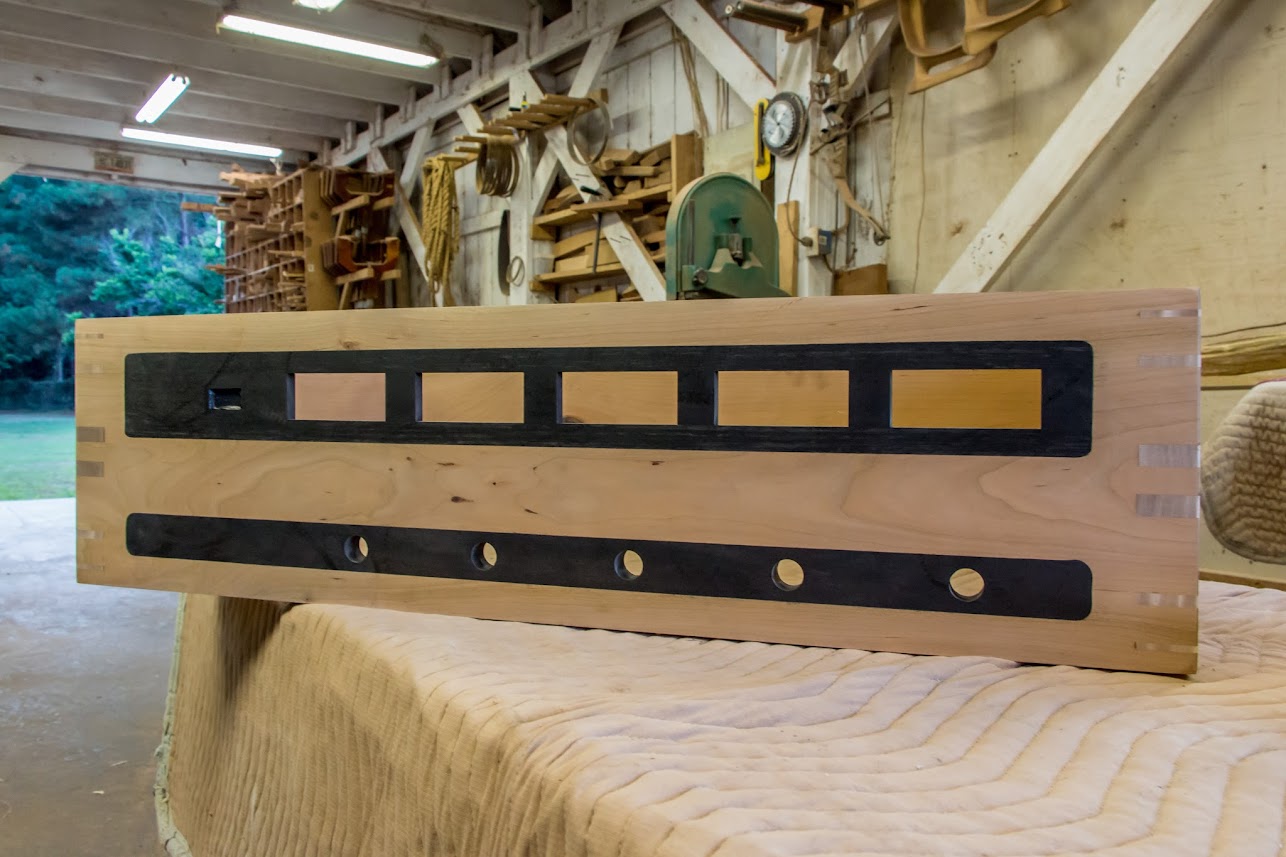
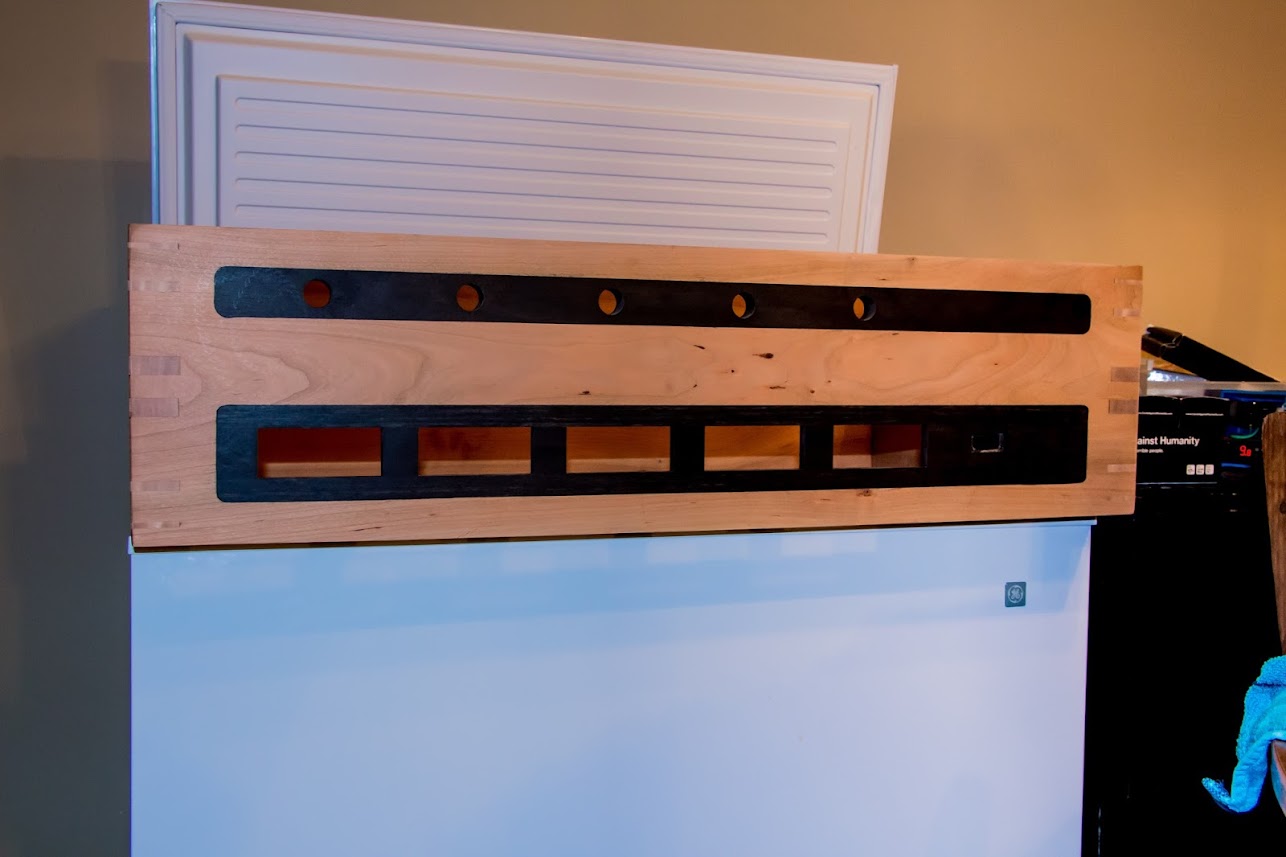
") Fear not, I'll post 'em up once it's WIP and/or done.
Fear not, I'll post 'em up once it's WIP and/or done.