Stainless sink/table brew stand

Homebrew Talk - Beer, Wine, Mead, & Cider Brewing Discussion Forum

Help Support Homebrew Talk - Beer, Wine, Mead, & Cider Brewing Discussion Forum:

This site may earn a commission from merchant affiliate links, including eBay, Amazon, and others.

Spirk

Active Member
Joined
Oct 12, 2010
Messages
40
Reaction score
1
Location
Colorado Springs
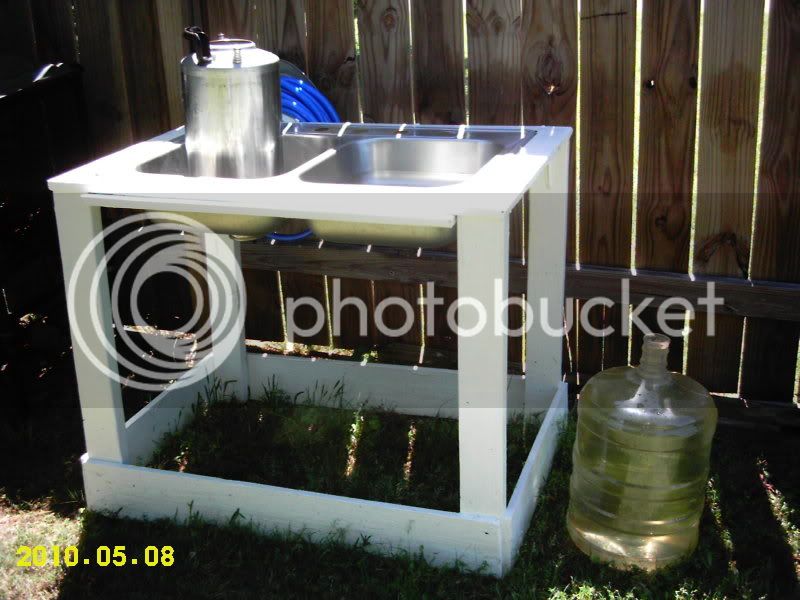
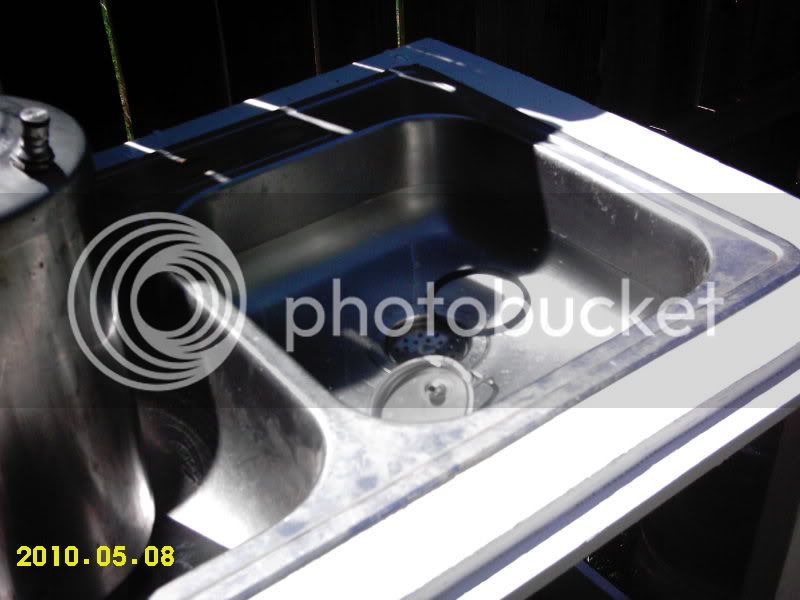
I was going to buy a brew stand. Then I decided to build one. Then I decided to have one built by someone with skills and knowledge. THEN, I came across this on craigslist. It's 10 feet long and 28 inches deep. The thing that sold me was the fact that I had already planned to incorporate a sink into my brew stand design. I sat down with a welder and he said it would be easy to cut holes in the top and mount burners. The owner said he can jump up onto it and walk around without a problem. I'm going to check it out tomorrow and if all goes well I'll throw $200 at him and run with it. Any thoughts?

stainless_table_01.jpg


stainless_table_02.jpg
 
Do a search on this forum, there's a guy who converts those to brewstands. IIRC, he uses the sink well as the mash tun (although maybe that's what you meant by incorporating the sink in your design). Then you only need two vessels. Pretty slick - I'd say go for it.
 
Using the sink as a mash tun is a good idea but I already have a coleman xtreme for that. I wanted to have a sink in my brew stand because I want access to water (and a large sink) while I'm brewing. Right now I'm using the tiny sink in my basement wet bar for everything and it's just not doing the job - especially when washing kegs and carboys. I'm perticular about washing everything the right way and I constantly have a gang of beer glasses to wash so that giant sink will save a TON of time.
 
So this is what I ended up with. I tested it today and wanted to get 5 gallons up to a boil. When I lit the burner, the flame came out from around the pot (second picture) and also from below the wind shield (third picture). The flame came out of the bottom so strong that it lit the propane just inside the air adjustment valve and it scared the crap out of me. The flame was barely on so this is brew stoppage until I figure it out. The fourth picture is to show that the burner sits about 3 1/2 inches from the surface.

Should I lower the burner or raise the pot?

IMG_0999.jpg


IMG_1010.jpg


IMG_1013.jpg


IMG_1011.jpg
 
Turn down the burner before you light it, be sure to adjust the oxygen intake. Those things have way more power than you will need.
 
I would do what scuba steve said and also raise the pot about 1.5 inches. The flame needs to exhaust, raising it will let it vent. Also,by doing that, I'll bet your sink table will be tons cooler. Still hot but not branding iron hot. Thats what I had to do in order to keep my powder coat from melting. My lifting blocks are welded now. The bottom of my keggle is 4.5 inches from the flame as a reference. Also, the banjo flame on mine shoots up about 1.5 inches, blue with a hint of orange at the tip. Thats perfect for me on a boil. My mash tun I lower to 1/2 or so. Basically a simmer. I'm interested to know how this turns out, keep us updated.
Snake10

IMG_2172.JPG.jpg
 
The gas was barely on when I lit it. Then I turned it up and adjusted it until I had a blue flame that was high enough to brew with. The flame was lit for over a minute before it lit the gas just inside the oxygen intake. The only way I could keep the flame from coming out of the bottom really bad was to turn it down to the point where it would go out if I blew on it. I called the welder and he thinks we should raise the pot a little so the flame has somewhere else to go besides out the bottom. I was looking forward to brewing the girlfriend's IPA tonight and I really don't want to go back to the turkey fryer set I've been using.
 
Oh the flame doesn't shoot out the side. Distance does help. Only the rippled heat exhaust comes out the sides.
Snake10
 
Raise it up with something. Also, My banjos seem to work with the metal plate on the back adjust to show about 3/8-1/2 of opening into the burner it self, the rest showing metal.
 
Your gas seems to be swirling underneath your kettle, it needs exhaust. Again, raise it up and I think you will be suprised at the difference.
 
Thanks for the input. I called the welder and he agreed with the lift blocks idea. He's going to bring his equipment over tomorrow so we don't have to haul the stand (250+ lbs) back to his house.
 
the integrated sink with the sprayer is awesome, i love that idea. are you going to add some pumps to this stand so you dont have to lift those kettles when they're full?
 
the integrated sink with the sprayer is awesome, i love that idea. are you going to add some pumps to this stand so you dont have to lift those kettles when they're full?

Thanks, I love having a sink that I don't have to worry about when I'm spilling water everywhere. Although, I wish I had hot water hooked up as well because it gets cold at night when I'm normally brewing. I can fill the pot with the sprayer so the only lifting I'll have to do is after it's siphoned into the carboy. Luckily I have a girlfriend that enjoys brewing (and drinking beer) as much as I do so she helps with everything. I have a couple Boilermakers in the budget and pumps are definitely in the near future. I've only been brewing since December so I'm already getting a little ahead of myself.
 
I've got a SS sink, a regular kitchen sink, leftover from a renovation. Right now, it's mounted in a wooden stand I threw together:

IMAG0015-1.jpg

IMAG0014-2.jpg


What I wanted was to mount it into a SS cart, like a restaurant prep cart. However, I have not been able to track one down for a reasonable price. Now, I am thinking of just using a regular steel cart, like this one from Harbor Freight:

image_1453.jpg


I want to mount the sink, blue garden hoses, and all my cleaning stuff on it. I'll be able to wheel it to wherever I'm brewing, and totally eliminate any current cleaning in the kitchen.

:rockin:
 
The welder came over yesterday and welded the blocks on real quick so I could brew today. He plans to redo it with nicer parts and better welds later on. We turned the flame up pretty high and didn't have any problems. After about 30 minutes the burner and the area around it sunk almost an inch because the table got so hot. I'm glad it straightened out when it cooled off. The hose connection drips so it greated a swamp that the legs sank into so I got some PT boards to go underneath it and now everything is great.

IMG_1016.jpg


IMG_1018.jpg
 
Now put spacers underneath the insert you made. It will lift the insert off your sink surface. The only parts that will touch your sink surface are the spacers. Then not much heat will transfer. Your close but the blocks are the second to last step in enjoying your sink. On your sink I would drill some holes, like in my picture, behind your blocks. The section would be: insert a bolt,then the insert,thru bigger nut(make shift spacer), sink surface, then a nut that fits the bolt you used. Eight bolts per insert,etc... Try it you'll like it.
Snake10

IMG_2050.JPG.jpg
 
I would love to lift the inserts but they are completely welded to the table and the wind blocker underneath is welded to the inserts. I'm sure it can be done but we would have to cut it all out and weld it back together. I'm ok with the table getting hot because it's only the 4-6 inches around the inserts and I don't use that space while brewing because it's too close to the flame. Although, I may have to lift the inserts once I get another burner because two burners going at the same time might heat the table too much. I'm brewing in a couple hours so we'll see how the table does after a full boil.
 
Spirk,
Rock on!If you ever get to change it, you will know where and what to do. Have a good brew.
Snake10
 
It turned out pretty well. I made a batch of Irish Red Ale without any problems (once I stopped being afraid of the burner). The crappy part is I was chosen for a short notice business trip to Tampa and I've been here for over two months. I'm looking forward to getting back in a couple weeks so I can start brewing again.
 
Back
Top