skullface1818
Well-Known Member
What kind of steam cleaner is it? Is there a particular brand/model you recommend?
http://www.amazon.com/dp/B003OAB5AM/?tag=skimlinks_replacement-20
this is what I use
Last edited by a moderator:

What kind of steam cleaner is it? Is there a particular brand/model you recommend?
")
My stainless steel deep sink, bought on ebay and this thing allows me to put 15 gallon pots in to the bowl and give a really good cleaning. I used a fiberglass laundry sink for 4 years, but the SS with a drain to the side has made cleanup easier.


My Crankenstein 320D build is working out very well, increased efficiency 9% over all of the available Homebrew store mills in town. Nice to come on site and mill grain for batches with last minute tweaks.
PistolsAtDawn said:Another is the STC-1000-type temperature controller. That has made a WORLD of difference in the quality of my fermentation. Would not go back to any other method. No need for a chest freezer either. I just use a submersible fountain pump, a cooler, an immersion chiller, frozen water bottles and the controller to drive a controlled swamp cooler setup. I would prefer a chest freezer, but this is a cheaper and more compact method that works pretty well.
JRinke said:Paint stirrer and a $20 electric drill from Harbor Freight. Never again will I take 30 minutes, slowly doughing an ounce at a time with a mash paddle. I just dump it all in and stir it up. Done in 1 minute flat.
Also works great for stirring the wort after I set the chiller in, and aerating it once I've got the temperature down.
Thats a great idea! I don't like to add the grain to water, but instead add the water to the grain, a little at a time. This works great, but involves a lot of diligence in making sure that no clumping occurs. I'm just going to get one of these and it shouldn't be a problem anymore: http://www.harborfreight.com/long-mixing-paddle-97357.html
Thats a great idea! I don't like to add the grain to water, but instead add the water to the grain, a little at a time. This works great, but involves a lot of diligence in making sure that no clumping occurs. I'm just going to get one of these and it shouldn't be a problem anymore: http://www.harborfreight.com/long-mixing-paddle-97357.html
A good Mercury thermometer is needed first. Never trust a reading that you haven't backed up with a Mercury Thermometer. My last brew, my digital was off almost 10 degrees which will absolutely ruin a Mash.

JRinke said:Just a heads up, make sure it fits the drill you have. Most of those kind of paint stirrers require a 1/2" chuck.
Sorry for the noob question, but what do you mean a 1/2" chuck? You mean the thing on the end of the drill that you insert the bit into? How do I tell if my drill has it or not?
Sorry for the noob question, but what do you mean a 1/2" chuck? You mean the thing on the end of the drill that you insert the bit into? How do I tell if my drill has it or not?
JRinke said:So, most consumer drills are either 3/8" or 1/2" chucks. This is the maximum diameter of the shank of a tool it can hold.
An easy way to measure is to simply look on the side of your drill (it is usually there) or fully retract the gripping teeth so they are all the way inside, and then measure the diameter of the opening of the drill with a ruler/tape measure.
Hahaha, I should have just checked the product page for the paint mixer when this whole chuck size discussion began, as it takes a 3/8" drill, so I am fine.

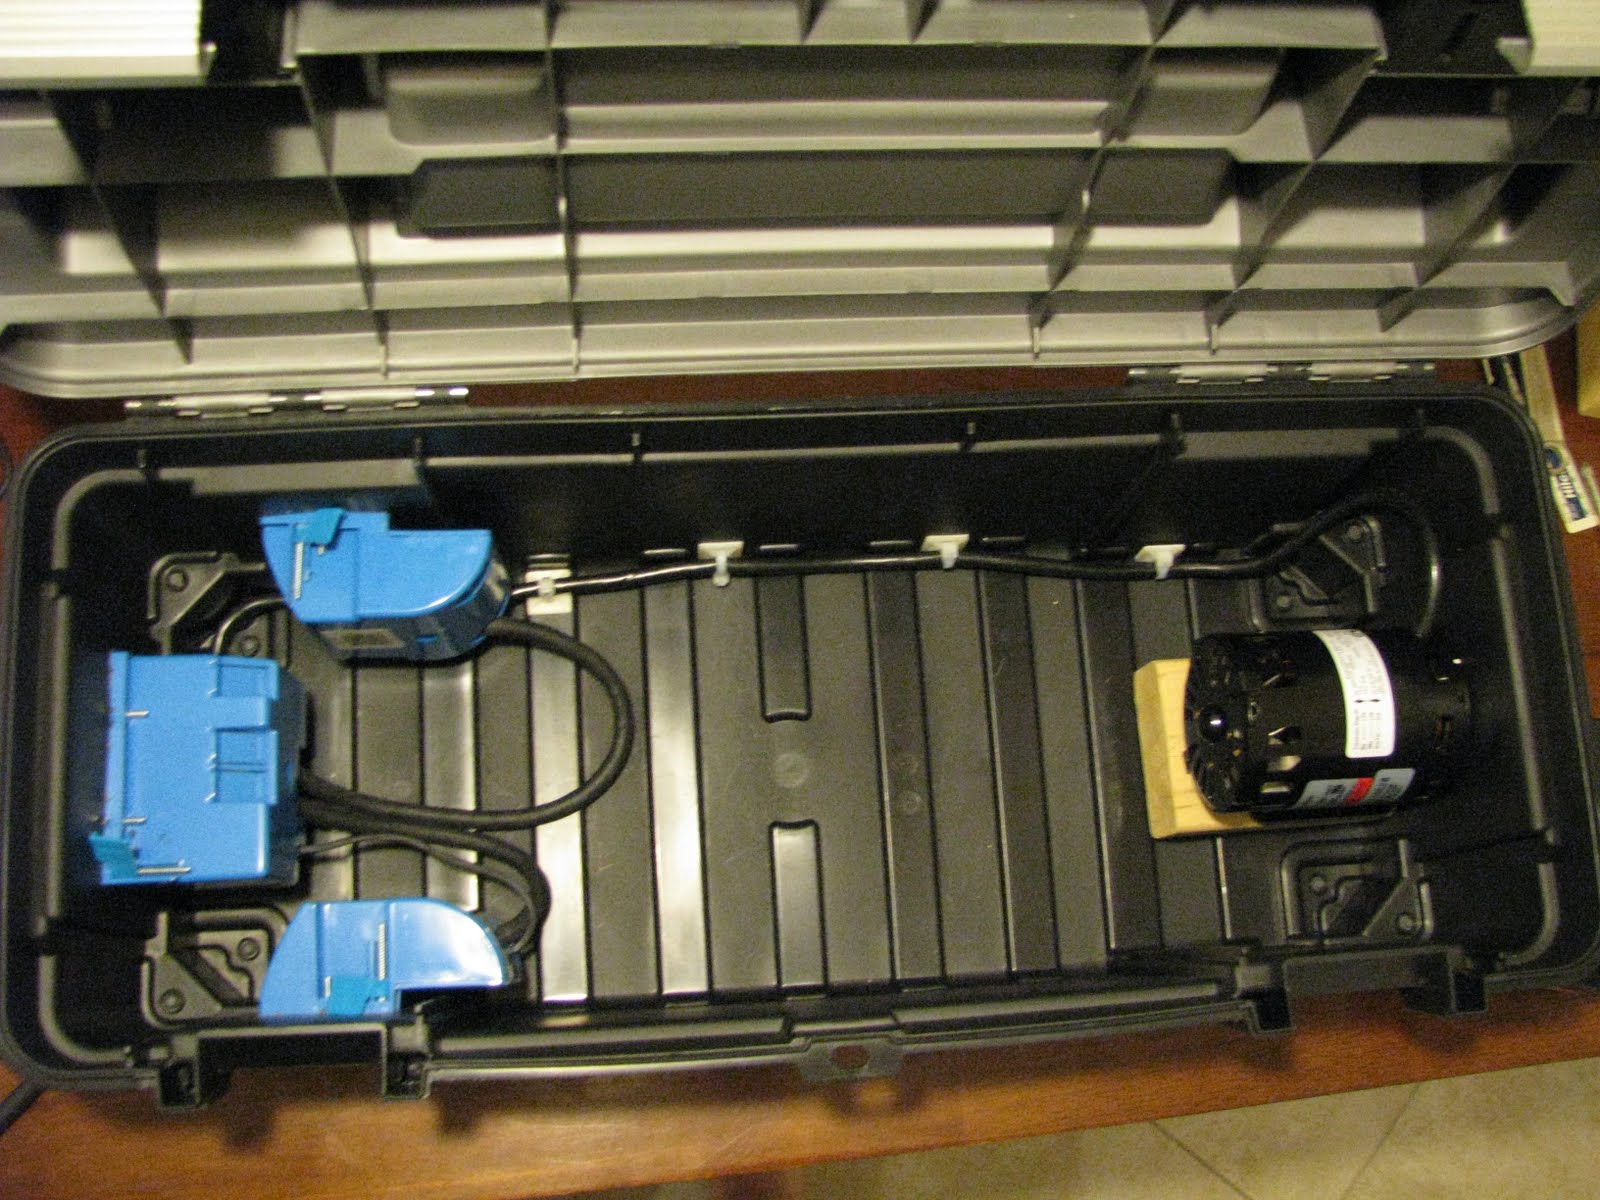
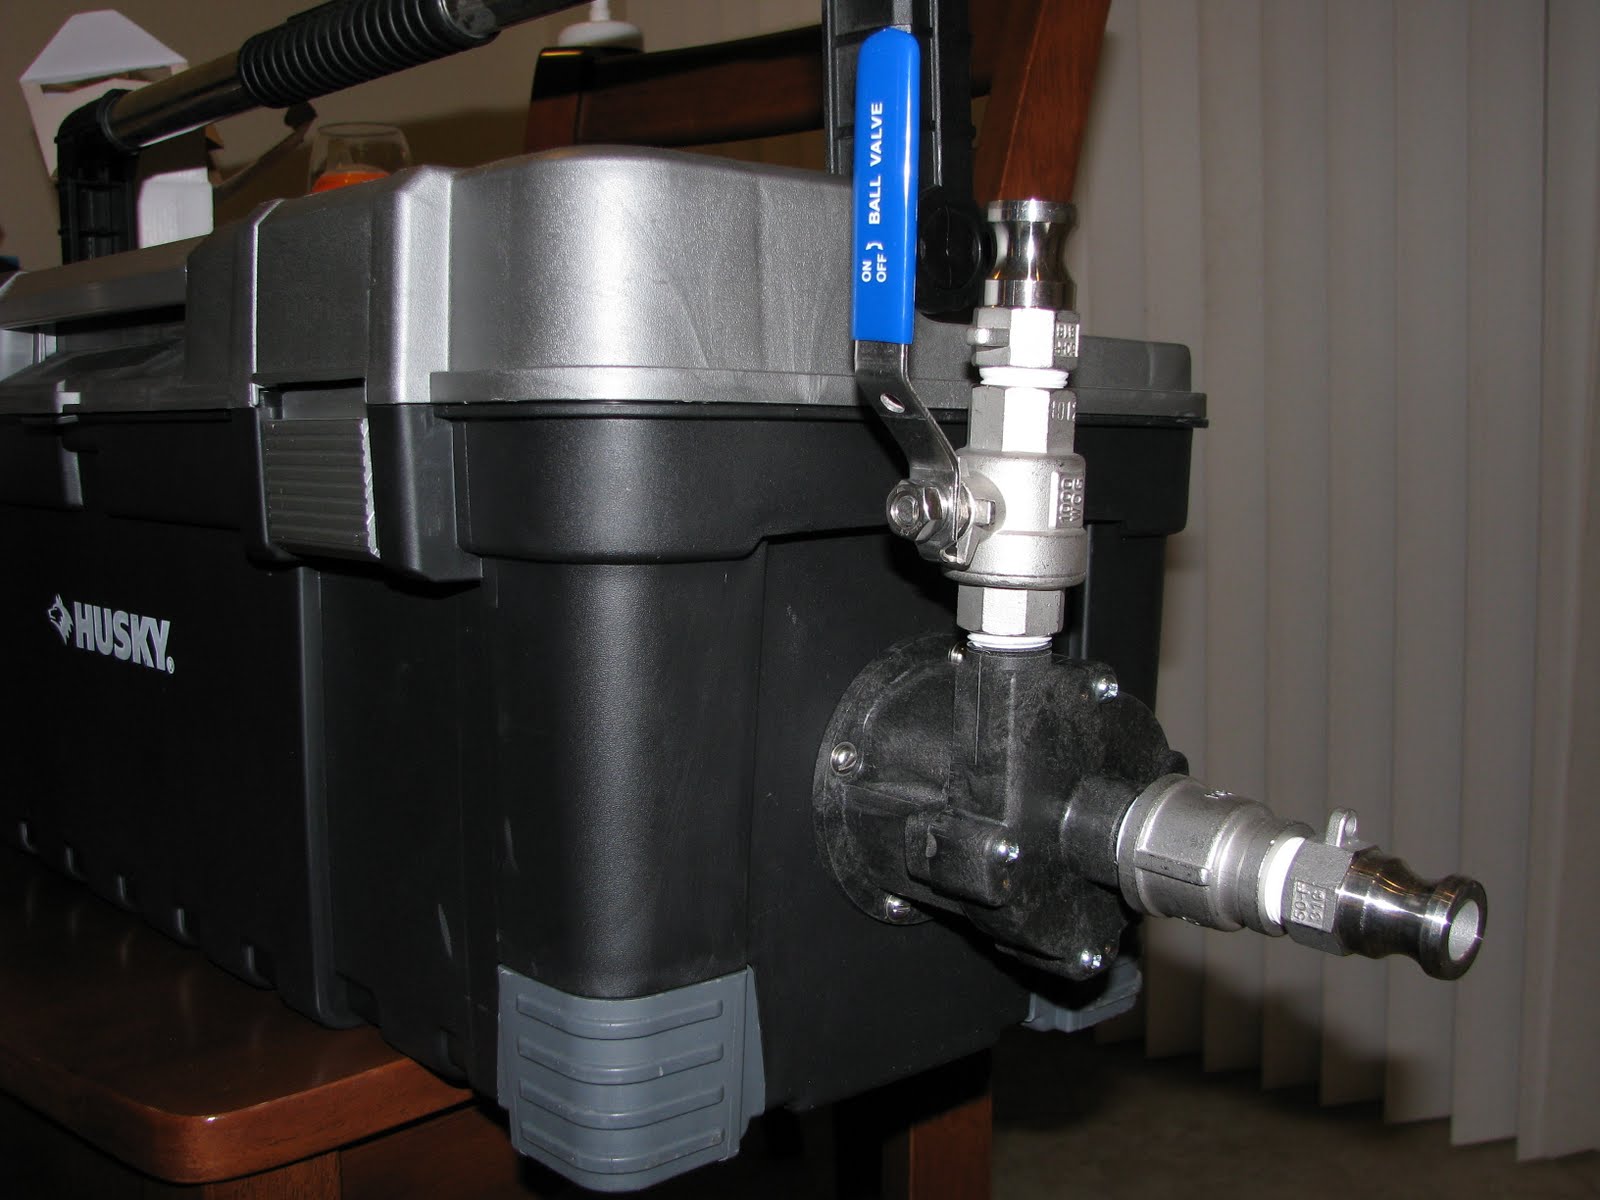
Everything that Kal documented is really good to have, but replace the CFC with a plate chiller. If you are using plastic to ferment, something to create a lot of hot water with.
extra fermentors, that means more beer I can brew and more recipes I can try
Yeah the only problem with this though is running out of either bottles or kegs to put the beer in if you are brewing faster than you drink.


Yeah the only problem with this though is running out of either bottles or kegs to put the beer in if you are brewing faster than you drink.
Wow very nice DIY mash filter. Did you see an increase in efficiency with that thing? How long is the braided line? Total cost to build?
Enter your email address to join: