You are using an out of date browser. It may not display this or other websites correctly.
You should upgrade or use an alternative browser.
You should upgrade or use an alternative browser.
Show us your Kegerator
- Thread starter Flyin' Lion
- Start date

Help Support Homebrew Talk - Beer, Wine, Mead, & Cider Brewing Discussion Forum:
This site may earn a commission from merchant affiliate
links, including eBay, Amazon, and others.
nope. you need 25 posts, then they'll show
Quoting and replying to this put me at...25!

Thanks dude. :rockin:
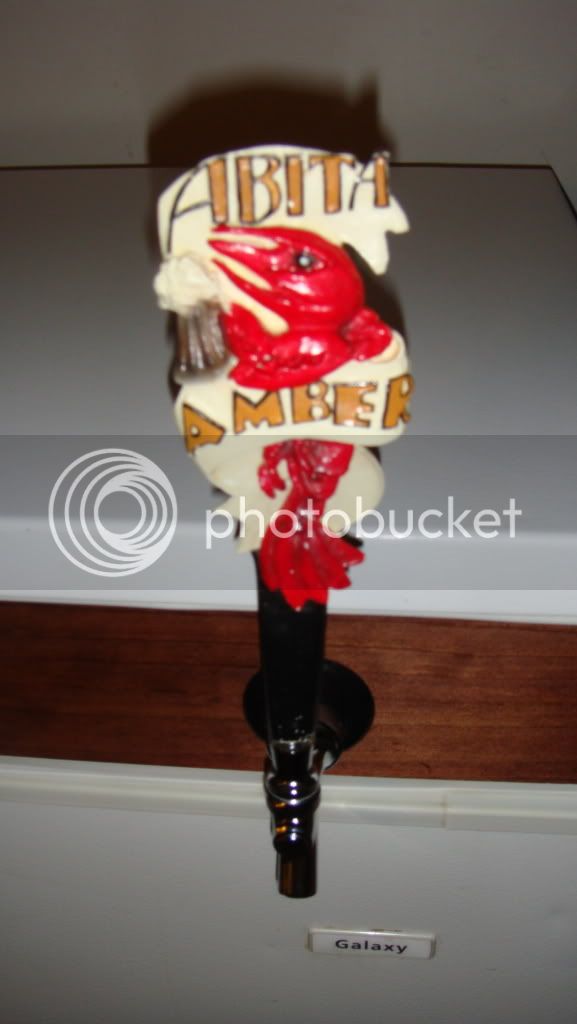
I still need to finish trimming out the drip trays and figure out something for the tap handles, but it's getting close!
So glad I went w/ Perlicks. Smooth as butter.")

So glad I went w/ Perlicks. Smooth as butter.
arturo7
Well-Known Member
Good god! 12 taps?
You should put a spinner on thing to help you decide which to drink.
Nice work.
You should put a spinner on thing to help you decide which to drink.
Nice work.
bendavanza
Well-Known Member
very nice charlos
- Joined
- Mar 4, 2009
- Messages
- 9,408
- Reaction score
- 1,926
In a word, WOW! Very nice indeed.
Thanks guys!
I need to get a chalkboard or some way of labeling the taps. After throwing a few back I have no freaking clue what is what.
Ha! I love this idea.
I need to get a chalkboard or some way of labeling the taps. After throwing a few back I have no freaking clue what is what.
You should put a spinner on thing to help you decide which to drink.
Ha! I love this idea.
arturo7
Well-Known Member
Beer tap roulette!
808Brew
New Member
Here's mine, with some inner workings shots:
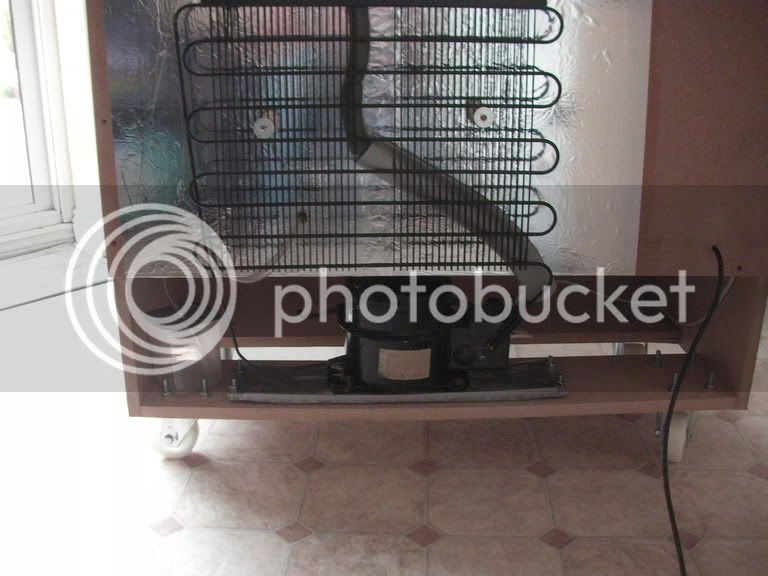
I have been looking at building a base cabinet and am trying to figure out the refrigeration. Is yours from a refrigerator?
Any suggestions?
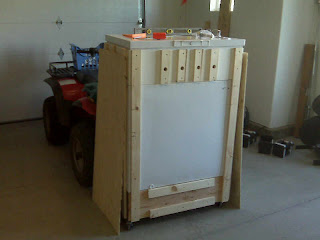
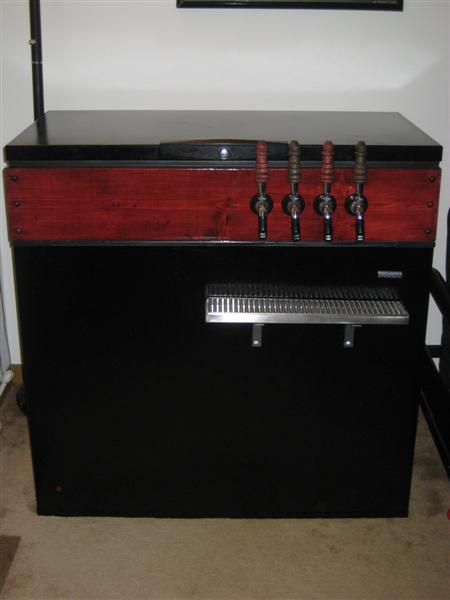
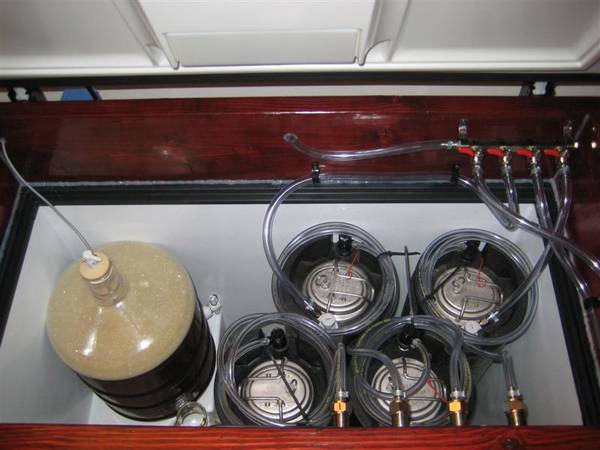
We just finished construction on ours. Still need to finish cleaning the kegs and fill the CO2 tank, but we should be in business in the next couple of days. Thanks to everyone in the forum for the great ideas. If it looks just like yours, take it as a compliment!
Sorry for the quality of the pictures, I took them with my iPhone. I'll try to get some better ones up when I get a chance.
Picasa Web Albums - Ryan - Kegerator
Picasa Web Albums - Ryan - Kegerator
Picasa Web Albums - Ryan - Kegerator
Sorry for the quality of the pictures, I took them with my iPhone. I'll try to get some better ones up when I get a chance.
Picasa Web Albums - Ryan - Kegerator
Picasa Web Albums - Ryan - Kegerator
Picasa Web Albums - Ryan - Kegerator
cellardoor
Well-Known Member
We just finished construction on ours. Still need to finish cleaning the kegs and fill the CO2 tank, but we should be in business in the next couple of days. Thanks to everyone in the forum for the great ideas. If it looks just like yours, take it as a compliment!
Sorry for the quality of the pictures, I took them with my iPhone. I'll try to get some better ones up when I get a chance.
Picasa Web Albums - Ryan - Kegerator
Picasa Web Albums - Ryan - Kegerator
Picasa Web Albums - Ryan - Kegerator
In reference to your second pic: *Cue Seinfeld reference* Are you sure it's not 'on the wagon'?
dasein668
Well-Known Member
Mine is pretty much stolen straight from Jester's Keezer thread. I'm planning to build a cabinet for it, but I wanted to get it pouring first. Cherry. Only 3 taps now, but designed for a total of 5.


- Joined
- Nov 6, 2007
- Messages
- 62,016
- Reaction score
- 6,922
Mine is pretty much stolen straight from Jester's Keezer thread. I'm planning to build a cabinet for it, but I wanted to get it pouring first. Cherry. Only 3 taps now, but designed for a total of 5.
Very nice. I went that route too and made my box way too large. I like yours. I've been saying I need to rebuild for a while, But it's so hard to disassemble a working keezer to put it out of commission. Even temporarily.
In reference to your second pic: *Cue Seinfeld reference* Are you sure it's not 'on the wagon'?
I guess it could be, but we are calling our little operation Off The Wagon Brewing. Either way, cheers!
ODP
Well-Known Member
I still need to finish trimming out the drip trays and figure out something for the tap handles, but it's getting close!
So glad I went w/ Perlicks. Smooth as butter.
Holy Cow! That is a sight to behold! If you ever need any help "testing" your brew, I'm only a short drive away in New Braunfels! lol

hitbyatrain
Member
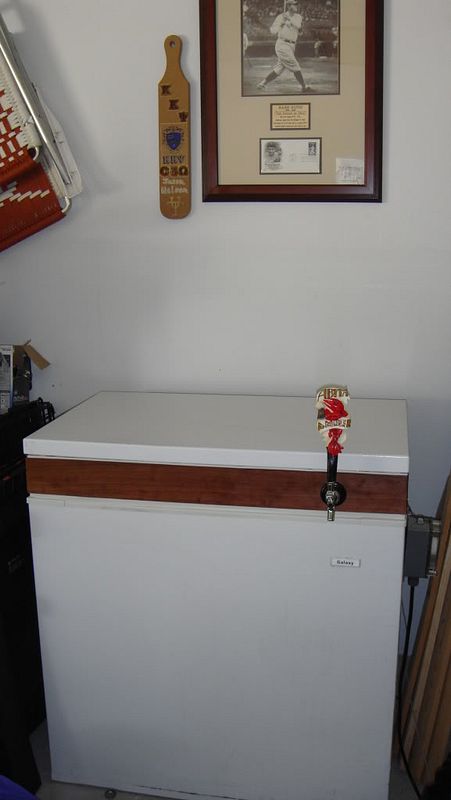
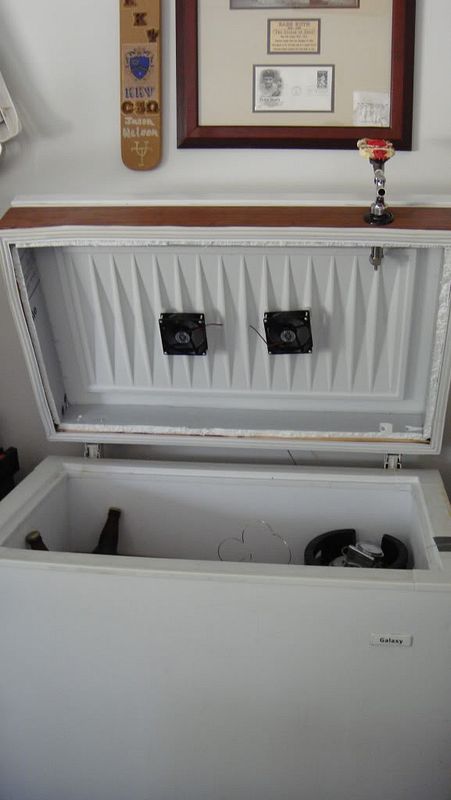
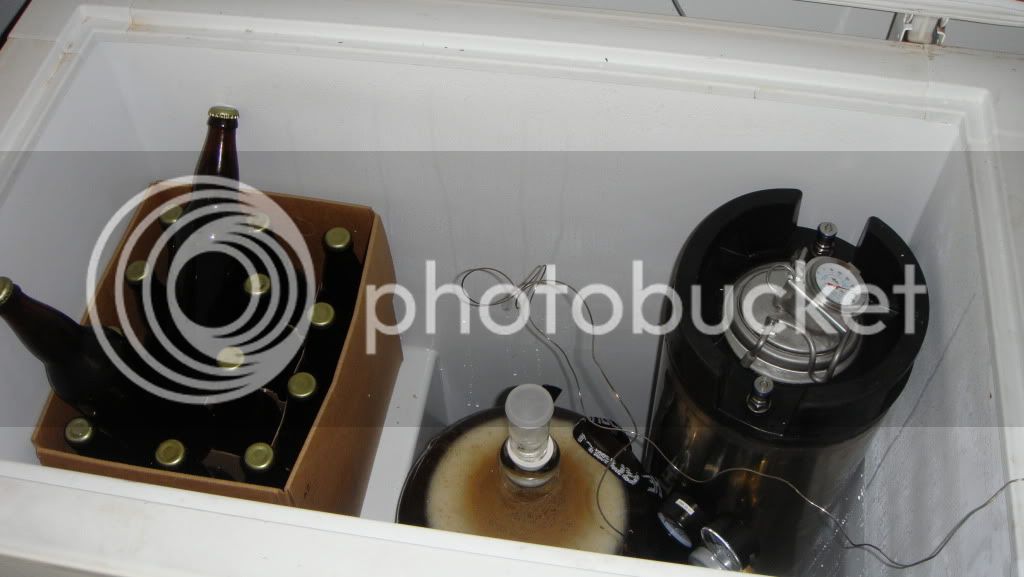
here's mine. found the freezer on craigslist for $40. only one tap so far, though there's room for six cornies in there if i put two on the hump.
brokenanchor
Well-Known Member
I still need to finish trimming out the drip trays and figure out something for the tap handles, but it's getting close!
So glad I went w/ Perlicks. Smooth as butter.
It's only 13 hours from here to Austin...expect me for brunch (I'll have the beer please) and lace up your drinkin' shoes, because Thursday morning is the new Saturday night.
I'd get some thin wood sheeting (what ever they call that real wood stuff) and cover the rest of your freezer with it.I still need to finish trimming out the drip trays and figure out something for the tap handles, but it's getting close!
So glad I went w/ Perlicks. Smooth as butter.
Looks pretty nice. I guess you are a busy brewer!
brokenanchor
Well-Known Member
Very nice. I went that route too and made my box way too large. I like yours. I've been saying I need to rebuild for a while, But it's so hard to disassemble a working keezer to put it out of commission. Even temporarily.
I like the mirror placement so you can watch the beer being poured from a different angle...I have the same kind of effect goin' on at my place, but not on my kegerator.
Tripod
Well-Known Member
I still need to finish trimming out the drip trays and figure out something for the tap handles, but it's getting close!
So glad I went w/ Perlicks. Smooth as butter.
That is what it's allllll about!
Holy ****. Badass.
I'd get some thin wood sheeting (what ever they call that real wood stuff) and cover the rest of your freezer with it.
Yeah, that's probably next on the list. I was hoping the "stainless" paint would turn out better than it did, but you live and you learn!
Looks pretty nice. I guess you are a busy brewer!
Not as much as I would like lately. Luckily most of my friends still drink Natty/Keystone/whatever cheap random piss they can find...so most of the kegs still last a while.
Thanks for all the kind words guys!
Tripod
Well-Known Member
Thanks for all the kind words guys!
Here are a few more for ya..."check out that avatar!!!"
-Tripod
ODP
Well-Known Member
you beat me to it- hummina hummina!
Tripod
Well-Known Member
Spacers/nailers attached
Lucky, this looks good! Are the spacers/nailers to allow space between the paneling and metal because the sides act as heat-sinks?
-Tripod
I covered my freezer with wood using just liquid nails. It now wont go below about 43 F. That's cold enough for me, but just barely. If I could do it over, I would use spacers, and probably put fans in to pull out any hot air.

Awesome dogs. I miss having one...Had a lab until a few years ago when he had to be put down. Hope to get another dog next spring or summer.
scopey
Well-Known Member
Yeah Schweaty, that looks like Rick500's black 7.2 cu ft freezer from Lowes. Mine is being delivered tomorrow ($225 delivered, after 10% coupon and California's nearly 10% sales tax). I'm planning to get a larger CO2 tank and pipe it in too.
Question: You guys run these with the freezer thermostat full on, right? Just letting your added temperature controller & probe do the regulating?
Question: You guys run these with the freezer thermostat full on, right? Just letting your added temperature controller & probe do the regulating?
Very nice! Looks familiar.
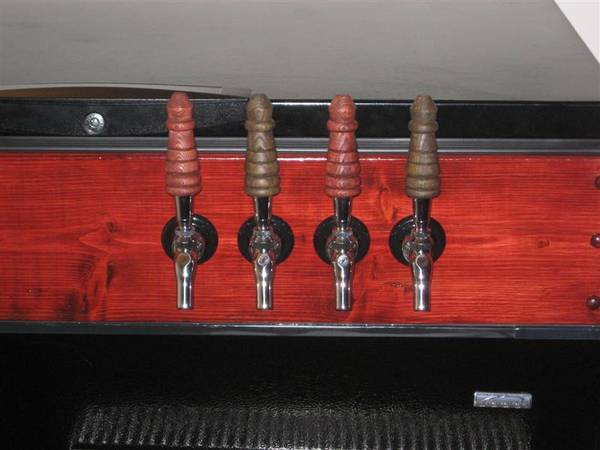
How did you attach the drip tray?
Yeah, I already had the black freezer and after seeing the maroon colored stain on your colar I was sold!
I attached the drip tray as per Bobby's suggestion, epoxy the angle brackets to the freezer and use velcro to hold the drip tray on. Very sturdy and holds a couple of full pints. I'm going to use the same process to secure the 5lb CO2 tank to the outside.
Question: You guys run these with the freezer thermostat full on, right? Just letting your added temperature controller & probe do the regulating?
I doesn't really matter what the freezer thermostat is on. Your controller and probe do all the work and control when the freezer kicks on and off. The tricky part is getting the temperature right. I used a White Labs yeast bottle and run the probe into that. I'm going to have to pull a few pints and check the temperature to see where it stands and make adjustments there.
In other words, if the thermostat is reading 45 degrees it might not be the same temp as the beer. Just have to check the actual temp of the beer and adjust the thermostat accordingly.
You just have to make sure the freezer's thermostat is set for a lower temperature than the controller that's actually controlling the temperature, so that whenever the controller tells the compressor to turn on, the freezer's thermostat is also telling the compressor to turn on. It only takes one of them to keep the compressor off.
schweaty and Rick500,
Do you both have that Frigidaire 7.2 freezer? I think I'm going to model mine after your two kegerators (and Demon's and planenut's). I may have missed it, but how did you two attach your collars to the freezer? I'm contemplating going the dual hinge route, but keeping things simple is also very appealing. It looks like schweaty was able to keep the inside really clean looking. A second question, I'd love to see pictures of the back of your kegerators. Could you guys post that? I'm not entirely sure how I want to handle all of this yet and I'm looking for all the input I can get.
Do you both have that Frigidaire 7.2 freezer? I think I'm going to model mine after your two kegerators (and Demon's and planenut's). I may have missed it, but how did you two attach your collars to the freezer? I'm contemplating going the dual hinge route, but keeping things simple is also very appealing. It looks like schweaty was able to keep the inside really clean looking. A second question, I'd love to see pictures of the back of your kegerators. Could you guys post that? I'm not entirely sure how I want to handle all of this yet and I'm looking for all the input I can get.
I removed the screws holding the hinges to the back of the freezer, put weather stripping on the bottom of the collar and put it in place on the freezer (I didn't fasten it down; the lid and collar are heavy enough to stay put without adhesive), put the lid in place on top of the collar, and marked the positions where I needed to drill holes through the collar for hinge bolts. Then I used 1/4"-length plastic spacers between the hinges and the collar, and to fasten the hinges to the collar, I used bolts long enough to go through to the inside of the collar and leave some room to put nuts on.
I posted a pic of the back of the keezer somewhere here... If you search for +Rick500 +hinges you'll probably see it.
I posted a pic of the back of the keezer somewhere here... If you search for +Rick500 +hinges you'll probably see it.
Mine is the Kenmore 8.8 from Sears. I can comfortably fit 6 cornies there and still have room for hops and bottle beers. They are 20% off right now and they've been running that for weeks now.
I attached the collar with liquid nails and then filled in the inside and outside seams with silicone. The hinges are on the door which is mounted to the collar.
I attached the collar with liquid nails and then filled in the inside and outside seams with silicone. The hinges are on the door which is mounted to the collar.
Thanks, guys! I actually ordered the Kenmore 8.8 a while back. It's at Sears just waiting for me to take it home (had trouble fitting the freezer into my SUV). I'm glad to hear that it will fit 6 cornies. That will give me plenty of room to expand. For now though, four cornies and a carboy will be ideal. Two questions for you schweaty: (1) Do you think the CO2 tank might fit in there as well? and (2) is that an 8" collar?
Rick500, I may have missed this somewhere, but I had not heard of anyone just setting the collar/lid combo on top of the freezer without adhesive (edit: I have seen people hinge both the collar and the lid, in which case, they did not do anything outside of the hinge itself to secure the collar to the freezer). Is there really no cause for concern when you fully open the lid? Any air leakage? If not, this sounds like a great solution for me as one of my goals is to modify the freezer as little as possible. It sounds like your design avoids all modifications to the freezer itself (except removing the bolts for the hinge).
Rick500, I may have missed this somewhere, but I had not heard of anyone just setting the collar/lid combo on top of the freezer without adhesive (edit: I have seen people hinge both the collar and the lid, in which case, they did not do anything outside of the hinge itself to secure the collar to the freezer). Is there really no cause for concern when you fully open the lid? Any air leakage? If not, this sounds like a great solution for me as one of my goals is to modify the freezer as little as possible. It sounds like your design avoids all modifications to the freezer itself (except removing the bolts for the hinge).
