garbageman
Well-Known Member
Yes, even in the rain for the first brew, it had me more relaxed and able to enjoy the brewing day. paint is holding up great. All 2000 degree paint.

Yes, even in the rain for the first brew, it had me more relaxed and able to enjoy the brewing day. paint is holding up great. All 2000 degree paint.
day_trippr said:How did you cure the paint?
I'm about to start wrestling with paint on my stand and curing high temp paint on such large structures seems to be problematic at best...
Cheers!
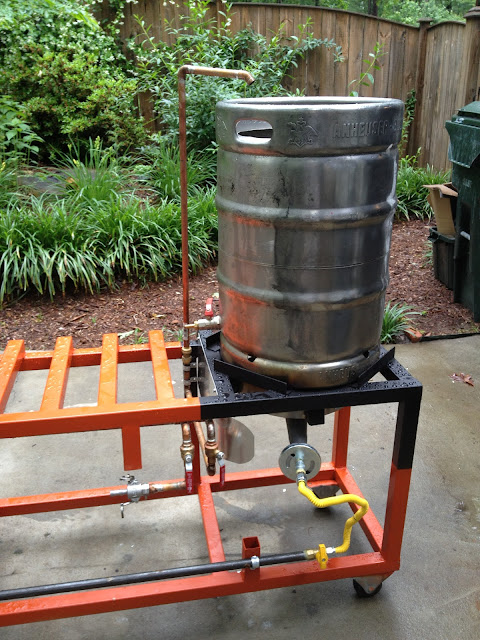
wncbrewer said:Where is the best place to get this paint, every thing I have found at local auto parts and lowes is only rated for 900-1200?

garbageman said:Never used the shark bite fittings but am impressed. If it wouldn't have doubled the cost of the rig, I would have done them instead of sweating fittings.
Rossi46
What did you use for paint?
I have it almost done. Hope to wet test this weekend. Plumbed gas tonight, tomorrow I'll plumb water.
Option said:Very nice! I love the rig, just wondering, are you are direct firing with RIMS for your mash? If so why?
Great work...


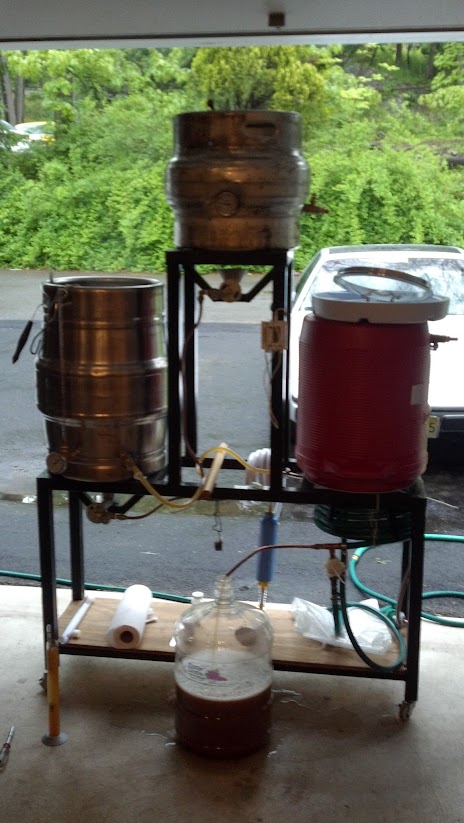
Rivenin said:heres the new one.. gonna do a test batch this weekend and see where my numbers lie. probably will add supports in the middle, but we will see after this weekend!
then paint.. but not sure on a color.
")


Old ^^^^heres the new one.. gonna do a test batch this weekend and see where my numbers lie. probably will add supports in the middle, but we will see after this weekend!

then paint.. but not sure on a color.

 . Other then a siphon loss. all worked well!
Rivenin said:Old ^^^^
new v v v v v
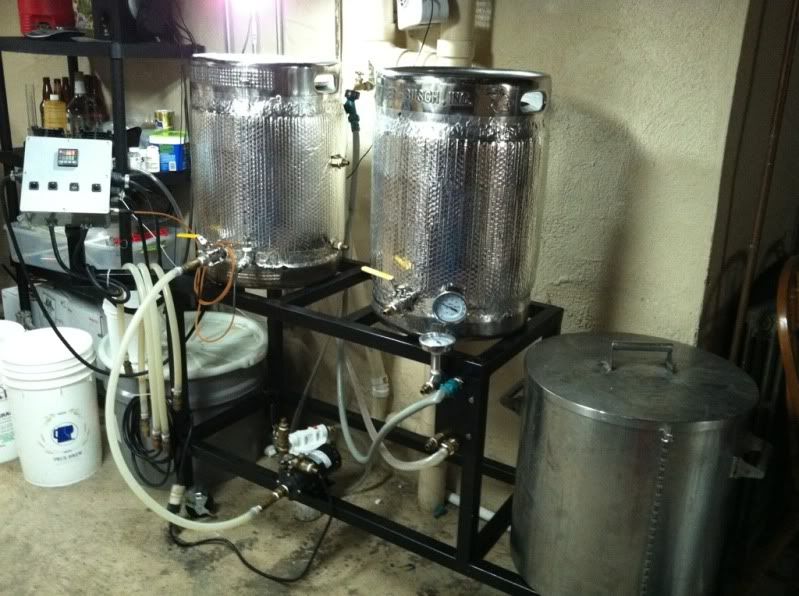
got some keggles and broke it in yesterday.
Next up is welding supports in the middle!
it was fine with the kettles, but not the keggles. :fro:
Also i built a propane manifold for it... 30PSI for any of our burners is WAY overkill i found out
Are you able to pump for you BK? Looks like your pump is at the same level.

gyropilot1 said:my brutus 10 still debugging

Why don't you guys make use of aluminum casserole in the place of the kegs?
Like these: http://www.hendler.co.za/images/cater_aluminiumhotel_cass_lrg.jpg
Will the aluminum make a chemical reaction that can harm your brew? The aluminum casserole are much easier obtainable than kegs.
Enter your email address to join: