Fermentation Chamber Build #5,000!

Homebrew Talk - Beer, Wine, Mead, & Cider Brewing Discussion Forum

Help Support Homebrew Talk - Beer, Wine, Mead, & Cider Brewing Discussion Forum:

This site may earn a commission from merchant affiliate links, including eBay, Amazon, and others.

showcow

Well-Known Member
Joined
Apr 5, 2011
Messages
130
Reaction score
9
I've been brewing on-and-off for the past 7 years, and continuously for the past 4. Every beer i've made has fermented in my utility room, which is partially underground. Unfortunately, this room also houses my washer/dryer, which means that the temperature can fluctuate a bit. A bucket of water usually reads anywhere from 68-72 year round, so for a while I thought everything was within reasonable margins.

Point is, most of my beers were fine. My "house strain" is London Ale III, which I think is great for pale ales, IPA's... pretty much anything where the yeast doesn't play a huge role. I always had trouble with any beer using German Ale yeasts, or Hefe yeasts, etc. because of the combination of fluctuating temperatures and being on the high side of the temperature range. So after 4 years in my town house, I decided it was time to build a fermentation chamber so that I wouldn't have to worry anymore about my inconsistent / slightly high temps. Here's the build!

iWgqq.jpg


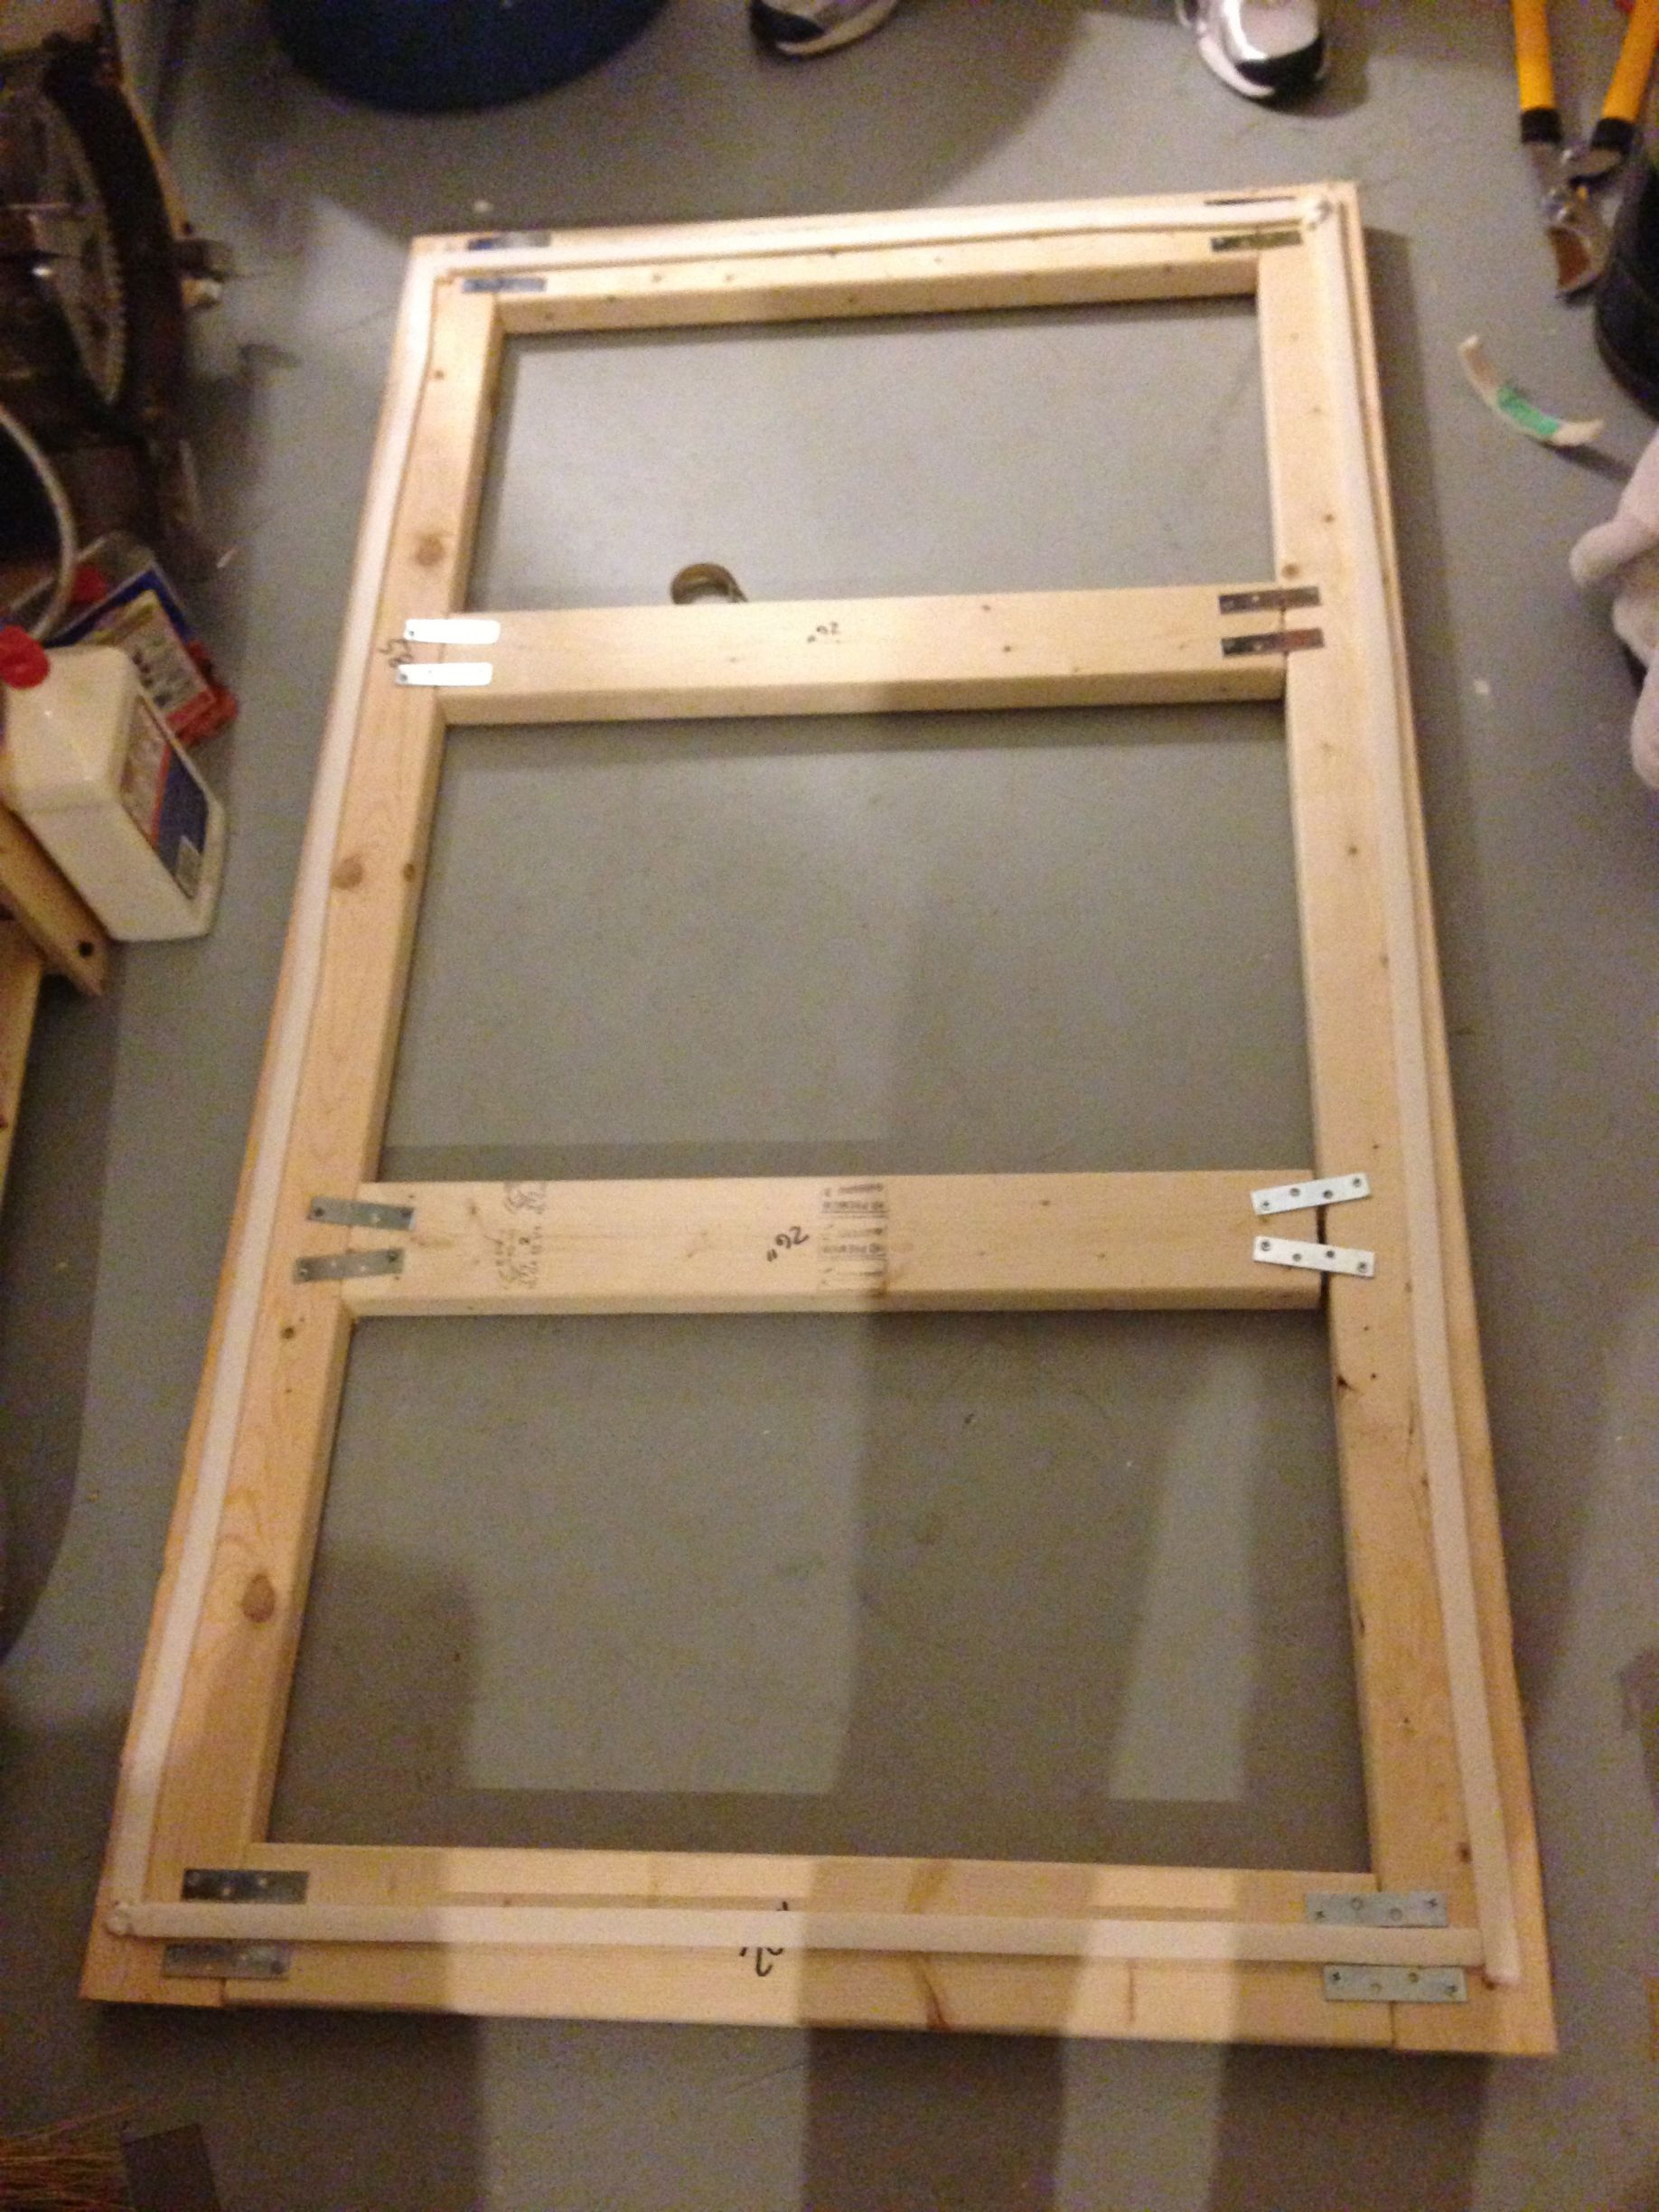
This is the base. I based (heh) my build on that of stratslinger's build: https://www.homebrewtalk.com/f51/another-fermentation-chamber-build-253949/

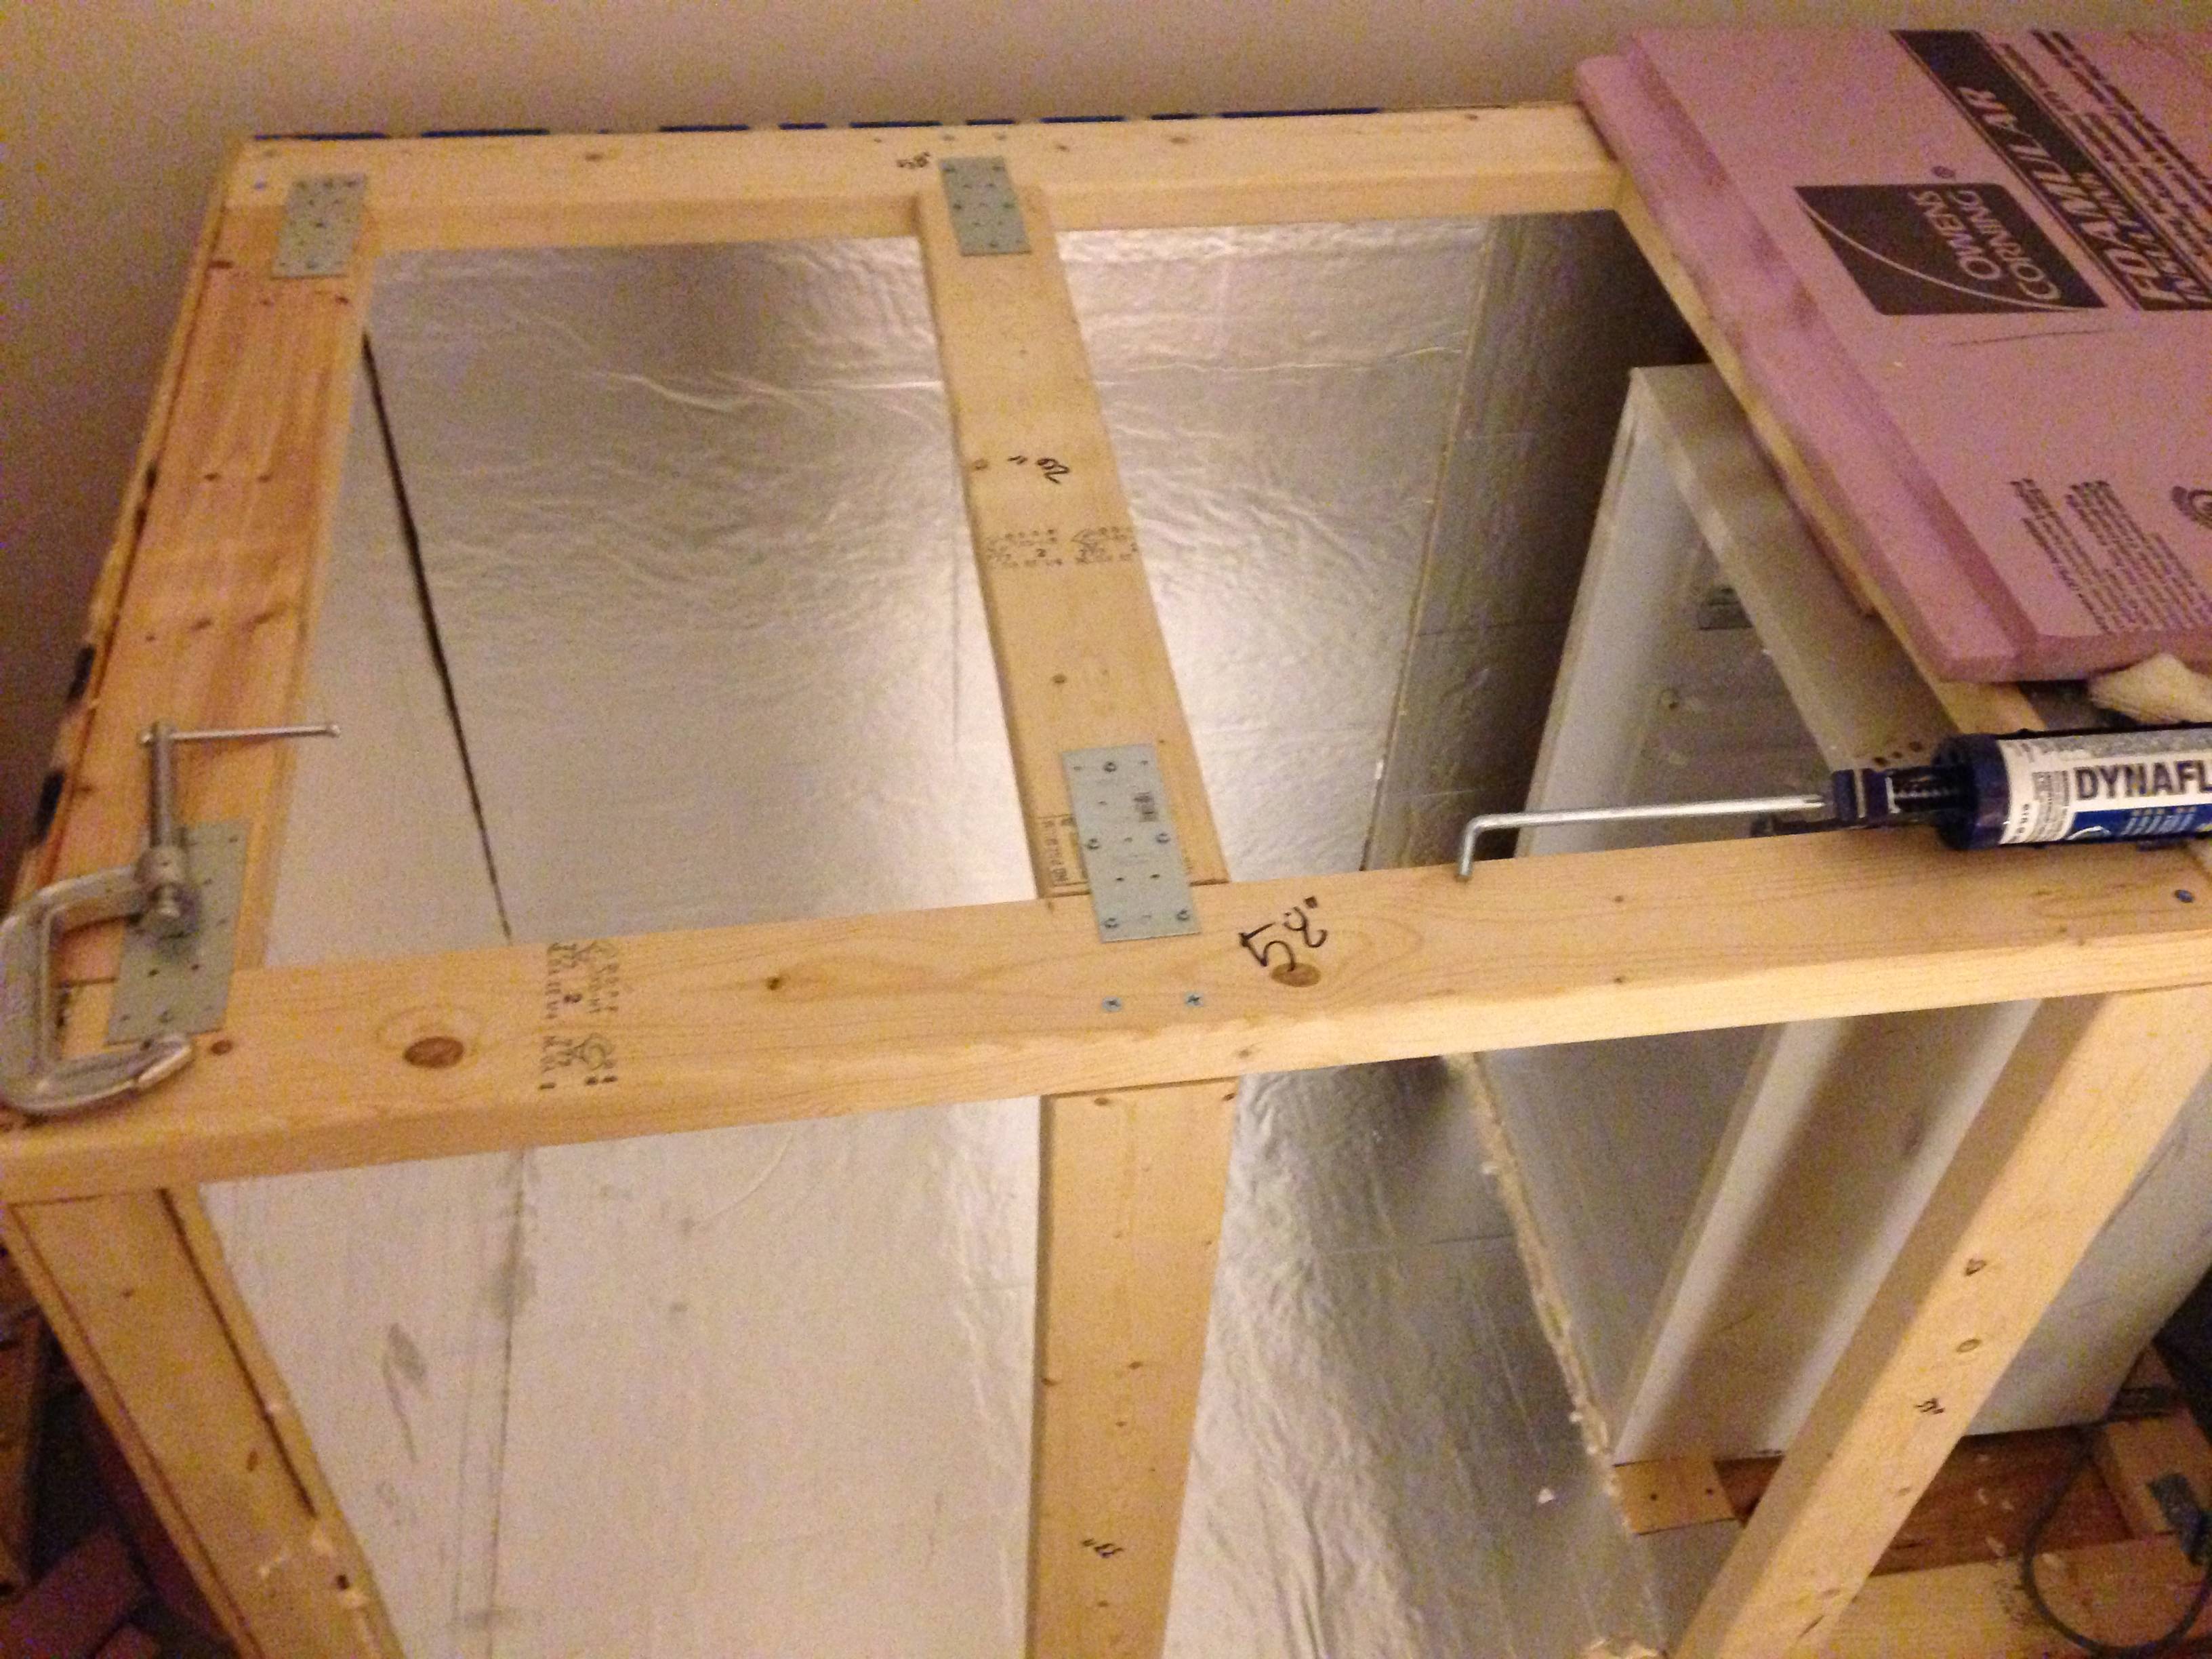
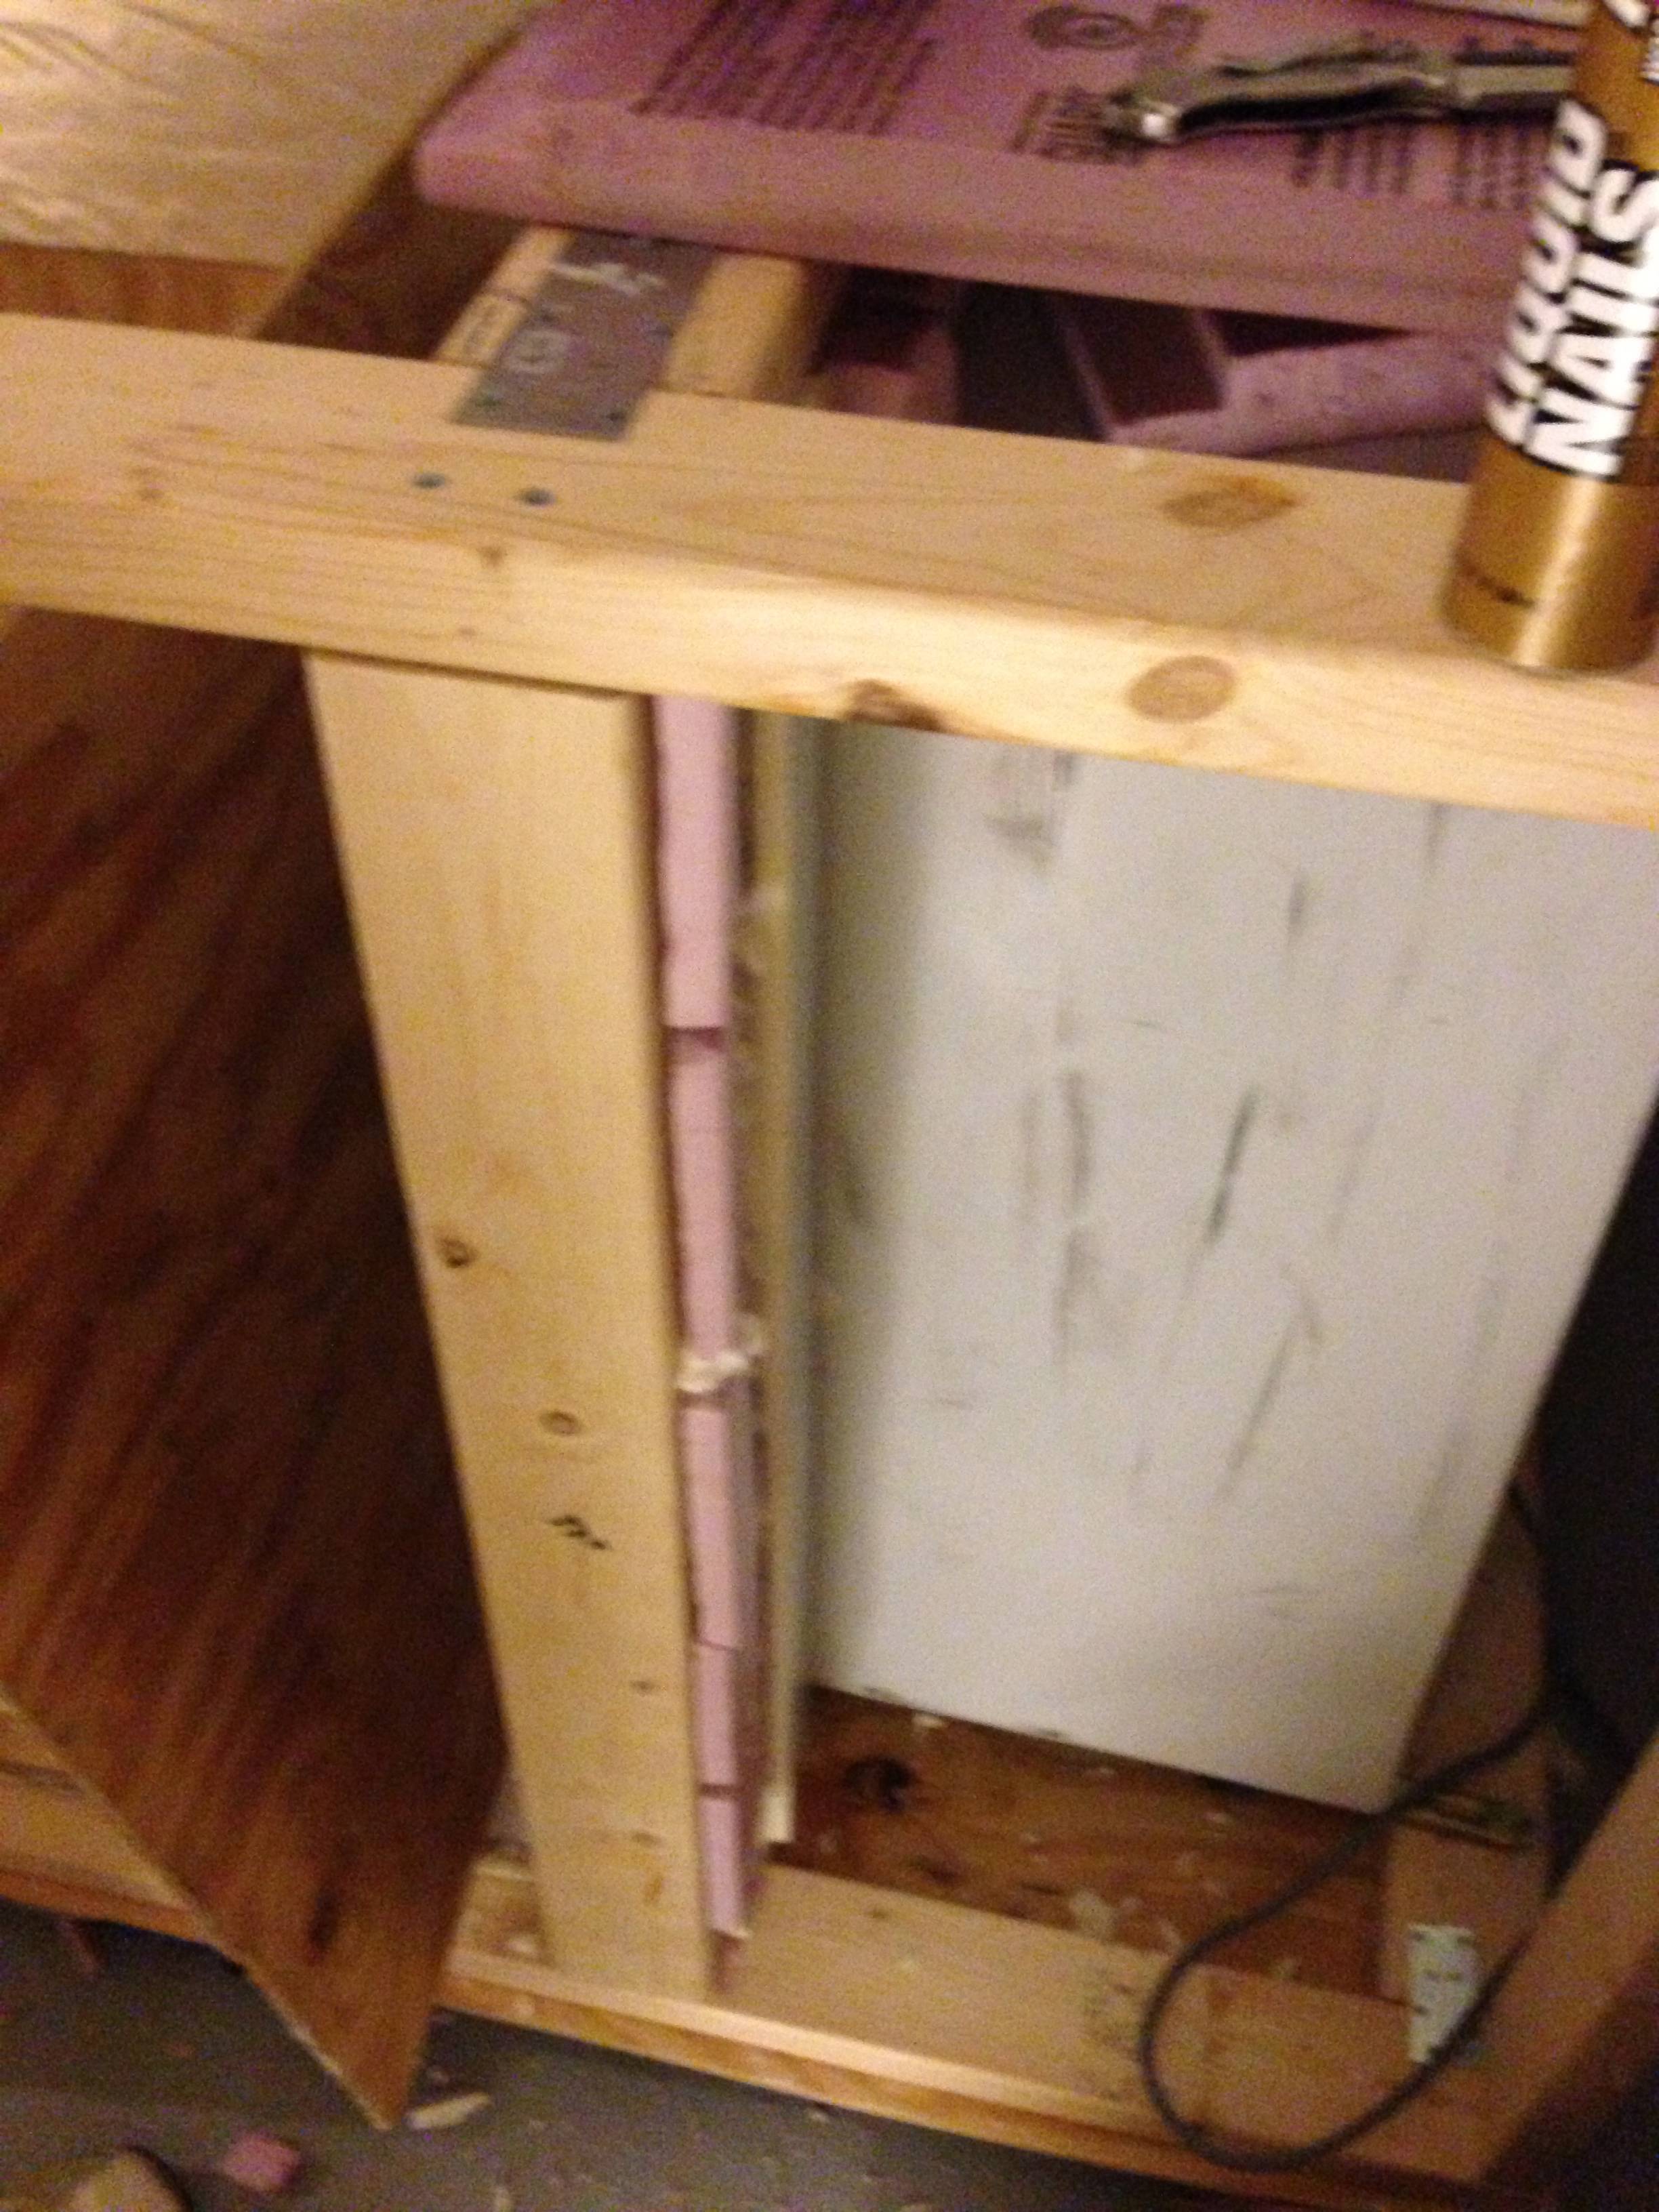
I should've used something cheaper to attach the 2x4's to each other, but I'm not so handy so I didn't know the cheapest option. Stratslinger used a pocket hole jig (and his work was beautiful!) but I'm easily swayed... so when i found out that my local Home Depot was no longer carrying pocket hole jigs, I decided to do it this way. I also have the mending plates on the other side of the base, because with only one side it wasn't nearly sturdy enough. Honestly I can't remember why I used the weather stripping between the base and the bottom layer (the side pictured is actually the bottom side).

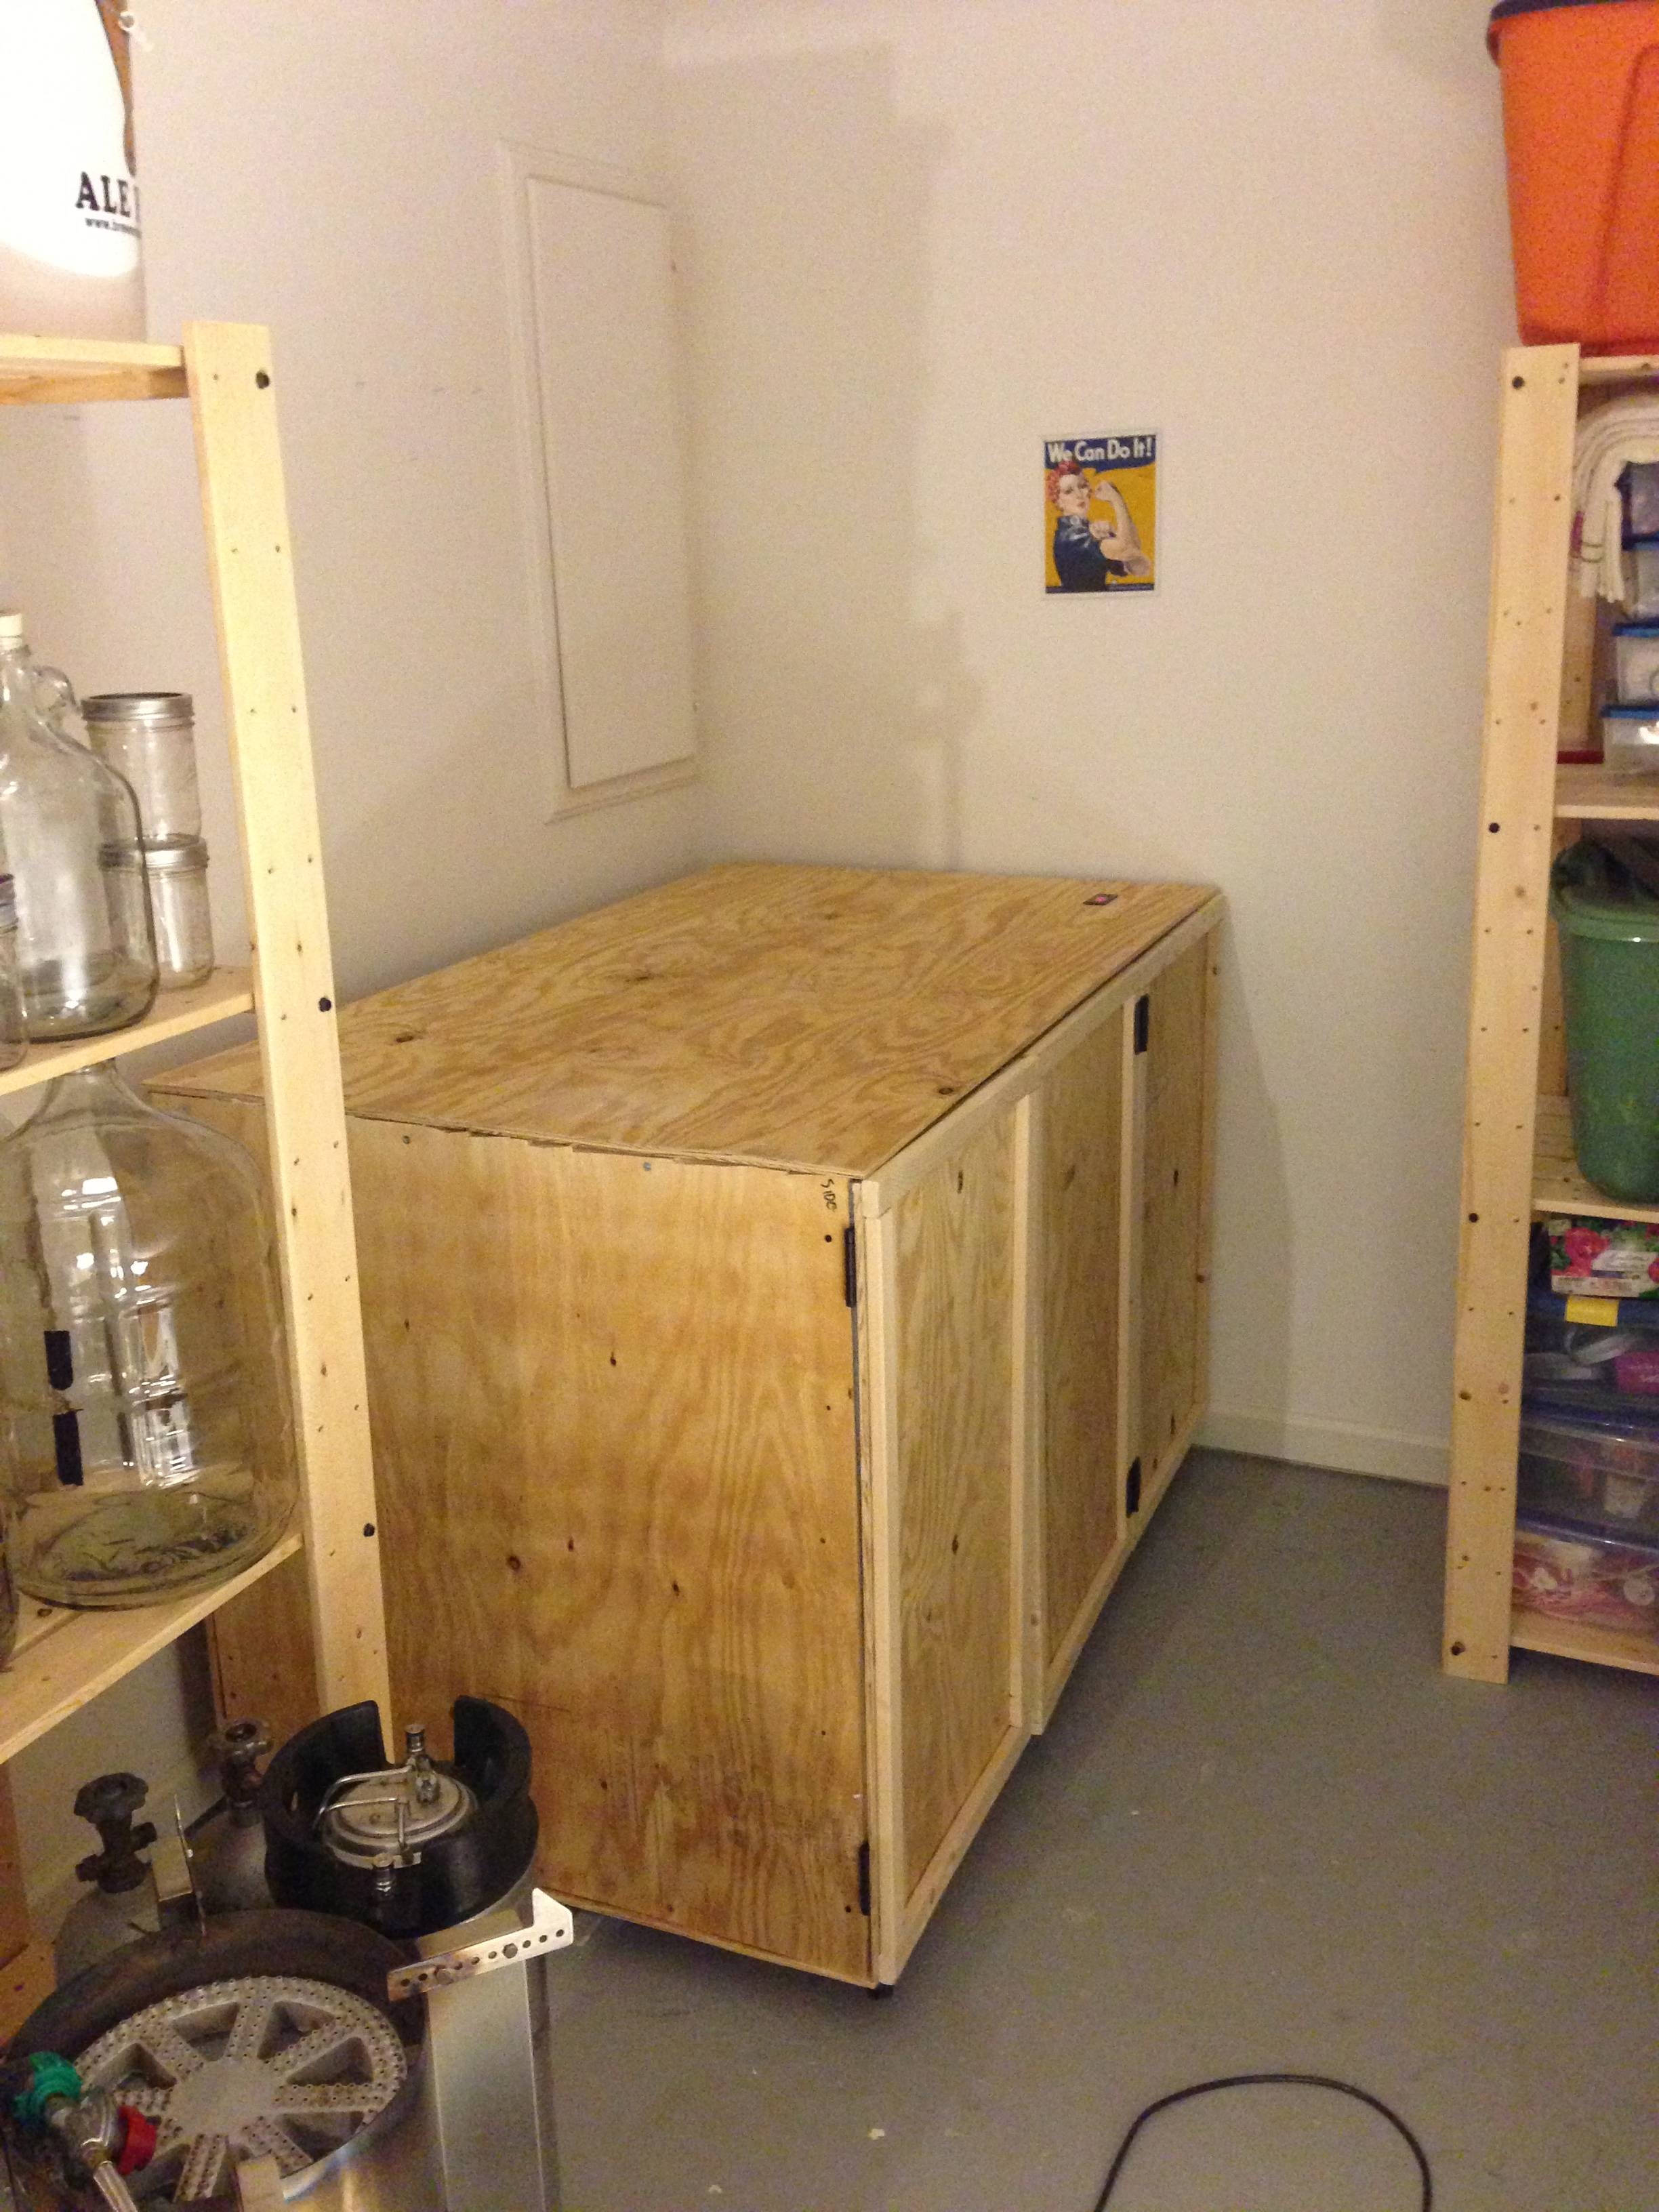
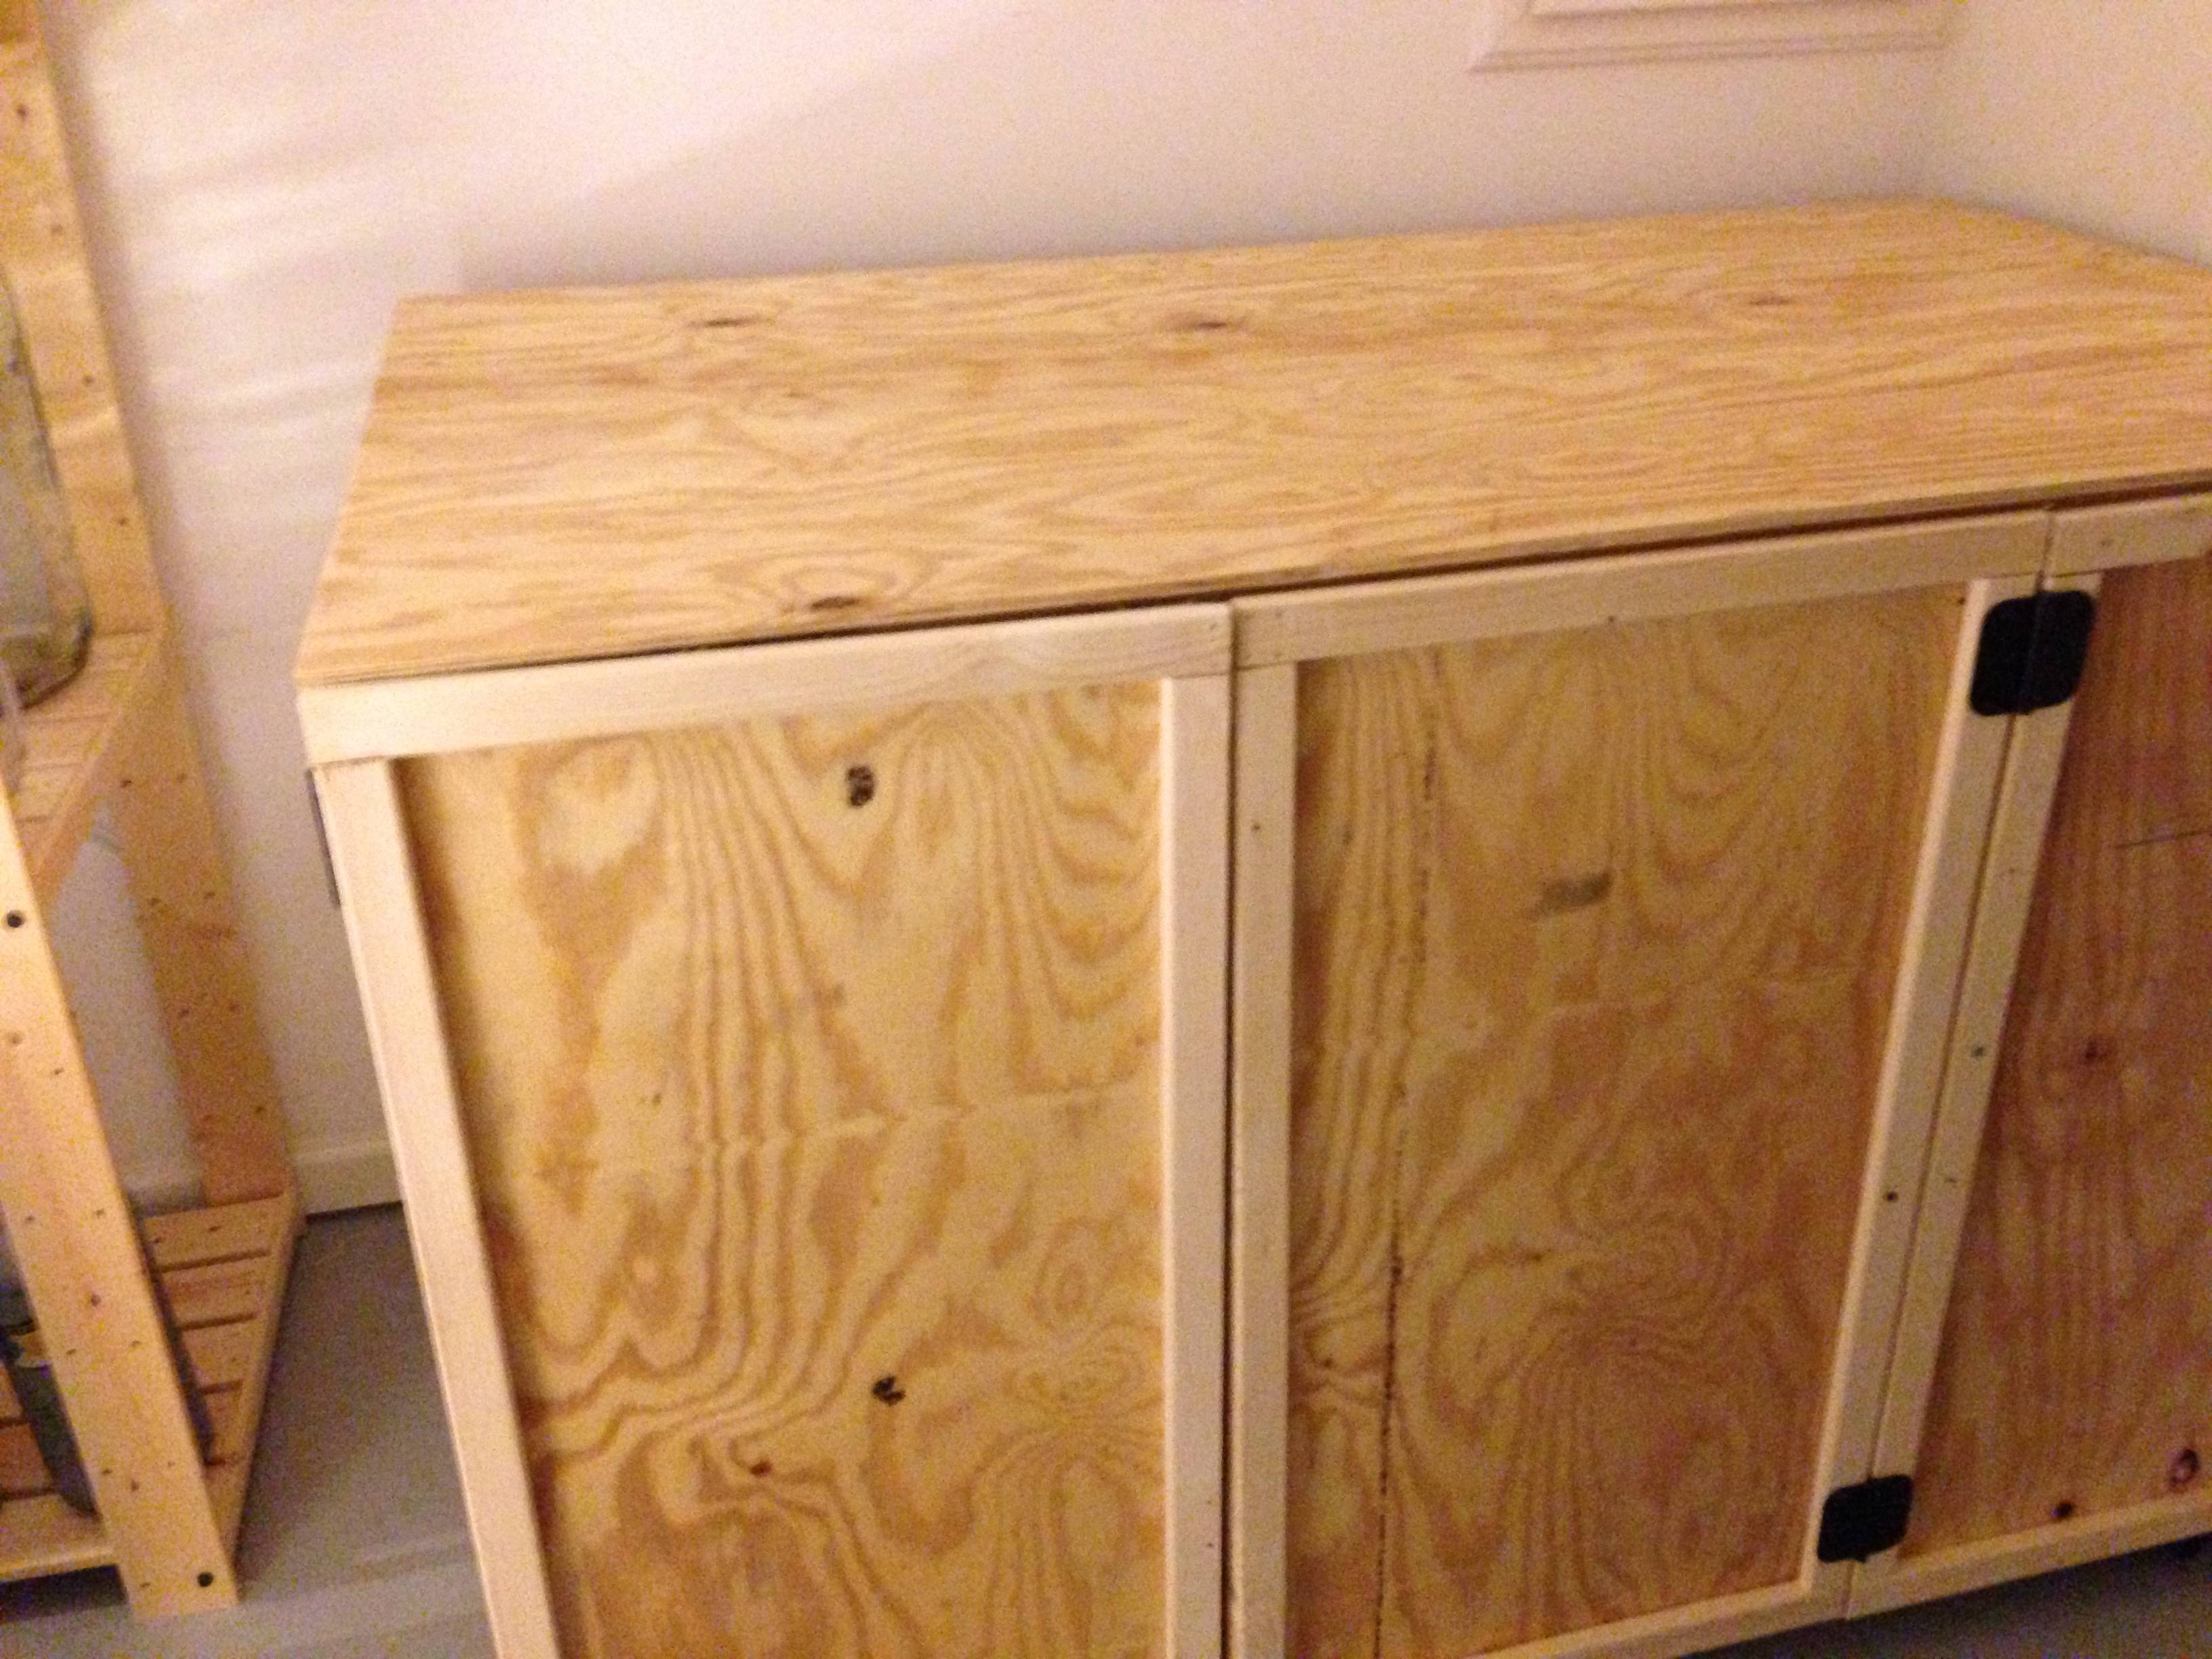
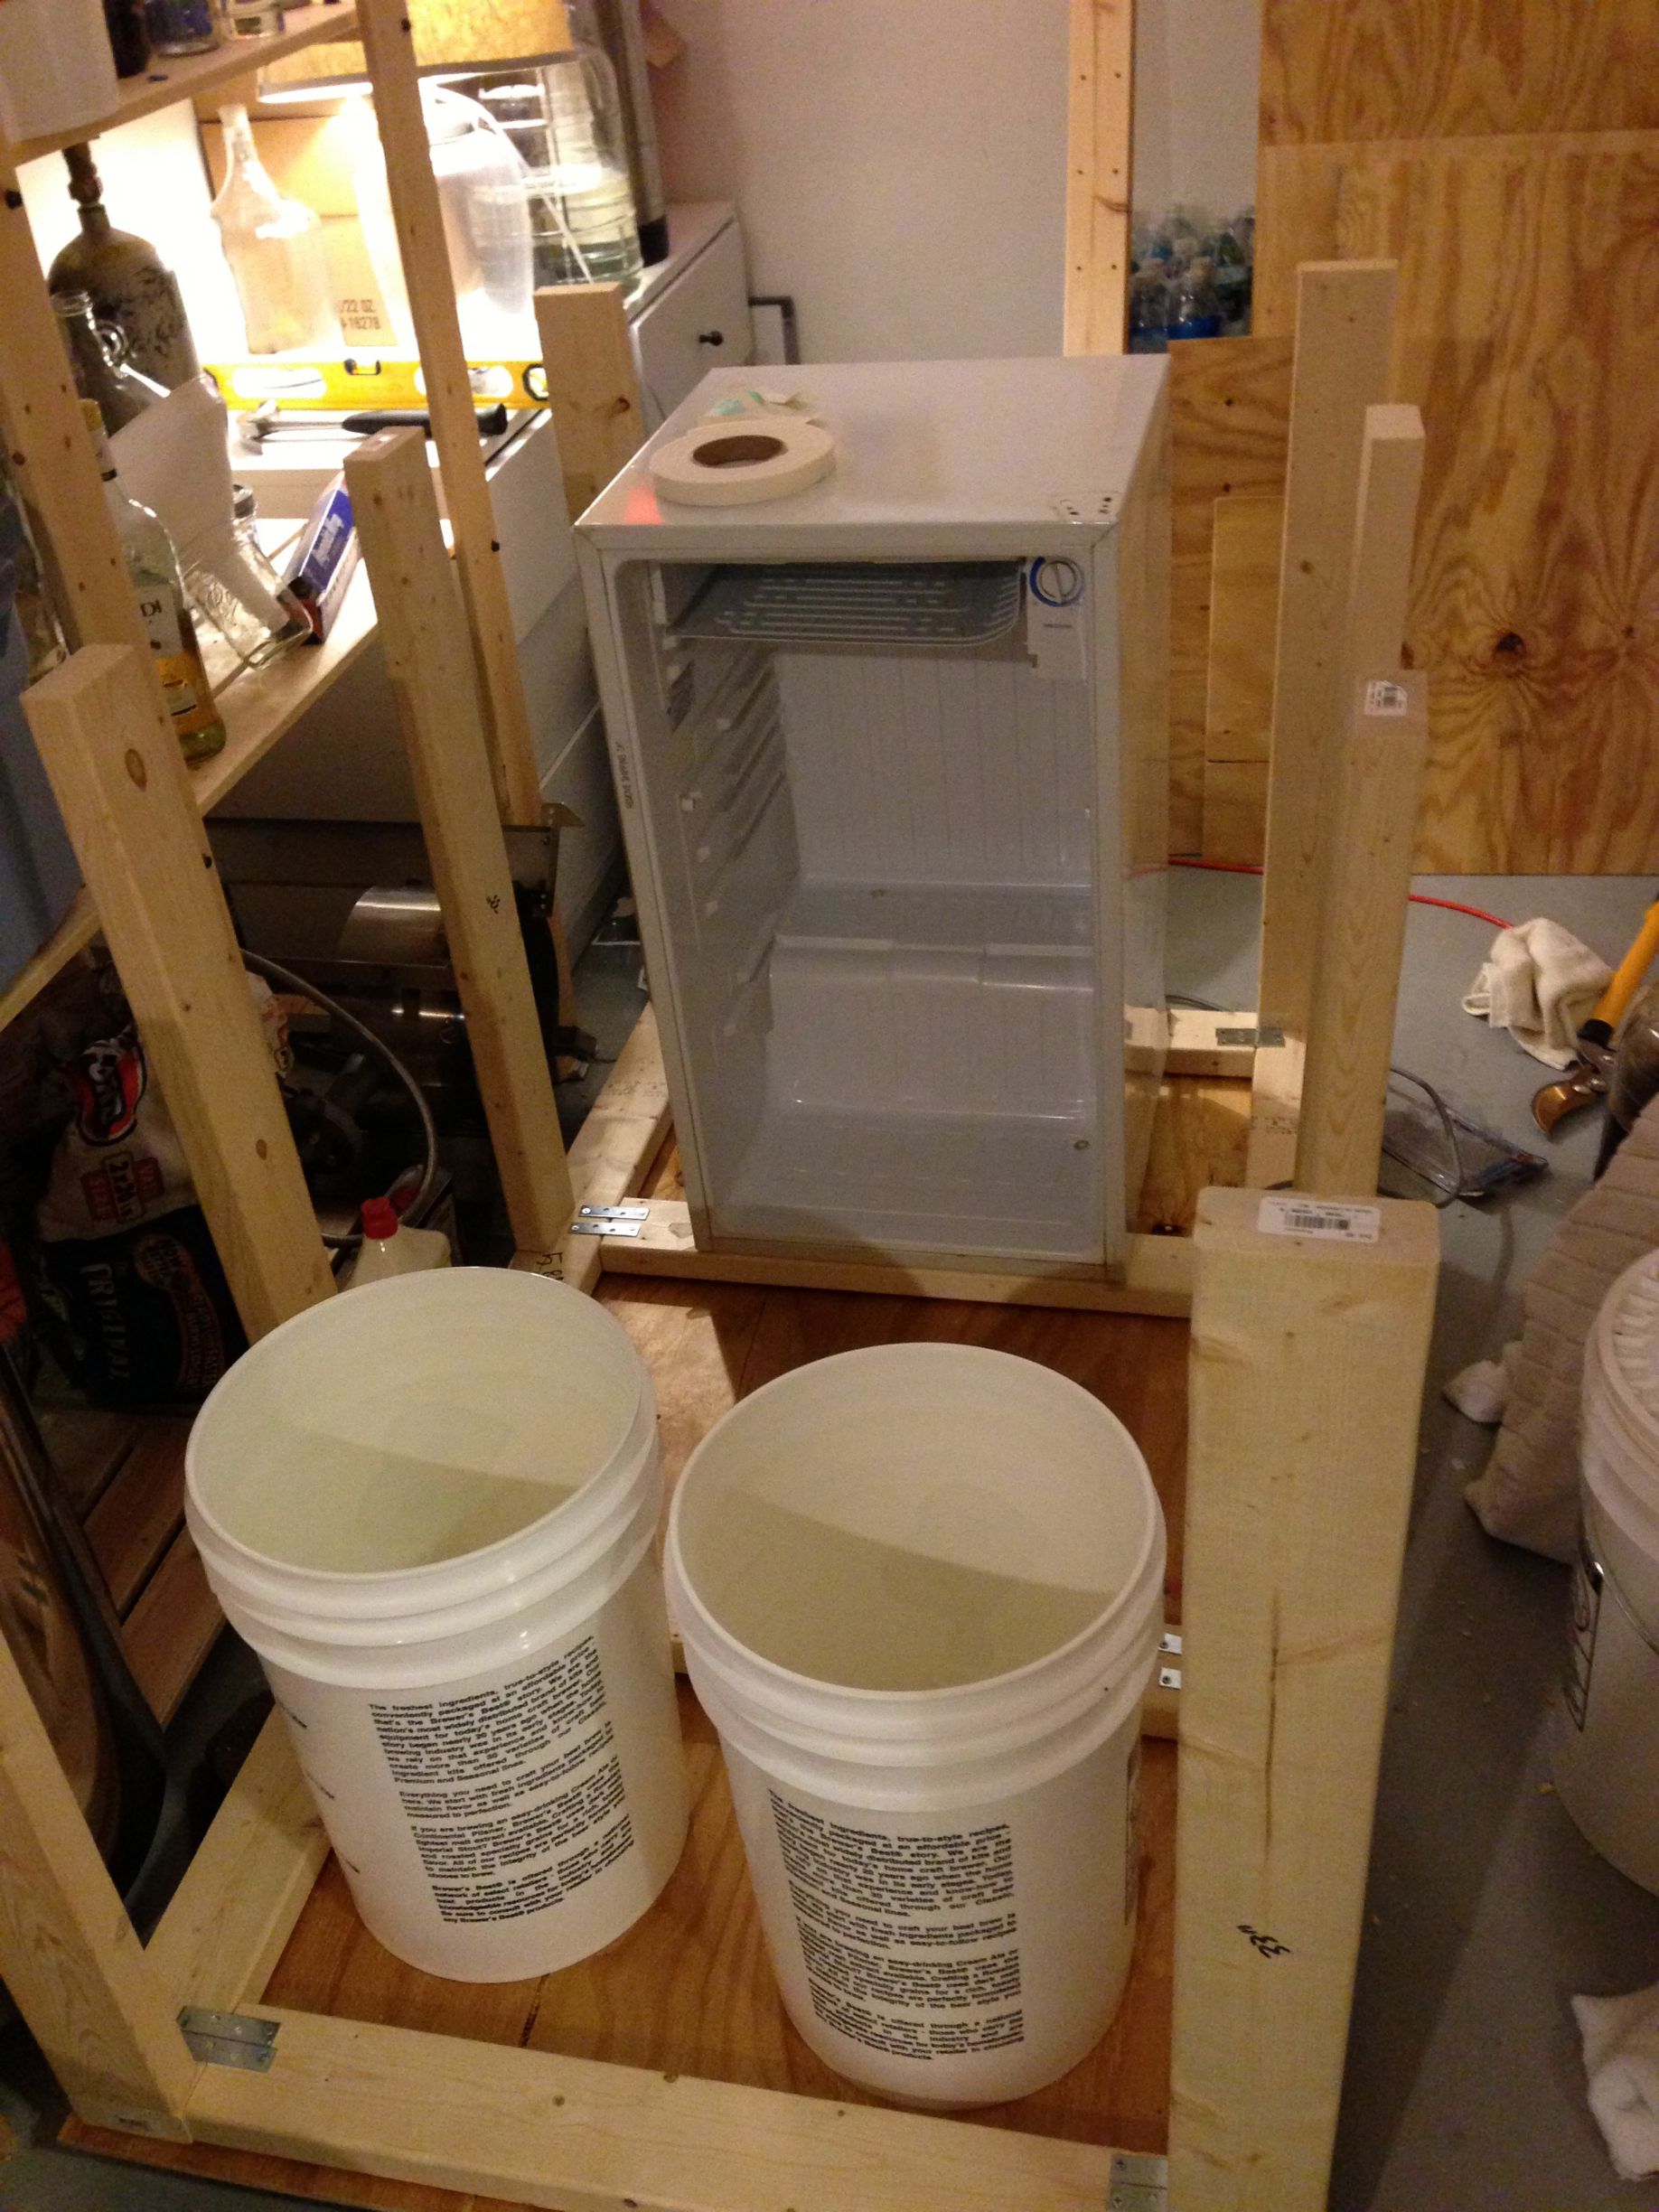
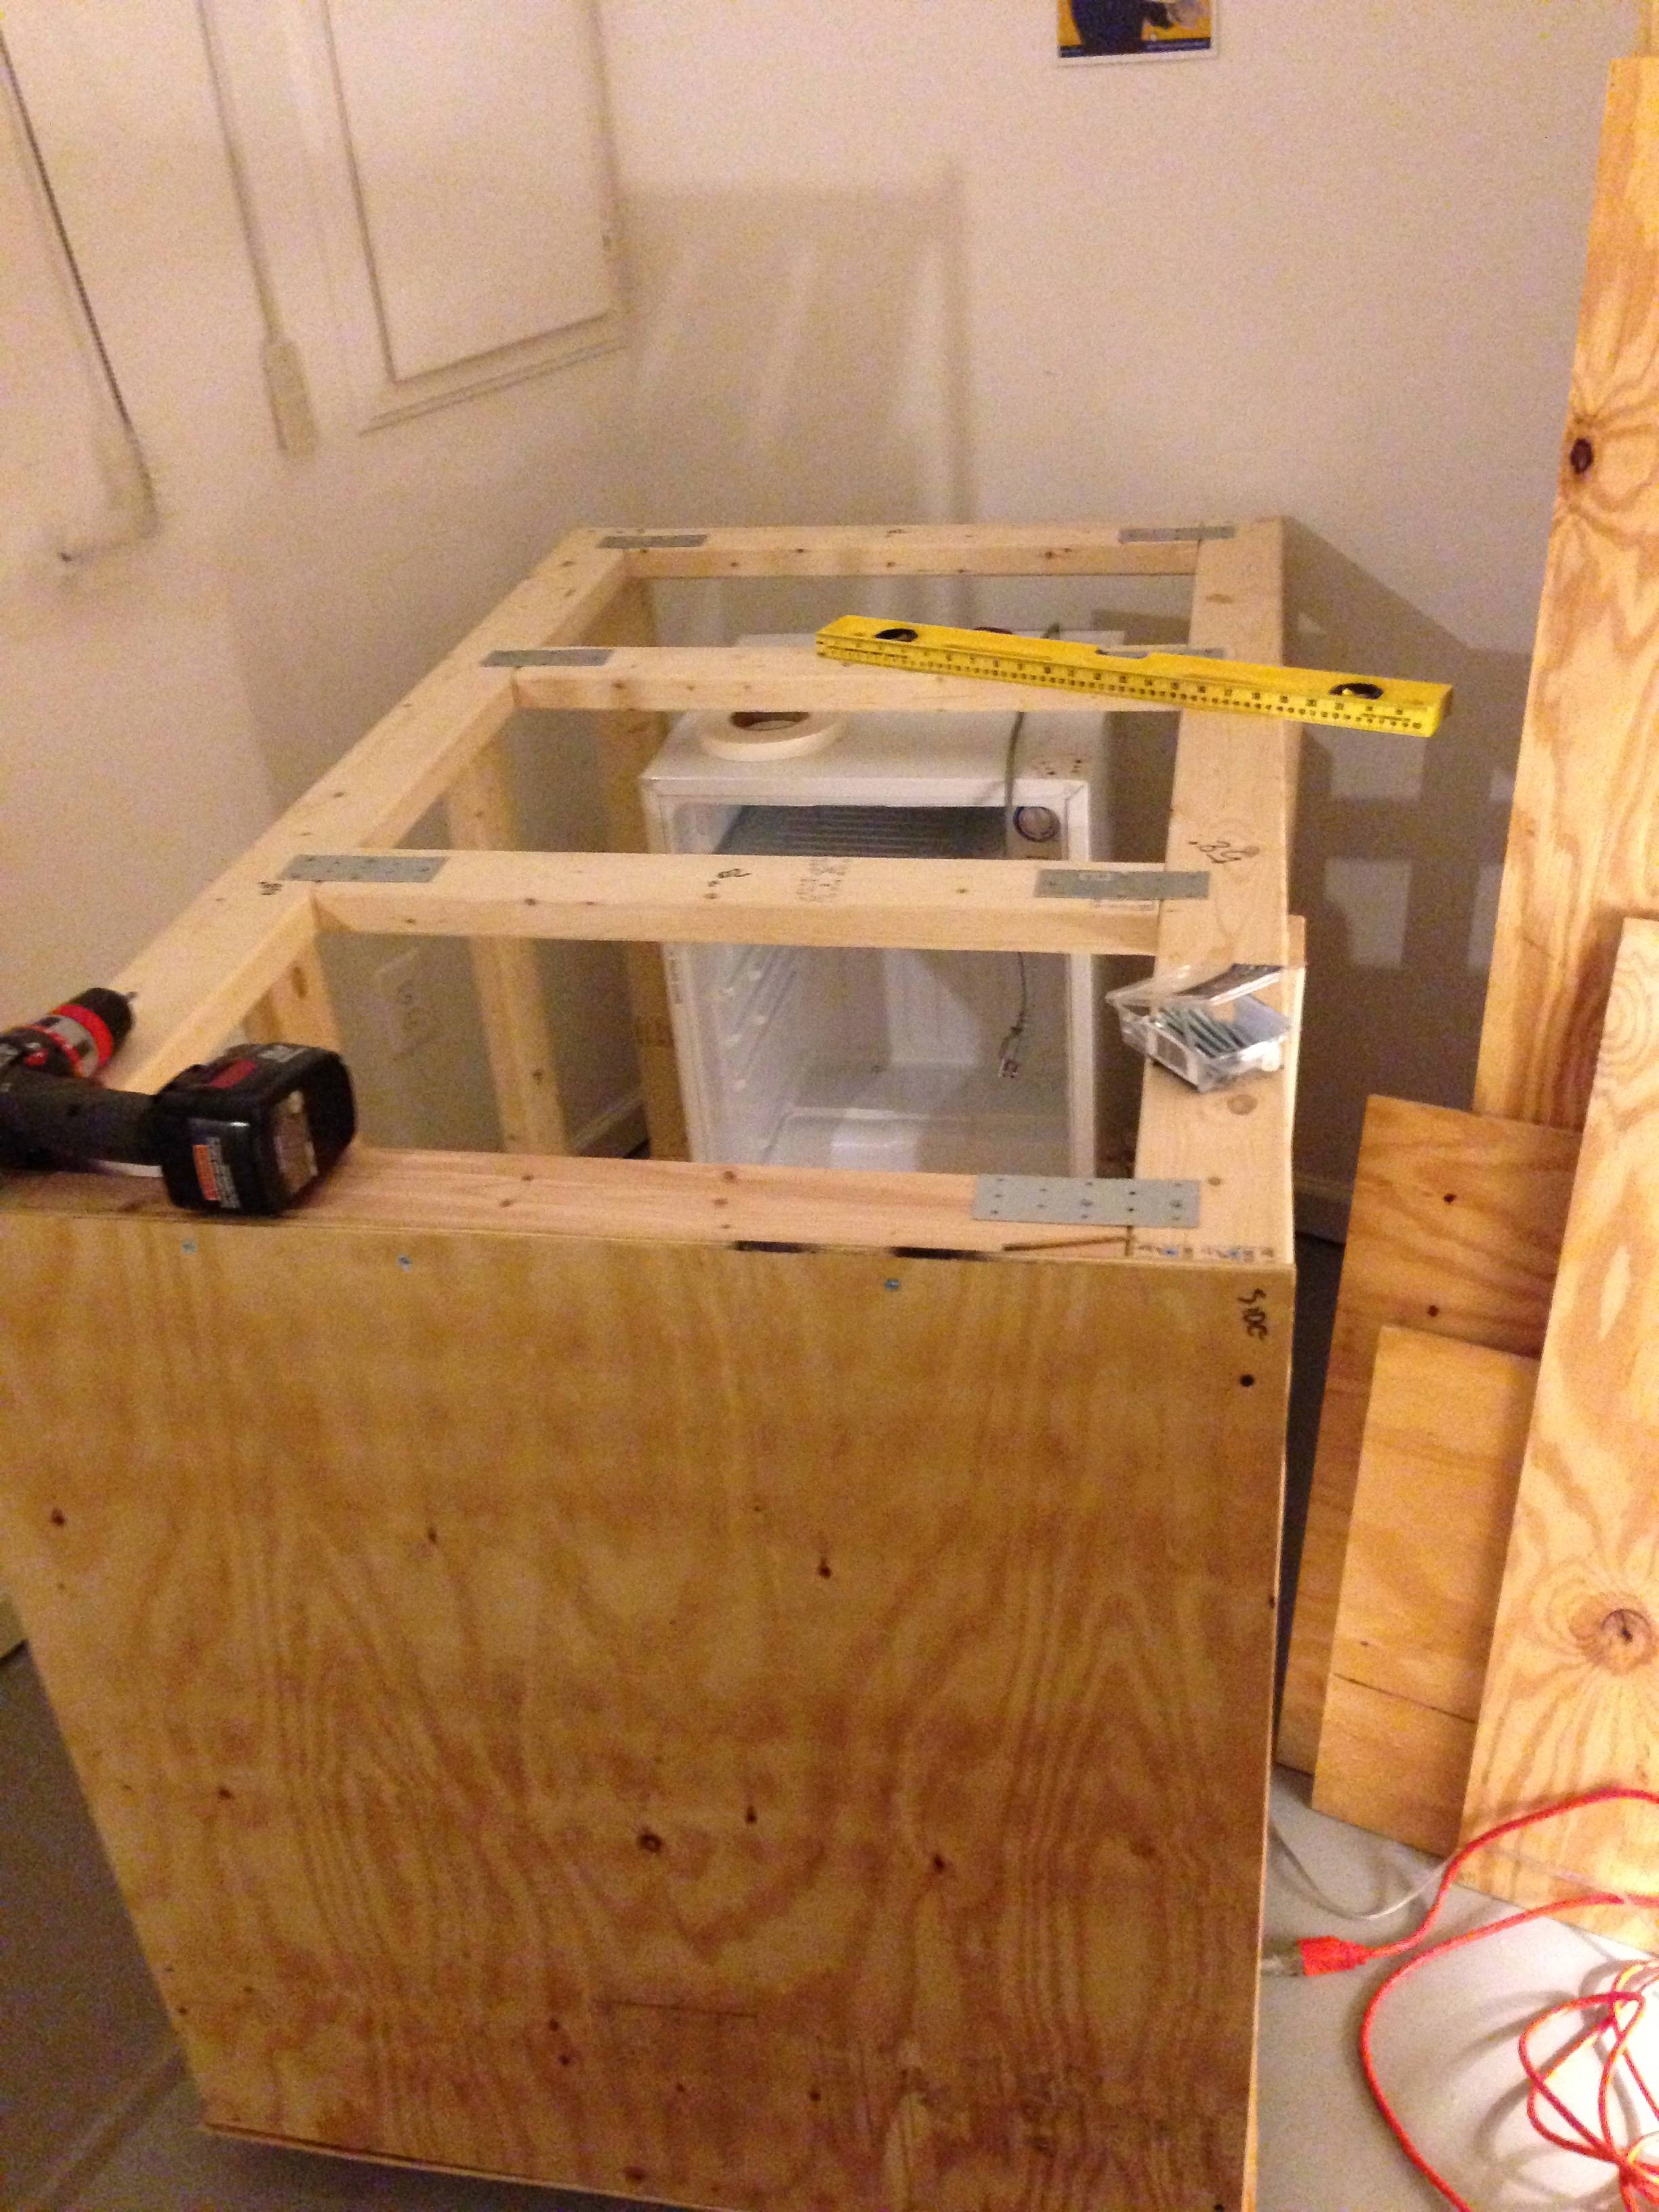
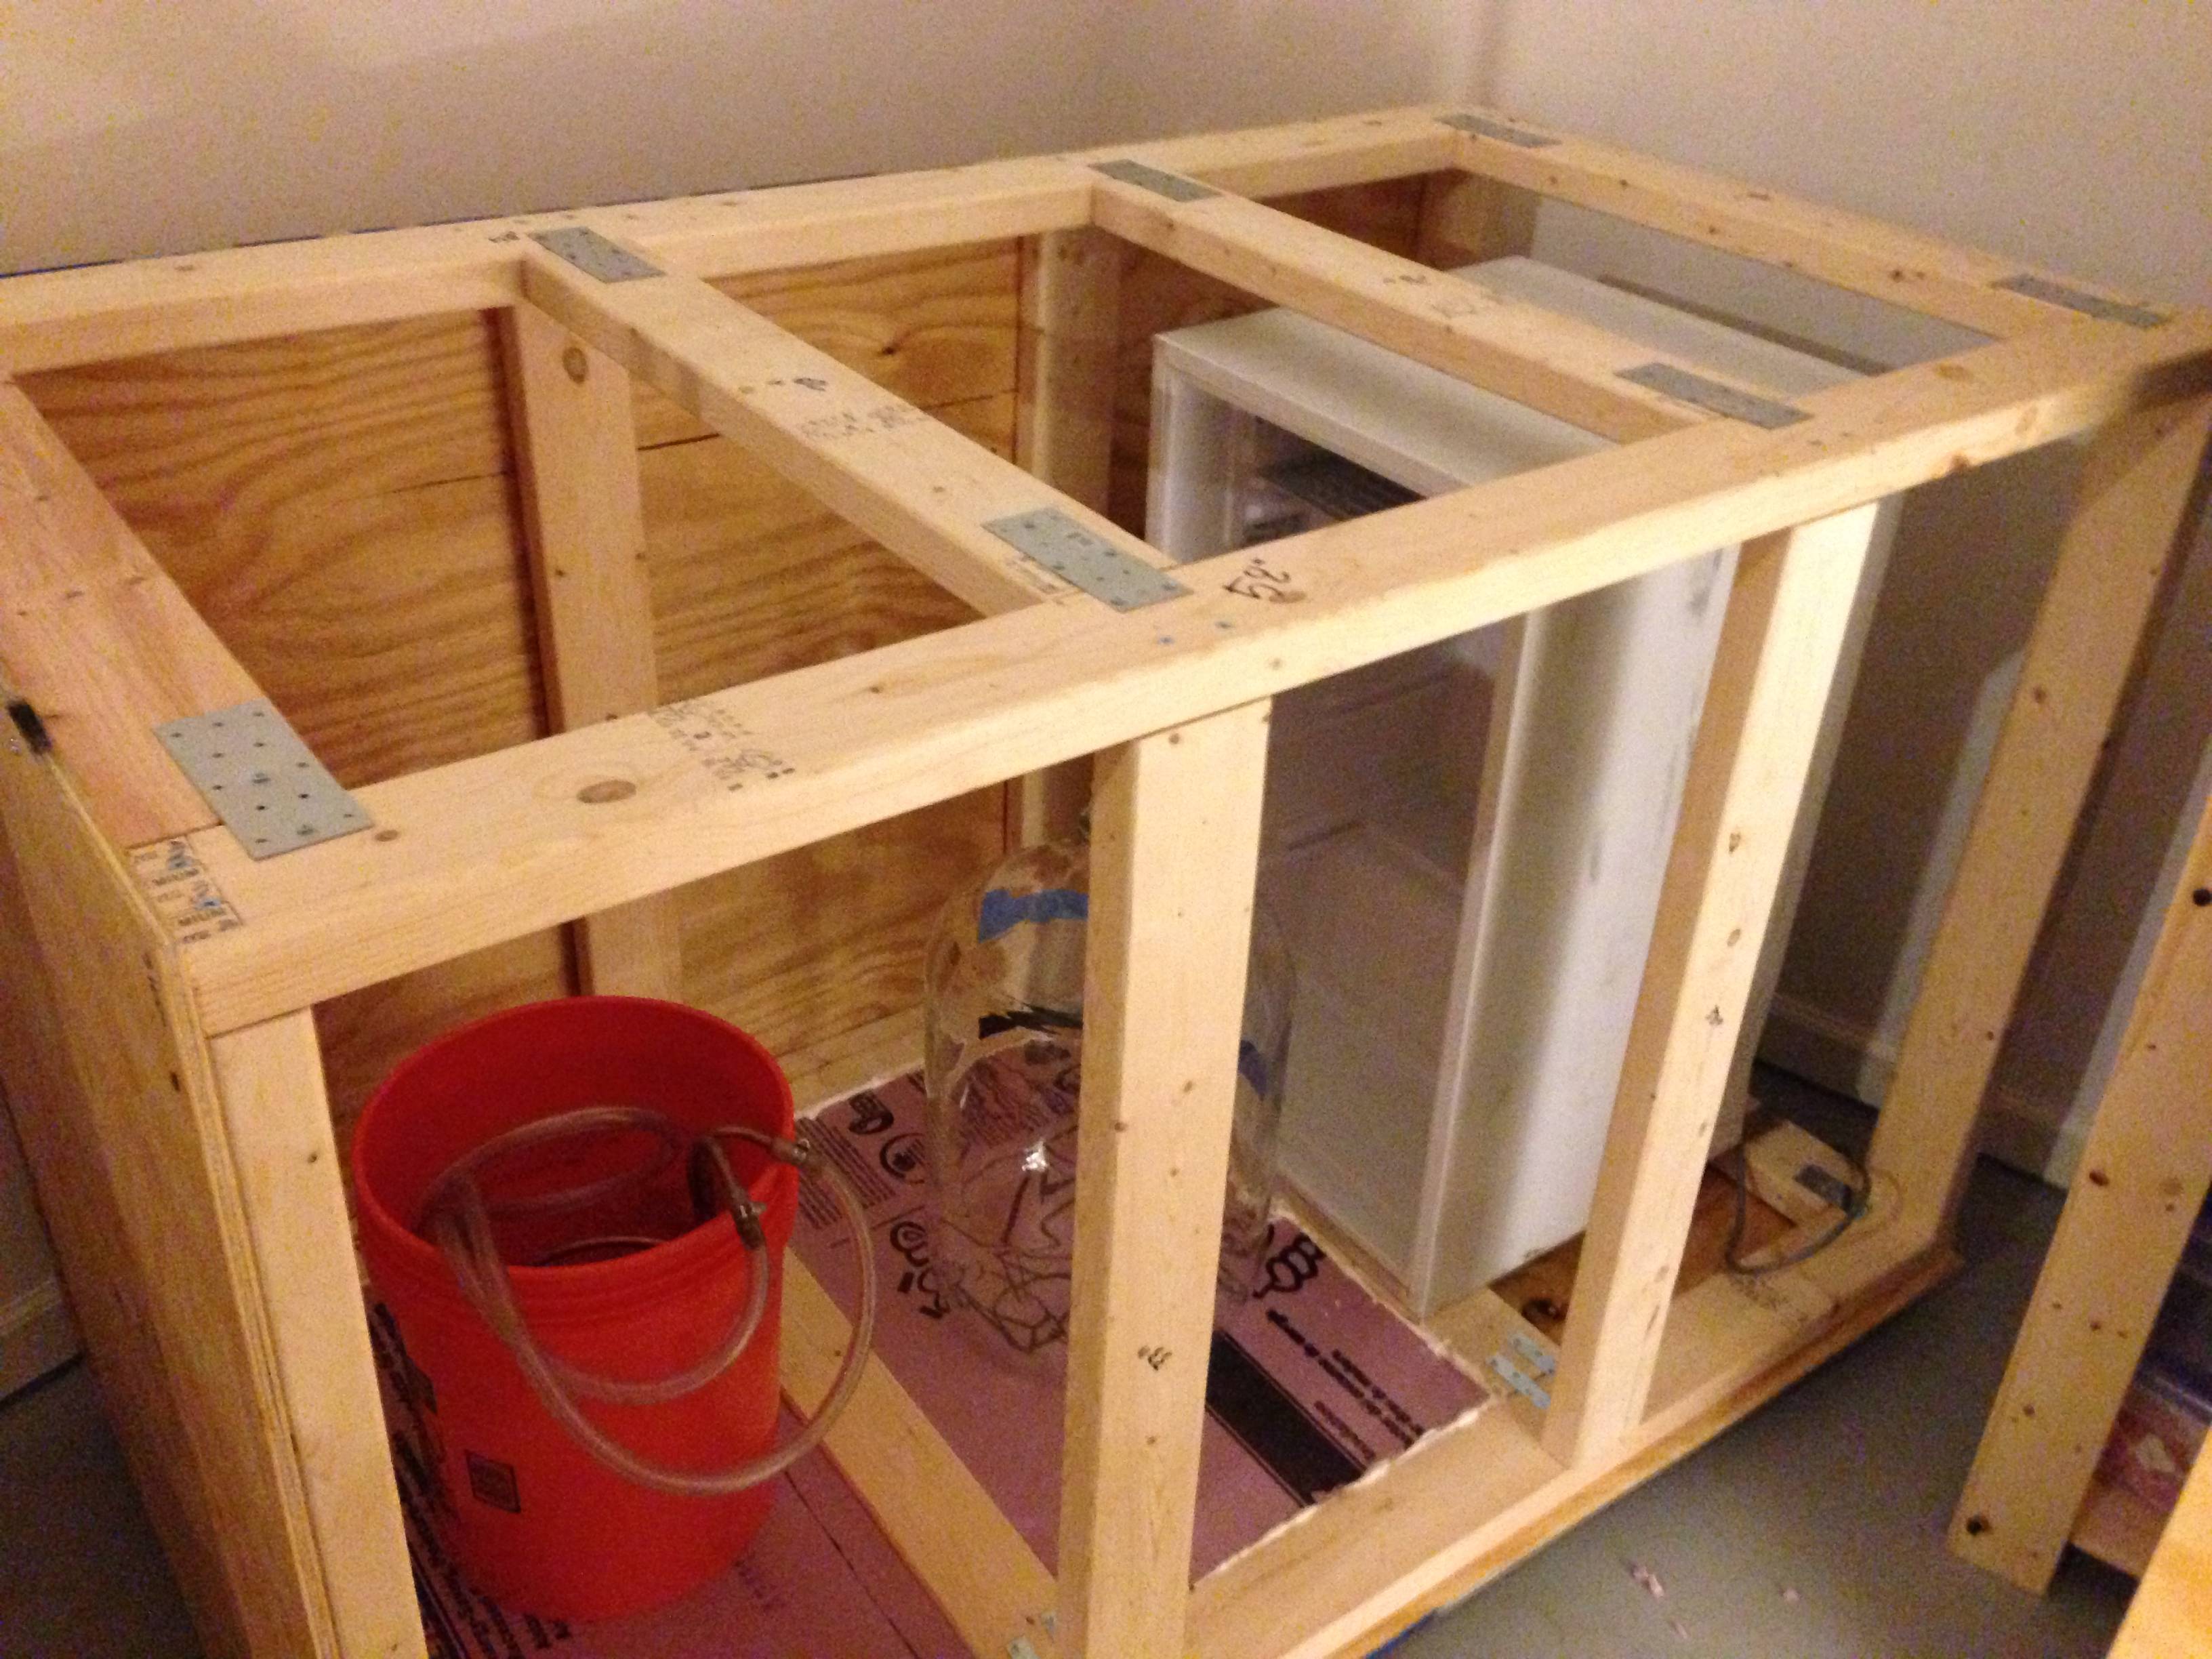
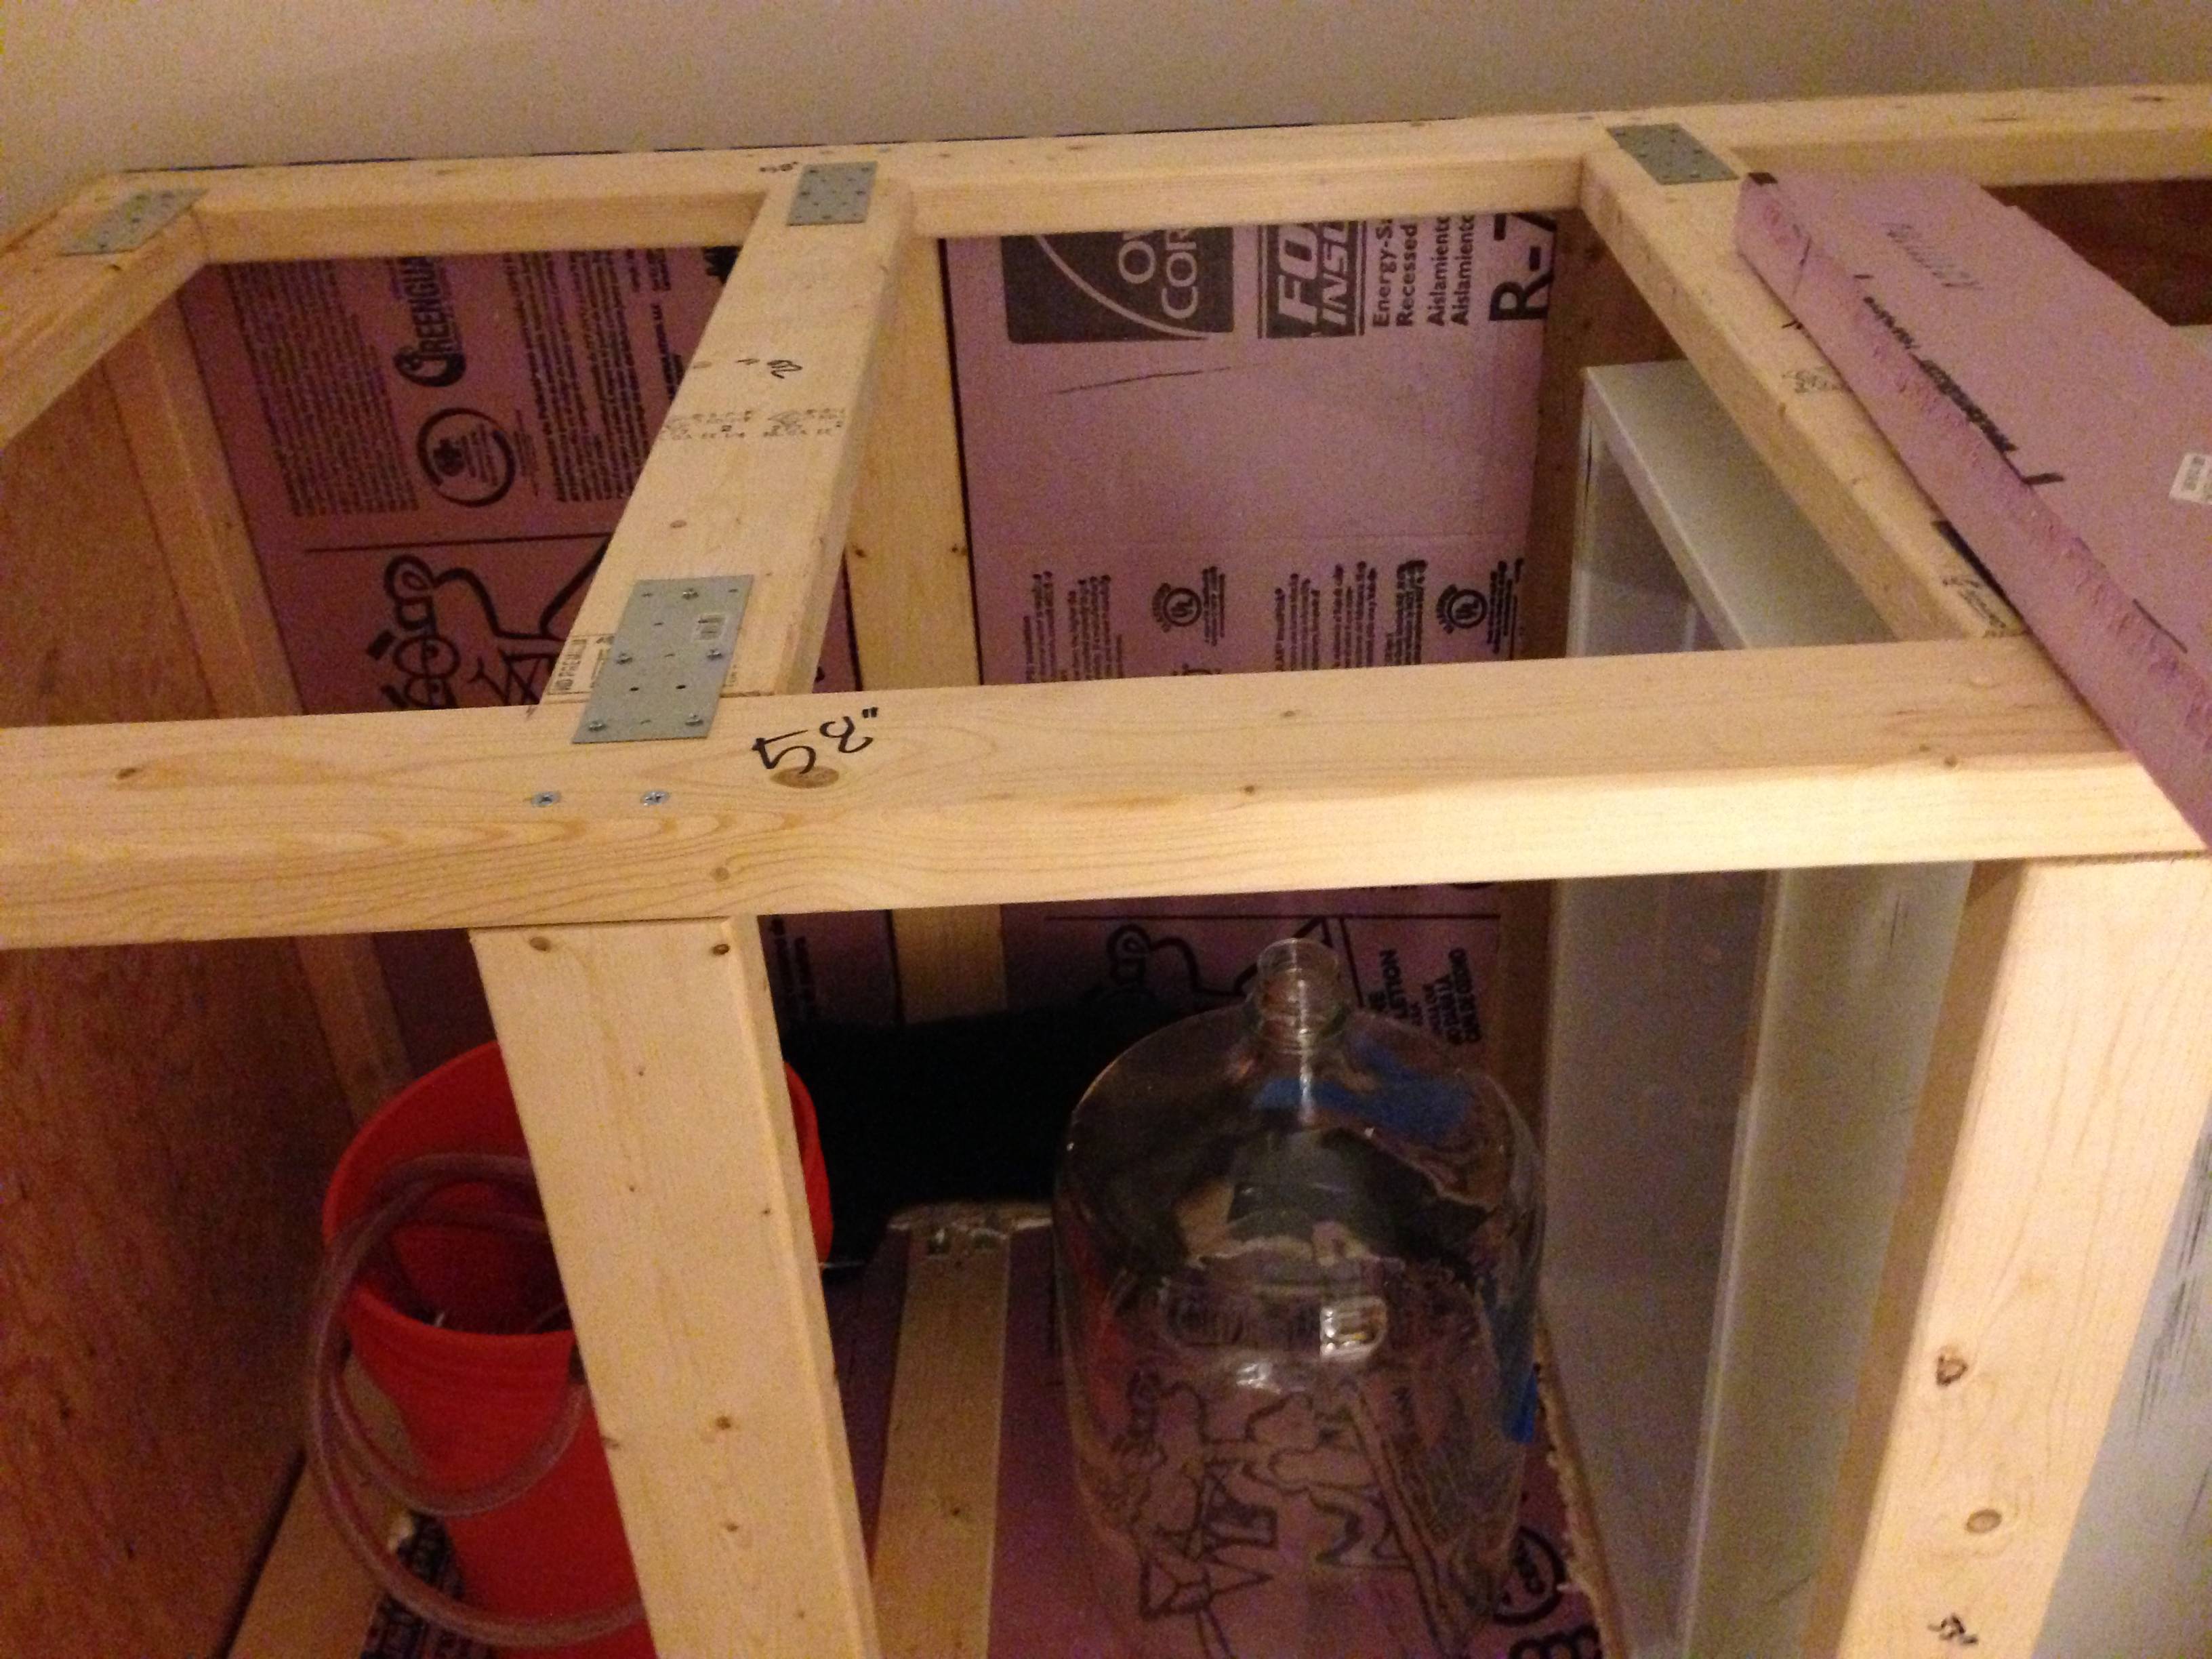
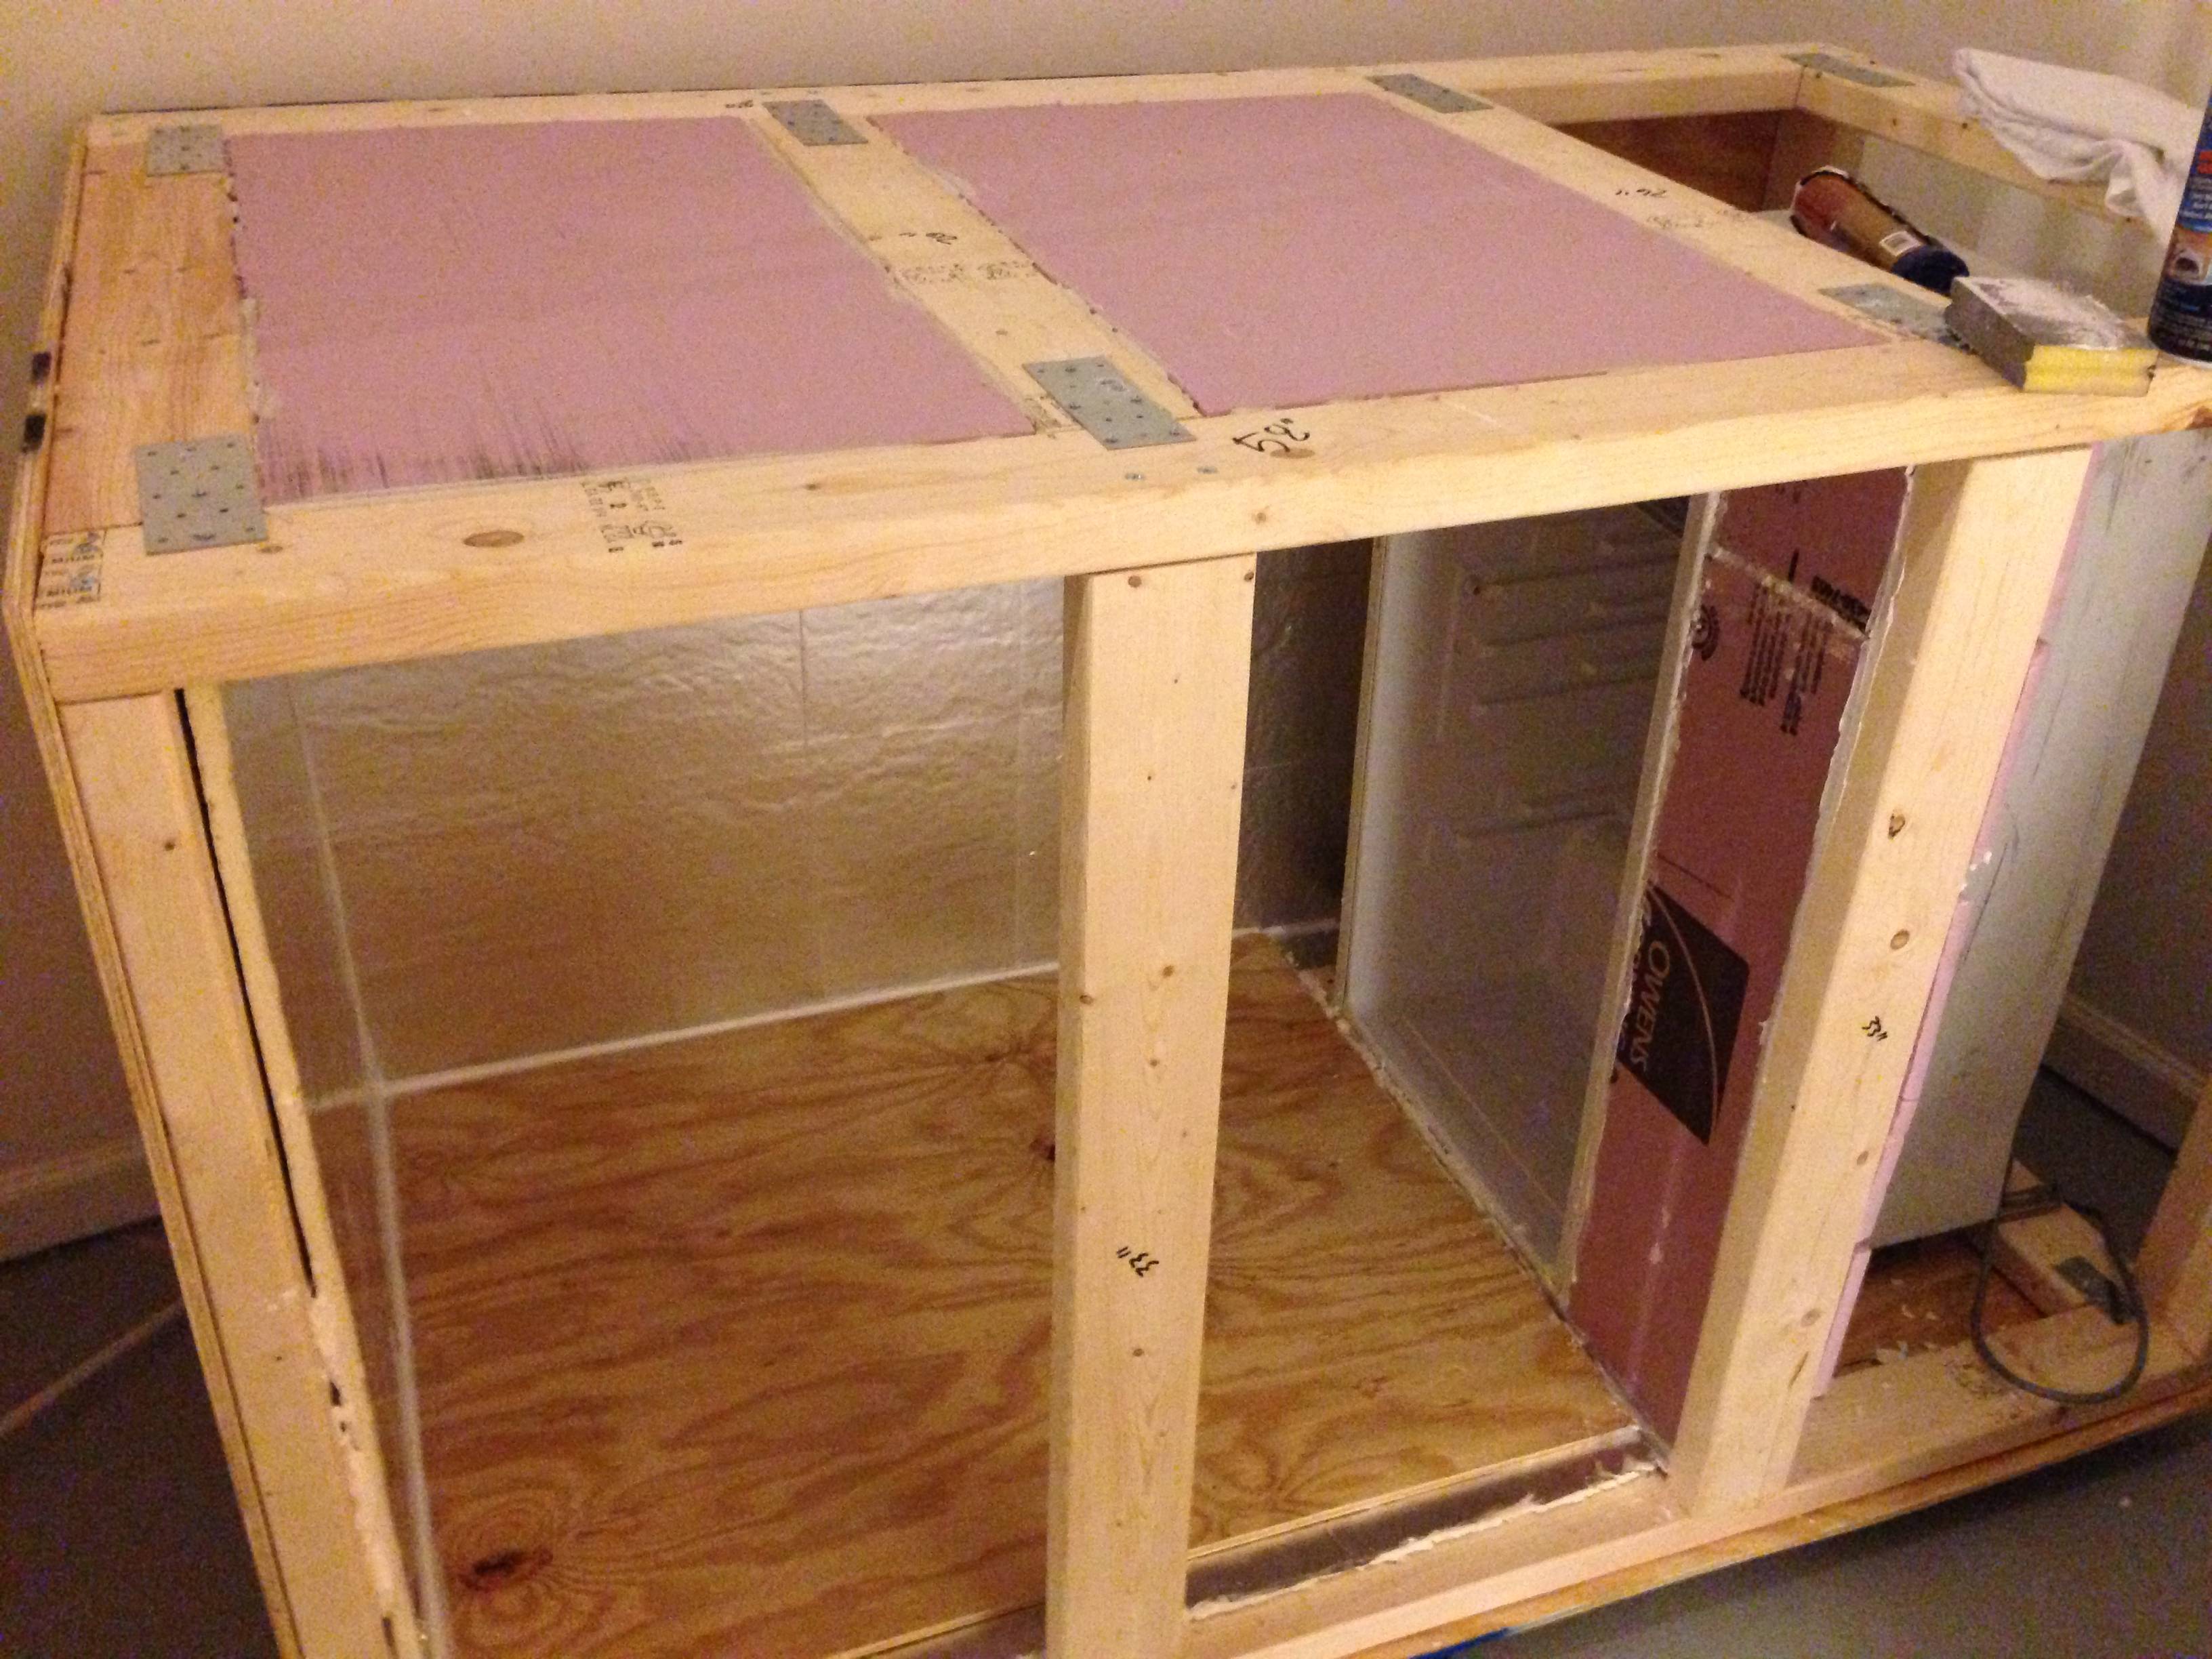
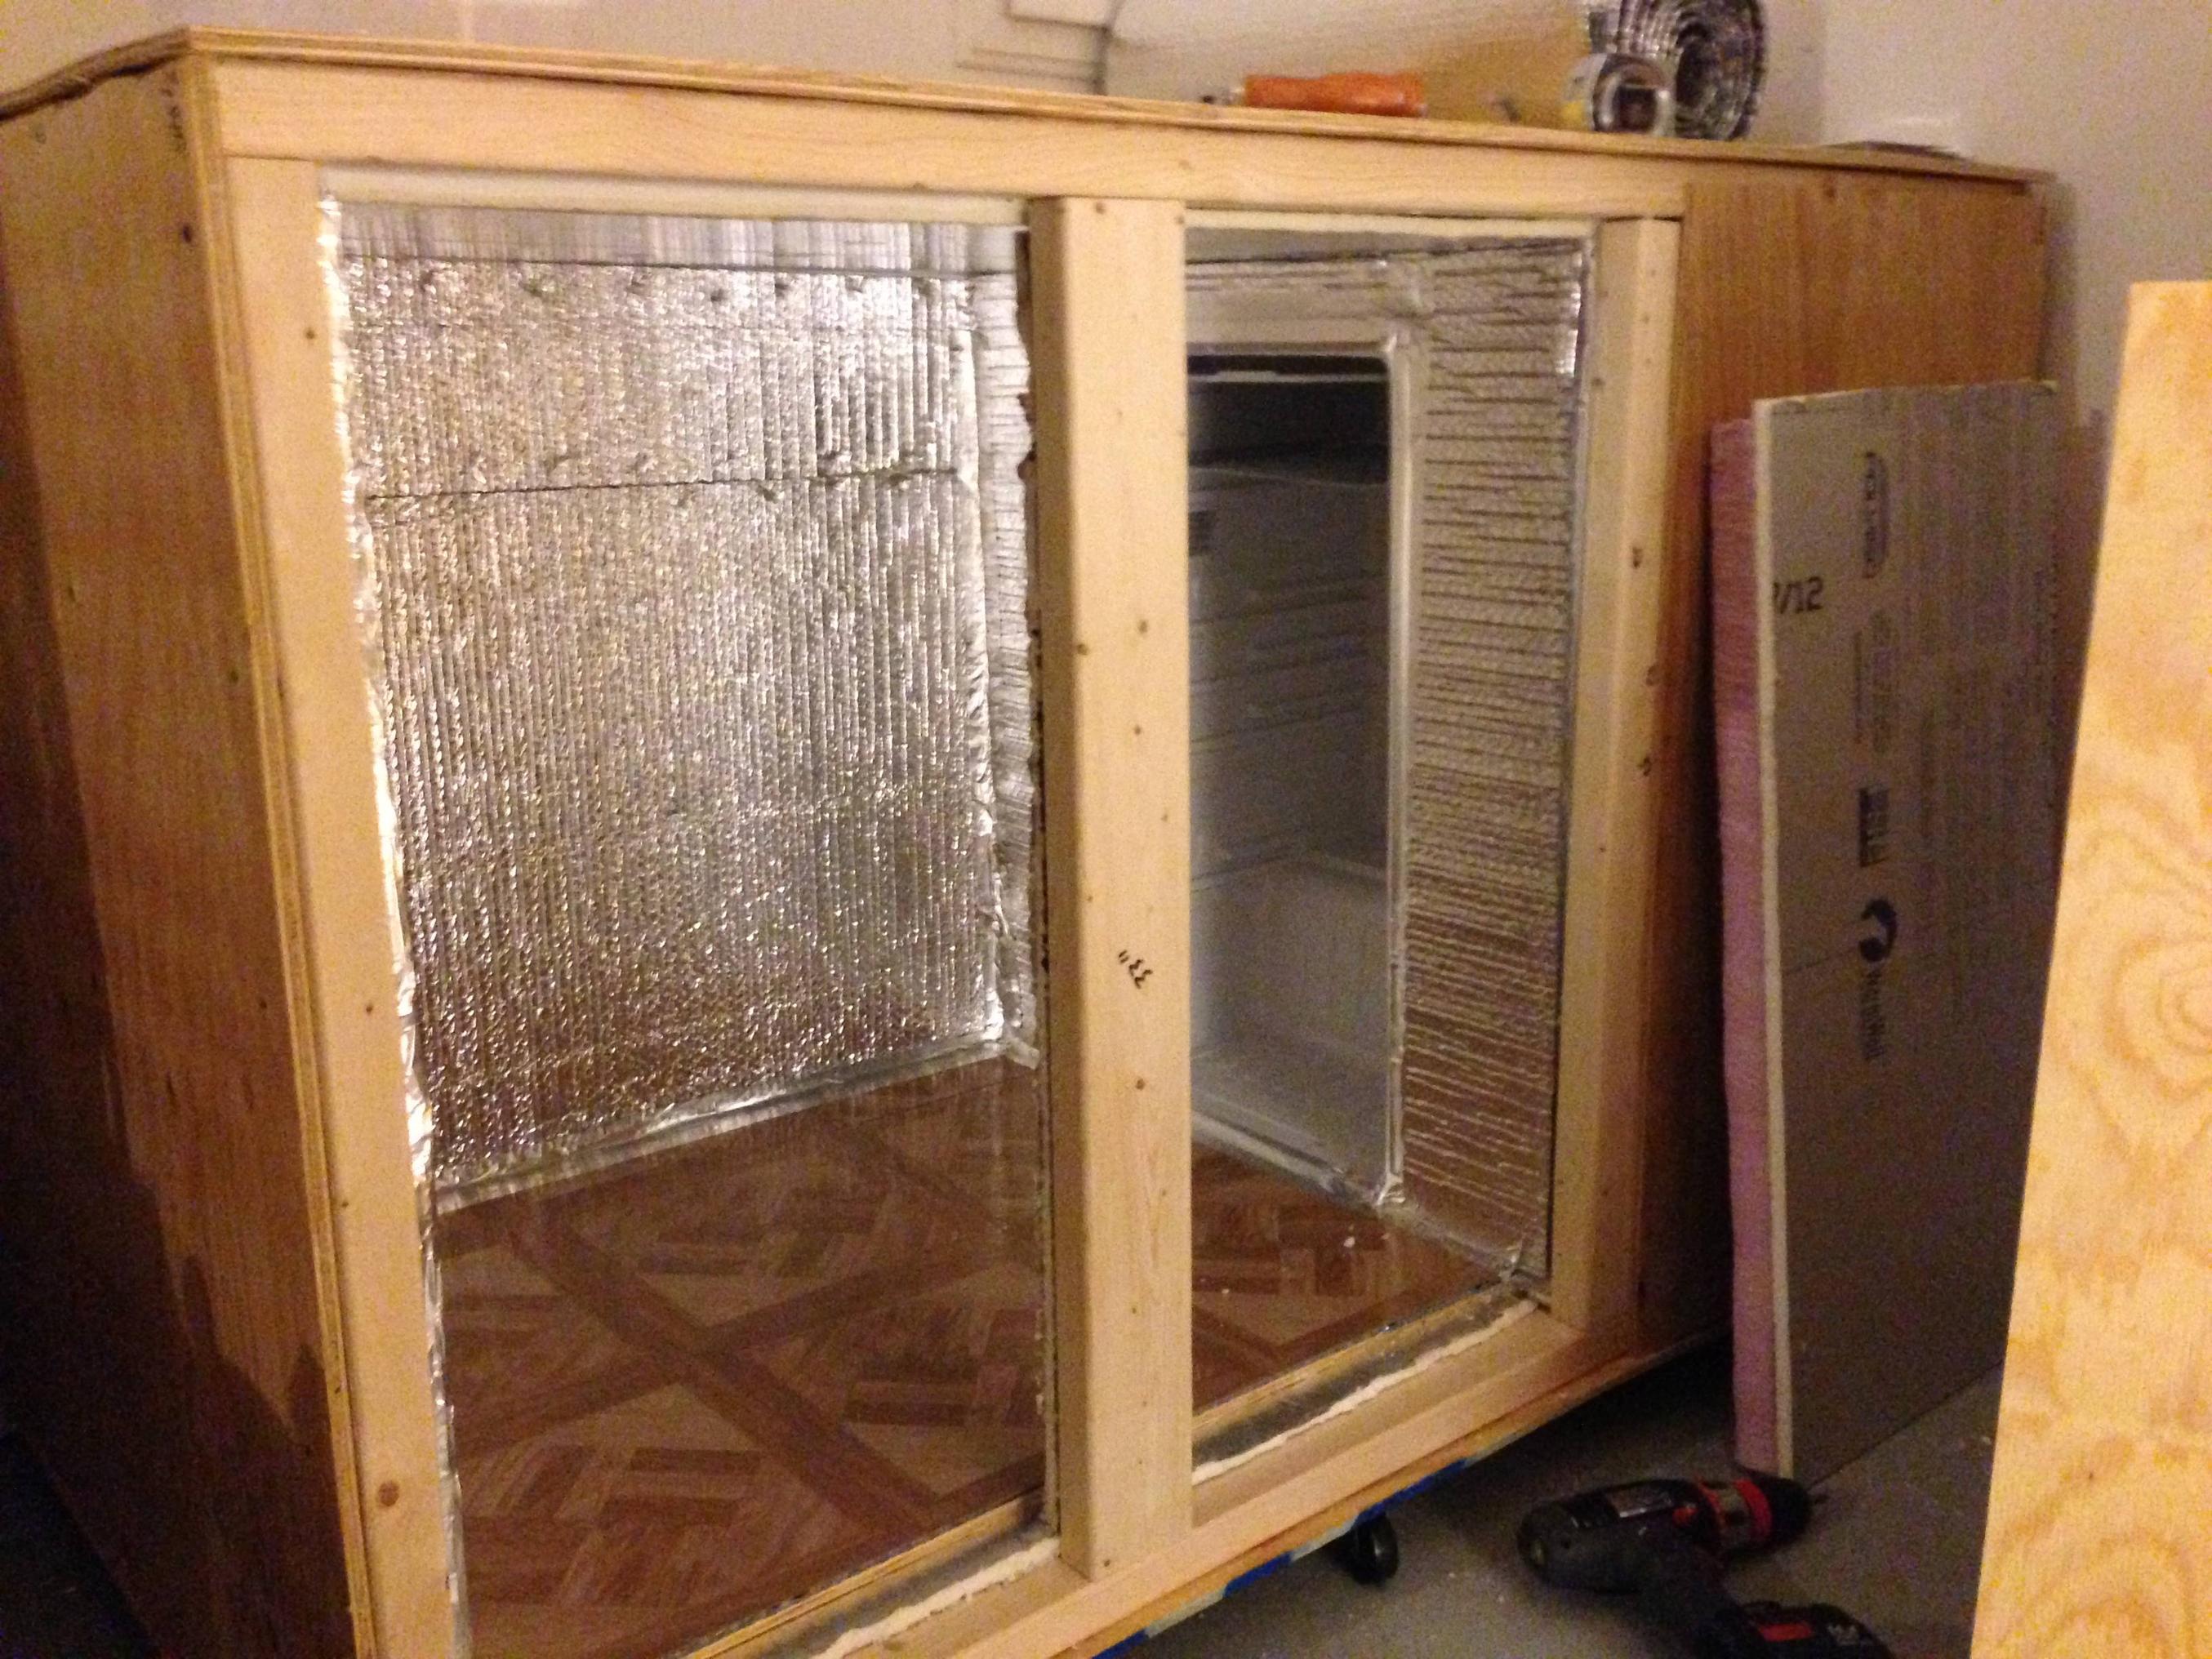
The main difference in my design and his is that I decided to make my chamber bigger than the outline of the fridge - so big, in fact, that I can easily fit 4 buckets/carboys in there, possibly more (depending on configuration). Anyway. The base is 58" x 33". The posts have a height of 33" as well, giving the entire box a 36" height (not counting the casters I put it on).
 
Here's a pic with the bottom piece of plywood attached, the casters installed underneath that, the posts going up, and my mini fridge in place. Also, buckets for scale.

emSWt.jpg


The fridge is in place, but eventually I screwed two pieces of scrap wood to keep it from wiggling back and forth. The vertical posts are attached only by two 2 1/2" screws in each one (before i installed the plywood underneath). And I'll have all you manly men who are very handy know that every single one of these posts were (and are!) plumb, and the base is all level. Maybe this just happens when you're careful, but I'm damn proud of that. This is the first thing I've ever built.

The fridge I got on craigstlist for $40! It's 32" tall (like a bunch of mini fridges) and was really cheap because it had some scratches on the outside... i didn't tell the guy I bought it from I was putting it in a box!

aGtzi.jpg


Same angle, but with the side piece of plywood installed.

r2qrT.jpg


This picture shows the insulation panels I used. They're 1 1/2" insulation, to be flush with the 2x4's. I used liquid nails to put them into place, and a schitty hack saw (emphasis on the word "hack") to cut the insulation. Then I used "great stuff" to fill any gaps created by my crooked cuts.
 
TLHUV.jpg


Here's a shot of the chamber with the back plywood installed, while i was waiting for the liquid nails to dry on those two pieces of insulation. You can see i used different braces to attach the top of the frame, and they seemed a lot stronger (and were cheap too!).

bfa9a.jpg


Then, i installed the insulation to the back of the chamber. In all the little gaps I either used "great stuff" or caulk to seal them. Don't want any air leaking out!
As you can see in my design, two-thirds of the chamber is fermenting space, and the last third is taken up by the fridge. I would rather have the fridge inside the chamber than outside, and I didn't trust myself to deconstruct the fridge to make the chamber smaller... But, if you're cool with that, you could totally make a chamber that is ~44" x 33" that will ferment 4 buckets (or more probably) at a time.
 
QqZK6.jpg


Here's one with the 1/2" insulation installed on three sides. I figured (based on absolutely zero knowledge, and mostly on stratslinger's post) that I needed a total of 2" of insulation on all sides. So the reason i used 1 1/2" insulation in the holes of the frame is I could then put a single piece of 1/2" insulation on all other surfaces. Cutting insulation to size is annoying with my crap-butt of a hacksaw, and having this many cuts took some time. You can also see in this picture the pieces of scrap wood i used to secure the fridge.

hk8yd.jpg


Ok, I'll be the first to admit that this one looks completely ghetto. BUT... It's just 2" insulation scraps from cutting the other pieces, with "great stuff" in between. On both sides of the fridge, i ended up with the pink 1 1/2" insulation, and behind that is a 1/2" piece as well. All gaps were filled. Above the fridge, I used some more 1/2" insulation. Not pretty yet, but it will be later......

dOVyy.jpg


un-focused shot showing the back of the insulation on the side of the fridge. other side looks the same.
 
1LUPD.jpg


Top pieces of insulation installed, and all corners of the 1/2" insulation caulked. Luckily the top pieces fit really well even without glue, so I didn't need any support to keep them there. Also, the plywood "floor" of the chamber was installed. I'm not sure if stratslinger used a floor like this, but I thought it was necessary to evenly distribute the weight of the soon-to-be-fermenting beer. I didn't want all that weight on the two "windows" of pink insulation.

iZFep.jpg


roof went up! just a shot of some stuff holding it up while the liquid nails dries...
 
I just came upon a BUNCH of 3" thick foam board. I am planning on building a ferm chamber next to my keezer. Don't know yet how I will cool it...

Good work...
 
oZwxv.jpg


Top piece is on!

WWx7w.jpg


Ok, a lot happened here! I used some double-reflective insulation for the sides and the floor (installed on top of the plywood). Then, I taped most of the seams with reflectix tape. Perhaps most obviously, I added a vinyl floor. These tiles were $0.39 a piece, and I only needed 9 of them. That's pretty cheap for a floor that I can easily wipe up any spills off of. Also, the plywood on the fridge side of the chamber is installed. just some 1" screws. Here's another shot of the inside:

a6puL.jpg
 
Now some fun! I'm using the STC-1000 to control the temp. Got mine for $24 on ebay. Probably could've gotten it a little cheaper, but I'm already about $250 deep on this project from Home Depot alone, so I don't really care if I could've saved 5 bucks on this one.

z0x3C.jpg


I had imagined from the beginning that instead of building a project box to house the STC-1000 in, I would mount it to the body of the chamber itself.

Fd2YD.jpg


7ZQDO.jpg


Here's the wiring. I can't remember whose diagram I used, but it's not hard... and if you wire it and it doesn't work, try something else! Anyway, it only took me about 45 minutes (including stripping wire, cannibalizing an extension cord or two, etc.) to wire, and if i can do it, ANYBODY can. actually, that statement applies to pretty much this whole post. I'm not handy. I'm just willing to research and plan well. Also, if anybody thinks I'm going to start a fire or something with this stuff, please let me know. :cross:
 
And here's the finished product! I'm still deciding whether to paint it white (lots of work), black (less work), or just stain it (easy). Although, the thing is in my laundry room and SWMBO thinks it looks great :mug: 
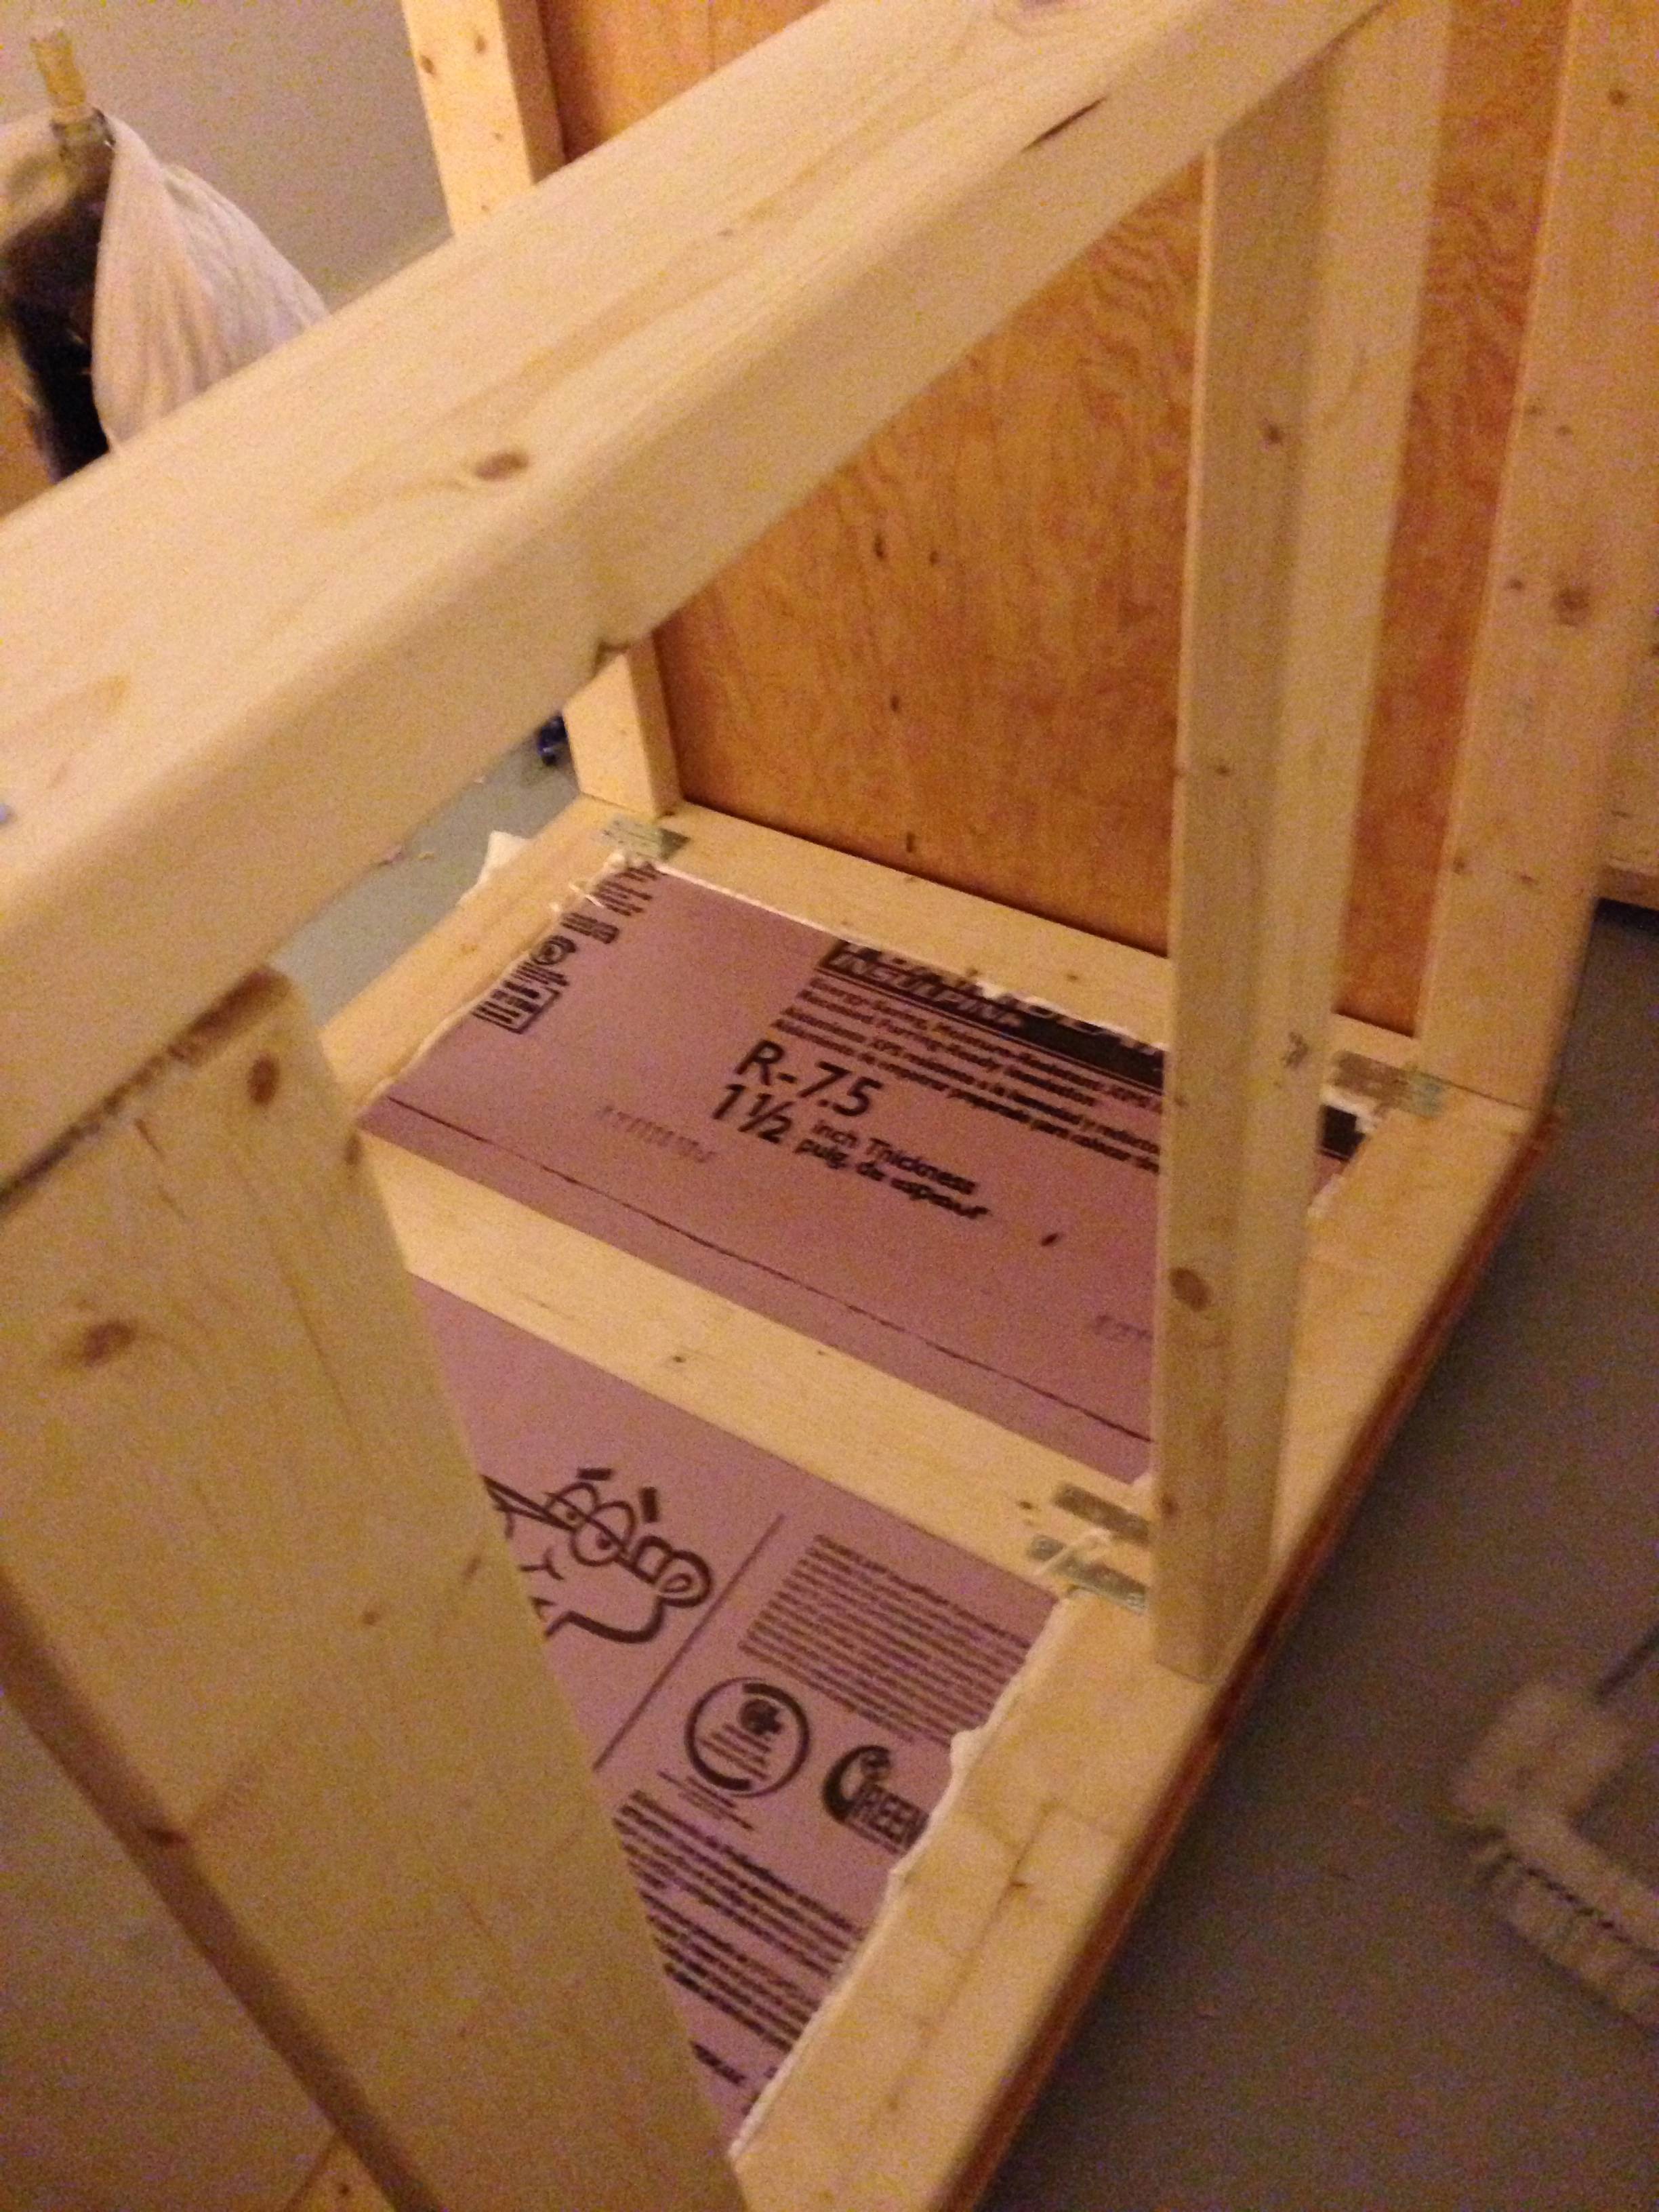
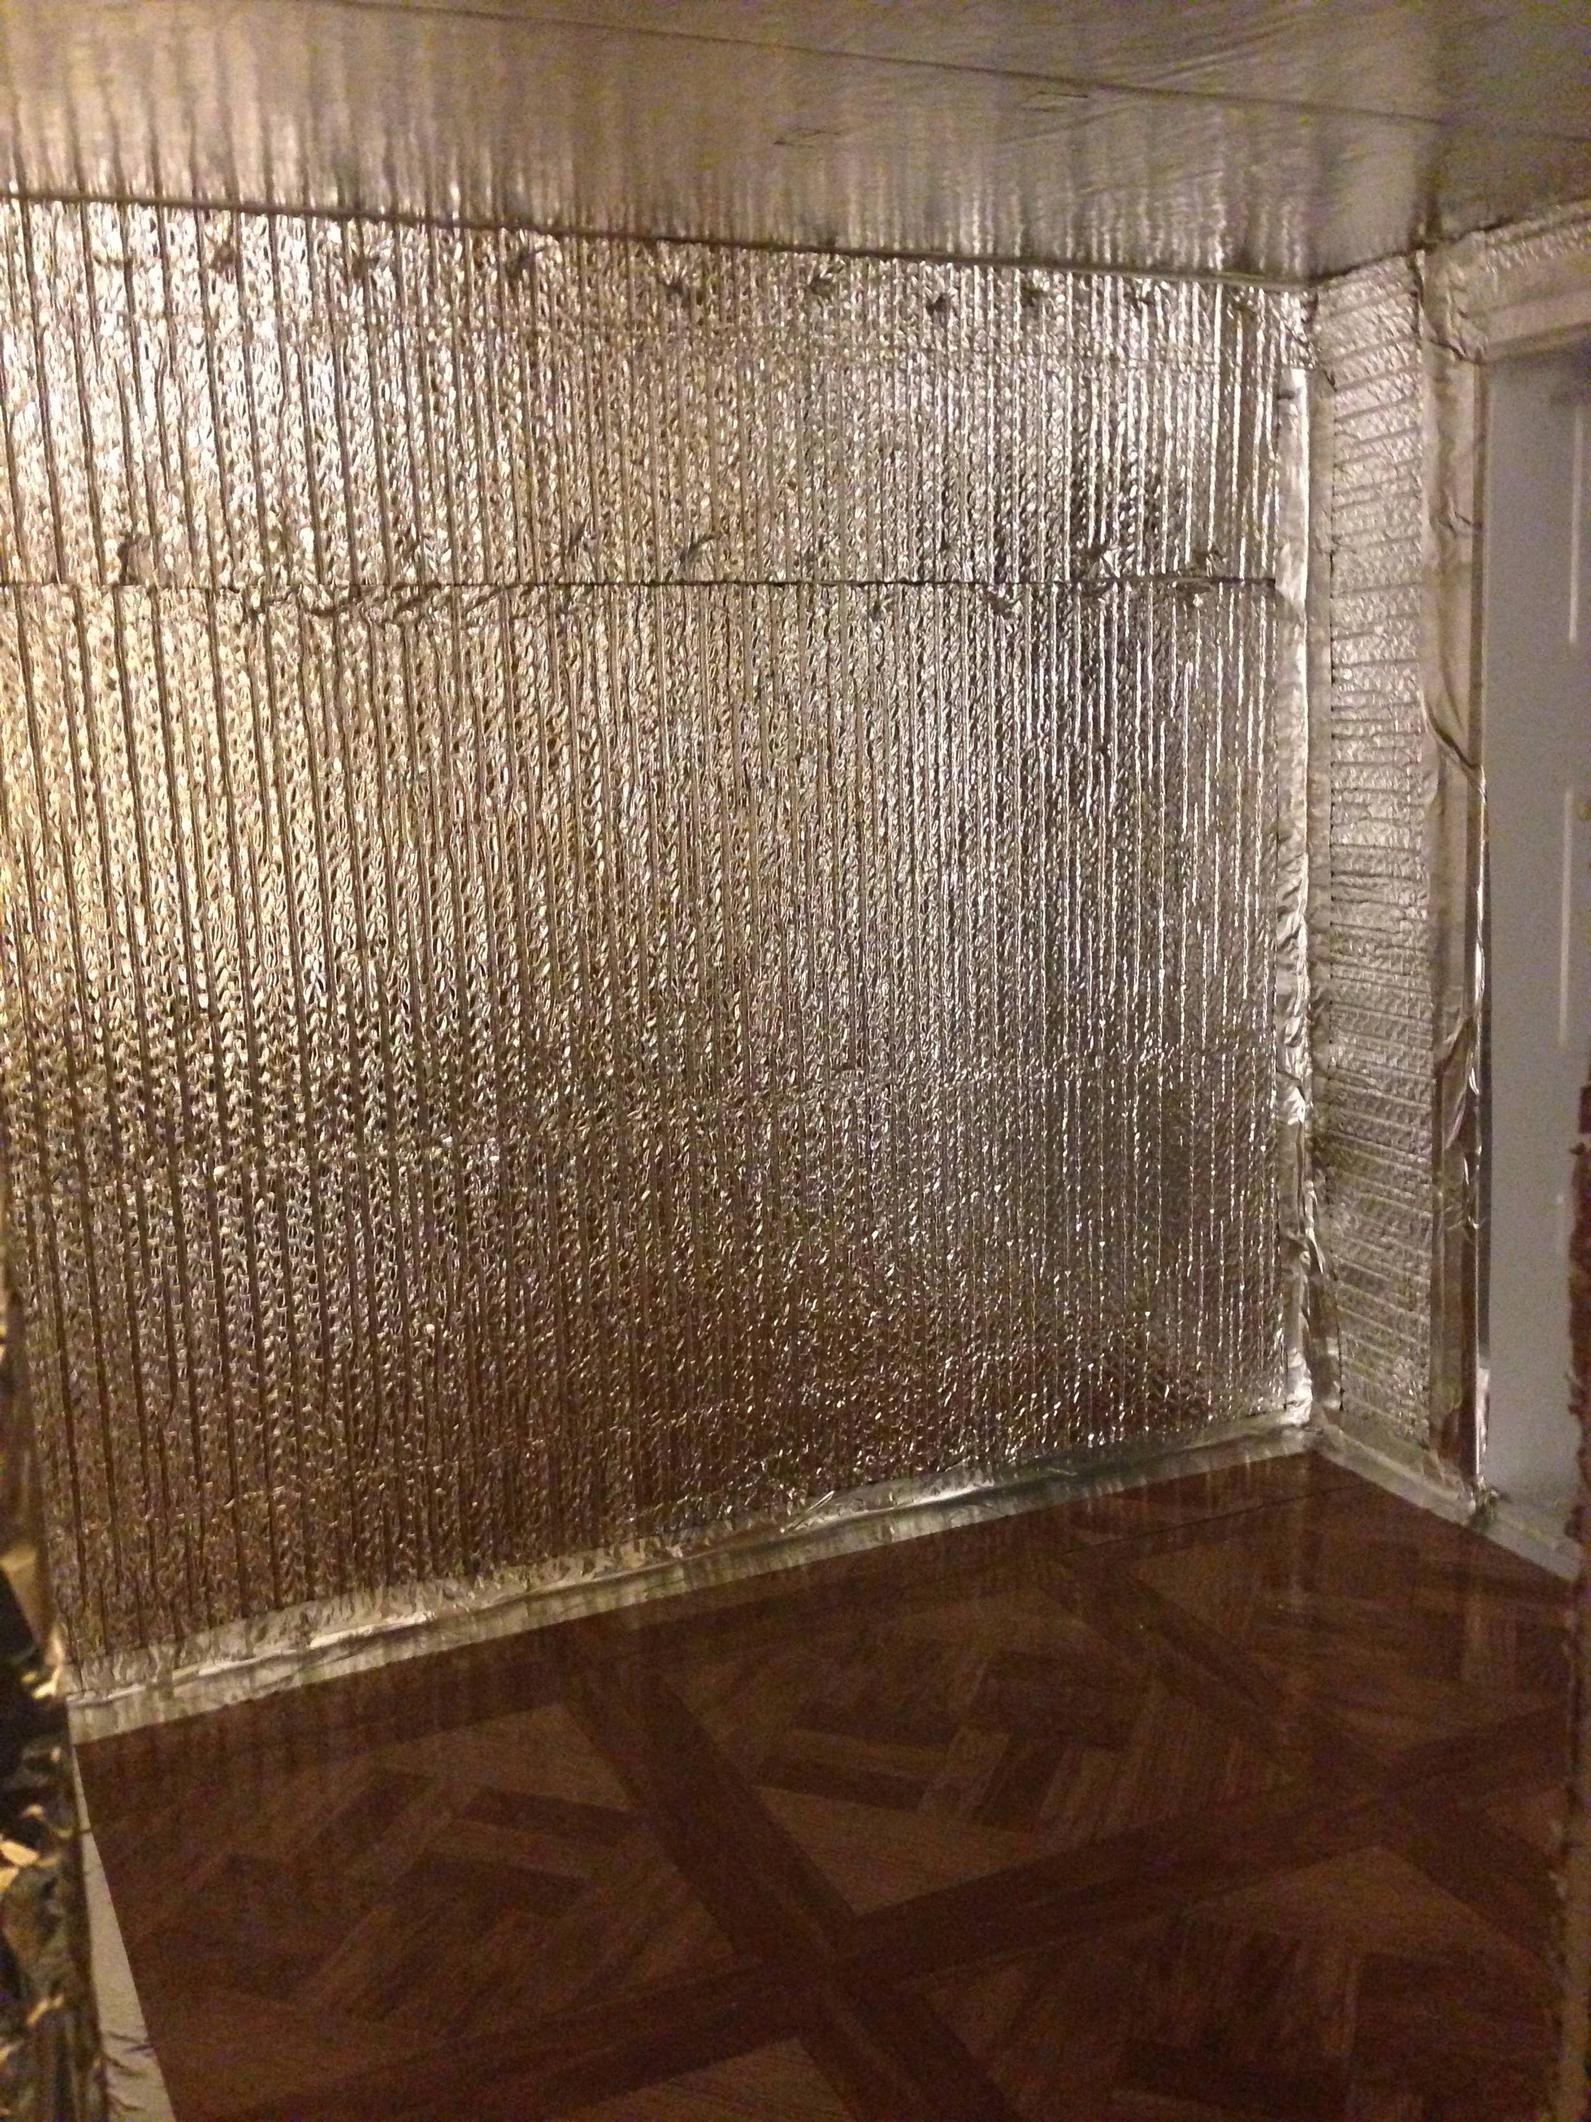
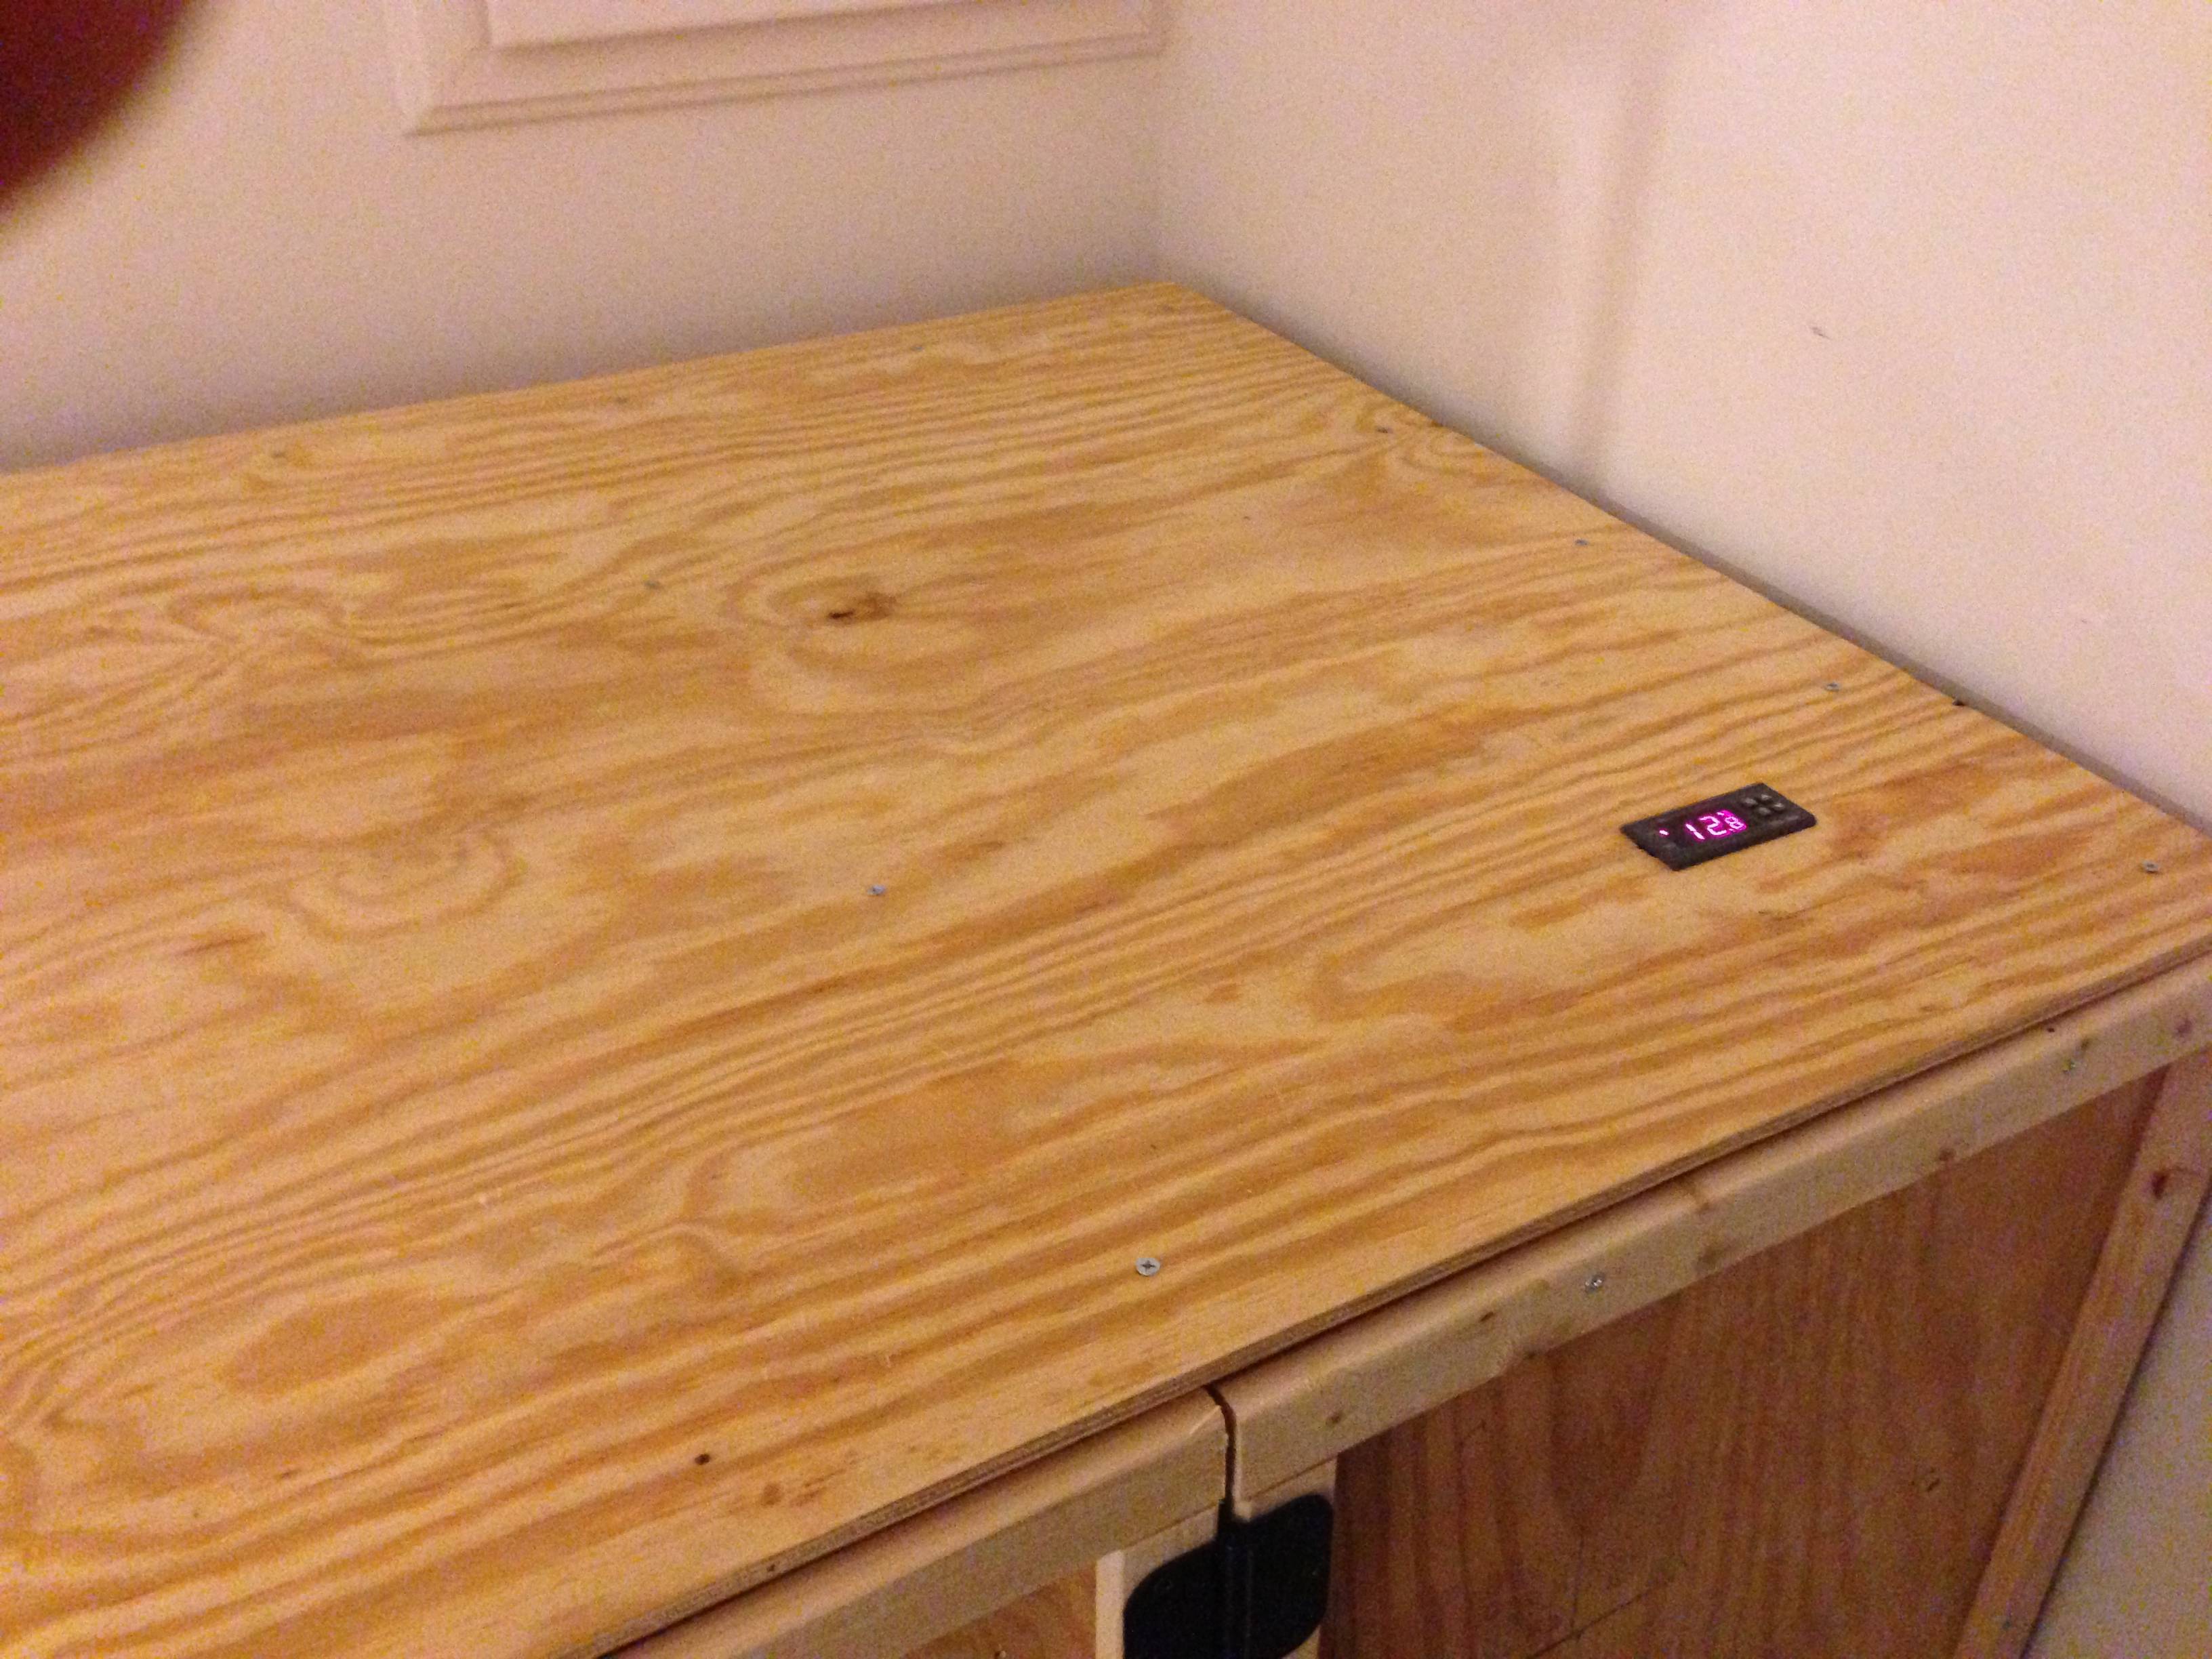
so I might just leave it as is. Here you go!

LGvY7.jpg


pwywH.jpg


I framed the doors so that I could screw them in from the inside (only using 3/8" plywood) and so that I could attach hinges. Both of the framed sides in the last picture are doors, you can see the other hinges (barely) on the far left. I wanted two doors so i wouldn't have to shift too much to get full buckets in/out of the thing.

N4kCv.jpg


Here's showing the mounted STC (and my finger in the corner). I turned the fridge on a while before this, and within an hour i went from 69F to 55F. Then, it seemed to settle in on 52F. We'll see if i can get it lower. Alternatively, I'm thinking of putting a divider of insulation in there so that i can potentially lager on one side and do ales on the other. But if i can get the whole thing down to 48 or so, I guess I won't have to worry too much :rockin:

Last, here's the doors:

Sq8XF.jpg


These were actually really hard to get the insulation just right. You can't fit it just to the opening, cause then the door won't close right. It took a lot of fixing, but in the end i used a 1 1/2" piece, a 1/2" piece, and some of the double reflective stuff (~1/4") and some reflectix tape on all the seams. They don't look that pretty, but the seal is pretty good which is the only thing that matters. Any suggestions / questions welcome. I'm pretty proud of this bad boy!
 
I just came upon a BUNCH of 3" thick foam board. I am planning on building a ferm chamber next to my keezer. Don't know yet how I will cool it...

Good work...

Hell, i'd just build a frame and put the 3" stuff on the inside... no "window" filling required! that should be a lot quicker than my layered approach. This took me about 2 weeks, including waiting for glue to dry and taking days off to actually work for a living and stuff.
 
Any thoughts on adding in heating pads for the cold months?

I'm planning something like this, but I want to have the fridge with the door on, but with two holes for fans in it, one in, one out. Then fill the fridge up with water bottles so it doesn't need to work as hard.
 
In my case I shouldn't need to heat at all, except for perhaps a few styles. I haven't really thought about that yet. I could always get a brew belt I guess. As for your idea, I'm not sure that's necessary... I did wire a fan into my design that runs constantly to circulate the air. What would be the advantage of leaving the fridge door on? Just minimizing space? The water is a great idea I might try that.
 
Wow! I have been searching the web for the last 5 days and this is the exact design I think I'm looking for! Looks awesome. Wish I was that handy!!!!
 
Wow! I have been searching the web for the last 5 days and this is the exact design I think I'm looking for! Looks awesome. Wish I was that handy!!!!


Dude, I am SO not that handy. You can do this with a drill and a hand saw I think. Can't really remember as it was a couple of years ago.

I do have new advice though - there is absolutely no point in making it this big unless you want to have multiple temp controllers. My idea would be to have one controller for the fridge, set at 55. Then another stc-1000 for each bucket/carboy that would control a heating jacket for each one. This way, you can keep whatever fermentation temp you want constant for each brew regardless of the fermentation stage (meaning you will use the heater less during the height of fermentation and more towards the end).

Also, if you plan on brewing twice a month or less, stick with a design where you can fit 2 batches in there. All the rest is just wasted space. I live in a townhouse and storage is a premium - this thing is way too big! But I still think the design is good, especially adding the extra stc's to control each fermenter independently. It only costs ~$50 per fermenter to buy an stc and a heating jacket.
 
Back
Top