I've been reading these forums for about three years and have gained a tremendous amount of knowledge in a short time. I can't thank the homebrewtalk community enough for their advice, patience, and willingness to share their projects and experiments with everyone else.
I'm a poor graduate student that has been moving my wife from Michigan, to Missouri, and now to Texas. Things are definitely different between the upper peninsula of Michigan and south Texas! One of the biggest differences that I didn't think about in time was my brewing and fermentation setup. In the UP I never had to worry about fermentation temps or taking extreme measures to cool my wort after a boil since so most of the time temps are below 70 degrees. In south Texas we don't keep our house below 78 degrees and hose water used to cool my wort with the counter-flow chiller is just short of bath water. Needless to say I had high fermentation temp off-flavors that I hadn't experienced and it nearly ruined an imperial russian stout I had been excited to brew for some time.
Now that the background is out of the way I'll take you through my progress from small kegerator to the new and improved kegerator / fermoire.
First I would like to thank the following posts for the ideas and documentation they provided:
TwoHeadsBrewing: https://www.homebrewtalk.com/f11/new-fermentation-chamber-build-102846/
android: https://www.homebrewtalk.com/f51/ebay-aquarium-temp-controller-build-163849/
bradsul: https://www.homebrewtalk.com/f51/pvc-tower-cooling-solution-43072/
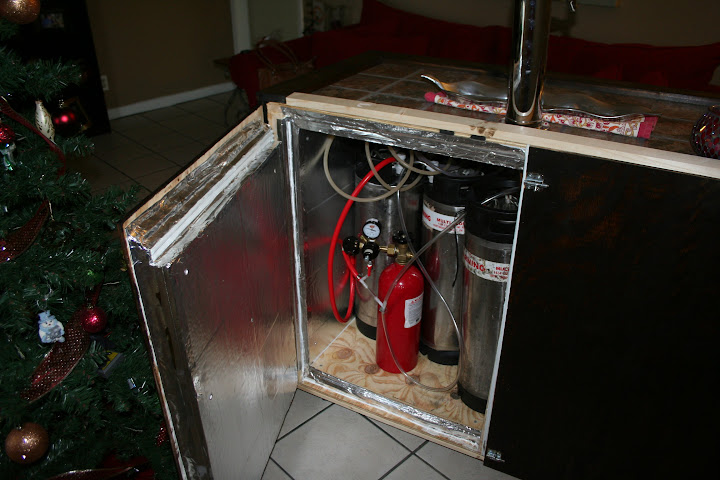
I started out with a simple mini fridge that could fit 2 kegs and a 5# co2 tank. It served its purpose but I knew I always wanted to upgrade

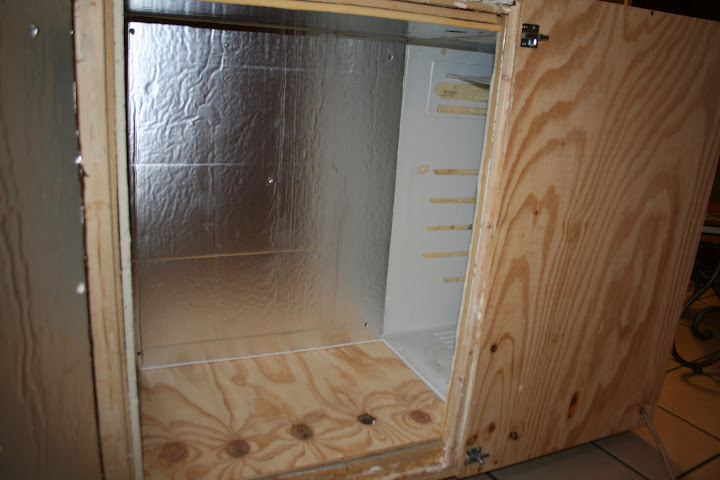
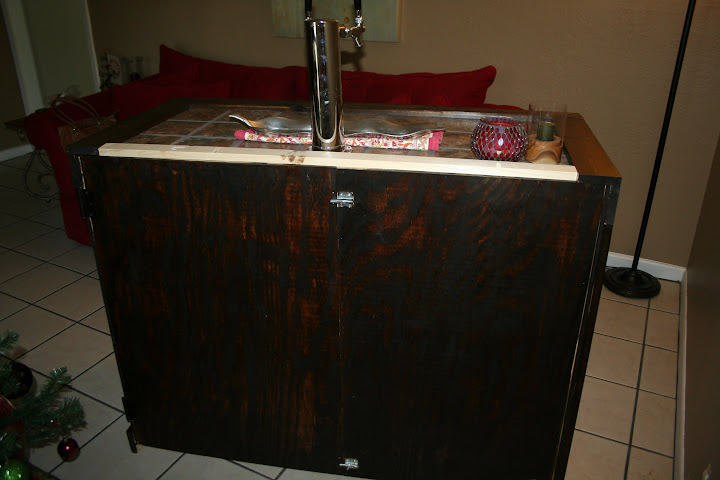
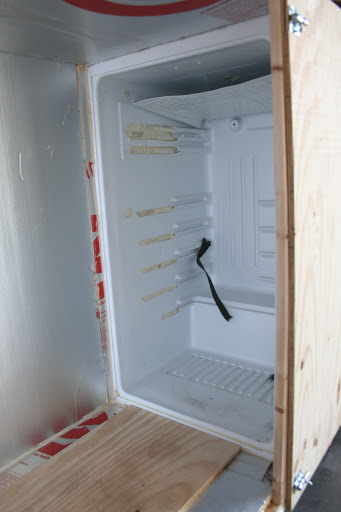
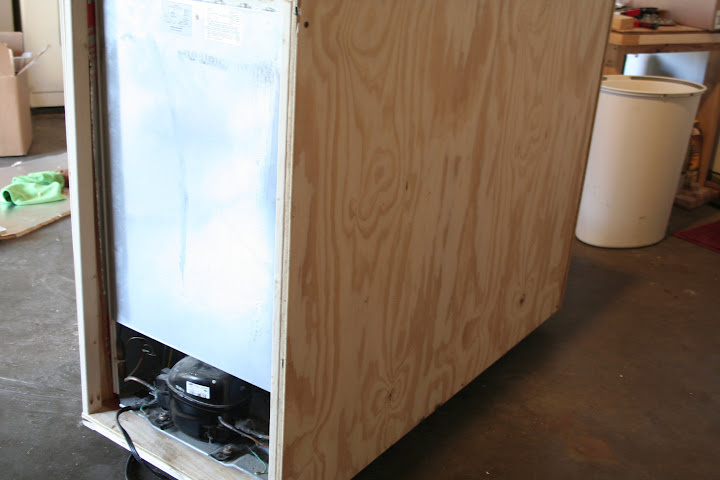
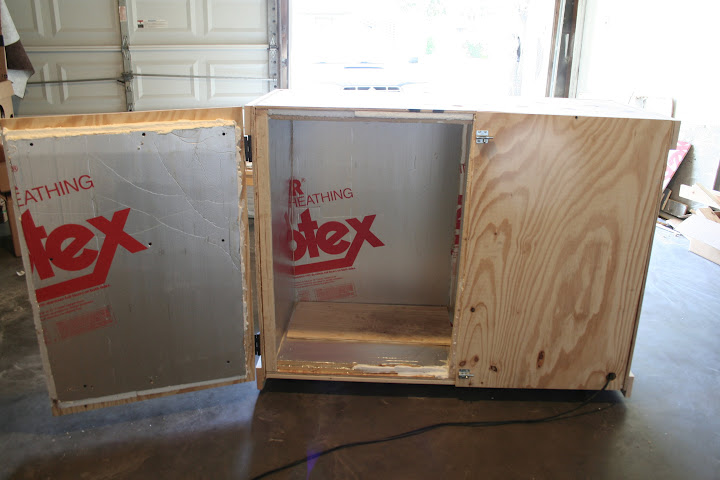
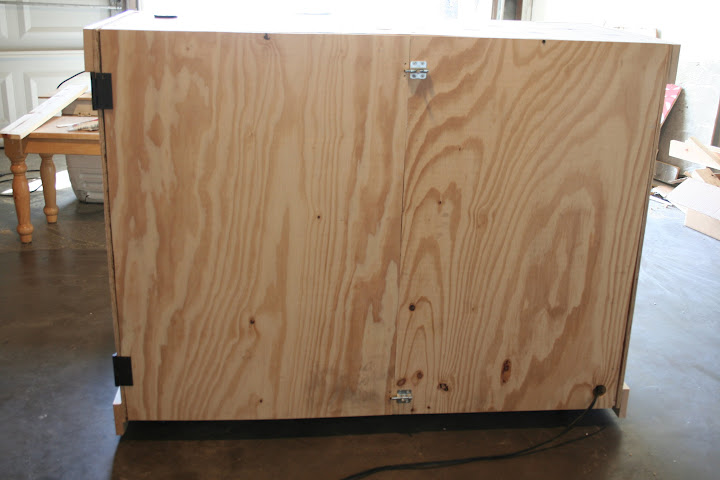
I took the top and the door off and built a box around it. I thought I had more pictures of this process but they've disappeared somehow. I just used 1x2s to build a frame and plywood for the walls. It looks cheaper this way but I was going for something functional for a good price that swmbo wouldn't throw out. I added 3/4" sheet insulation around the fridge and it fit snugly. To the rest of the box I have 2 3/4" insulation between one foam sheet and a lot of extra sheet insulation I found in the attic. Oh! Never let home depot cut your plywood sheets. This unit was definitely not square because they can't cut straight. I don't have the tools to make those longer cuts so I had to make do with what they gave me.

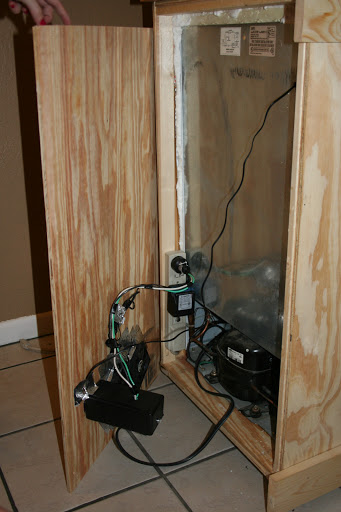
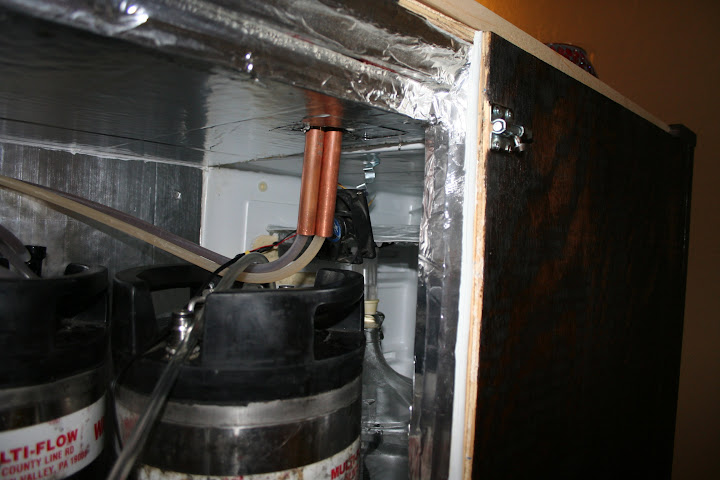
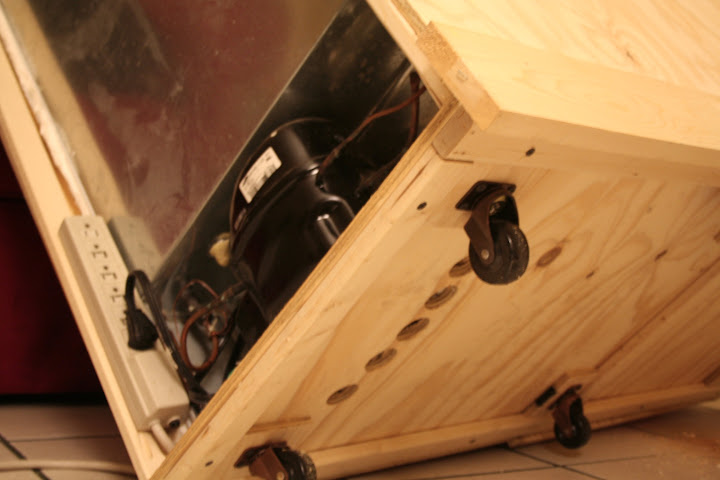
To keep the condenser cool I drilled 5 holes to allow air intake.
I'm a poor graduate student that has been moving my wife from Michigan, to Missouri, and now to Texas. Things are definitely different between the upper peninsula of Michigan and south Texas! One of the biggest differences that I didn't think about in time was my brewing and fermentation setup. In the UP I never had to worry about fermentation temps or taking extreme measures to cool my wort after a boil since so most of the time temps are below 70 degrees. In south Texas we don't keep our house below 78 degrees and hose water used to cool my wort with the counter-flow chiller is just short of bath water. Needless to say I had high fermentation temp off-flavors that I hadn't experienced and it nearly ruined an imperial russian stout I had been excited to brew for some time.
Now that the background is out of the way I'll take you through my progress from small kegerator to the new and improved kegerator / fermoire.
First I would like to thank the following posts for the ideas and documentation they provided:
TwoHeadsBrewing: https://www.homebrewtalk.com/f11/new-fermentation-chamber-build-102846/
android: https://www.homebrewtalk.com/f51/ebay-aquarium-temp-controller-build-163849/
bradsul: https://www.homebrewtalk.com/f51/pvc-tower-cooling-solution-43072/
I started out with a simple mini fridge that could fit 2 kegs and a 5# co2 tank. It served its purpose but I knew I always wanted to upgrade
I took the top and the door off and built a box around it. I thought I had more pictures of this process but they've disappeared somehow. I just used 1x2s to build a frame and plywood for the walls. It looks cheaper this way but I was going for something functional for a good price that swmbo wouldn't throw out. I added 3/4" sheet insulation around the fridge and it fit snugly. To the rest of the box I have 2 3/4" insulation between one foam sheet and a lot of extra sheet insulation I found in the attic. Oh! Never let home depot cut your plywood sheets. This unit was definitely not square because they can't cut straight. I don't have the tools to make those longer cuts so I had to make do with what they gave me.
To keep the condenser cool I drilled 5 holes to allow air intake.