DIY Beer Bottle Drying Rack (lots of pics)

Homebrew Talk - Beer, Wine, Mead, & Cider Brewing Discussion Forum

Help Support Homebrew Talk - Beer, Wine, Mead, & Cider Brewing Discussion Forum:

This site may earn a commission from merchant affiliate links, including eBay, Amazon, and others.

IPAddict

Active Member
Joined
Apr 7, 2011
Messages
38
Reaction score
2
Location
San Francisco
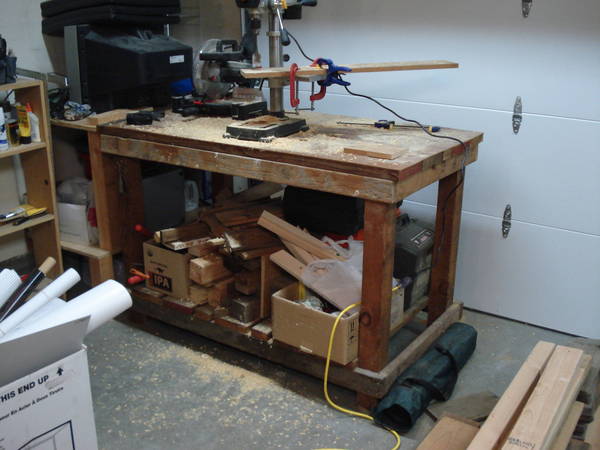
My cousin brews and has mentioned a few times that I should come down and brew with him. He bottles his beer and so I've mentioned that if he needs bottles I can help out. He prefers 22's, and well, after you drink them and rinse them, drying can be a pain. I don't putting it in the dishwasher and I don't like the idea of having some rinky dink dishwashing rack lying around just for drying bottles. I don't think they look appealing in any way, shape, or form, and I also don't like the bulky dimensions of them. Well, I don't have any wood working projects going on right now, and I thought this could itch my scratch. As the thread titles implies, I made a beer bottle drying rack.

I'm going into a lot of detail here, so I hope it helps those who aren't that confident with this type of stuff. If it's too long, or too detailed, or you don't like so many pictures, or whatever, then please don't read this thread. I'm hoping some people can find a use for this. This was scrap wood, and a project that didn't need to be super precise or even look anything near good, so don't be discouraged from it.

And off we go...

Dimensions:
3' wide
5.75" deep
5.5" tall

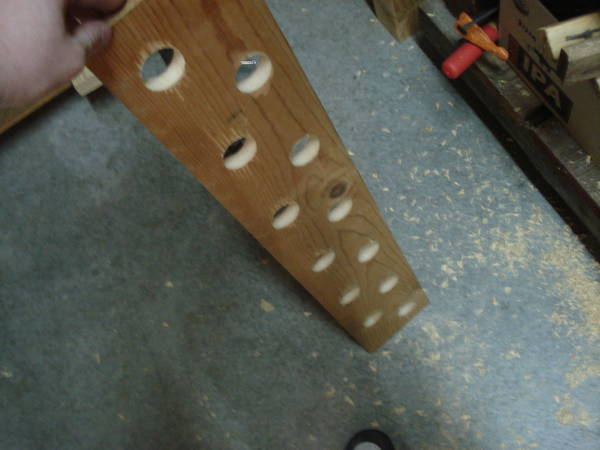
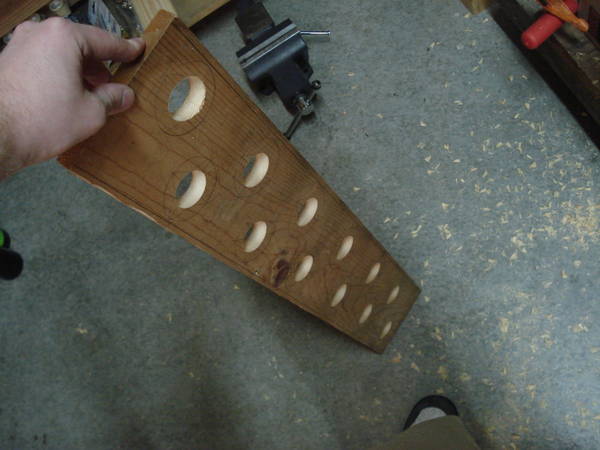
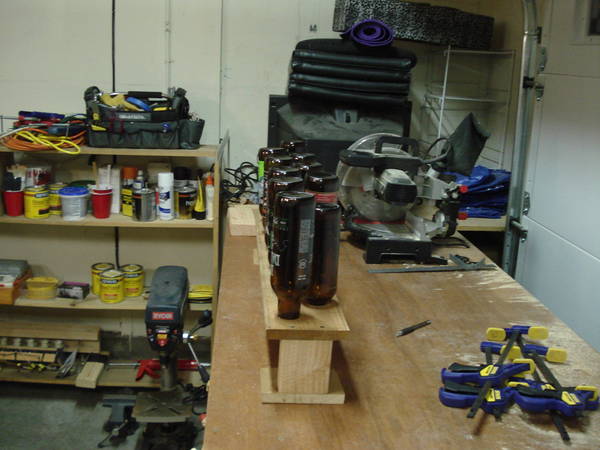
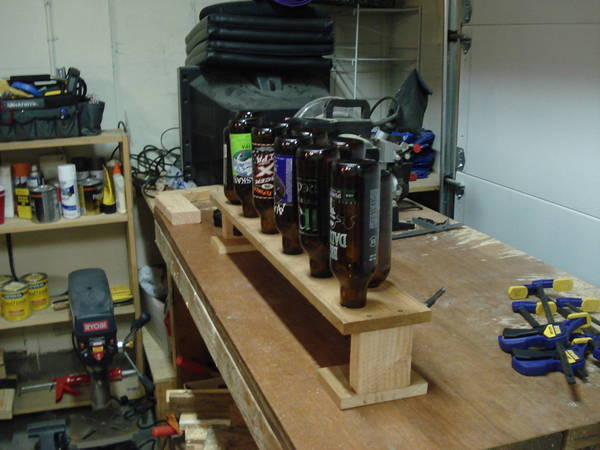
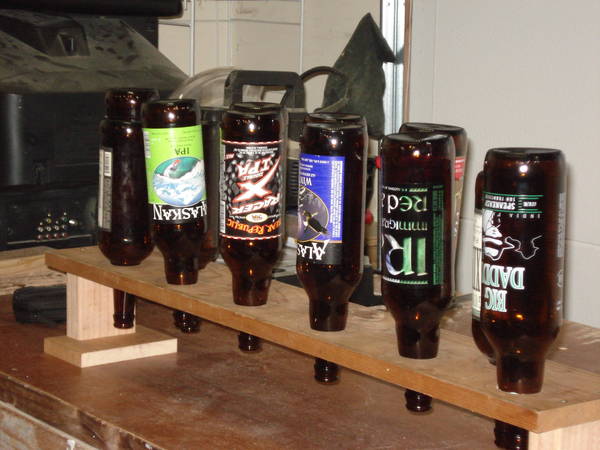
Dimensions give it a slim and low profile. I wanted it like that so you can use it or store it and just have it out of the way. It can hold 12 bottles, 22's or 12's. Made out of scrap wood I had lying around, as well as 8 screws.

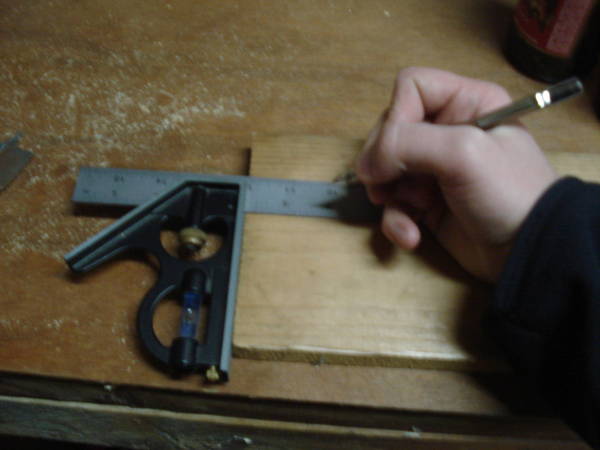
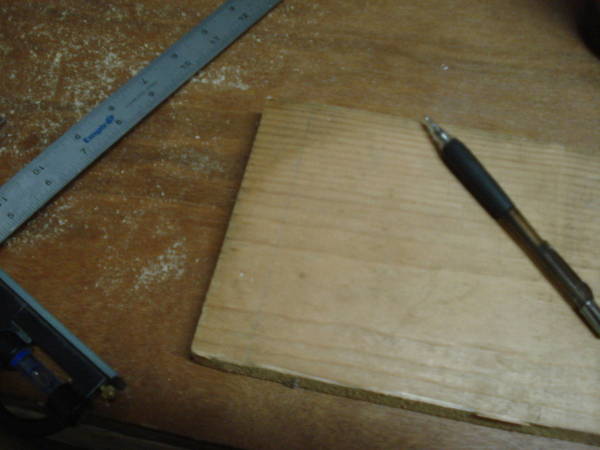
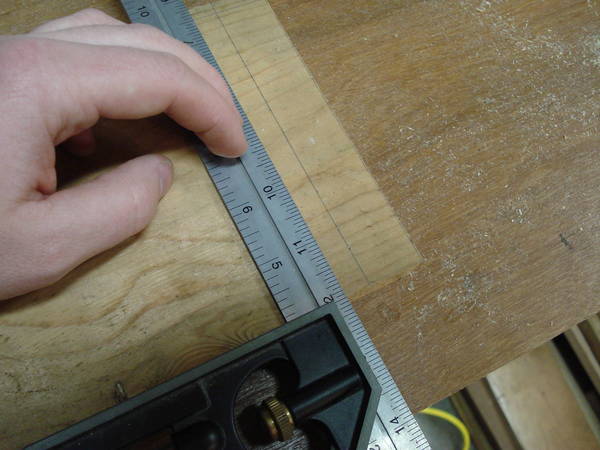
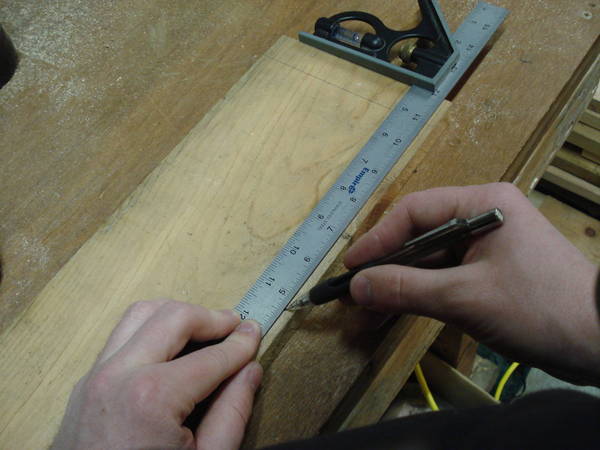
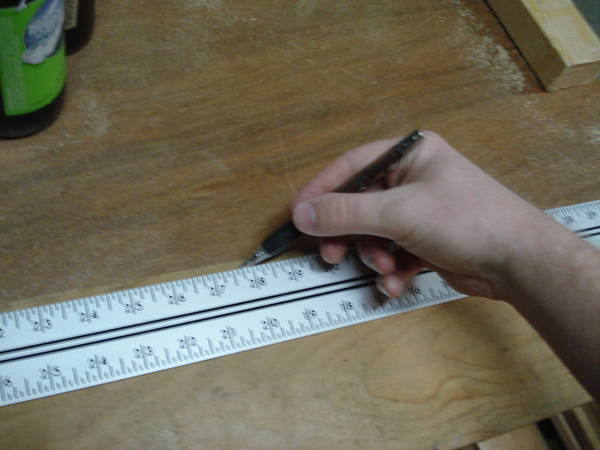
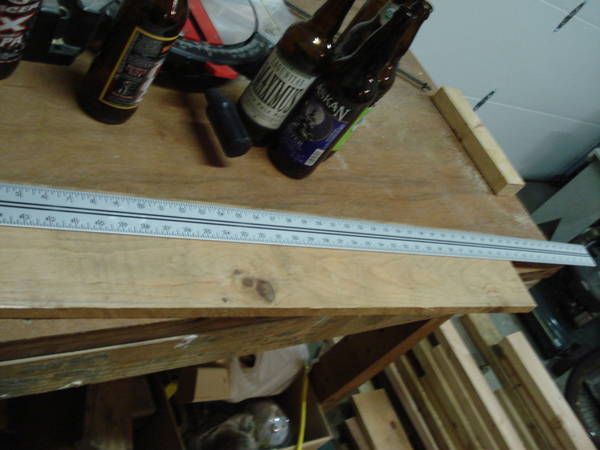
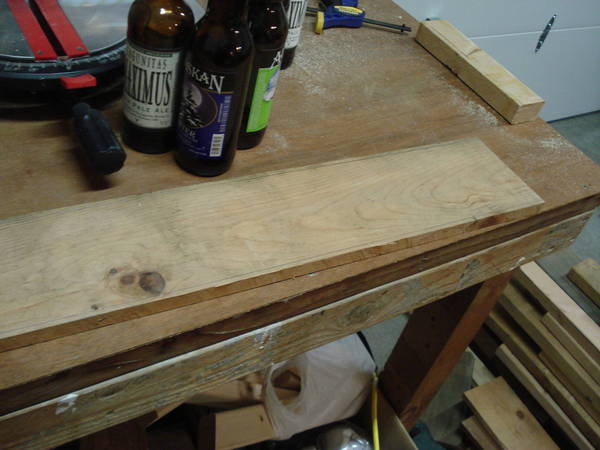
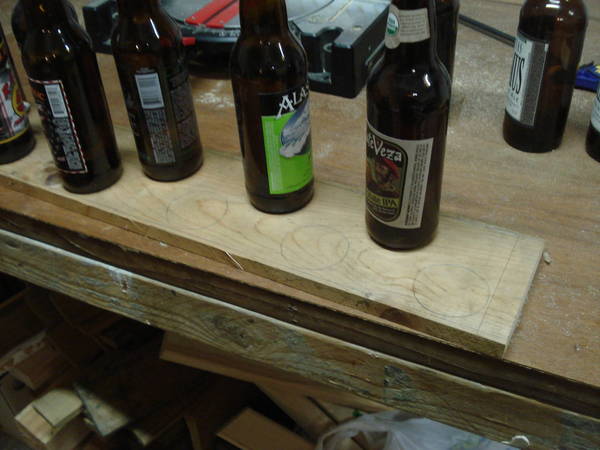
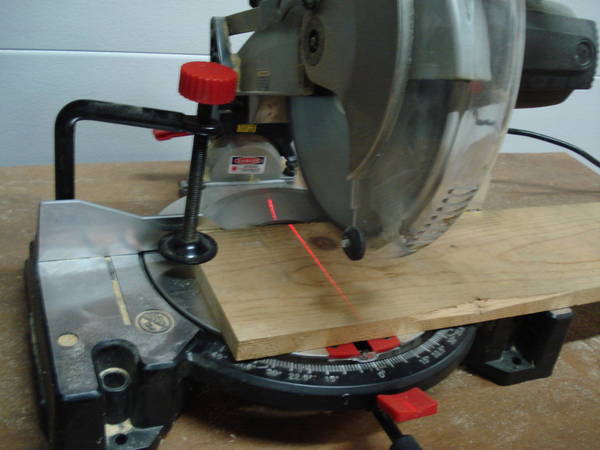
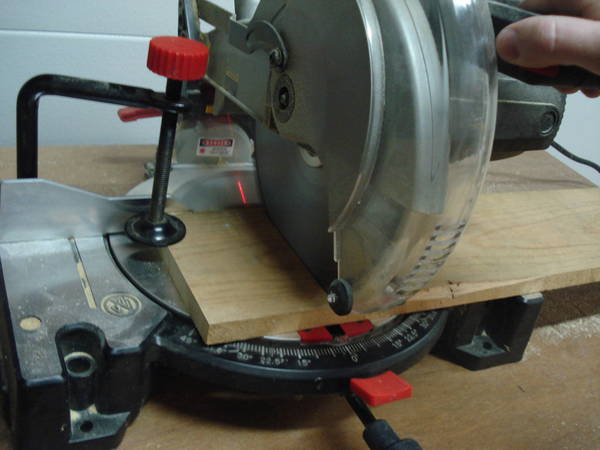
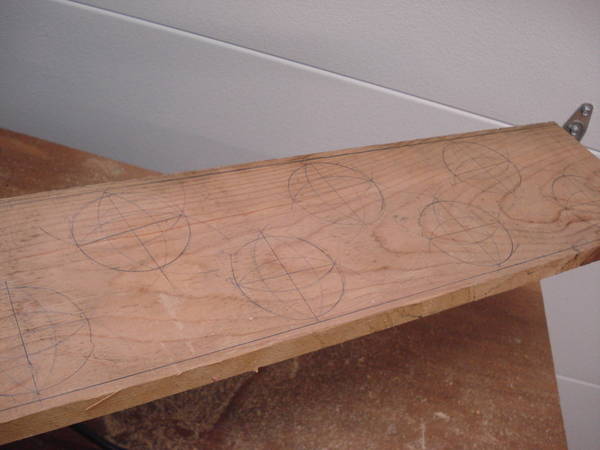
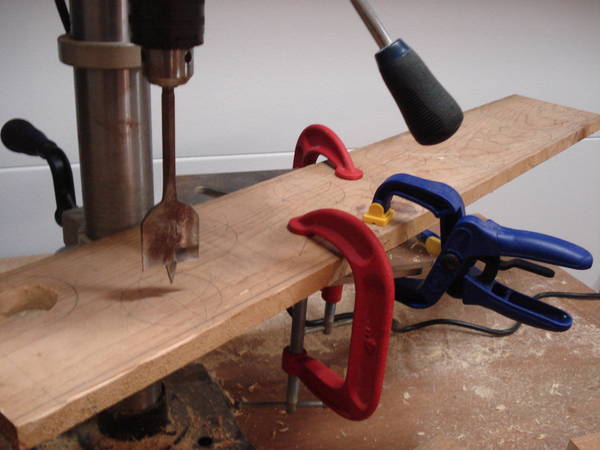
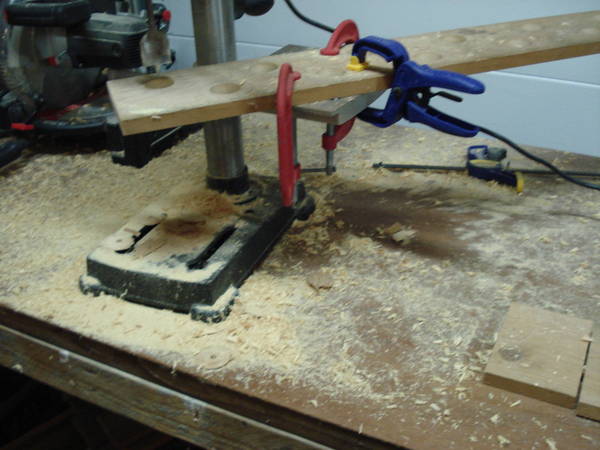
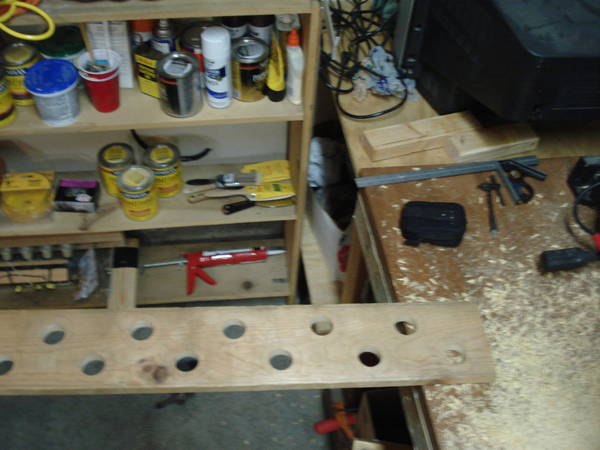
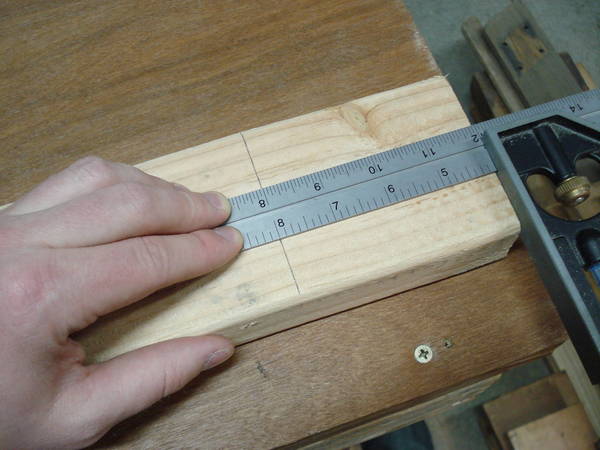
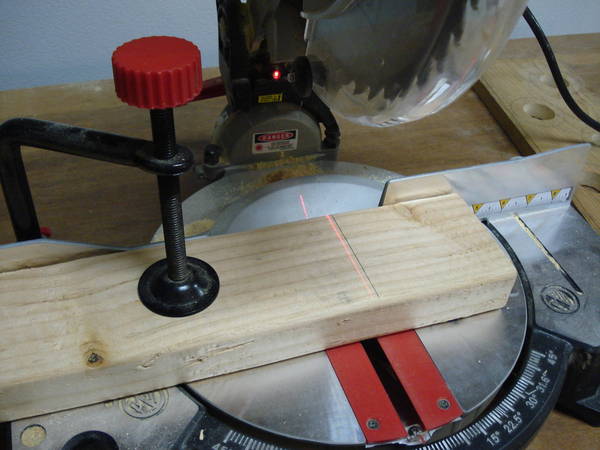
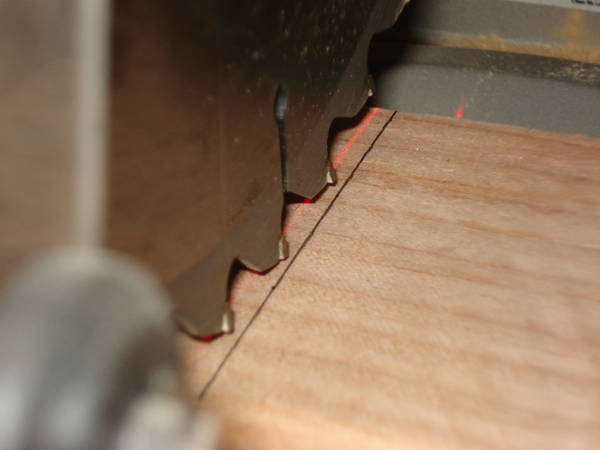
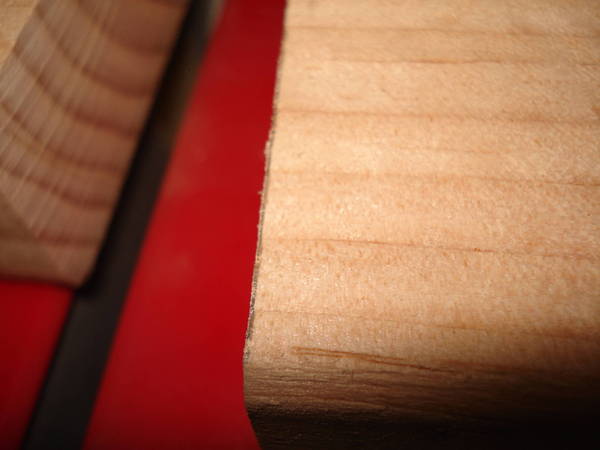
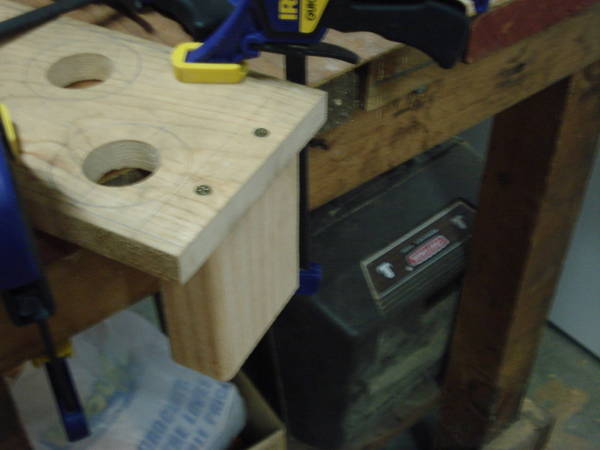
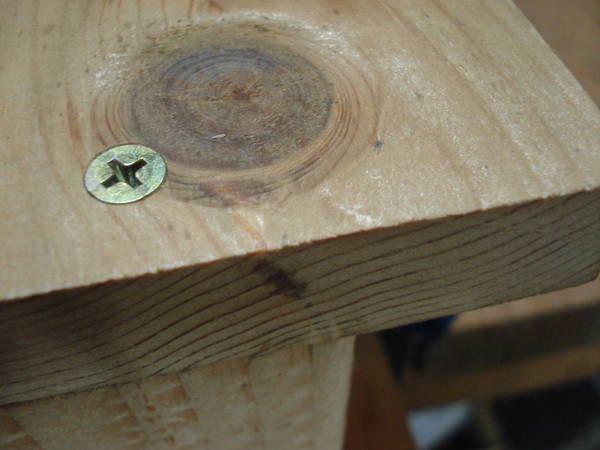
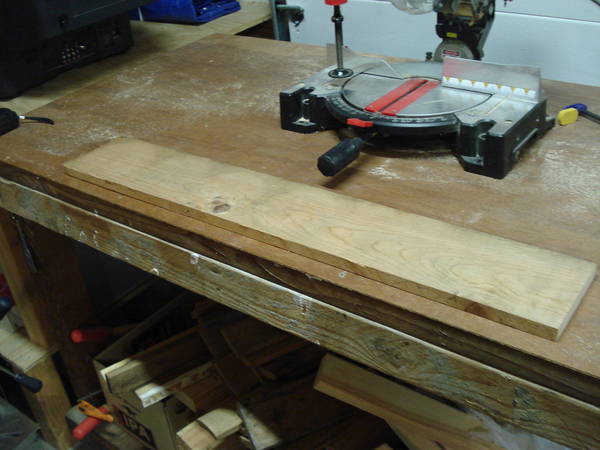
Started with a scrap plank of wood that was maybe 8' long, and is 5.75" deep and .75" thick. First I cut the plank 3' long.

DSC04920.JPG


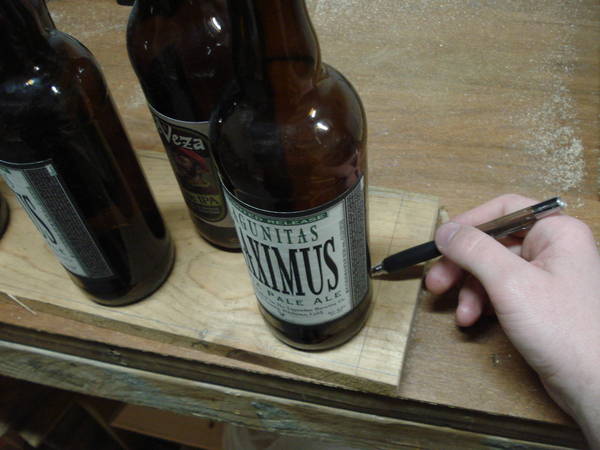
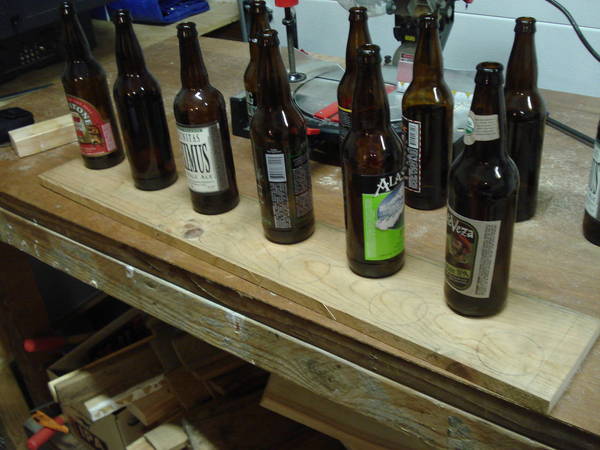
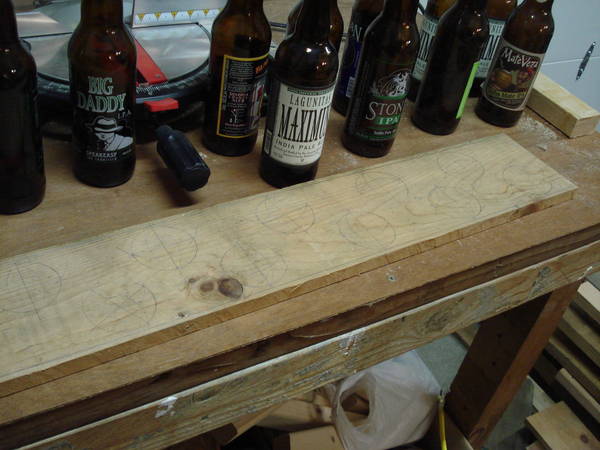
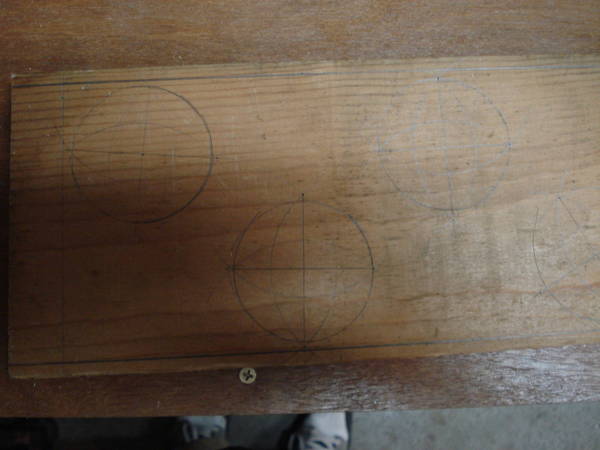
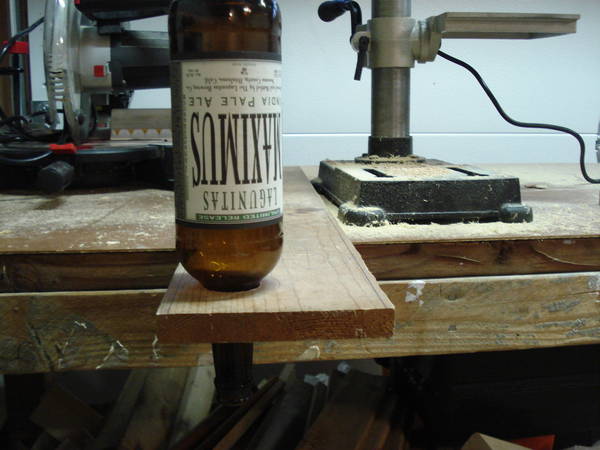
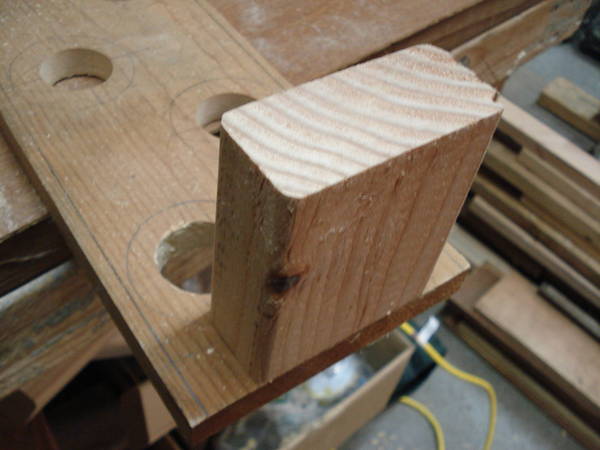
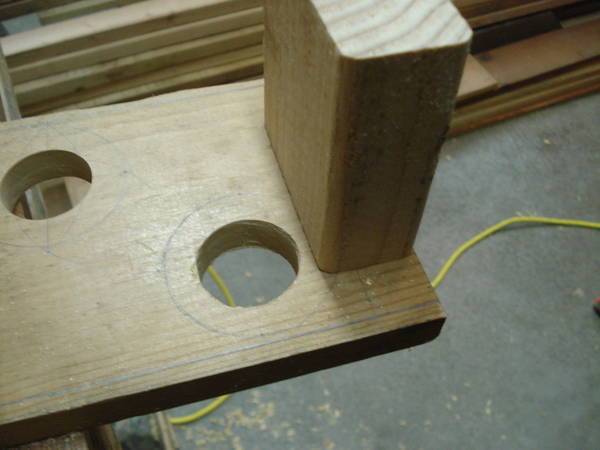
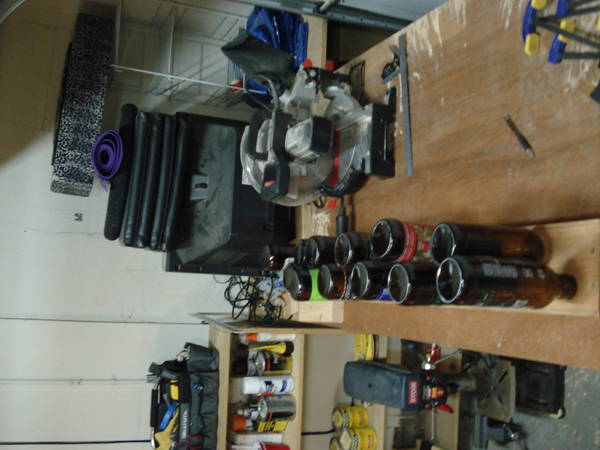
I placed the bottles on the plank to kind of give you an idea of how they will be arranged: 2 rows of 6, staggered.

DSC049221.JPG
 
Next was making a border around the edges for clearance. I have a 1" clearance on the left/right and a .25" on the front/back.

Make a notch for the clearance (1" from the left edge):
DSC04923.JPG


Draw the line from the notch:
DSC04926.JPG


Line drawn:
DSC049281.JPG


Repeat this for the right side

.25" clearance from the front edge (do this on the left and right sides):
DSC04932.JPG


Make the notch:
DSC049341.JPG

DSC04935.JPG


Line it up with the notch:
DSC04936.JPG


And draw:
DSC04937.JPG


Line up the T-square with the short lines drawn for front/back edge clearances:
DSC04940.JPG


Draw:
DSC04941.JPG


I love T-squares for larger pieces of wood, plenty of length:
DSC04942.JPG


Lines for clearance drawn:
DSC04943.JPG


Oh and if you see pics with both my hands in the pictures, I took the picture with my chin/chest like a bafoon :D
 
Sorry in the post above, on the last pic. It's kind of hard to see the lines, not sure how to make the pictures larger so you can see. I uploaded them here, so it might be a restriction. Maybe if I host them somewhere else, it might allow full size. I'll figure it out later though, any comments/suggestions on this is appreciated...

Now we need to mark the holes which will hold each of the bottles. I arranged the bottles on the plank as close to the borders as possible. I also spaced them out as evenly as possible. I did this all by eyeballing it since it need not be exact. Also, I'll discuss this more in detail in the very last post, but this is the first instance of hindsight in this project, since I used different bottles of different base sizes.

Assemble the bottles with respect to clearance lines:
DSC04944.JPG


Trace the bottoms:
DSC04947.JPG


3 down:
DSC04949.JPG


6 down:
DSC04950.JPG


Much easier to trace with one row gone:
DSC04953.JPG


All done:
DSC04955.JPG


Use a compass to find the center of the circles:
DSC04956.JPG

DSC04957.JPG


To do this, just take a compass and place the pivot somewhere on the circumference. Stretch the pencil out to around the length of 3/4 the diameter. Draw a little more than a half circle. Take the pivot and place it on the circumference, on the opposite side of the circle. Again draw a little more than a half circle and this should intersect the other compass drawing at two places. Draw a line from one intersection to the other. You now have a line intersecting the center of the circle.

Take the compass and place the pivot on one of the half circle intersections. Draw again, a little more than a half circle. Place the pivot on the other half circle intersection. Draw again a little more than a half circle. You now have 2 new intersections. Draw a line connecting them and it will intersect the center of the circle again. More importantly, it will intersect the first line, and that intersection is the center of the circle.

There are other ways to do it, this is just how I did it off the top of my head.
 
Now I need to cut the feet for the rack. I'm cutting the feet from the same wood I cut the plank from. I'm making the feet 4" wide and I feel that will be stable enough without overkill.

Using a miter saw to cut the feet, same way I cut the plank. I'm wearing safety goggles while doing this, which seems unnecessary, but it's a very good habit. Also, notice in the pics where there's a line (it's filled with sawdust) gouged out in the metal base on the left of the saw? And see the "no hand" sign between that line and the blade? That's a no hand zone. 6" to the left or right of the blade, you don't put your hands there while the blade is running. If you are going to use a power tool, read up on the manual and follow the safety guides. They're there for a reason and this **** can take off fingers no joke. Play it safe.

Set up the cut for the feet (4"):
DSC04962.JPG


I'm barely able to do this with the saw's clamp on the left as you can see. I can move it to the other side, but I usually like it on the left since you cant rotate it that far towards the blade when it's on the right. Some of the housing on the the arm gets blocked if you have the clamp too far in. So you can't bring the blade down all the way. IMHO that's flawed design, but I manage so it's ok.

The laser helps with lining up the cut, but is by no means an exact measure of it. It's a good idea to bring the blade down close to the piece to be cut, without the blade running. You can double check to see if you need to adjust. It also takes a little practice before you can easily determine where you need to line your cuts. The kerf (the width of the material the blade cuts away) extends a little beyond the teeth of my blade, but I know how far away just by sight, so I can make a pretty exact cut.

Also, I clamp down the other side of the plank to the workbench. I do this to keep it steady. I just took a couple pieces of wood to match the height and clamped it down. It would be nice to have a nice long fence, but I rent right now, so I'll wait till I buy my own house.

Blade running:
DSC04964.JPG


Blade cutting:
DSC04965.JPG
 
It's late, I'm tired. I'll see if I can finish this tomorrow morning. If not, then Sunday night or Monday. I'll be reserving spots for posts.

Here's one, reserved

Now we need to drill the holes for the bottles. Time for the drill press.

Set up the drill press. Using a 1.5" paddle bit. I held it up to a bottle neck to see if it's a good enough size:
DSC04966.JPG


Drill press table moved to the side:
DSC04967.JPG


From afar, you can see how it's all set up. Using quick clamps to hold it to the table. Not much support; I'm trying to hold the piece steady while drilling:
DSC04968.JPG


All these and more... :
DSC04971.JPG


Paddle bit spinning (you can see I already drilled a bit):
DSC04970.JPG


Dropping it down:
DSC04973.JPG


Rough cut:
DSC04974.JPG


There was lots of vibration. I tried to keep it as steady as I could, but it still was enough to not make a good cut. You can't really see it too much from the picture, but it kind of ovaled the hole. You can clearly see though, it chewed up an edge.

Up close:
DSC04976.JPG


Not the best hole:
DSC04977.JPG


Test fit:
DSC04978.JPG

DSC04979.JPG

DSC04981.JPG

DSC04982.JPG


... I'll see what I can get posted before I leave for the weekend...
 
So I wasn't happy with the way the first hole turned out, needed fix it.

Round 2! C-clamps!:
DSC04983.JPG


Dropping it down/aligning/marking:
DSC04984.JPG


I drop the bit down, without it spinning, and align where the bit will hit the center. I use the quick clamp to keep it steady enough to stay, but I can still move it with my hand. When I have the spot I tighten it, press into the wood with the bit to mark the hole, and then tighten the C-clamps. Having the quick clamp hold it in place makes sure it won't shift while I'm tightening the C-clamps. Once the C-clamps are super tight, it won't budge at all.

End of round 2, success!:
DSC04985.JPG


Another:
DSC04986.JPG


1st half done, flip it around and start from the middle out:
DSC04987.JPG


All done:
DSC04988.JPG


Thanks for reading so far!
 
What a mess:
DSC04989.JPG

DSC04990.JPG


Underside:
DSC04991.JPG


Top:
DSC049921.JPG

DSC04993.JPG


This was just from the top of the workbench. There's plenty on the ground and my shirt:
DSC04995.JPG


Hand for size reference:
DSC04997.JPG


Looking back on this, I should have used hole saws for this. I think I only used a paddle bit because I had used it to size up to the bottle necks. A hole saw will cut out the hole, but it doesn't create such a mess since the wood cut away in the middle of the hole is intact.
 
I'm using some scrap 2x4's for the legs. First I need to figure out how tall I want it, so I measure how far a bottle's neck sticks out through the hole, and figure it out from there.

Measure the length:
DSC04999.JPG


It's a little more than 2.5" so I gave it about 4" just to be safe.

Make the notch and draw the line:
DSC05001.JPG


Line up the cut:
DSC05002.JPG


The cut is on the left this time. The laser was on to just give me an idea of where the blade will hit. I need to move the piece a little to the right of the laser, so the line will be just to the right of the blade when it drops.

Drop the blade to check it out:
DSC05004.JPG


The 4" line is just enough to the right of the blade so the kerf will go right to the line but won't go over. When the blade drops, it should cut exactly enough, so now I can clamp it down.

The cut:
DSC05005.JPG


You can see the line just on the edge of the leg. That's what we wanted.

Up close:
DSC05006.JPG


Now I just repeat the process for the 2nd leg.
 
I used 2 screws for each leg to attach it to the top. First I needed to line up the legs on each end so they're equal distance from the front to the back. Then I needed to clamp it down, drill pilot holes, and drive the screws in.

Line it up, nice and flush:
DSC05009.JPG


Make sure it's centered (there's a line to mark where the edge of the leg should be):
DSC05010.JPG


Clamp it down:
DSC05011.JPG


How I clamped the leg to the top:
DSC05012.JPG


Check to see that it's still centered:
DSC05014.JPG


Bust out the hand drill. Using a 1/8" bit:
DSC05015.JPG


Drill the pilot holes and drive the screws in. One leg down:
https://cdn.homebrewtalk.com/gallery/data/5/medium
/DSC05016.JPG

No clamps holding it together, looks good:
DSC05017.JPG


Mark the other side:
DSC05018.JPG


This was for the line to keep the leg centered. Take the length of the plank from the front to the back, measure the length of the leg. Subtract the leg's length from the plank's length. Divide that number in half, and that's how far from the front/back you should mark the plank so you can have the leg centered.

Draw the line:
DSC05019.JPG


Use the combination square as a guide when lining up the leg to the edge of the top:
DSC050202.JPG

DSC05021.JPG


2nd leg clamped down:
DSC05024.JPG


One screw down:
DSC05025.JPG


Both done:
DSC05026.JPG
 
Now we just have to attach the feet to the legs. I decided to do this quick and easy. I just turned the top with the legs sideways, then put a foot on its side and pulled them together. When (1) it felt like the sides of the foot and the top were flat against the workbench, (2) when it felt like the top of the foot was flush against the bottom of the leg, and (3) when it felt like the edge of the foot was flush against the edge of the leg, I clamped it together, and screwed it in. We repeat the process for the other foot. Once the first is done, the second is a lot easier.

First foot clamped:
DSC05027.JPG


A knot was giving me trouble on the second foot, so I took out some counter-sink bits:
DSC05029.JPG


In the picture above, you'll see the biggest piece in the case is for a quick change method. That piece you put on the end of your drill. Then you'll see in the pic below, the counter-sink bit goes into the silver piece on the left. That piece has a phillips bit on the other end. You place that piece into the quick change piece and it allows you to use one end, then quickly flip it around and use the other without having to untighten, switch the bit, and retighten. Well, the quick change piece I have is broken, so I just stick the counter-sink bit straight in the drill.

The two good pieces:
DSC05029.JPG


Better look at the bit. You can see angle part which makes a recess so the screw head can sit flush:
DSC05033.JPG


Nice and flush:
DSC05034.JPG


I don't really care too much with the top, but we want the screw heads on the bottom of the feet to be flush since that's the part that sits on the ground. Otherwise it might be wobbly.

Drill the pilot hole:
DSC05035.JPG


Used the countersink again, nice and flush:
DSC05036.JPG


Both feet done:
DSC05037.JPG


Right side up:
DSC05038.JPG


And it's done!
 
With bottles:
DSC05039.JPG


Side shot:
DSC05044.JPG


You can see it's low profile. I can just set this aside against a wall and it's out of the way.

More shots, different angles:
DSC05040.JPG

DSC05041.JPG

DSC05042.JPG

DSC05046.JPG

DSC05047.JPG

DSC05048.JPG
 
After making this, I took note of a few things I messed up on or would do differently.

1. I should have tested the first hole with other bottles. I used a Lagunitas bottle to test it out. That one fit great. The Alaskan one was a little thicker around the neck and didn't want to stand up straight. If I made the holes just a bit bigger to accomodate that, I think it it would fix that. I think I also only looked at the Lagunitas bottle when I was eyeballing the size of the paddle bit against the neck. I should have check others then too. It worked out ok though; it just means not all the bottles like to stand straight.

2. I should have used the same bottles for tracing all the bottoms. Again, it worked out alright, but the bottles are different, and they have different size bases.

3. I should have used a hole saw instead of the paddle bit. It would make a lot less of a mess. The paddle bit was fine for eying the size of the hole, but when cutting out the hole, the hole saw would have been better.

4. I should have used the C-clamps off the bat when making the holes. I knew there would be a good amount of vibration, I was just lazy.
 
Well it's all done. If anyone read it I hope you enjoyed it.

I'm debating on weather I should put a stain on it or not just to make it look a little nicer.
 
Very nice, I've been thinking about buying a tree, but now I think I will make something similiar to this instead. Prost!
 
Have wanted to do the samething but when bottling you need about 40ish bottles dried. Was thinking of doing a tiered one at about 20 total.
 
After making this, I took note of a few things I messed up on or would do differently....


2. I should have used the same bottles for tracing all the bottoms. Again, it worked out alright, but the bottles are different, and they have different size bases..
All bottles are different, no need to blame yourself, or discount yor effort. In the future pick the shortest, fat one, and the tallest lean one and average the two -much like life. ;)

3. I should have used a hole saw instead of the paddle bit. It would make a lot less of a mess. The paddle bit was fine for eying the size of the hole, but when cutting out the hole, the hole saw would have been better.

4. I should have used the C-clamps off the bat when making the holes. I knew there would be a good amount of vibration, I was just lazy.

*nod to both* next time then. ;)
 
Awesome! I was going to build/buy a tree but now i'm not! I have plenty of scrap wood. Good thing my pops lives around the corner and I have keys to his work shop:p He used to hate it when I used and borrowed his tools but now I pay him off with home brew :D
 
Back
Top