How to Spend a Week Saving $100.00 (Processing Hops)

Homebrew Talk - Beer, Wine, Mead, & Cider Brewing Discussion Forum

Help Support Homebrew Talk - Beer, Wine, Mead, & Cider Brewing Discussion Forum:

This site may earn a commission from merchant affiliate links, including eBay, Amazon, and others.

lotbfan

Well-Known Member
Joined
Oct 12, 2010
Messages
362
Reaction score
37
Location
Tigard (Portland)
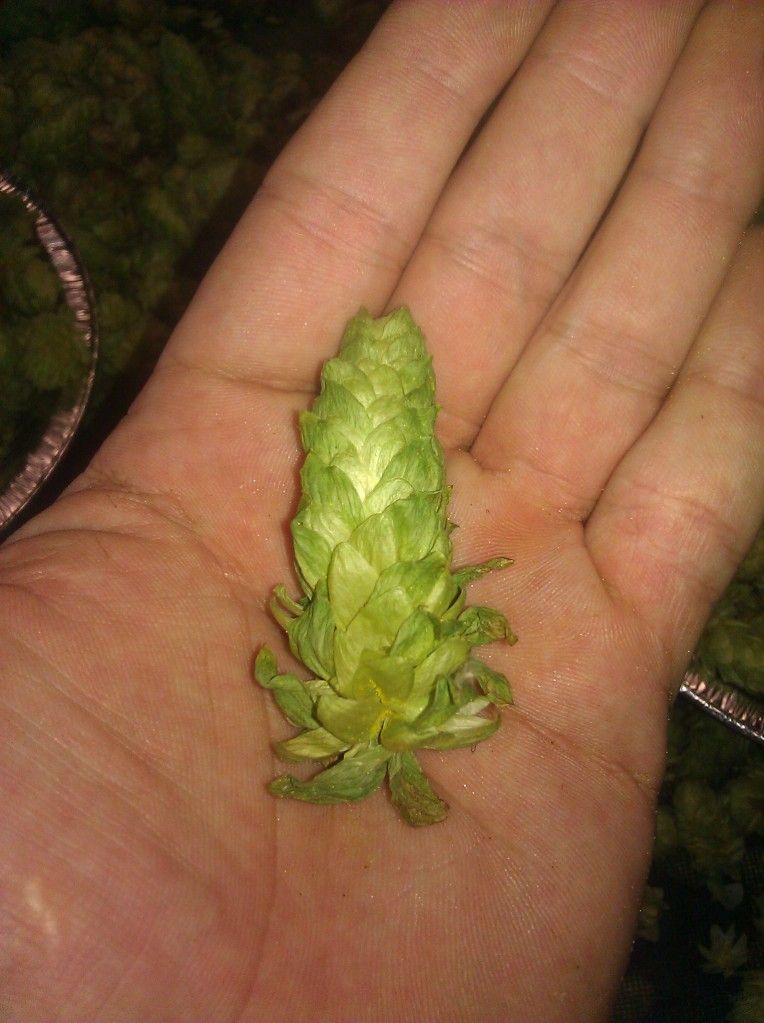
So I took some photos of my procedure in putting up hops this week. I ended up doing a pretty good sized run, and at the end of the week realized just how little we actually pay for these. Now I realize that on farms most of the process is mechanized, but this was my adventure in finding the true value of hops.


Step One: Find some guy on Craigslist giving away hops.

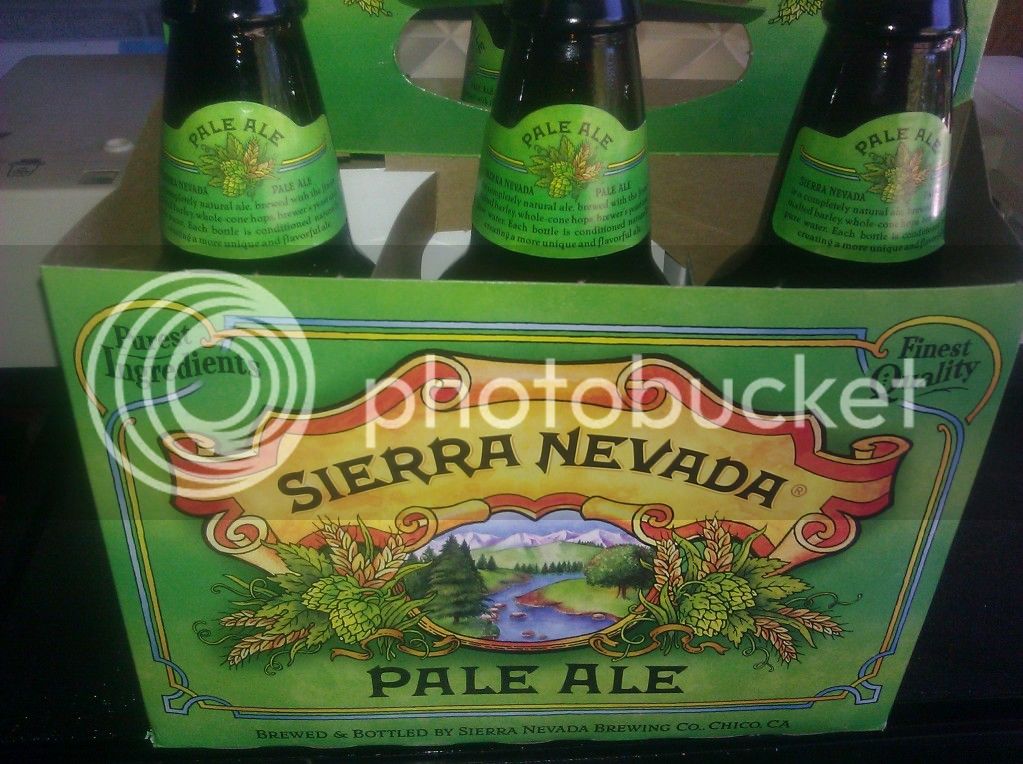
Brian from Craigslist was a home brewer, but gave it up. He still wanted to grow hops to cover his gazebo, but wanted the hops to go to a good home. My wife and I stopped by to oblige on Sunday last week. Over a couple of Sierra Nevada Pale Ales (he was also from Chico it turned out) we loaded up the car and headed home. The back of the station wagon was full at this point.

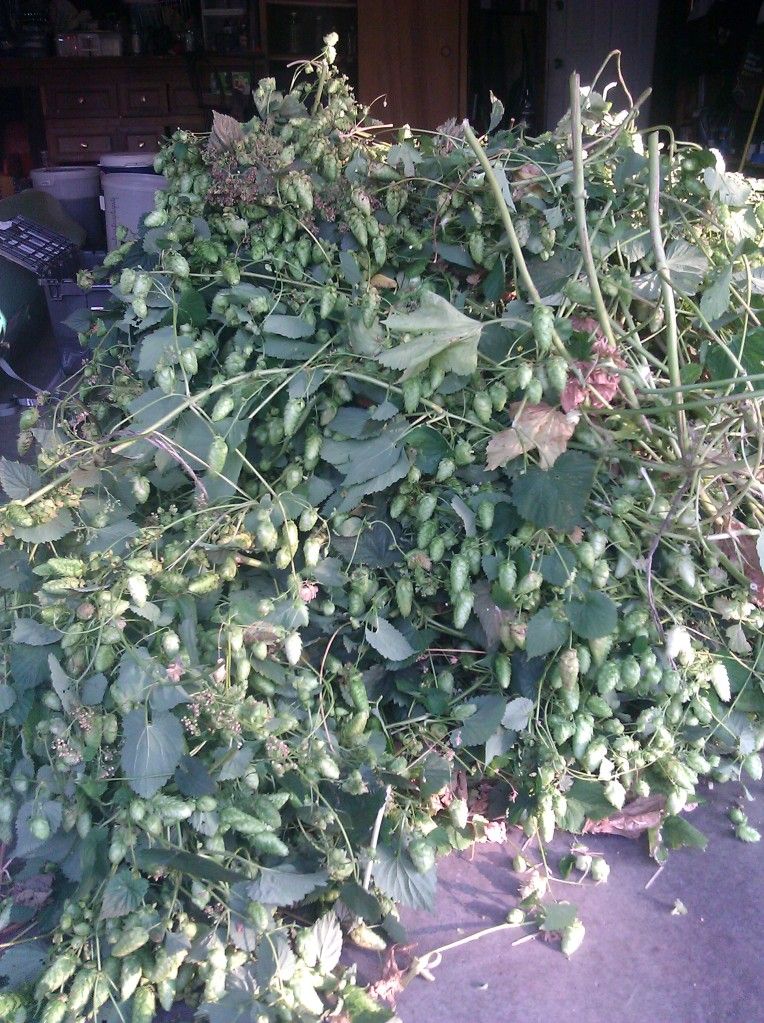
Step Two: Unload the free hops into the work area. I realized at this point that I should have worn long sleeves, I had really cool red arms for like 3 days.

It really didn't look like there was this much material hanging from the pergola.

IMG_20120923_173355.jpg


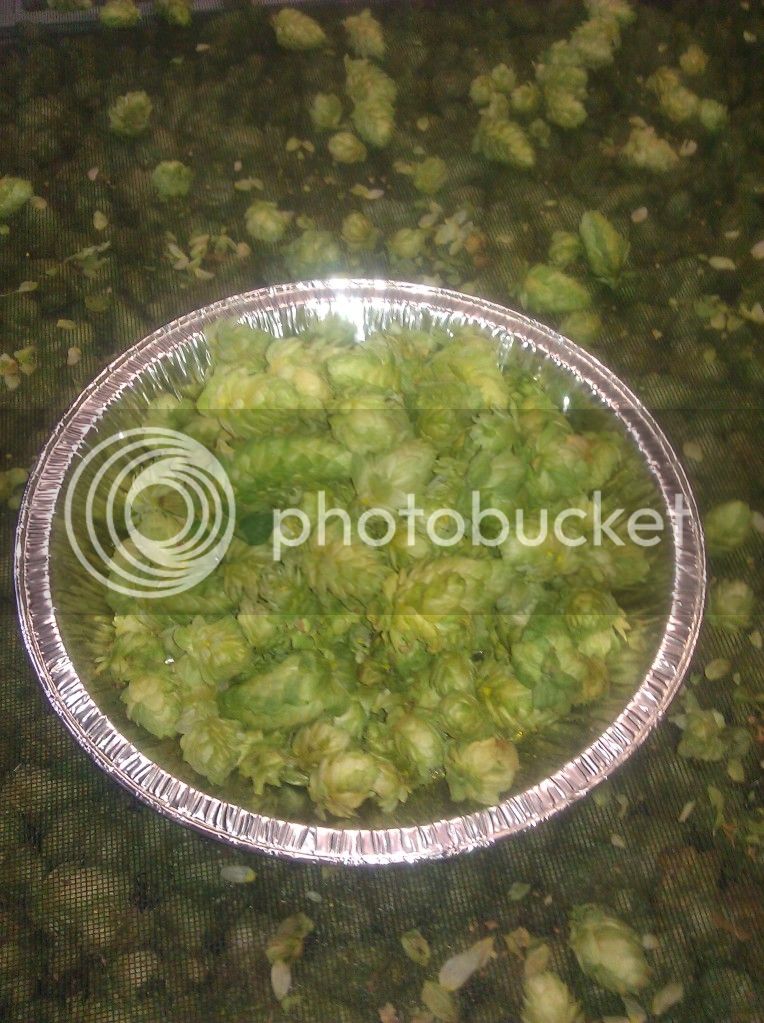
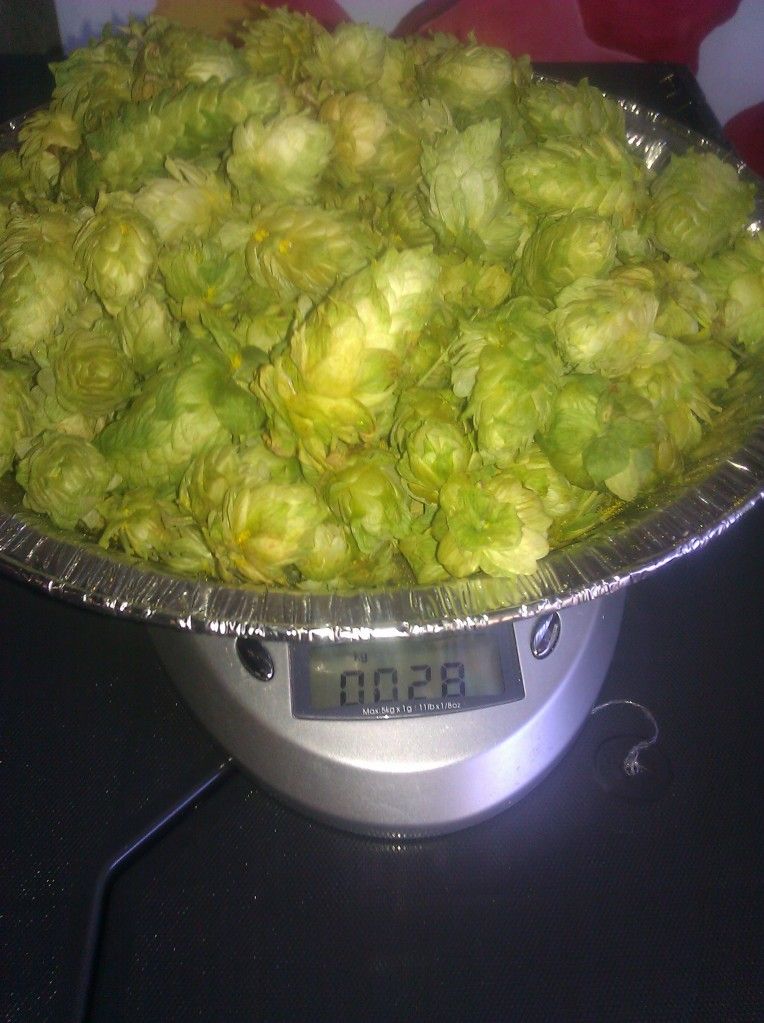
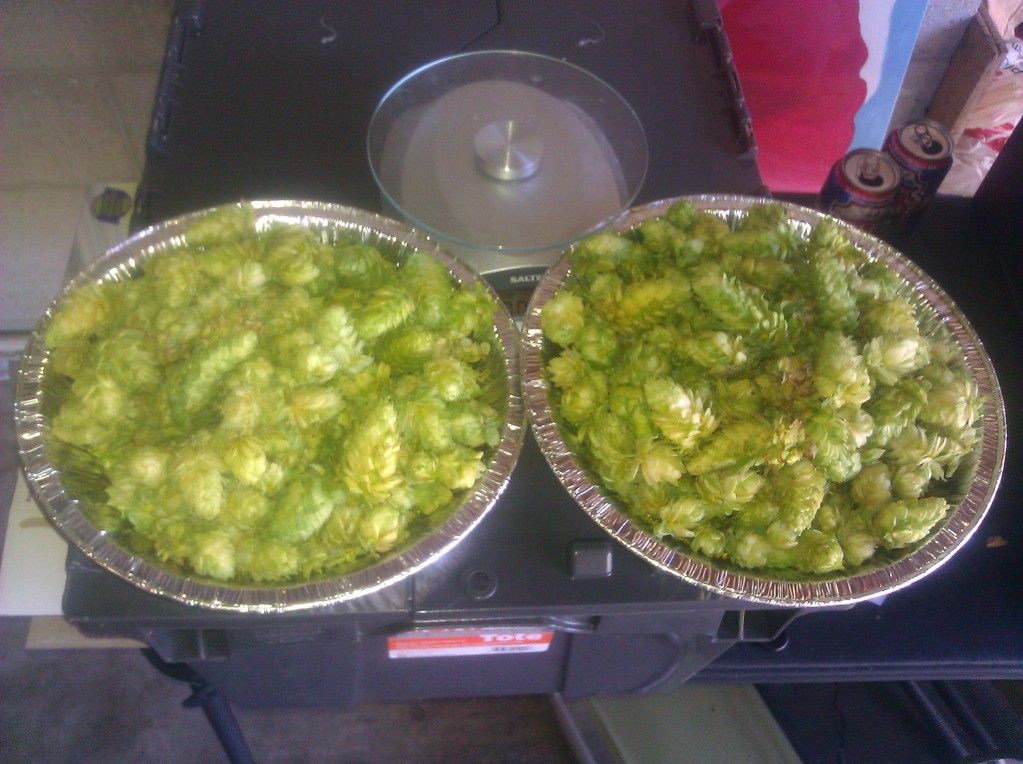
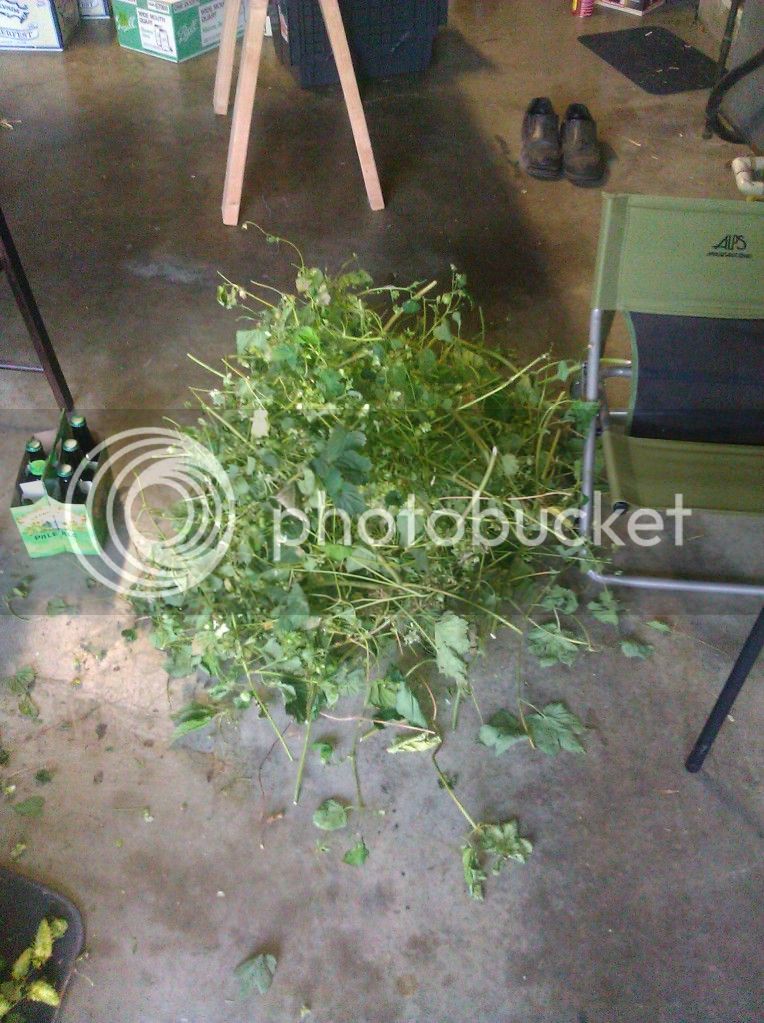
Step Three: Start picking...

I got situated with a nice chair, a sixer, and some music and started picking, this probably won't take long. This was my "not hops" pile after a couple of hours. It actually took me 2.5 days to get through all of them, so much for a quick afternoon project.

IMG_20120925_183850.jpg


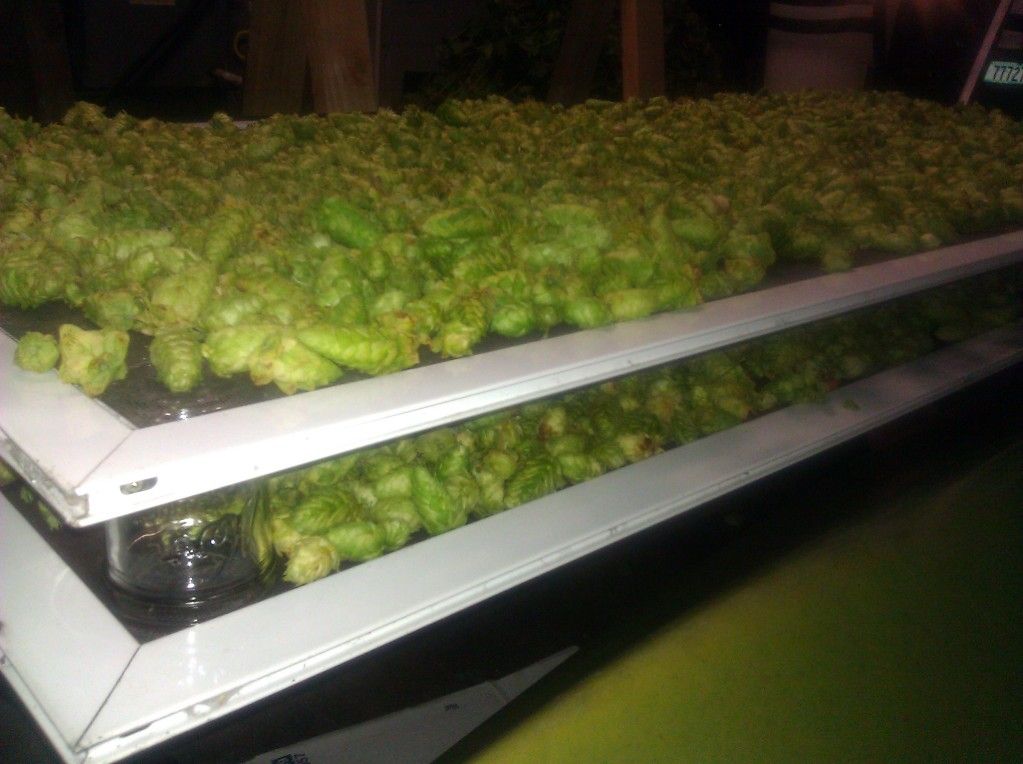
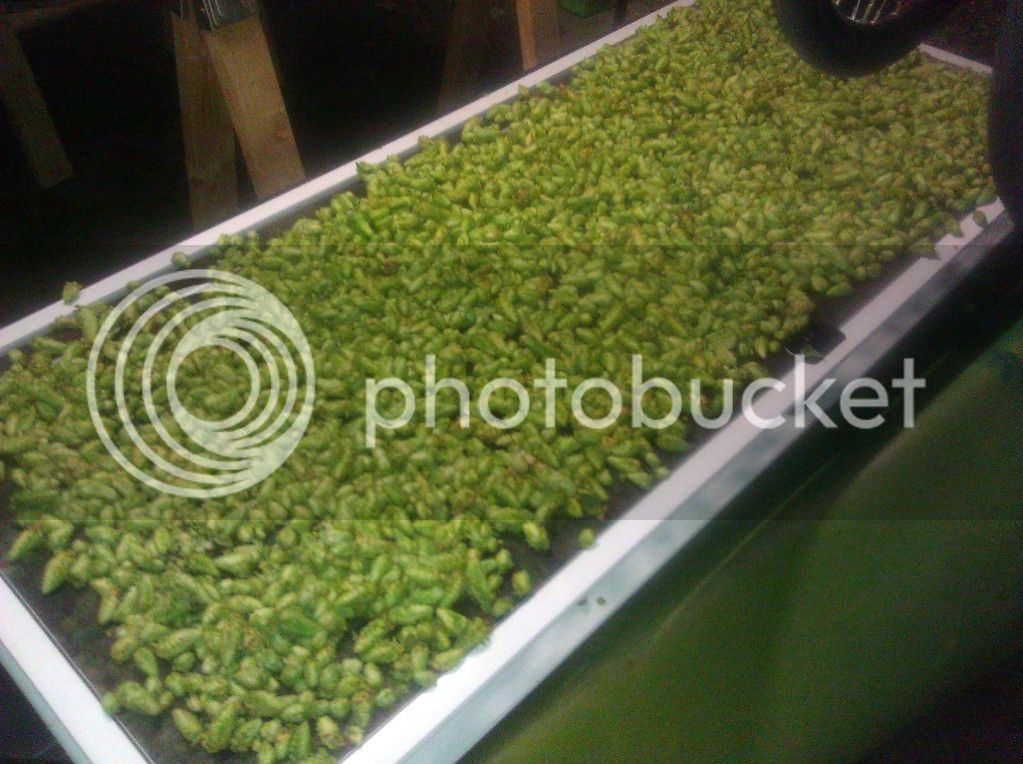
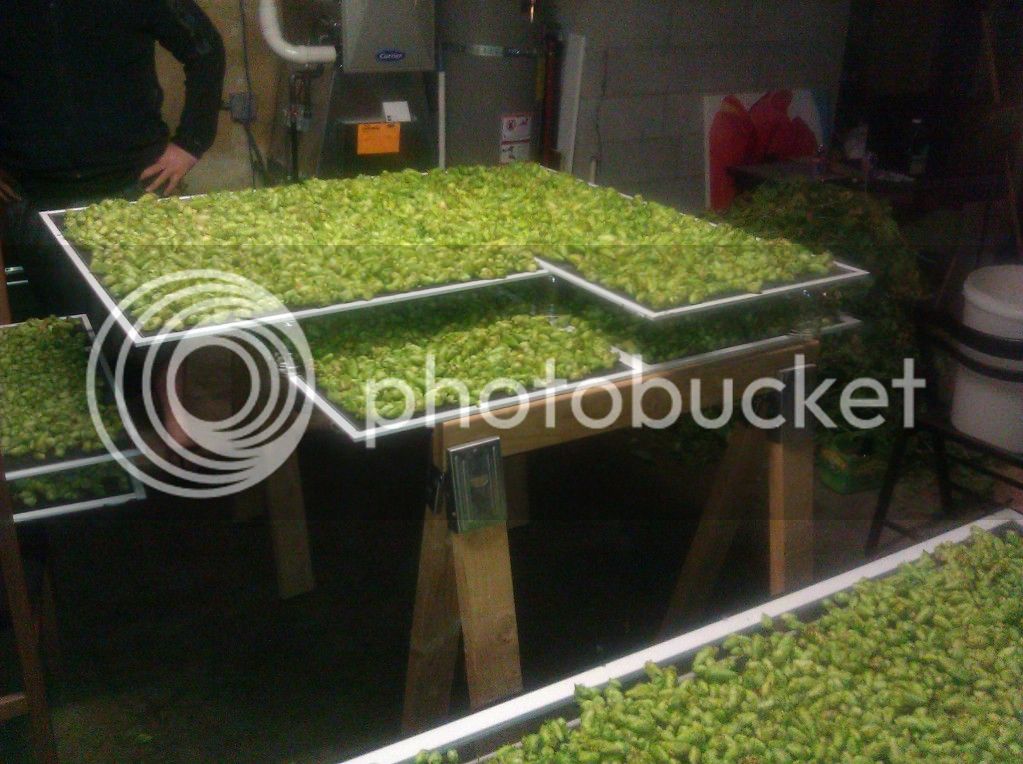
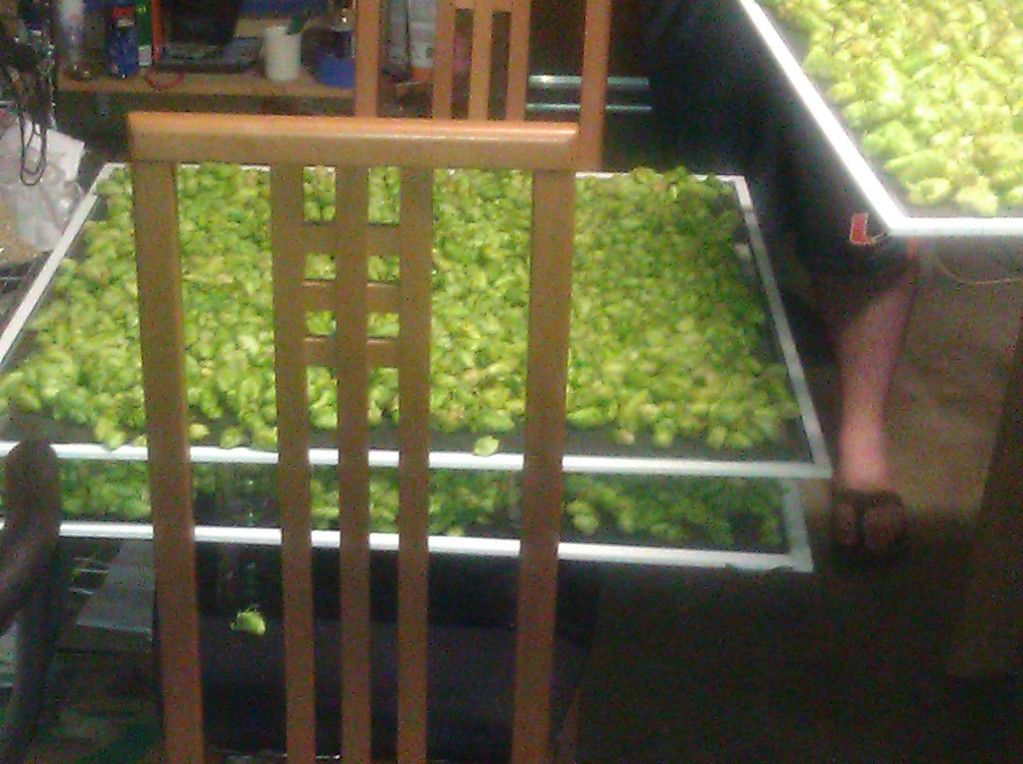
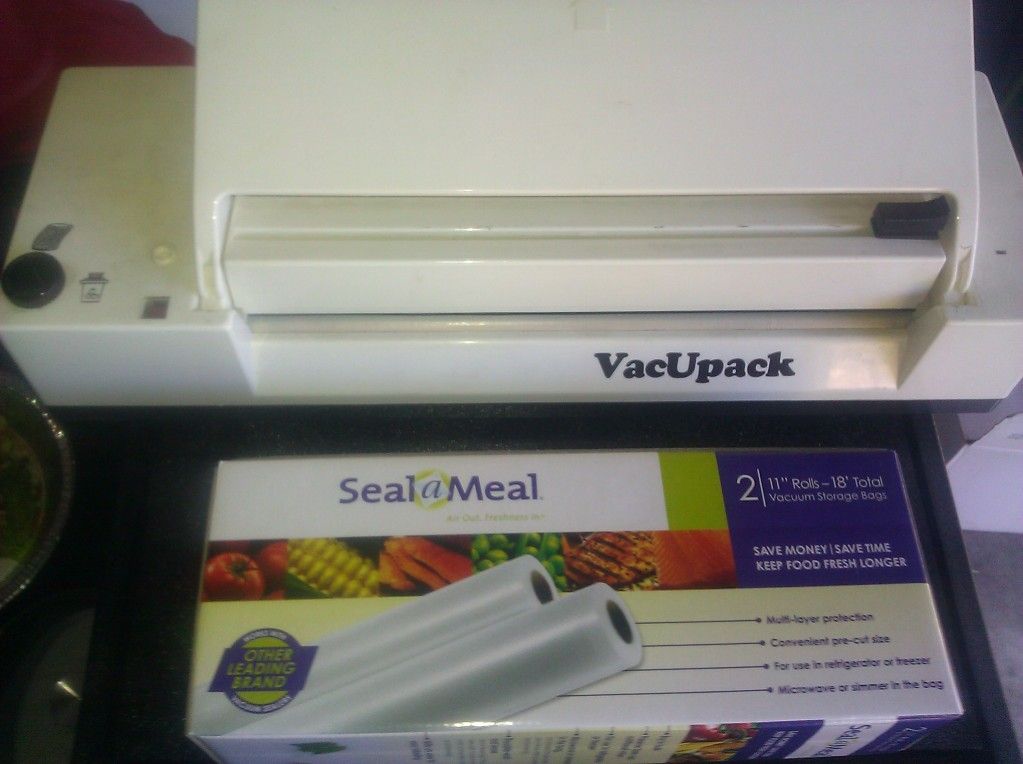
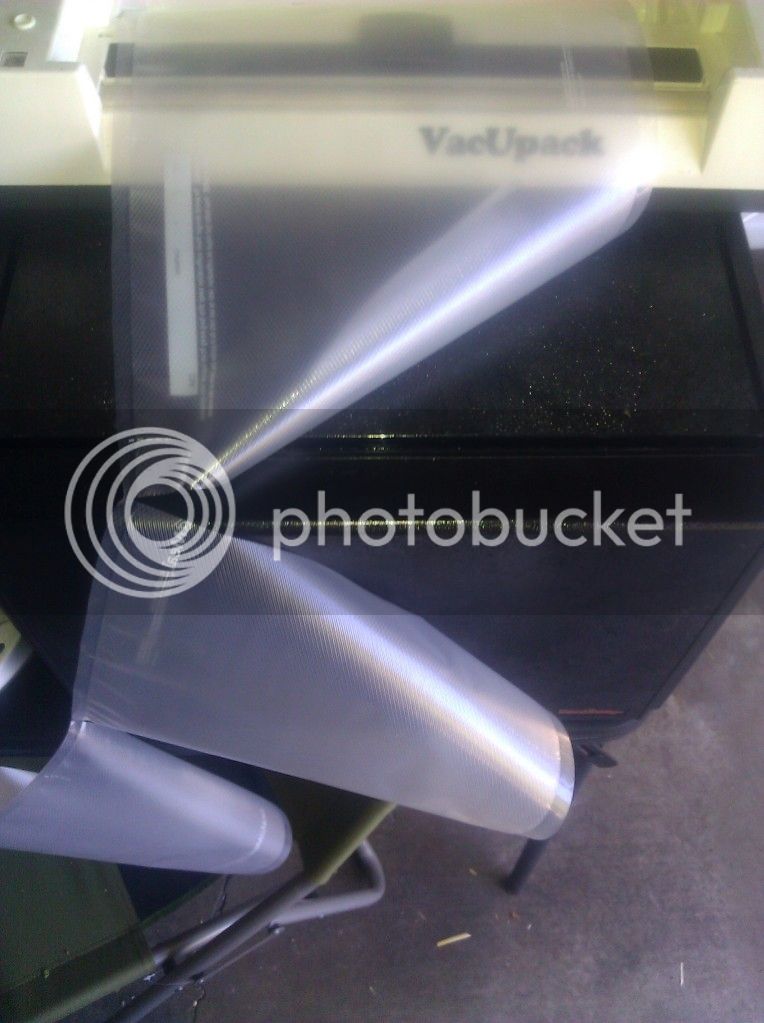
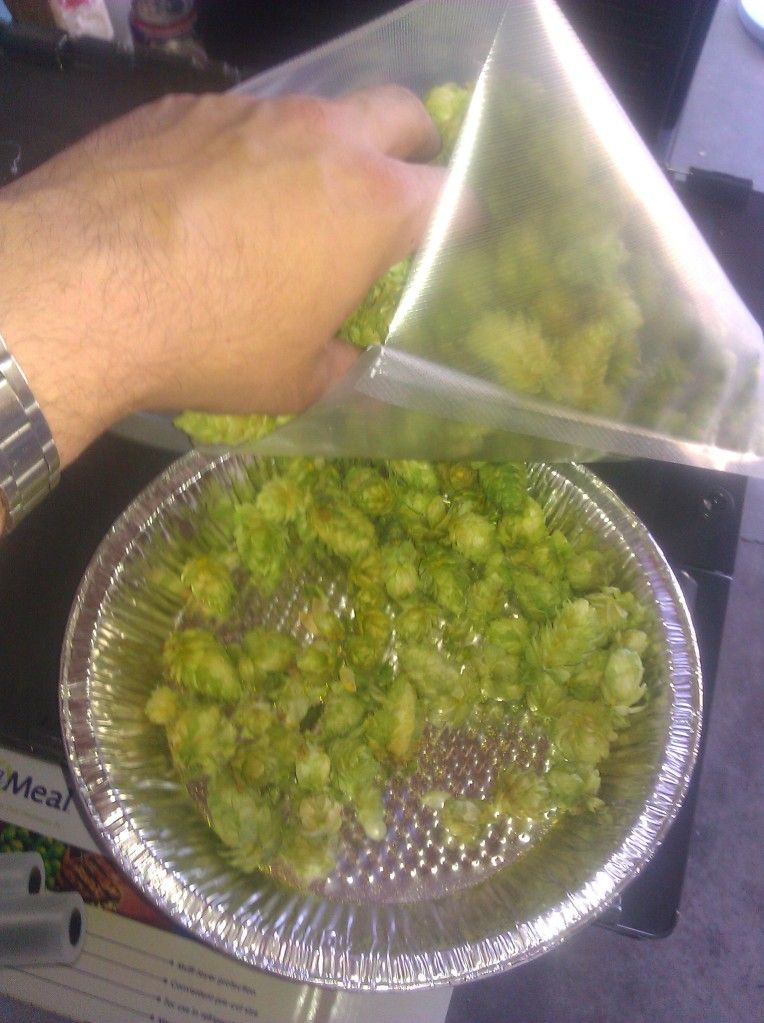
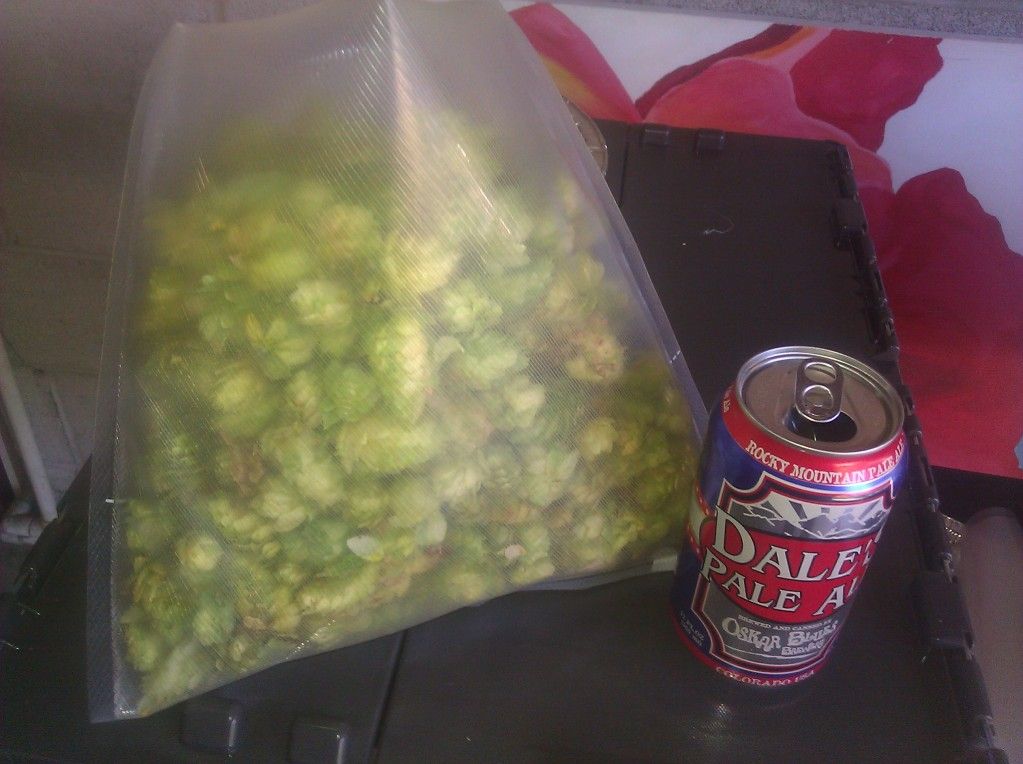
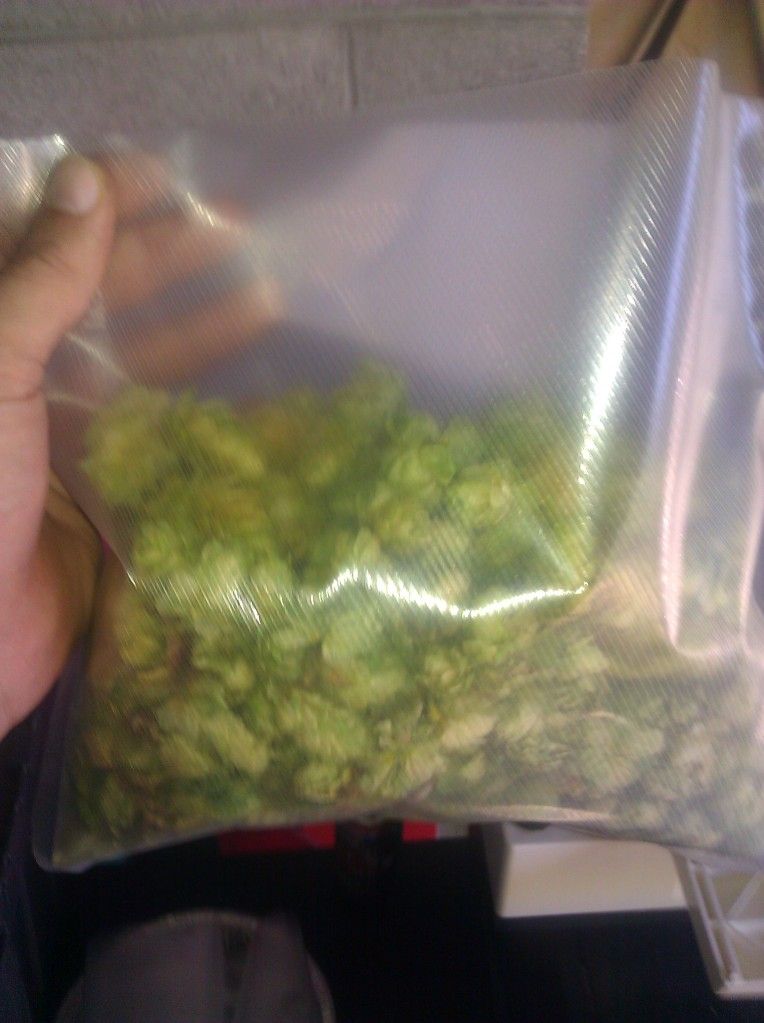
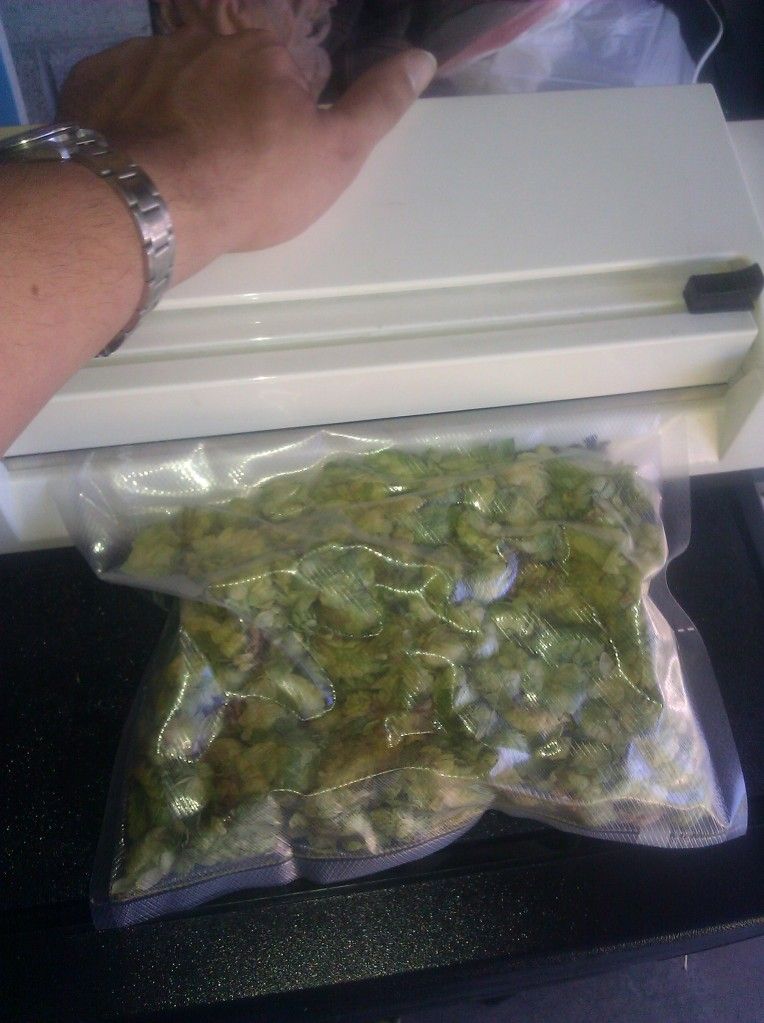
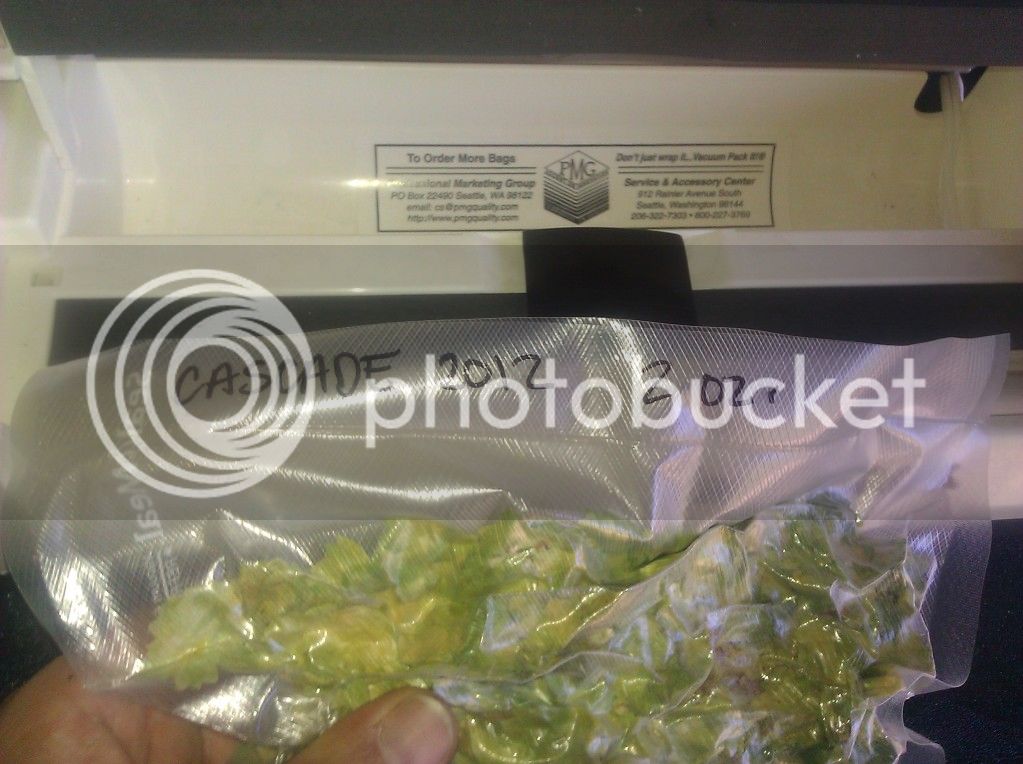
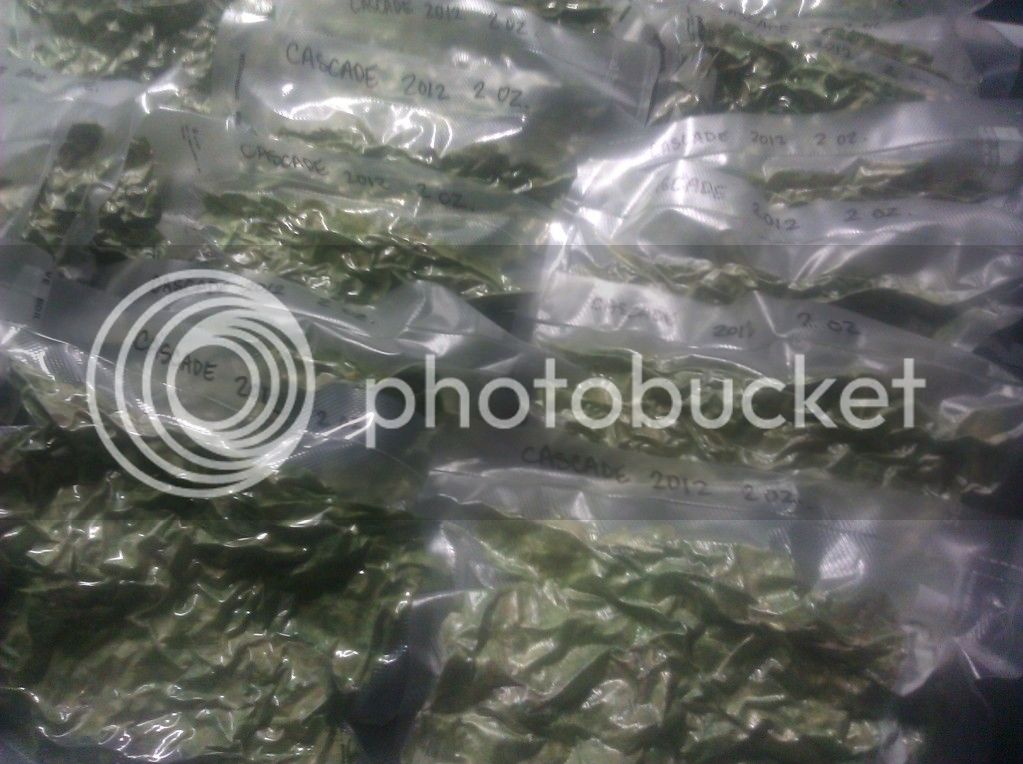
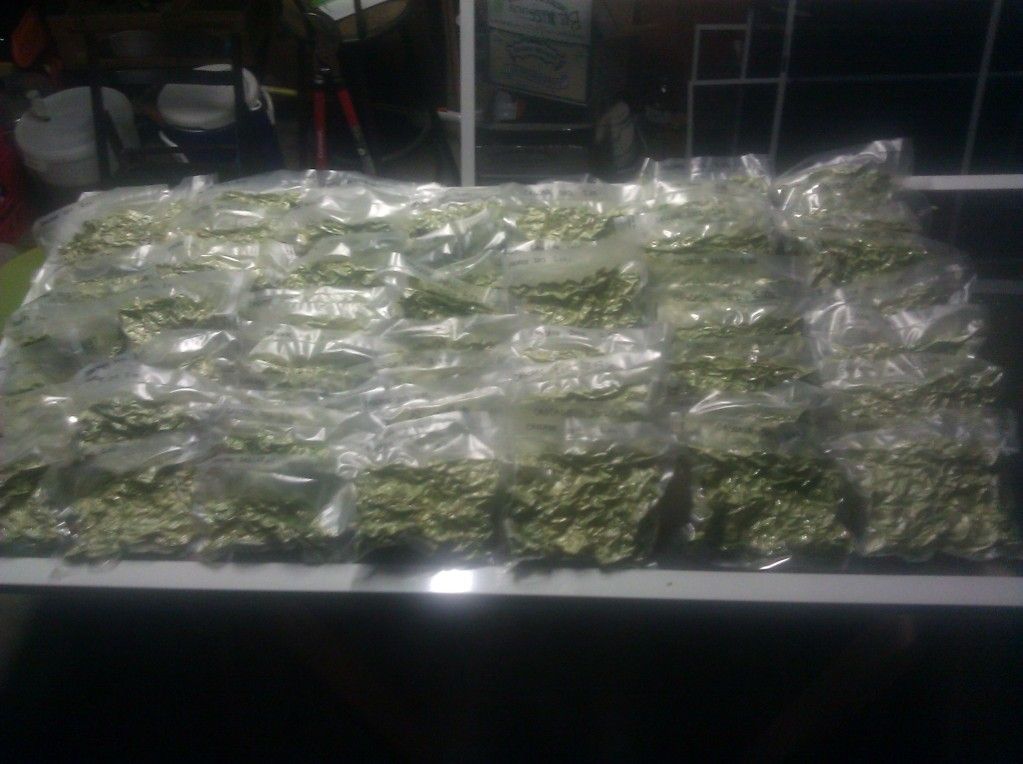
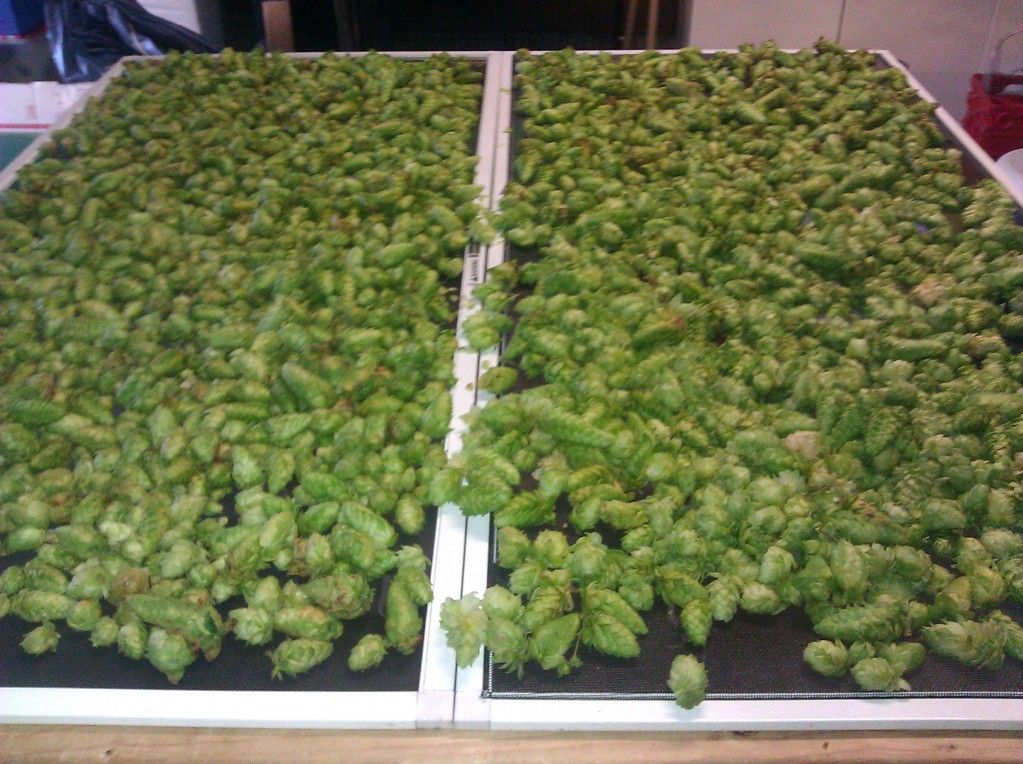
Step Four: Dry the hops

I thought at first I would use my really cool dehydrator to dry the hops, but it quickly became apparent that this was not going to be effective. I quickly took the screens off fo the dining room windows

IMG_20120925_183830.jpg
 
Step Five, Six, Seven, and Eight: Realize you had no clue how many hops you had, and quickly grab every screen off of the house... all the sliders, windows, even the ones from upstairs. The wife did not let me take the screen off of her bathroom window.

IMG_20120926_005636.jpg


IMG_20120926_005644.jpg


IMG_20120926_005649.jpg


IMG_20120926_005658.jpg


*NOTE* that is my brother flashing the U gear, not me, I just wanted to get that cleared up right away, GoDucks!
 
Fast forward 5 days to Saturday

Step Nine: Start the day early, get beer and turn on college football

IMG_20120929_140850.jpg


Step Ten: Find the foodsaver that you got for 10 bucks last year on Craigslist but never got around to using. I also ran out and bought 3 boxes (six rolls) of foodsaver type bags at 7 bucks each, so far we are in to the project for $21.00. I was not very good at guessing how many bags I would need, that was actually 3 separate trips for boxes of bags, not one trip for 3 boxes.

IMG_20120929_134832.jpg


Step Eleven: Guess wildly and recklessly and precut all the bags without actually measuring how big they need to be to hold 2 OZ. of hops (this is the quantity needed for my favorite SNPA clone). It turns out I was able to get 11 per roll.

IMG_20120929_134954.jpg
 
Step Twelve: Tare your measuring vessel, in this case some aluminum pie pans. You will notice from the photo that I did this out of order and had to go back, the tell tale trace of lupulin in the bottom will tip you off to the fact that I forgot this step from chemistry class years ago. I was about 6 bags in before I realized I wasnt accounting for the weight of the tins, I quickly got good at resealing foodsaver bags after cutting them open.

IMG_20120929_135112.jpg


Step Thirteen (getting back in order): Fill said pie tins with hops from the screens, please try to not knock the screens over like I did, especially if you have them stacked vertically using mason jars to allow airspace between them, I had the joy of cleaning up after a game of vertical dominoes.

IMG_20120929_135218.jpg


Step Fourteen: Weigh them out. My scale does grams and ounces. Grams are in the form of kilograms and ounces are only accurate to 1/8 of an ounce, so I opted for grams. Remembering college weekend conversion rates of approximately 28.5 grams per ounce I set about making batches of two pie pans at a time, for a total of two ounces per bag.

IMG_20120929_135255.jpg


IMG_20120929_135421.jpg
 
Step Fifteen: Fill bags with hops. I was really amazed with how much volume two ounces of dry hops takes up. It took concerted effort to get them all in to the bags I had cut too short and shove them down into the bottom far enough so that I could get a good seal on the foodsaver,

IMG_20120929_135657.jpg


Here is an educational photo of the bag next to a can of beer for scale. Also I needed to set the bag down because that can was empty.

IMG_20120929_135735.jpg


Step Sixteen: Compress the hops. At this point you need to very gently smash the living daylights out of the hops to get them to sit far enough down in the bag so that you can get a good seal with your machine. I found that using my fist to gently beat them into submission was the easiest way to convince them to shrink down.

IMG_20120929_135804.jpg
 
Step Seventeen: Seal the bag. I found out pretty quickly that I didn't know how to use my foodsaver, and had to go watch a video on youtube, once I got back it worked a lot better after I retrieved the unit from the trash bin and started using it correctly.

IMG_20120929_135844.jpg


Step Eighteen: Label the varietal, year, and weight for easier identification in the freezer. I didn't do this last year with all of the hops I bought, and it really made for some "interesting" beers as I guessed at which was which, usually unsucessfully.

IMG_20120929_140008.jpg


At this point I needed a break, it took me a full hour to get to the point where I had one bag sealed, and I didn't even want to think about how late I was going to be staying up getting this done. I chose to give thanks to Ken for making me force my way through all these cascade hops.

IMG_20120929_140050.jpg
 
Repeat these steps for 6 hours...

For the most accurate recreation of my method, be sure to forget that you had promised your wife that today was date night, refuse to answer the phone when work is calling so you can later solve a problem that is 4X bigger than it had to be, and make sure to rub your eyes with your lupulin covered fingers at least 4 times.

I was able to eventually turn a car load of these

IMG_20120929_141015.jpg


into this

IMG_20120929_215815.jpg


and eventually all of this

IMG_20120929_215800.jpg


And that is how I spent an entire week turning one car load of free hops into 108 ounces of dried and bagged ready-to-brew-SNPA goodness at a cost of $21.00 worth of foodsaver bags. Next year I am going to just work another couple of hours on a Saturday and pay someone else do this for me... but the adventure was fun!

Thanks for watching.
 
Lol nice story, someone the SO knows had two plants, one Magnum and one cascade so ive been going there the last few weekends raiding the plants at his request since he cant do anything with them this year.

Everything you said was my life last weekend...my arms looked like i fought off a pack of cats, and itched something fierce from the oils. I didnt have nearly as much dedication as you, but i didnt want to tear down their plants(i dont know them very well) so i was stuck picking them on foot and on a small step ladder...so didnt come up with nearly as much as you

First weekend, 6.5oz Magnum, 3.5oz Cascade dried...just today i w ent and got some more, ill probably have 5oz magnum 4oz cascade...

Like you said, it made me realize how little we pay(atleast here in Oregon) for fresh whole hops...i spent probably 4-5 hours of time for 10oz of hops worth $20 lol....basically less than minimum wage lol, so as you said it maybe just better to work a few extra hours...but it hasnt deterred me from wanting to grown my own plants next year. I think being able to pull the plants down would cut some of the time off.

Turned this
2012-09-23%2012.41.41.jpg


Into this
2012-09-23%2018.43.35.jpg
 
Remember, commercial hop farms have hop harvesters. They cost $25-30k but automatically strip the vine for you.

This year I had trouble picking all my hops. I realized it is best to grow hops just for fresh hop beers. Get some friends over to help out, and give them free beer while they pick. Then brew a batch. It can be fun.

Next year I will definitely be making hop plugs, because my freezer is stuffed with hop bags. Get a bit of threaded steel pipe. Put a cap on one end. Then stuff the pipe with hops. Take a wooden dowel and use a sledgehammer to smash it in. Remove the cap and you have a plug. Then vacuum seal the plugs.
 
Remember, commercial hop farms have hop harvesters. They cost $25-30k but automatically strip the vine for you.

Keep going...$20 to $30k will get you a used Wolf but you will stick twice that into repairs and upgrades to get it to work.

We offer a harvester/sorter for under $13k but its not quite so "automatic".

The simplest homemade picker I've seen was a thing that looked like a guillotine. It had a weighted blade that came down on another blade. You would pull the bine through it a few times to strip off all the cones and leaves. Of course you still had to sort it out but it sped things up considerably.

The worst I've seen looked like a lawn mower deck set on its side with a bunch of whirling blades and claws of doom spinning away. The "operator" threw the bine at it and cones, leaves, stems and what not went flying in every direction. I can't imagine that guy still has two arms and 10 fingers.

Interesting. This homemade picker...can you describe it a little more? Do the blades point towards each other, literally like a guillotine?
 
I wish I still had the picture... The top was a blade with a weight on it and a rope to a pulley to yank it up. The bottom, as I recall, was blade-like. It wasn't like they were sharpened knife blades. They were more like to 1/8" metal plates with the two contact surfaces ground down to an edge. The top one was weighted so it would press down on the bine as you yanked it through. It would take several tries and sometimes the bines would break so you would have to yank through side arms, but it still seemed better than 100% hand picking. Of course, I didn't watch the sorting of leaves and stems from the cones so I'm not sure how long that took. I can imagine this unit left a lot of clusters of hops, which are easier to sort by hand but hell on mechanical sorting equipment.

Our unit just uses a single drum of picking fingers to pluck everything off the bine. I suppose you could make something at home like this using a drill to run it. You can see the pictures here: http://www.bineimplement.com/3060_Harvester.php.

How much does the Bine 3060 cost?
 
Great Post!!!
I also LOVE saving money at the expense of time/effort/companionship whenever the 'need' arises!


(it's like tripping on your own shadow...)
 
Back
Top