The Pallet Keezer

Homebrew Talk - Beer, Wine, Mead, & Cider Brewing Discussion Forum

Help Support Homebrew Talk - Beer, Wine, Mead, & Cider Brewing Discussion Forum:

This site may earn a commission from merchant affiliate links, including eBay, Amazon, and others.

Brickout

Well-Known Member
Joined
Feb 6, 2010
Messages
262
Reaction score
35
Location
Lockport, IL
It all started Memorial Day weekend. I spent the weekend in Wisconsin with the wife and kids. We we came home I see that my neighbor has his old freezer at the curb. So after we unpacked and settled in I went over to the neighbors house to have a beer and ask about the freezer.

So the conversation went something like this;
Me "So did your freezer die?"
neighbor "No, it's just getting old, the insulation is falling out of the lid, and we wanted a bigger one."
Me "So it still works?"
neighbor "Yeah, do you want it?"
Me" Hell YEAH!"

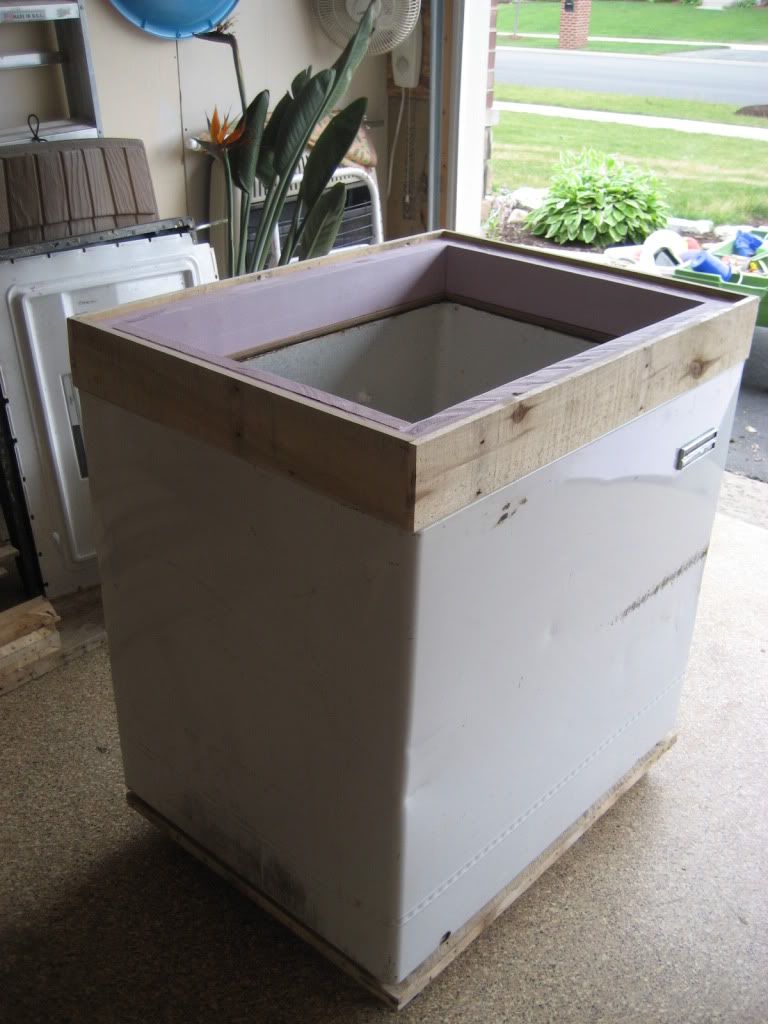
So that's how I got a free freezer. From inspecting it closer I believe that this freezer was built in the 70's. I noticed when I removed the access panel on the side that it had been repainted white from it's original color of AVOCADO GREEN! Then came the planing on how to turn it into a keezer.

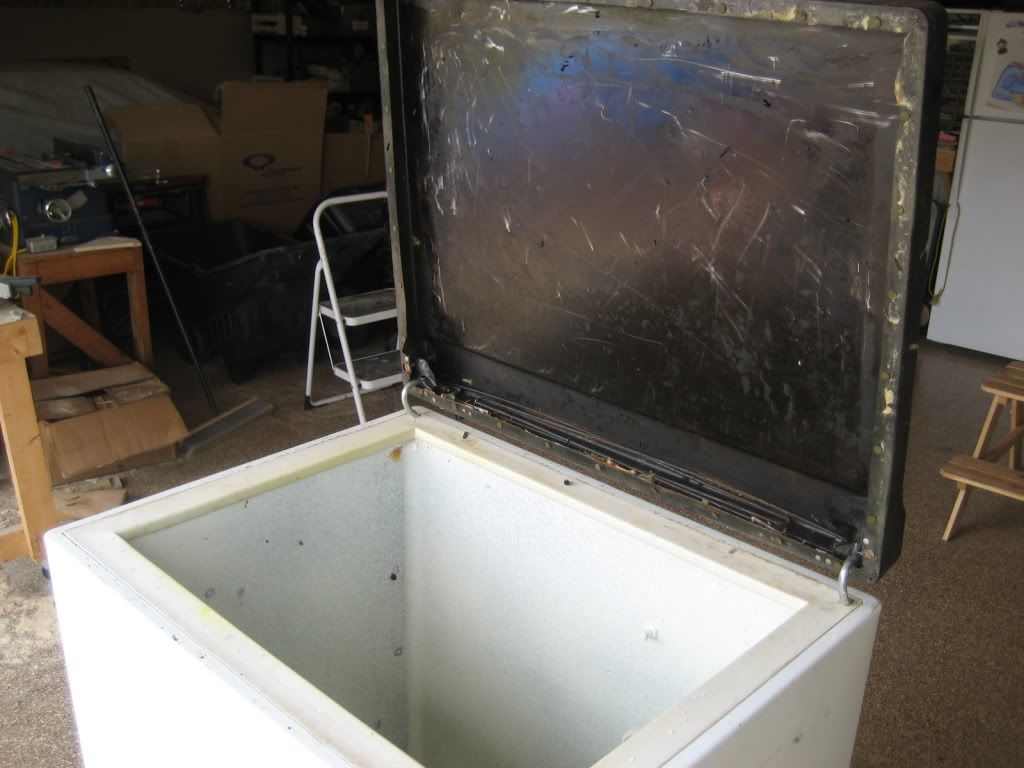
Here you can see the thin metal lid. The inside of the lid is in the background to the right leaning against the wall.
Keezer001.jpg


Here's the inside of the lid after I removed the fiberglass insulation.
Keezer002.jpg


Here's a closeup of the tension hinge.
Keezer003.jpg


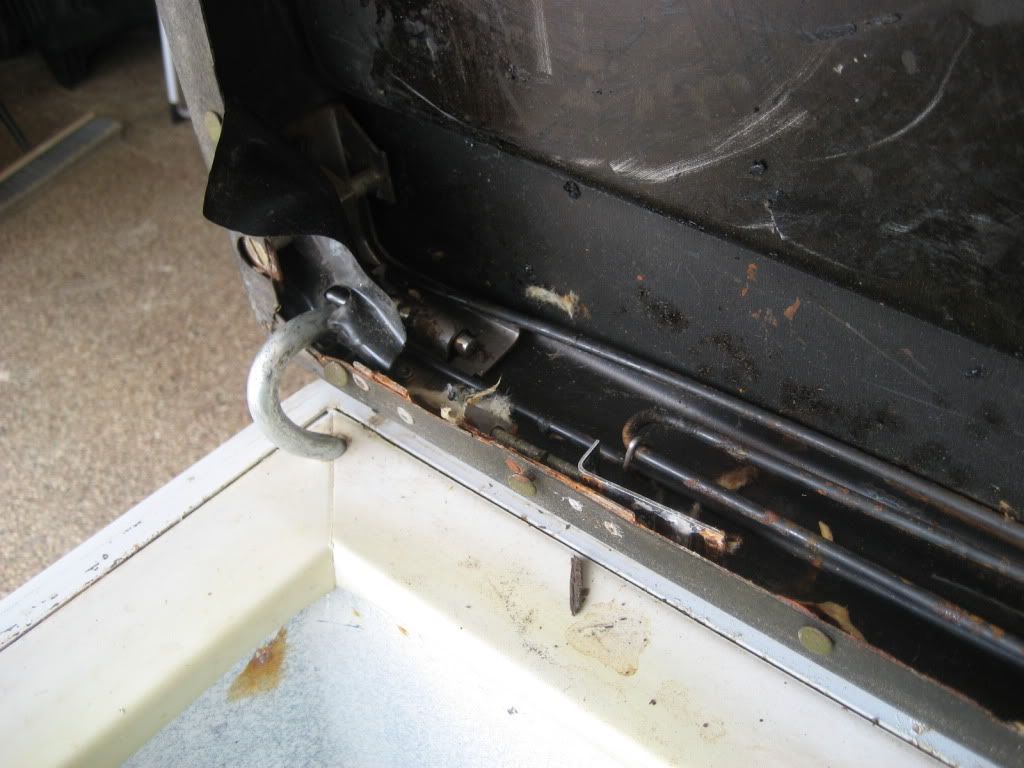
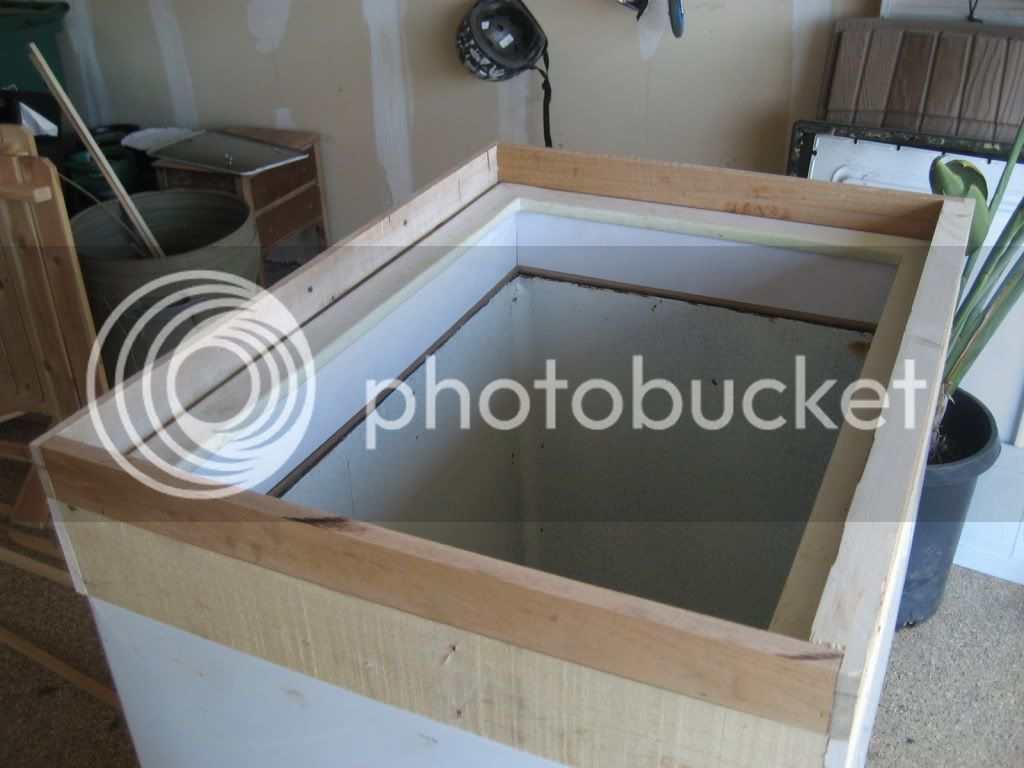
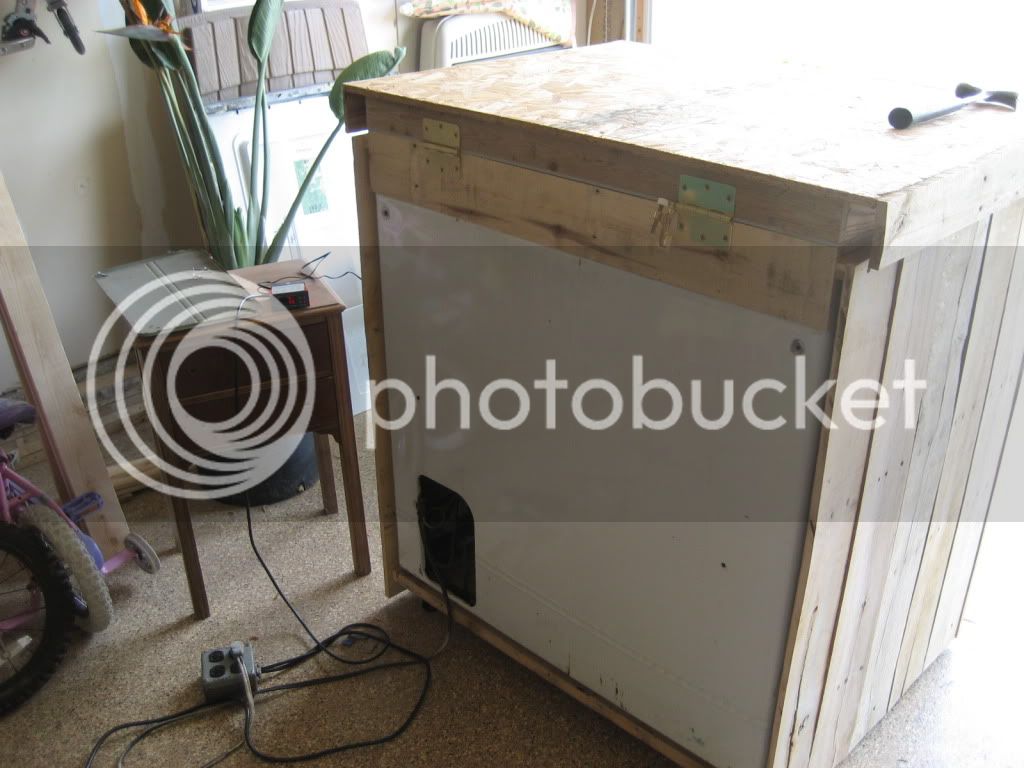
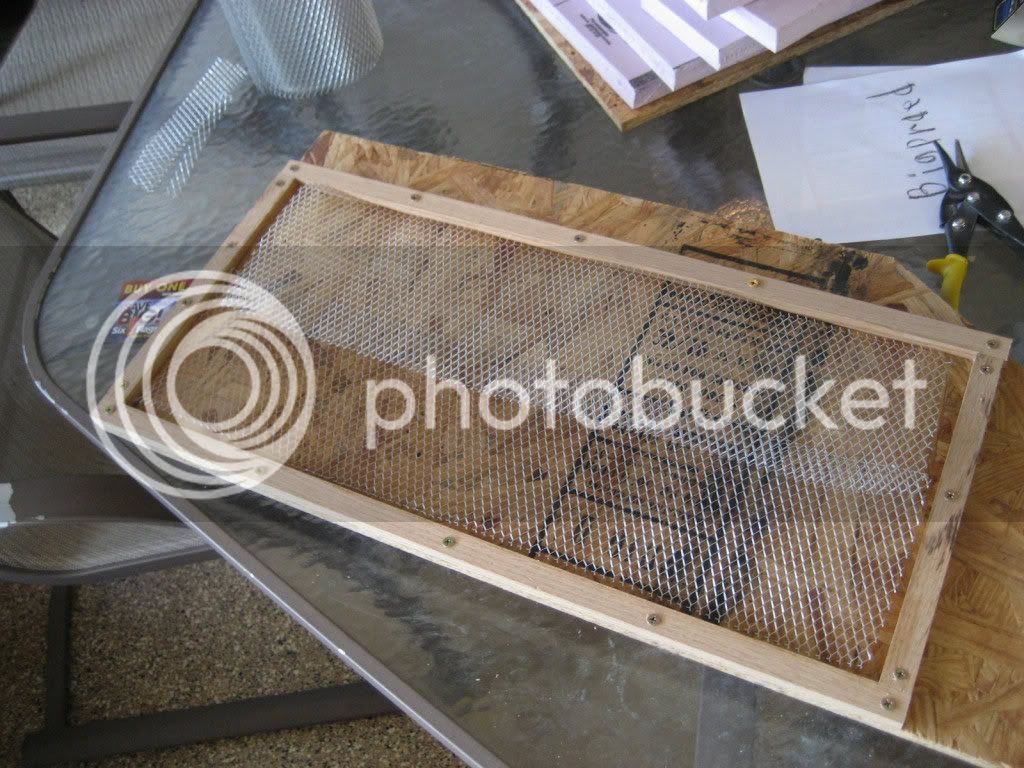
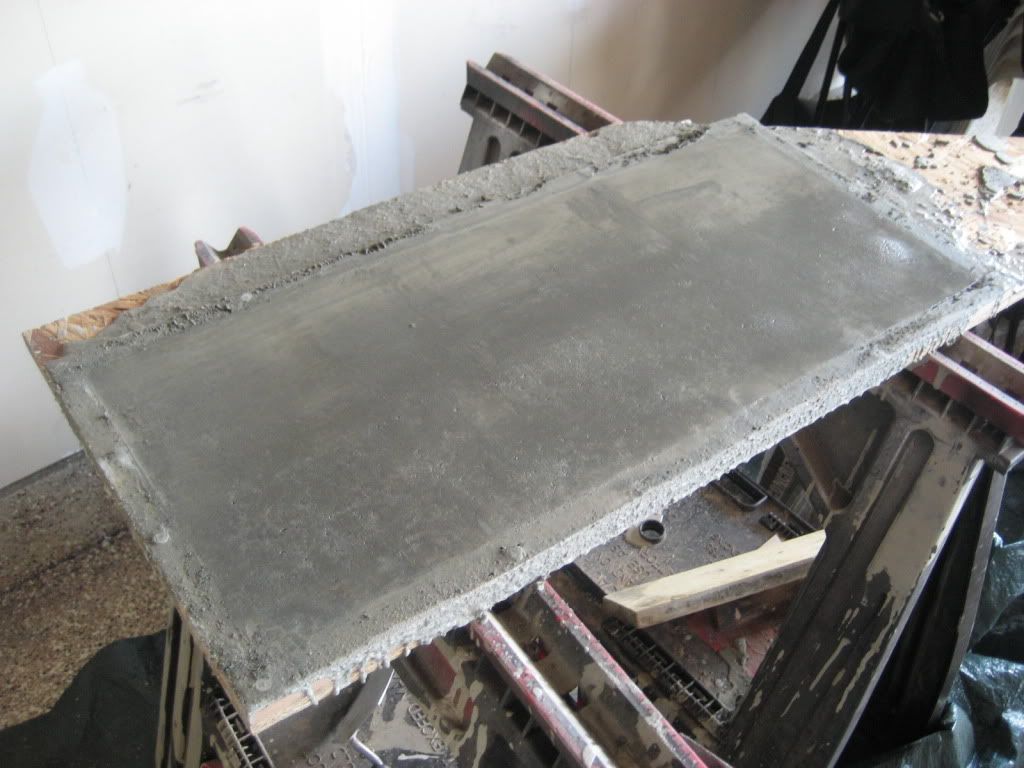
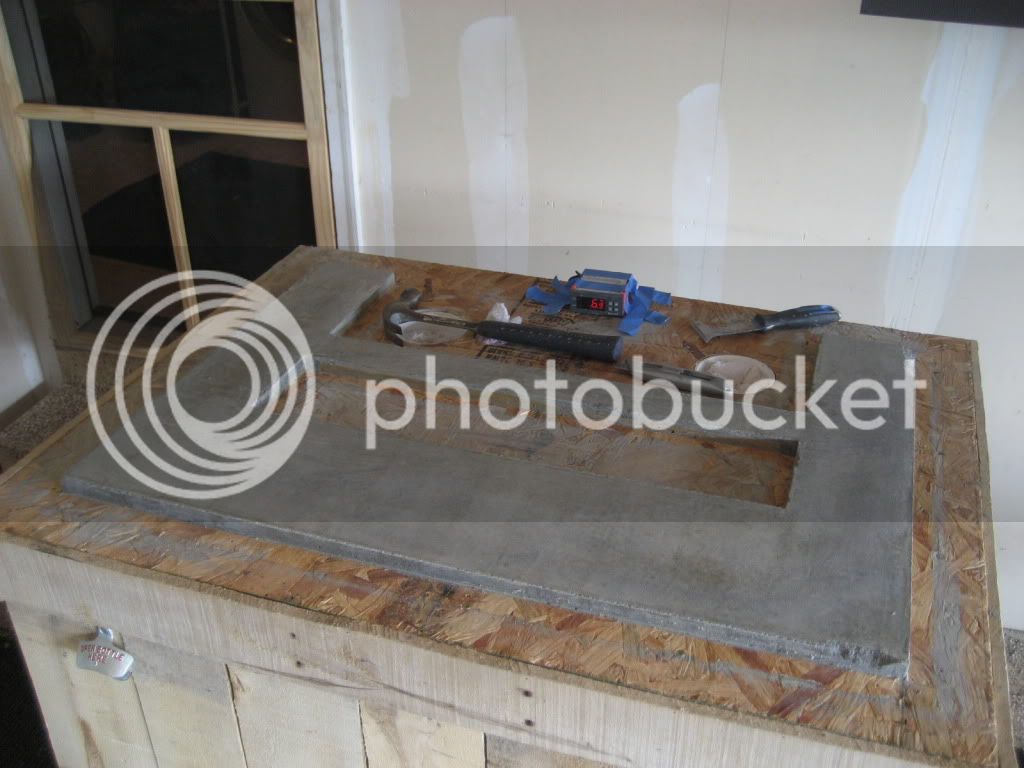
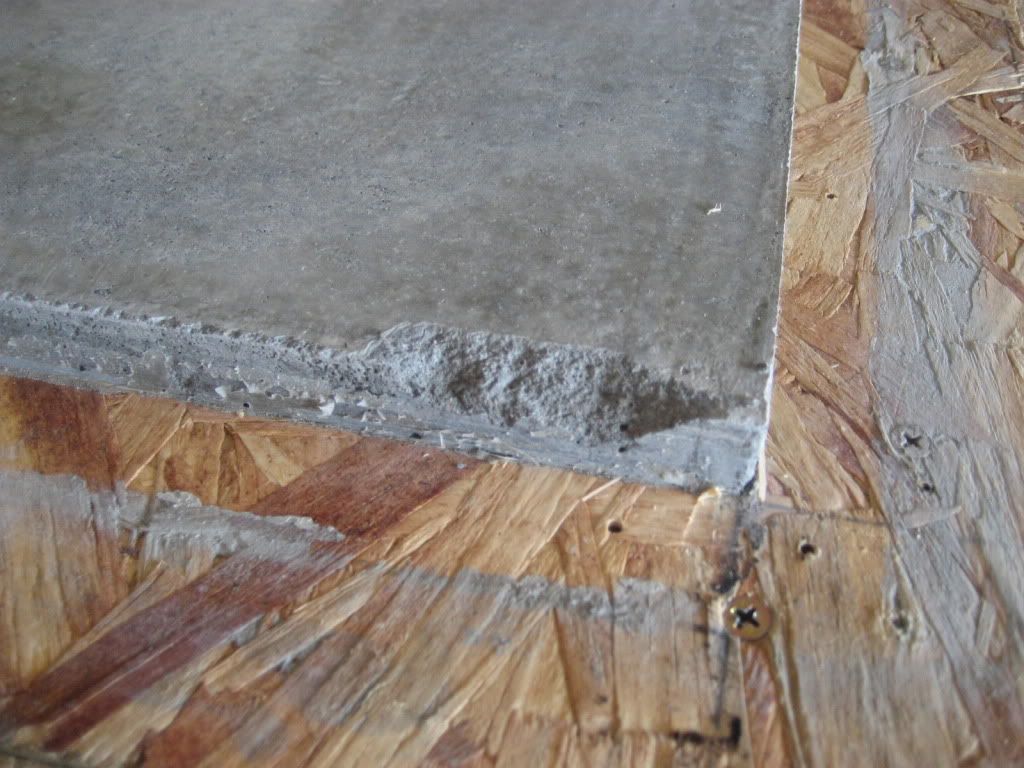
At this point I pretty much assessed that I would be making a new lid.


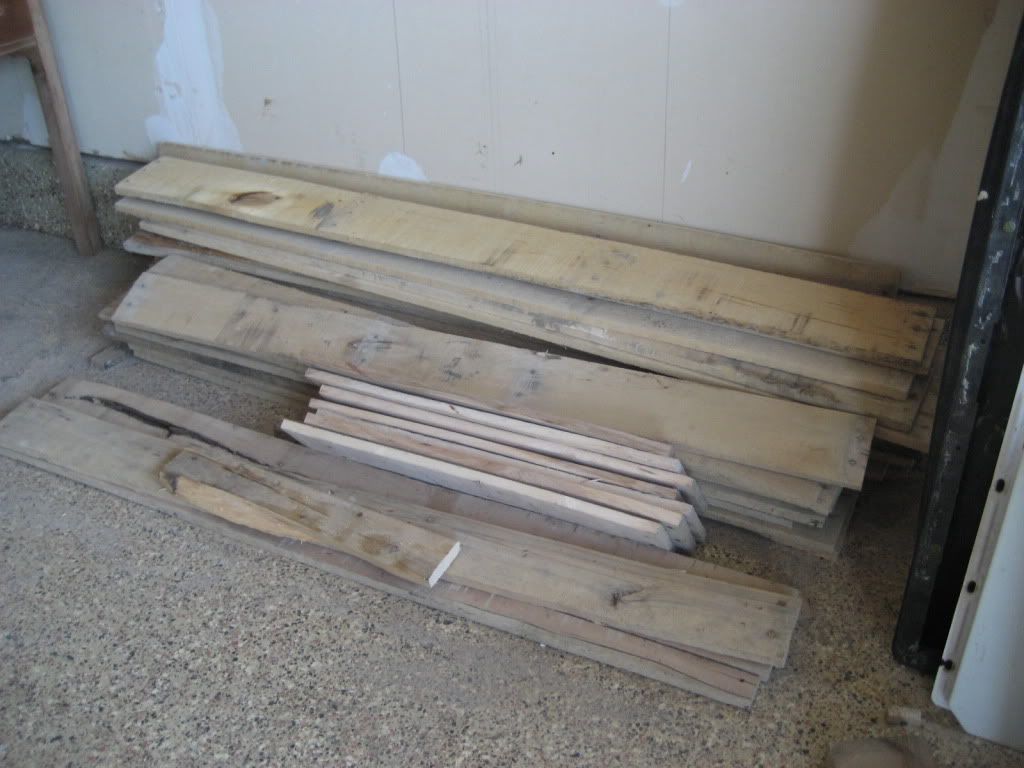
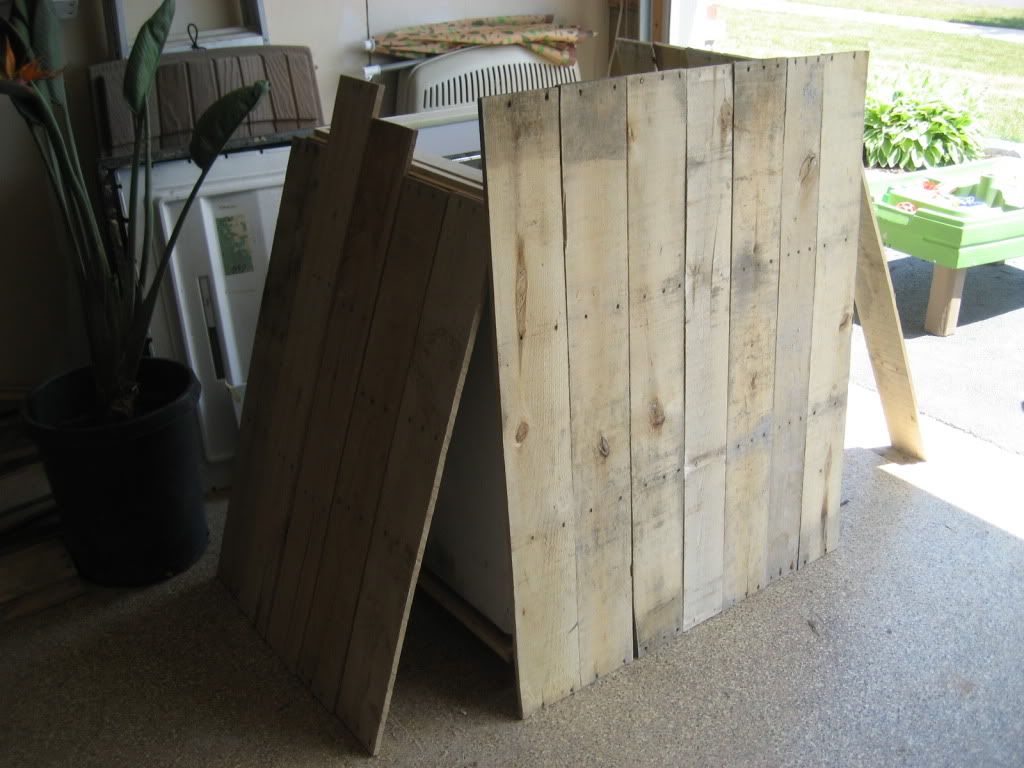
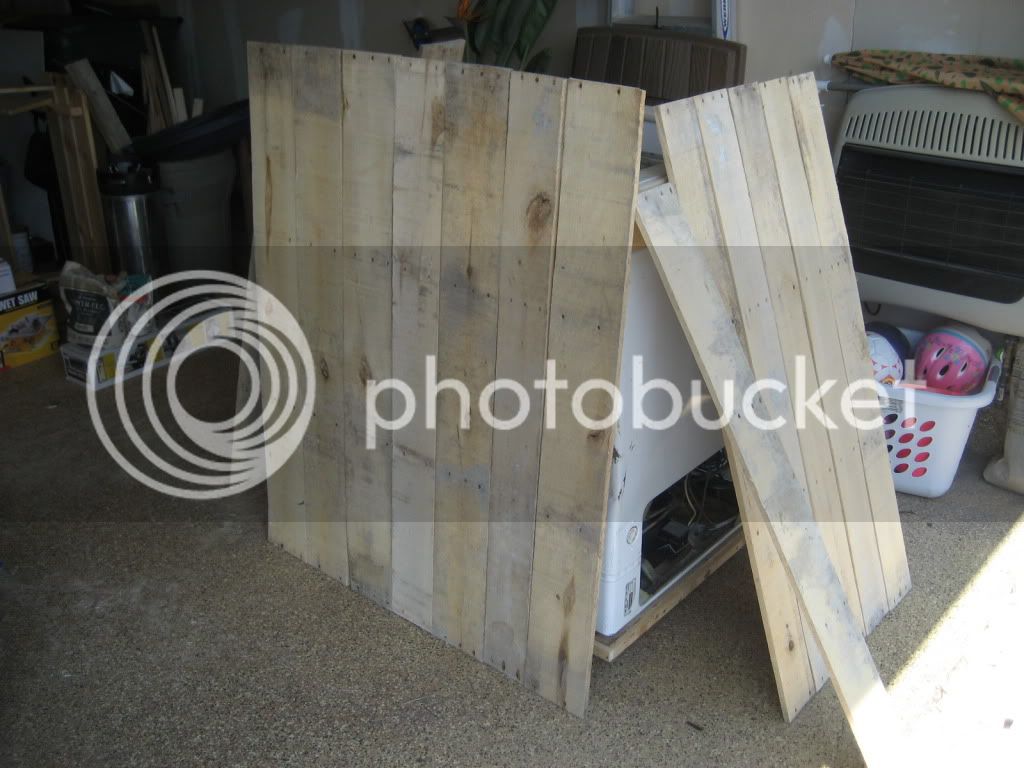
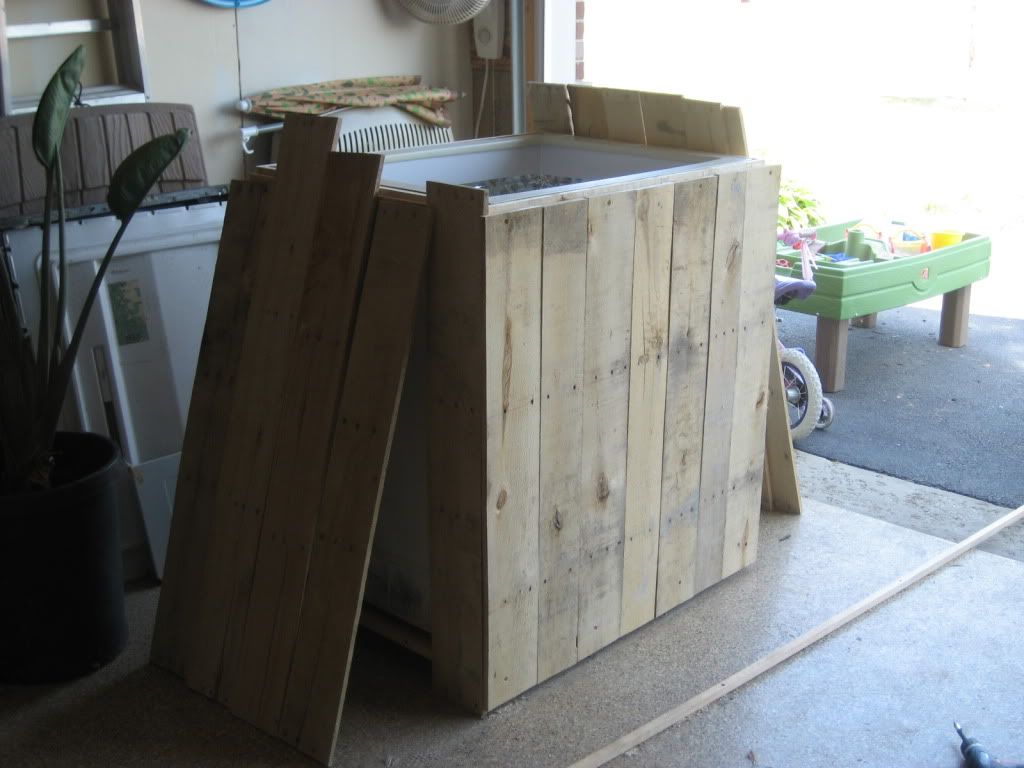
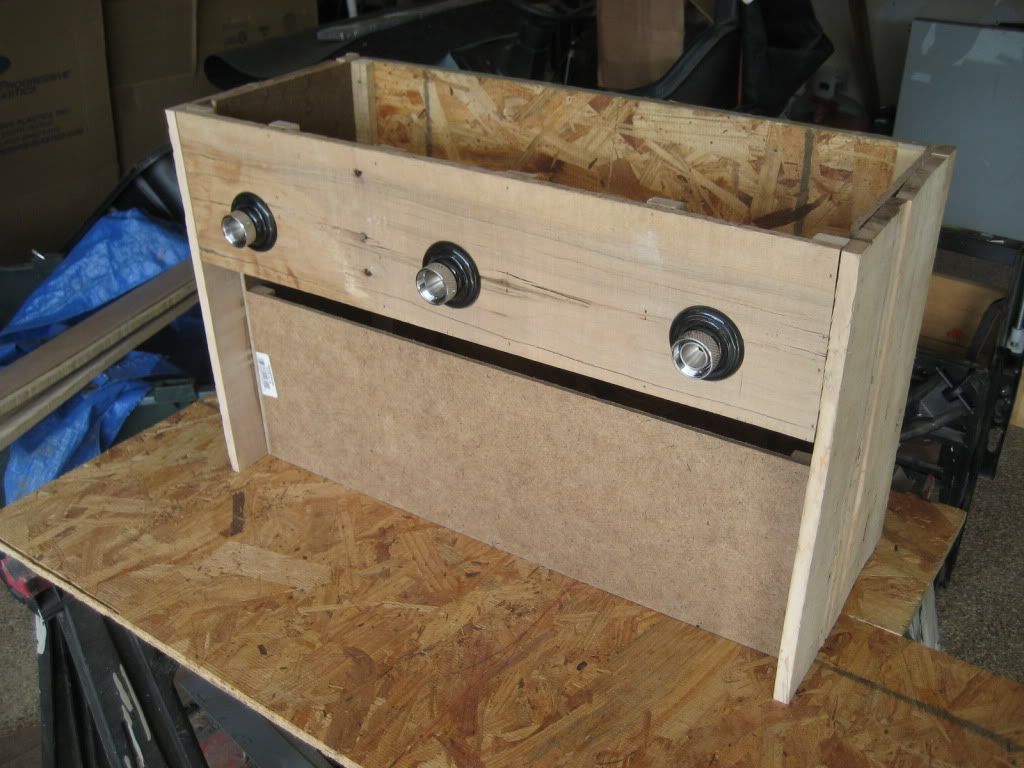
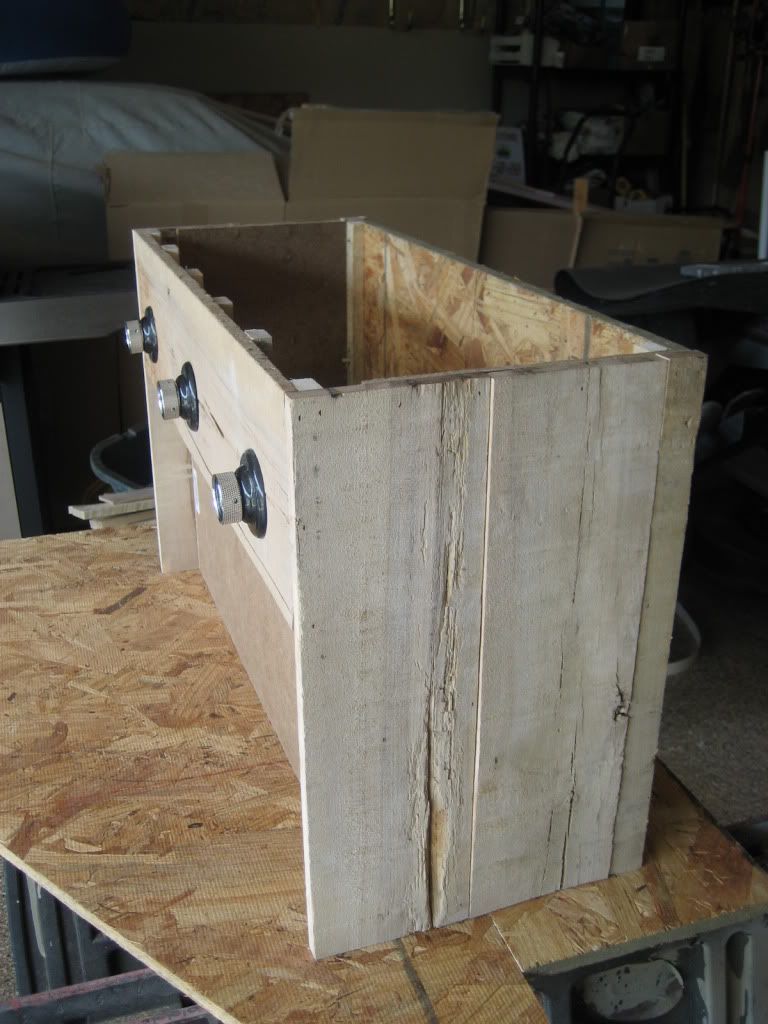
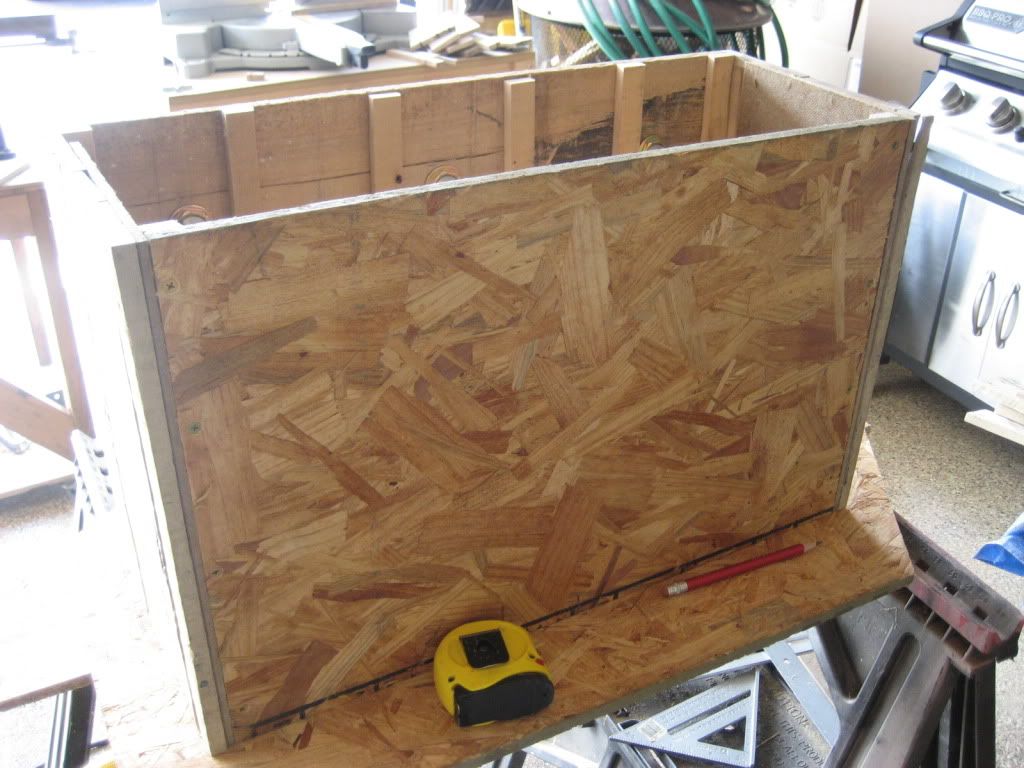
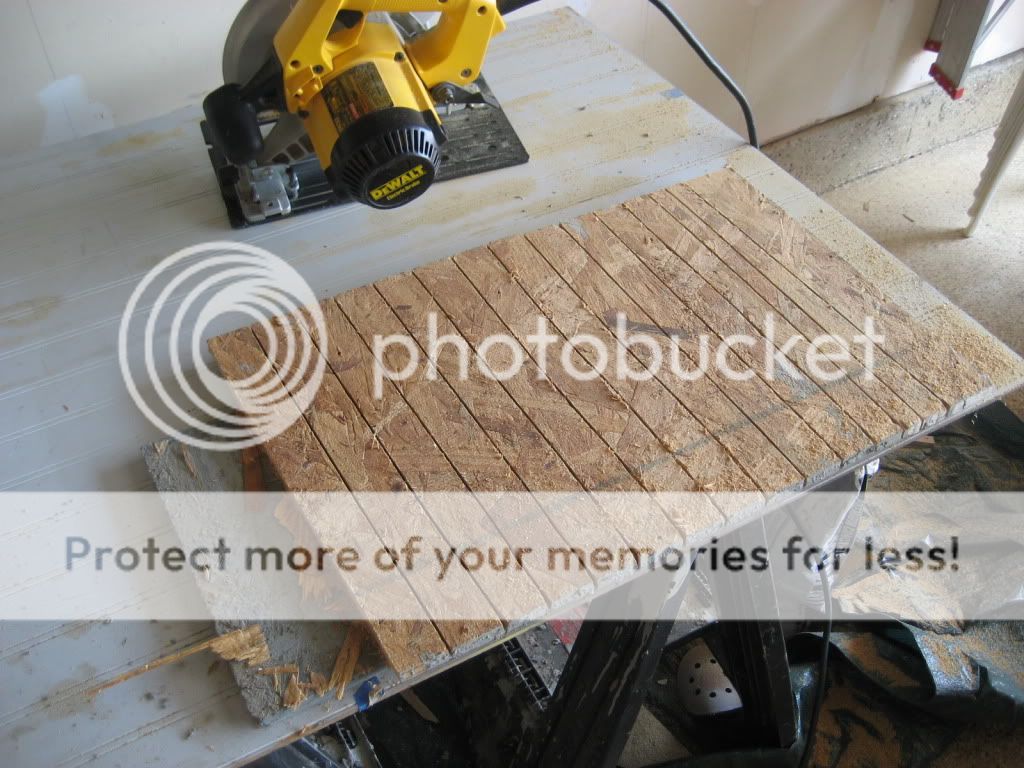
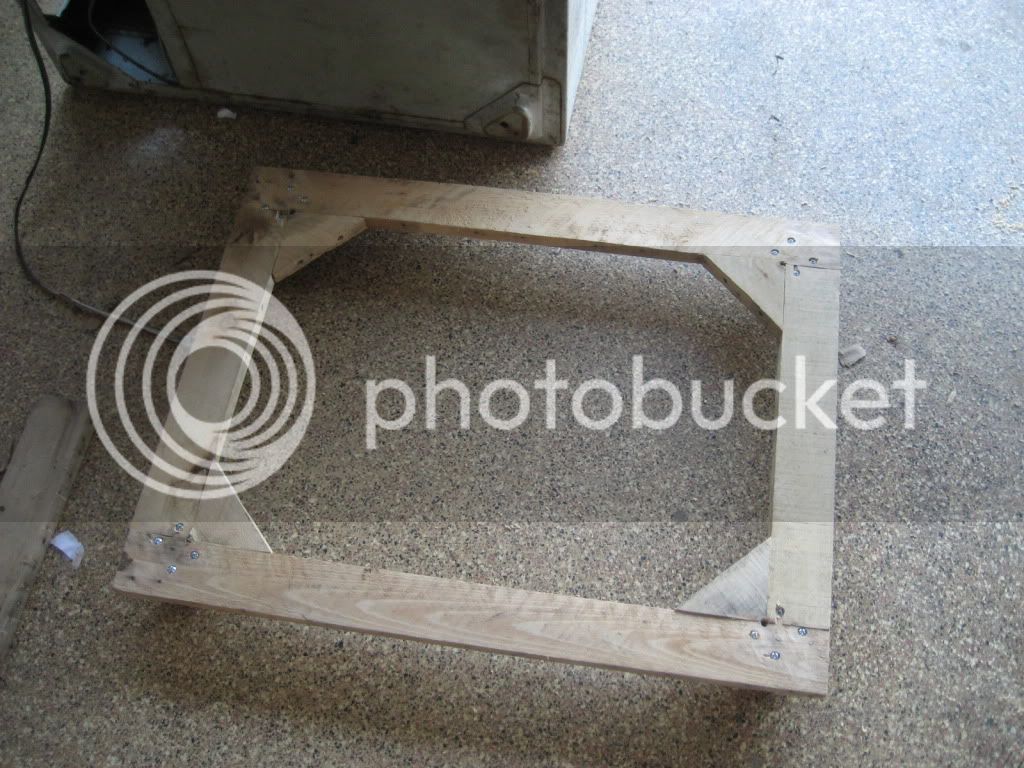
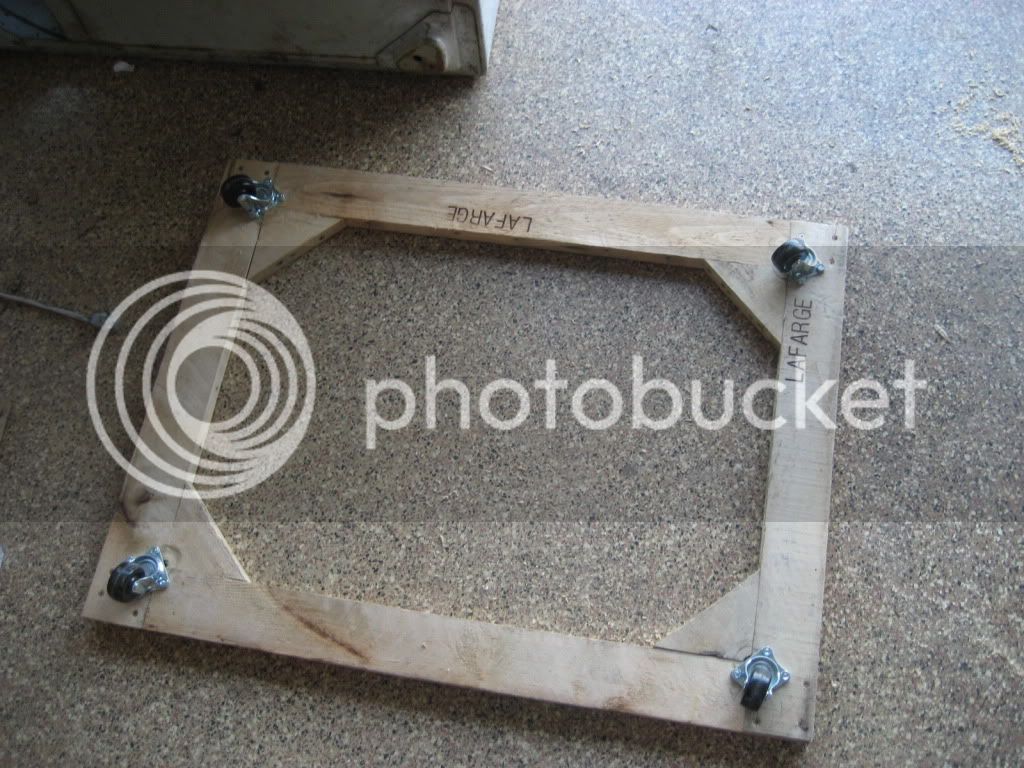
The next step was to make a base with some wheels. I used some scrap oak 2x4's that I had from a pallet that I took apart for another project.

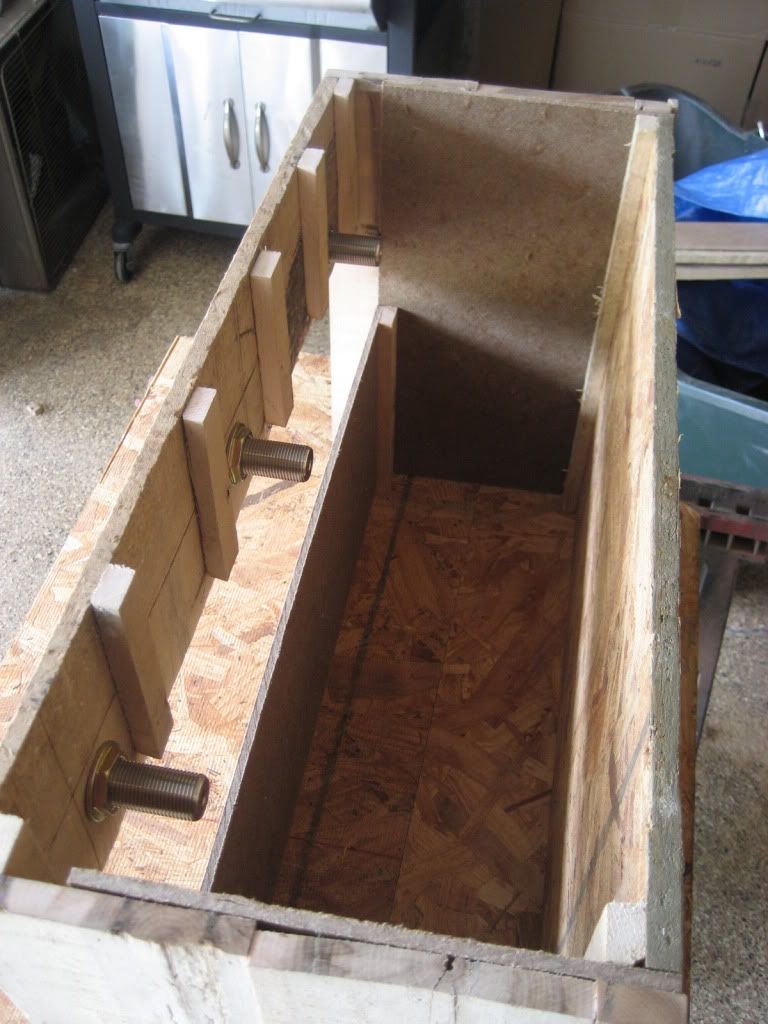
I made dovetail joints for the corners then glued n' screwed them
Keezer005.jpg

Keezer006.jpg


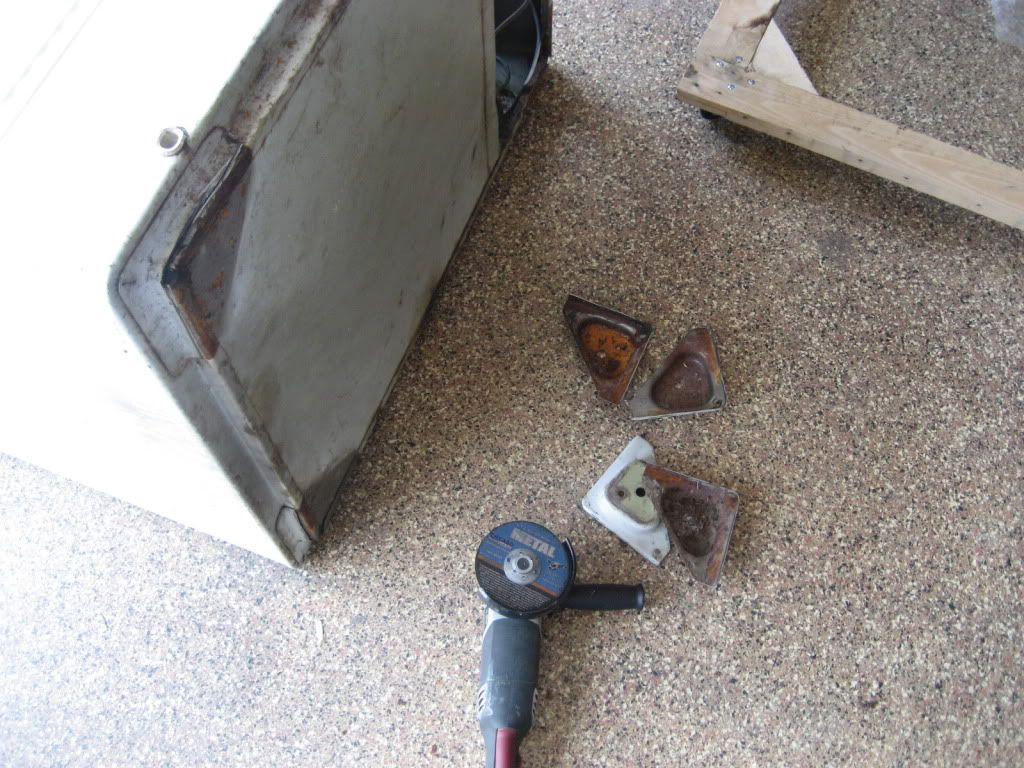
The bottome of the freezer had some feet tack welded on,
Keezer004.jpg


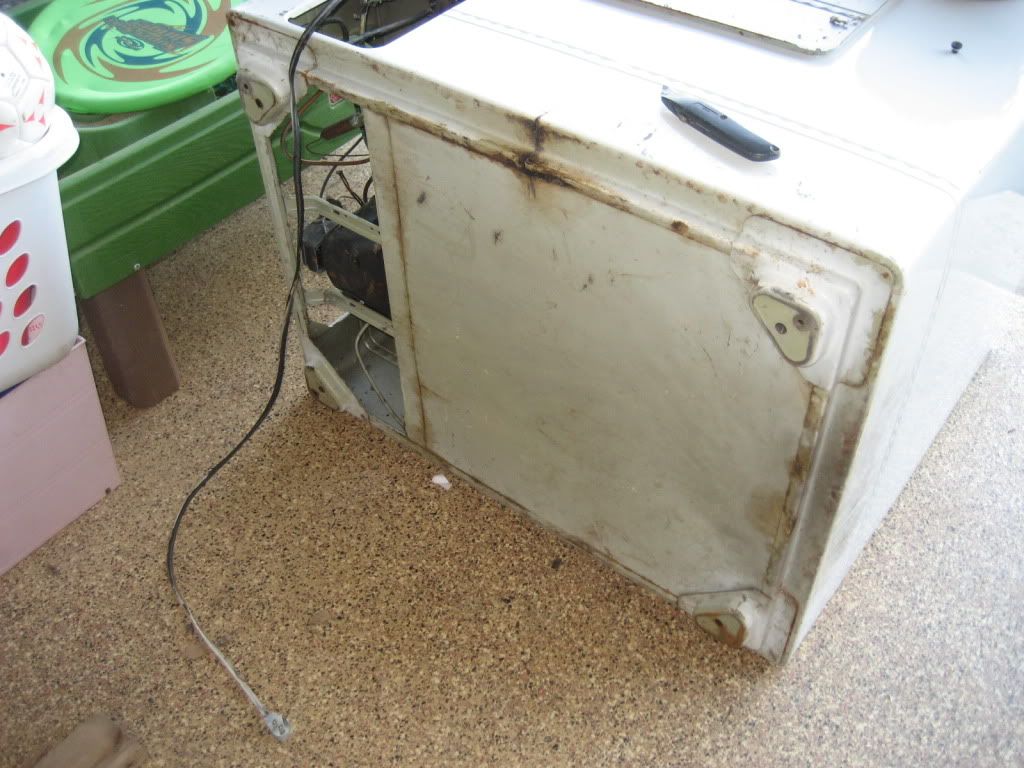
The angle grinder made quick work of those. This allowed the freezer to sit a lot more flat and a little lower.
Keezer007.jpg


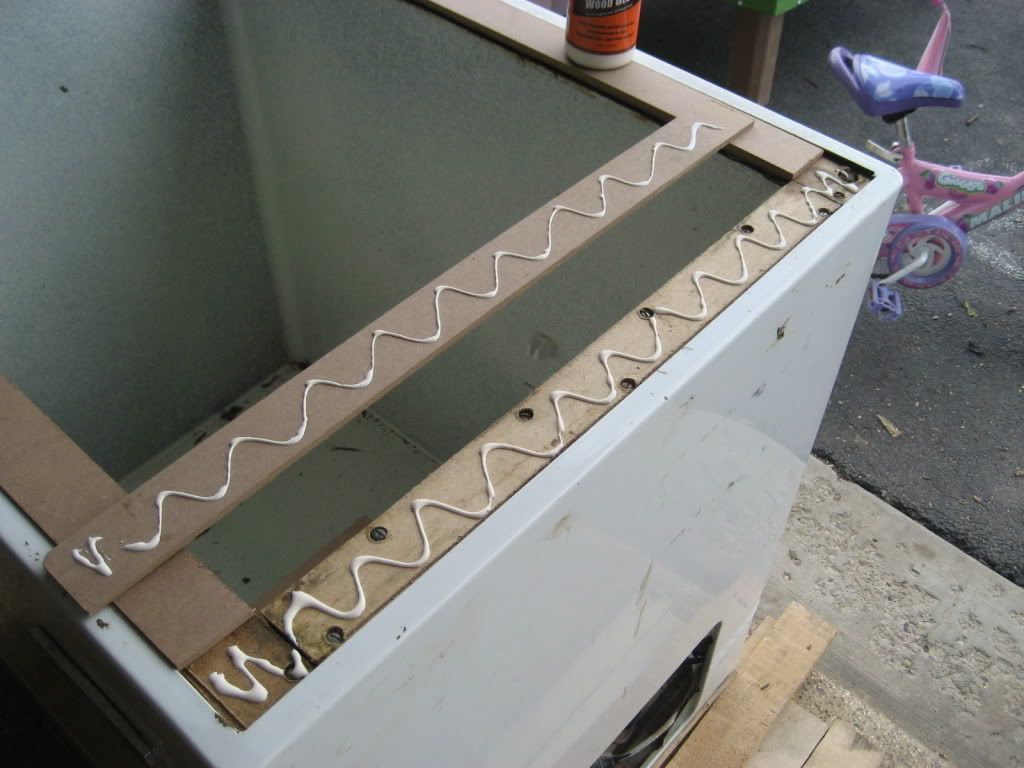
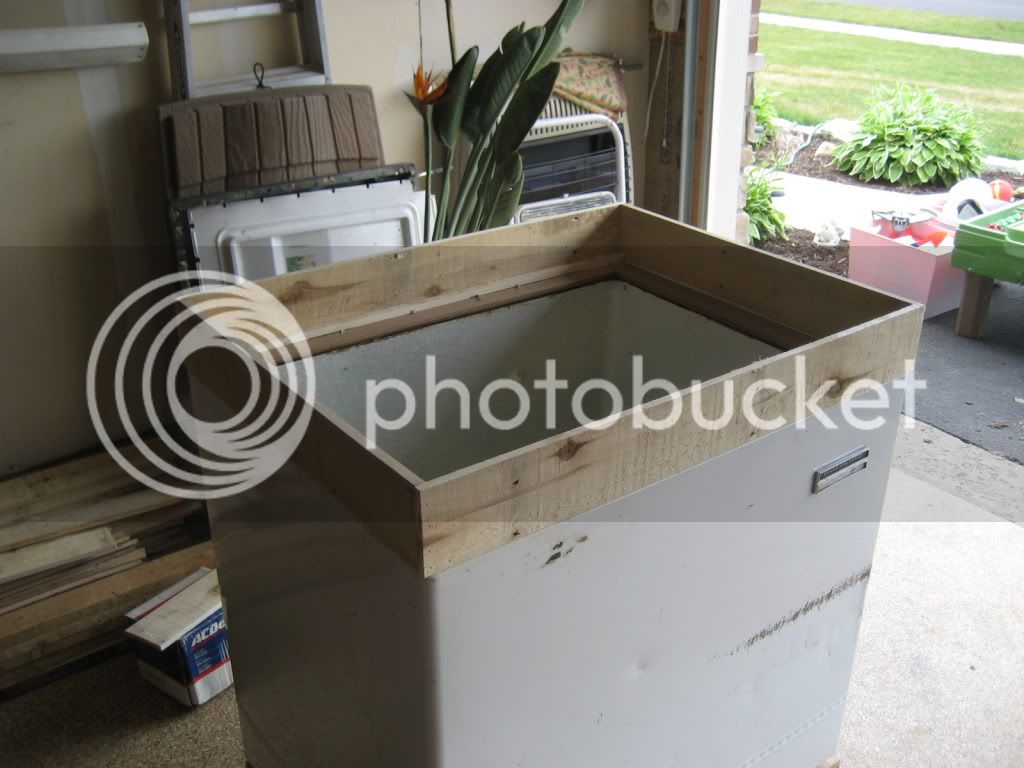
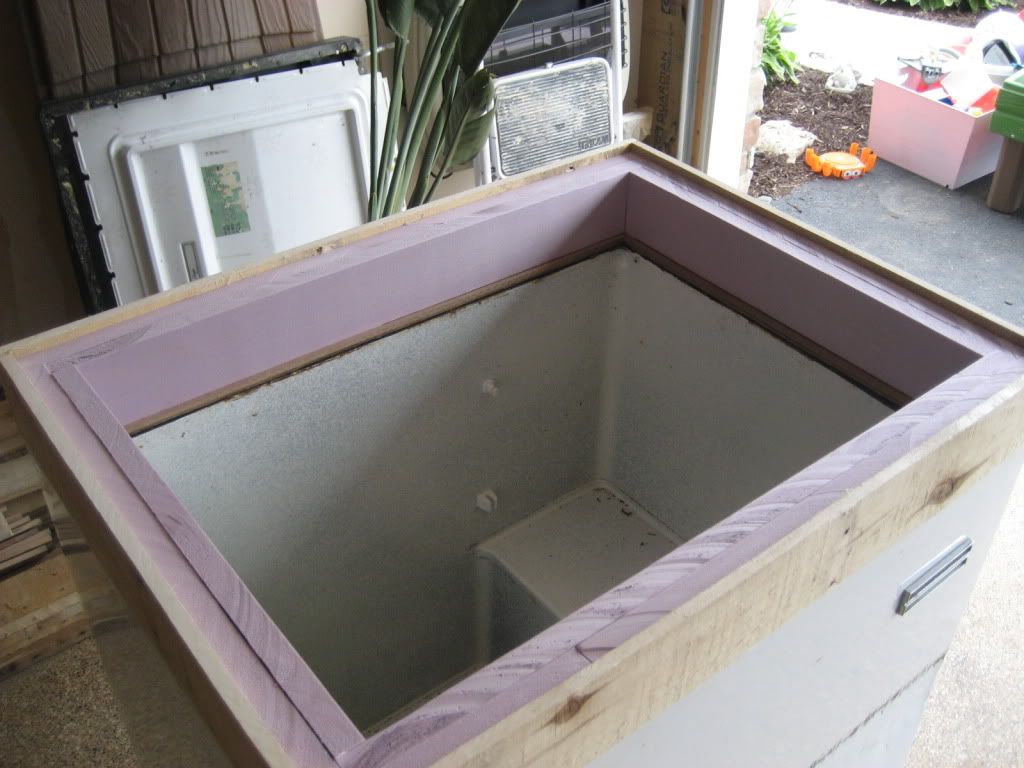
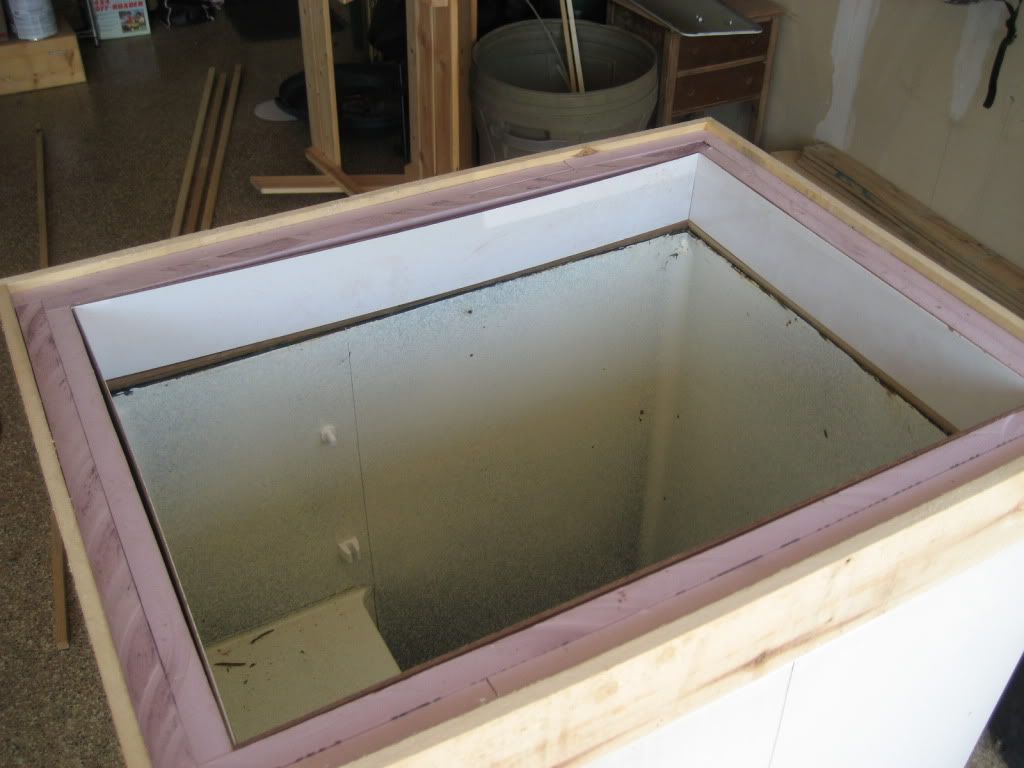
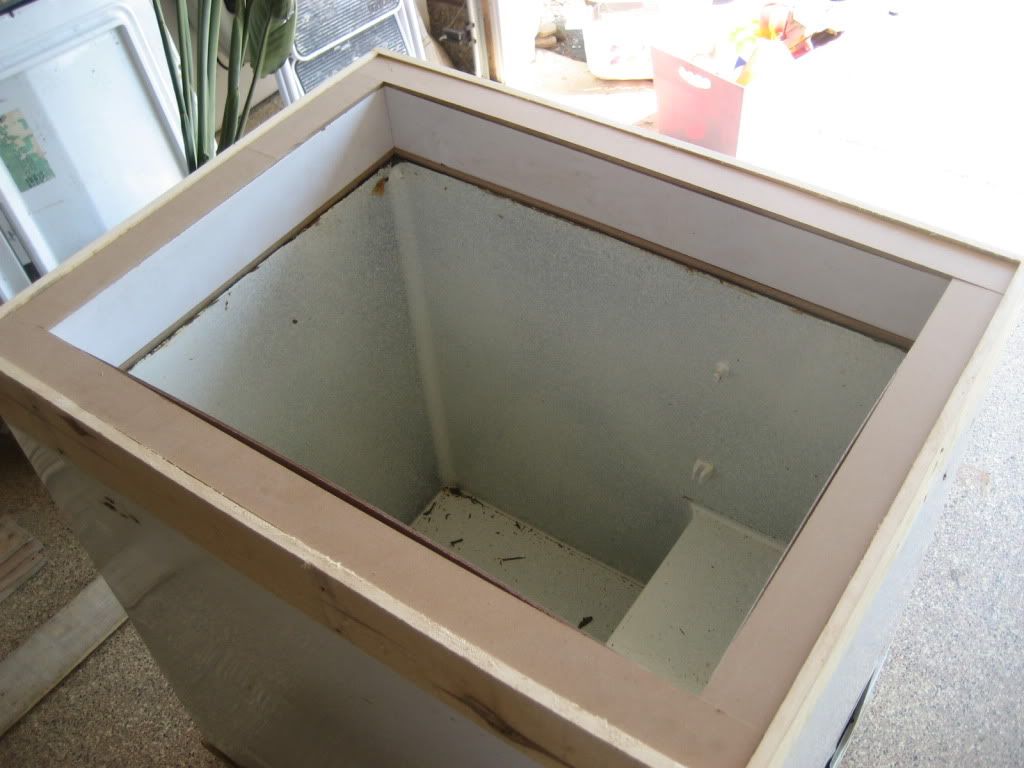
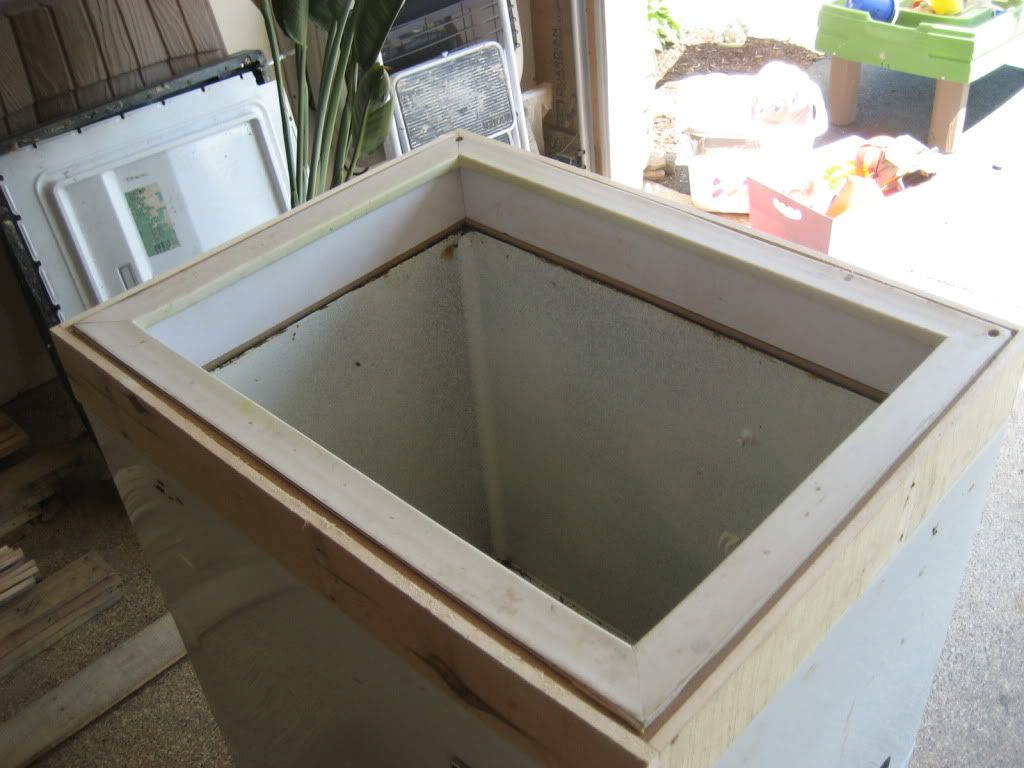
The next step was to assess the inside. I removed the rubber gasket which revealed some 1/4" Masonite.
Keezer008.jpg


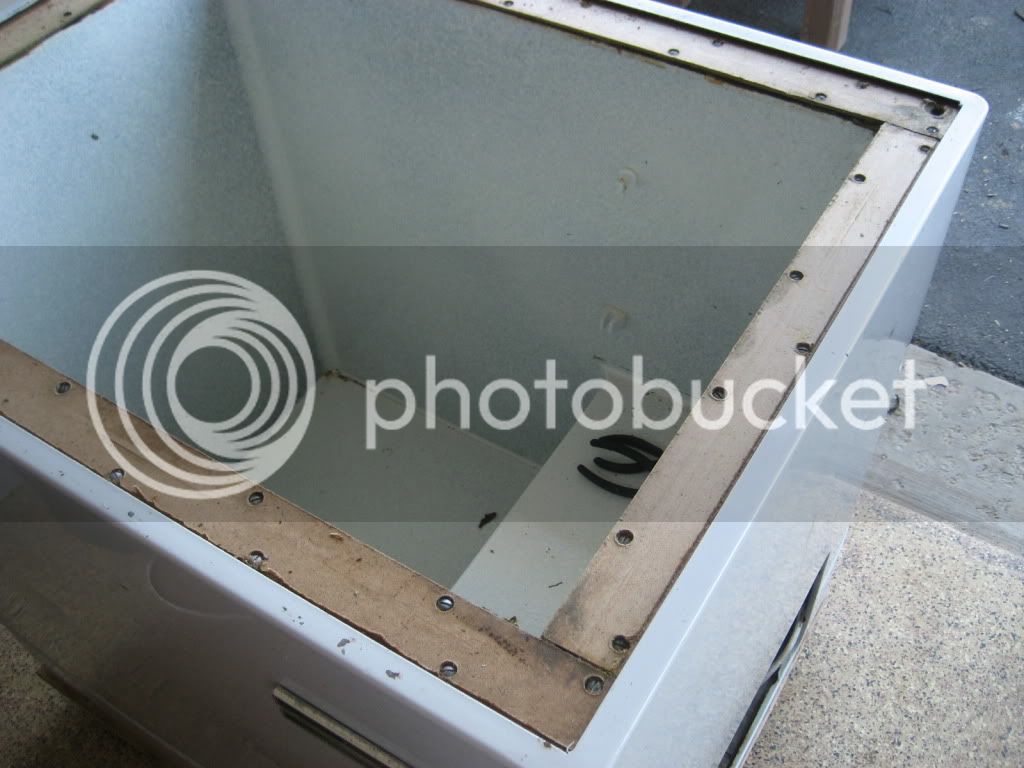
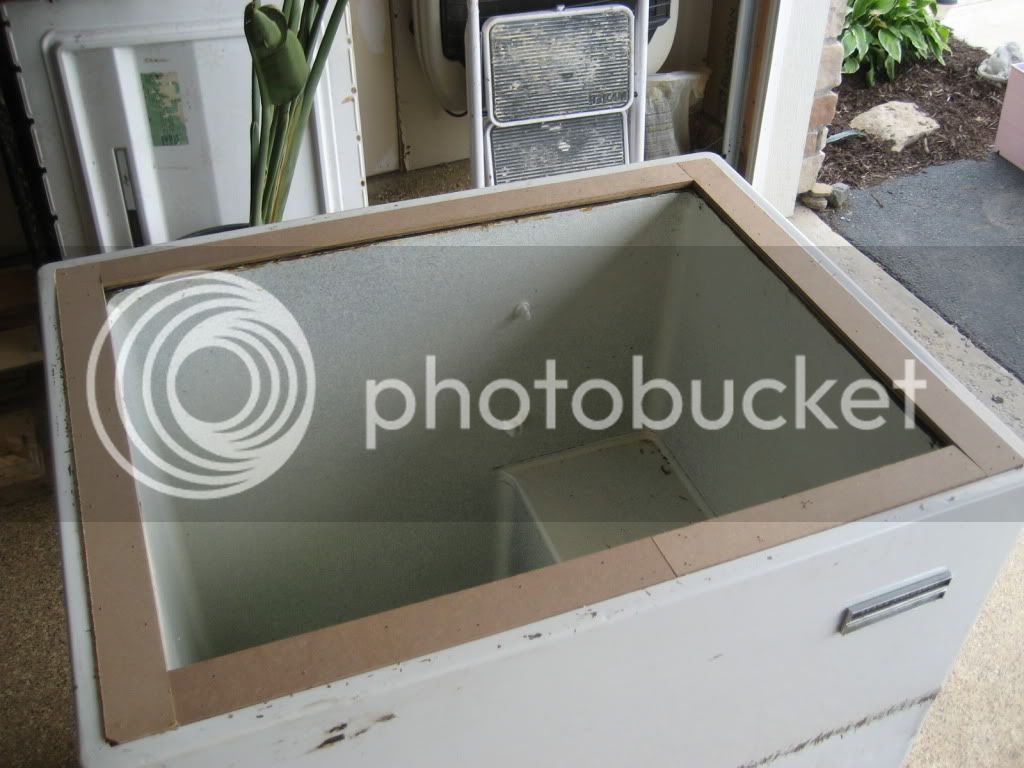
I removed the Masonite to reveal the fiberglass insulation.
Keezer009.jpg


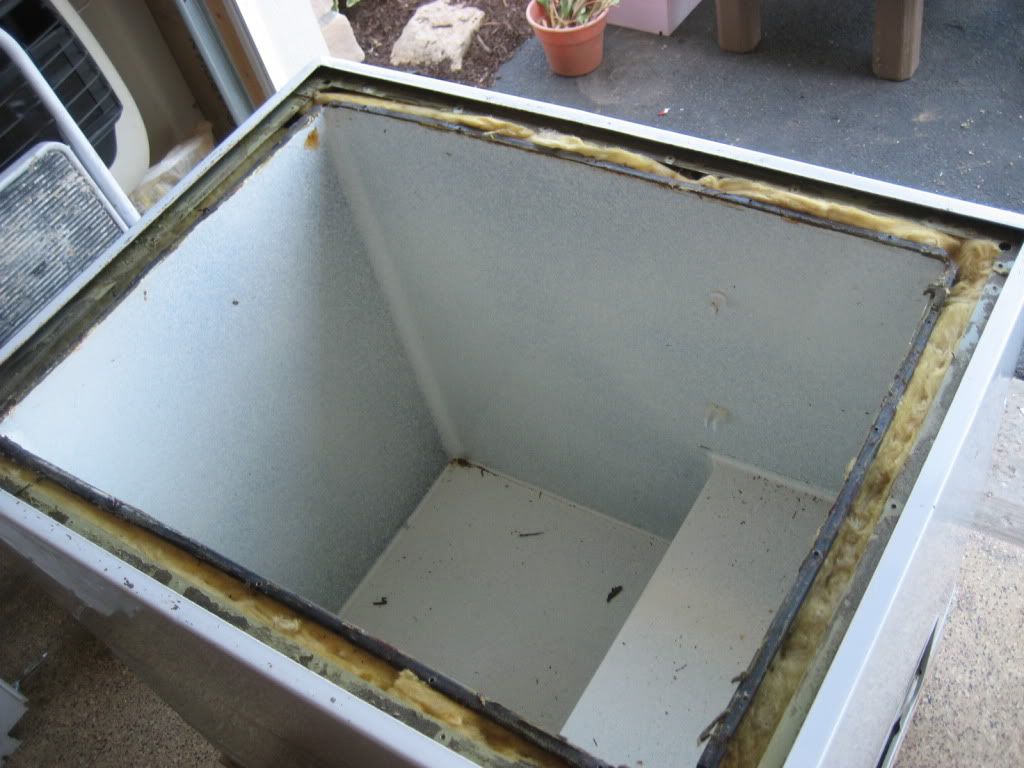
At this point I thought that I might be able to pull the whole tub out and replace the insulation. WRONG! Turns out that the cooling lines are welded to the tub. Luckily I didn't damage the lines.
 
So now I had to figure out how I was going to build this thing. Since this project fell into my lap, and I hadn't budgeted for it, I had to do it on the cheap. I already had a mini fridge kererator that I could scavenge all the parts from. So hardware wasn't an issue. But what to skin the keezer in?

Then it hit me. I had all these boards from pallets that I took apart for another project. Perfect!
Keezer010.jpg


So I needed to build up the opening of the freezer from where the gasket was removed. I had some scrap 1/4" MDF that worked. I cut the MDF to size and glued and tacked it in.
Keezer011.jpg

Keezer012.jpg


Next I built up a collar using pallet boards. I used construction adhesive and a brad nailer to keep it in place.
Keezer013.jpg


I bought a sheet of 1" foam insulation. The insulation was dovetailed in the corners to reduce air leaks. Once I did a test fit of the insulation I glued it in with foam board adhesive.
Keezer014.jpg

Keezer015.jpg


The inside of the collar was lined with some scrap 1/4" tile board I had.
Keezer016.jpg

Keezer017.jpg


I topped off the new collar with more 1/4" MDF...
Keezer018.jpg


and the original gasket.
Keezer019.jpg


I also sealed the inside seam between the freezer and the collar with foil duct tape.

Next I started laying out the pallet boards to see how it would all fit.
Keezer021.jpg

Keezer022.jpg


Here you can see I started attaching the boards. I added a 3/4" spacer to the collar and the base to space the boards away from the freezer and allow some air flow. The spacers are screwed in and the boards are nailed to the spacer. So in the future I can take the sides off if I need to.
Keezer023.jpg


Here I started making the tower. Again using pallet boards and scrap wood.
Keezer024.jpg

Keezer025.jpg

Keezer026.jpg

Keezer027.jpg


The tower is 24" wide. I spaced the taps so in the future I can add two more taps. Yes, I can fit five kegs in the freezer.
 
As I was working on the tower, I was also working on the new lid. Here is the new frame for the lid.
Keezer020.jpg


And here's the new completed lid.
Keezer028.jpg


I built the lid up using 1/2" OSB for the top, 2" of foam insulation inside, and 1/4" white sintra (plastic) for the inside. I also added a 1-1/2" foam gasket where it meets the collar to create a nice airtight seal.

Also in the picture you can see I made the temp controller using the eBay aquarium controller.

Next I started laying out the fan locations.
Keezer029.jpg


I used some PVC couplers to make the holes in the lid to be a little more finished. The smaller one will be for the beverage lines.
Keezer030.jpg


Here it is with the tower just set in place while I figure out the next step...the top!
Keezer032.jpg
 
So my original plan for the top was tile. But once I started thinking about the look of this keezer it became clear to me only one thing would do...concrete!

First I started with the form work for the top. I made it 3/4" deep to match the drip tray I picked up on eBay.
Keezer034.jpg


Then I made a 1/2" deep form for the backsplash of the tower.
Keezer035.jpg


Then I set in some wire mesh. I used gutter screen for the mesh. It was cheap and was perfect for the small job.
Keezer036.jpg
Keezer037.jpg


Next was mixing and pouring the concrete. I used concrete countertop mix, only $14 a bag. I almost used a whole bag.
Keezer038.jpg

Keezer040.jpg

Keezer041.jpg

Keezer042.jpg


Once it set up I toweled it smooth. After it set for 24 hours I removed the forms.
Keezer044.jpg


Here's where I forgot a step before I poured the concrete. I never put a release agent on the forms. So the concrete bonded with the wood!

Here you can see a chip that occurred when i pulled the form. It was a small repair though.
Keezer045.jpg


And here I had to cut slots into the back to peel it away from the backsplash.
Keezer046.jpg


Once the forms were free I wet sanded the concrete. First I started with 80 grit, then 120, then 220, then 1000, and finally 1500. Then I sealed it with a masonry sealant and a coat of carnuba wax.

After that it was just a matter of mounting the tower, wiring everything up, connecting the beverage lines, and adding the trim boards.

Keezer047.jpg

Keezer052.jpg

Keezer049.jpg

Keezer050.jpg

Keezer051.jpg


I'll have to get some pic's of the inside of the tower and the keezer later.
 
Bookmarked to get back to it later...

I like the internal Frame.

I have a heavy table top I am going to use for a build and I need ideas on how to support it's weight.

DPB
 
Love the build. Looks like your doing a great job. I have one concern. Pallets are known for being kept outside and treated rough. I would be worried about mold and mildew being those boards. I use pallets for lots of stuff around here, but I would think twice about using them on this.
 
Love the build. Looks like your doing a great job. I have one concern. Pallets are known for being kept outside and treated rough. I would be worried about mold and mildew being those boards. I use pallets for lots of stuff around here, but I would think twice about using them on this.

You have a valid point.

I picked the pallets up from a house the were building next door to me. The were brand new and were used to deliver stone. They've been sitting in my garage for a year. So with the fact that the wood was pretty clean, it doesn't come in contact with the beer, and the keezer is in my garage, I think I'm going to be O K.

I do appreciate your concern though.
 
freakin awesome work on the concrete. when I poured my counters, I used melamine for the molds - no release agent needed.
 
I would think getting that lid lifted with concrete on the top is more fun than a trip to the gym. Any special hinges?
 
According to this a 2" thick slab of concrete countertop can be between 12 and 22 pounds per square foot.

I really like the lighting as well! Nice lookin' build.
 
You really lucked out on the pallets. Oak, yet? The pallets I can pick up around here ore only suited for keeping stuff off the (slightly flooding) basement floor or kindling for the fireplace.
 
Best looking Keezer I've seen. When I build it will be similar to this. Thanks for the inspiration. The lighting just sets everything off.
 
I love the idea of using the pallet wood. I have been thinking about using pallet wood for a fermentation chamber. How did you deal with the splinters that come off the pallet wood?
 
Sad news everyone. The compressor went into cardiac arrest yesterday and was pronounced dead this morning.

A new compressor will cost $350 just for the parts.

So I'm going to save the top and sides and figure out something to do with them at a later date. The freezer is going to the curb.

This just sucks.
 
Noooooo. That does suck. Well make sure to post about your next project. Can't wait to see it!
 
Damn, looks awesome. What about a remote DIY AC chiller? Take a 5000 btu window ac and use its coil to chill a glycol resevoir. One loop goes to the palate keezer. Its more cooling than you need so the excess capacity could be zoned to other ferm/ lagering chambers. Get more palates and you can skin it all the same.

Here is an example buildbut you could just use an eBay controller for each zone instead of fermtroller.

Don't think of it as a keezer dieing but an excuse to eventually get a conical.
 
All hope may not be lost.

I was talking to my neighbor last night, who was following the build and was very impressed. His Uncle repairs freezers and refrigerators. So he's going to give him a call to see if there's anything we can do.
 
Are you sure it's the compressor and not just the electronics? Does the compressor run and just not get cold, or is it doing something else?
 
Back
Top