bobbytuck
Well-Known Member
- Joined
- Apr 12, 2010
- Messages
- 310
- Reaction score
- 51
(I posted a slightly different version of this on a different forum -- but I'm posting it here because I thought folks might be interested. I didn't see many reviews of the TopTier -- and I wish I'd seen something like this when I was thinking about brew structures.)
Purchase
I bought it last Wednesday and it was delivered Friday. This isn't a full review since I'm waiting on a few parts that were mistakenly left out of the delivery. (No big deal -- very small parts -- and Blichmann was apologetic about the omission.)
Overall, I like this this thing very much -- and I was putting it together, I was liking it more and more. First impression: it's big and frigging solid. The pictures don't really do it justice. I mean, it's gotta be solid if it's going to support 30-gallon kettles, but I was surprised at the weight of the thing overall. Very nice. FedEx guy wondered what the heck was in the boxes.
My Brewery
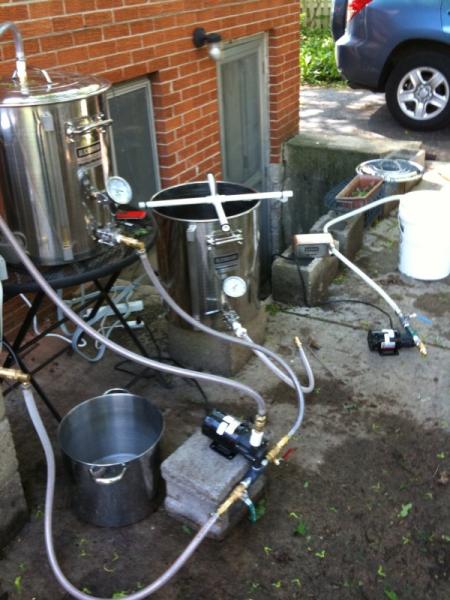
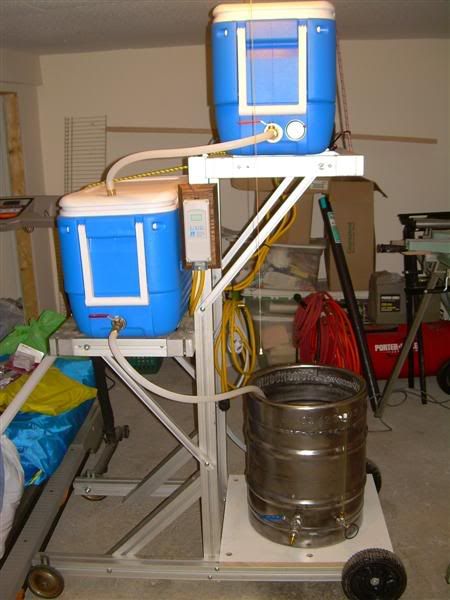
I've got an all-electric HERMS brewery with 3 15-gallon kettles (1 polarware, 2 Blichmann -- sold some Leica lenses to get the $$$ for the kettles). I assembled it several weeks ago and have been brewing on some cinderblocks and an iron table -- so I was looking for some sort of structure that's not so make-shift. I work 12-14 hour days -- 5 days a week -- so with the job and the commute, all I wanted to do was brew -- not talk to welders or learn welding. I'd like to learn welding, sure -- especially after researching the possibilities for a brew stand, but I didn't see having much time for it.
Anyway, I pulled the trigger on the TopTier last week and ordered it from Rebel Brewing with free shipping. I ordered it late on Wednesday, and by Friday it was at my doorstep. Very cool.
I ordered the basic stand, three shelving units, two march pump brackets, a therminator bracket, and a pair of utility shelves. Total cost: around $800. Expensive? Yes. Cool as building your own? No. But it's solid as hell, looks nice, and was at my doorstep in less than 48 hours. Can't beat that. (Didn't order any burners -- but I see that the propane valve is include with the main unit, as well as some basic hardware to attach the manifold. As everybody knows, you need to get your own piping if you choose to go with burners -- but this is a plus and makes it much more flexible.)
The parts mistakenly left out were the brackets for the main shelves. No big deal. I emailed Blichmann, and they'll be FedEx'd on Monday. I'm disappointed I couldn't put everything together today -- but that's fine. I'll finish it up next Saturday, re-cut my hoses and attach fittings, and be brewing (I'm guessing) by noon or so on Saturday.
Out of the Box
I spent about an hour and half this morning assembling the four legs and installing them onto the tier. I suspect one could do it in about an hour, but I had to run to Ace for the proper wrench. Tools required are minimal -- a good wrench set is pretty much all you need. You might want some saw horses or some kind of support for propping the main tier horizontally while you attach the legs. All the hardware comes in one of the two (or in my case, three) boxes. Instructions are exactly like all the other Blichmann instructions -- brief, direct, but effective.
Anyway, I attached the hardware to the legs, rested the main tier horizontally on two sets of cinder blocks, and was able to attach the legs with ease. It's key that the end of the steel tier itself rest on your concrete or sidewalk surface so that the tier holds most of the weight and the legs are there for support and stability. I thought I'd need a helper to get everything leveled, but it was very easy to do.
That's when I realized the brackets were missing, so I had to wait on the rest of the assembly -- but it looks like it will be very easy -- an hour or two tops. Then I'll configure everything.
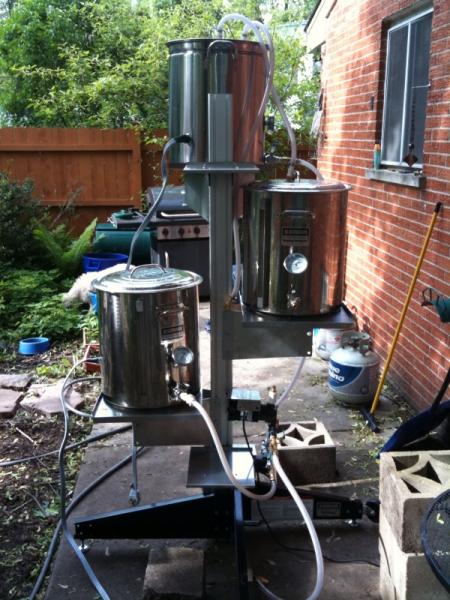
In my current setup, I pump and recirculate from HLT to MLT, gravity feed from MLT to BK, and then pump BK through Therminator into fermenter. So my plan is to keep this essential workflow by mounting the HLT and BK parallel to each other at the bottom of the TopTier and then mount the MLT high. Not at the tippy top -- but attach to front face of the four-face tier, and then have the HLT attach low on the left side and the BK low to the right.
The main idea with the TopTier is to keep the center of gravity as low as possible -- so this configuration should work for me. Obviously, the Top Tier is great for an all-gravity brewer, too -- no pumps needed. I've got a step stool which I know now will get some use to monitor the mash, but it won't be as high as I feared. I'm 6', the main tier is 6' -- and even with the four legs (with adjustable levelers and wheels) -- the whole thing stands 6' exactly since the end of the tier needs to rest flat on the surface. So -- for me -- it's going to work out great.
Stuff I don't like:
- Not much, really. Just that while it can be moved, it's very, very heavy. It makes an awful, awful racket when tipped back and moving on its plastic wheels. (And I'm not using burners. I imagine the burners would add significant weight to the thing.) So while it's mobile, it's not necessarily portable. Not a bad thing -- but I can't really move thing out of my garage to at 5:30am in the morning to start a brewday due to the noise. (My driveway is old asphalt -- so maybe on smooth concrete it's a bit quieter.)
- It'd be nice to have sort of cover included. I may leave this thing out -- covered -- but put my kettles away. Not sure yet. But it'd be nice to have a cover (or an option for a cover) and simply leave it out like a grill. (Or maybe I'll just leave it out over a brew weekend -- put it away Sunday evening.)
Stuff I like:
- Built rock solid. Even though I'm not 100% finished, I've leveled the thing and can see that it's not going to move at all with the kettles and hardware hanging off the tiers.
- It's pretty quick to put together. Need a good wrench set, a couple of supports/saw horses, a level, a tape measure (to measure the placement of the legs once they're attached -- 1.5" up from the end of the tier in order to make sure the end of the tier stays on the ground), and you're good to go.
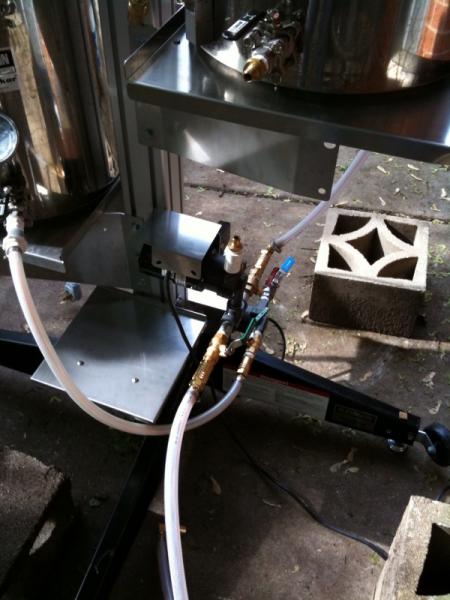
- The utility shelves look cool -- I ordered two -- and will work to hold my pump/heat control panel and my two Ranco units (1 for HLT heat, 1 for mash pump). I also ordered a couple pump brackets and a therminator bracket. Not sure if I'm going to mount my second pump and therminator -- but I'll figure it out once I get used to the workflow.
Conclusion
I like it -- and as soon as I get the missing pieces, I'll finish it out. It's a good purchase. Is it as cool as building your own? No -- but as I say, I'd rather spend my very limited time-off making beer!
It's going to work great for me!


