J187
Well-Known Member
- Joined
- Jan 2, 2012
- Messages
- 857
- Reaction score
- 99
First of all, Mods can you please delete my other thread entitled "Printing at Kinkos, quick question". I tried deleting it and I guess I cannot. I think this thread will better whereas the title may direct people here for help!
All those who use Photoshop and would like an easy way to add multiple labels per printed page and be ready for either your own printer or Kinkos:
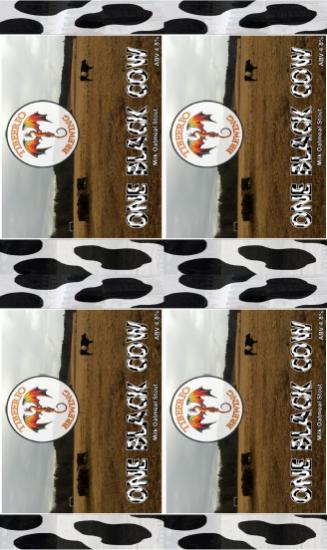
Make your label in Photoshop with an "image size" equal to what you want the label to be. For mine, I chose 3"x5" @ 300DPI because I felt it covered an appropriate amount of the bottle. Once your image is designed, save it as a Jpg. Open the Jpg file in photoshop and under the file menu select "automate" and then "picture package". This will give you the opportunity to select a pre-designed layout or edit the current layout to customize. None of the pre-designed layouts matched the size label I needed, so I opted to edit the layout. I selected 8.5" x 11" paper size, the default I think was 8x10. The layout is basically a template of the paper size you've selected and fields called "zones" which represent an instance of your image - in this case, the label. The zones are independently sized. In this case, the zone size you want to make will reflect the label size you are making - for me, it was 3x5. I then deleted all current zones, which gave me a blank page to start adding my custom zones. I then added 4 zones equal to the size of my labels - 3x5. I positioned away from the edges of the page and with enough space to cut out between them after I print. I then selected a resolution of 300 DPI (at least 200 is probably necessary or you might get a blurry images). I clicked "ok" and the layout was made (automated). Basically, photoshop just goes through the whole process of resizing, reorienting, and positioning your images on a canvas equal to the paper size. I then test printed to make sure everything was right. It looked perfect so I saved this new image as a "PDF" file and copied it to a thumb drive. I will bring this Kinkos and print the PDF in as many pages as I need, 4 labels per page. Works like a charm and takes a total of about 5 minutes!


