The life story of my brewery

Homebrew Talk - Beer, Wine, Mead, & Cider Brewing Discussion Forum

Help Support Homebrew Talk - Beer, Wine, Mead, & Cider Brewing Discussion Forum:

This site may earn a commission from merchant affiliate links, including eBay, Amazon, and others.

Gridlocked

Well-Known Member
Joined
Feb 17, 2010
Messages
793
Reaction score
24
Location
MN
Since I’m really getting into this hobby I thought it would be fun to put together a photo based thread of my brewery expansion with a quick and short explanation of each. I'm really learning a lot as I go, but I thought it would be cool to have all of my pictures in one place, so I could see how far things have come.

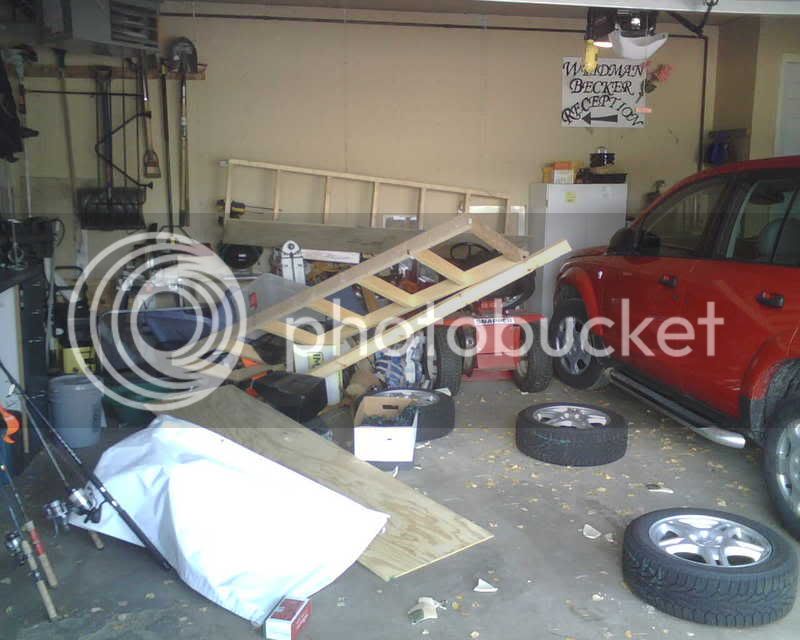
This picture was taken back in 2008. The previous owners of our house built everything half-ass. One afternoon, after coming home from breakfast, I found that our garage shelf fell. Luckily I only lost my two junk fishing rods and the only part of my wife’s car that was damaged was the side-view morror.
IMG00258.jpg


I started with the Everything + A Carboy kit from Midwest Supplies - also back in 2008. My first batch was a highly-oxidized Irish Red Ale.
cpek2.jpg


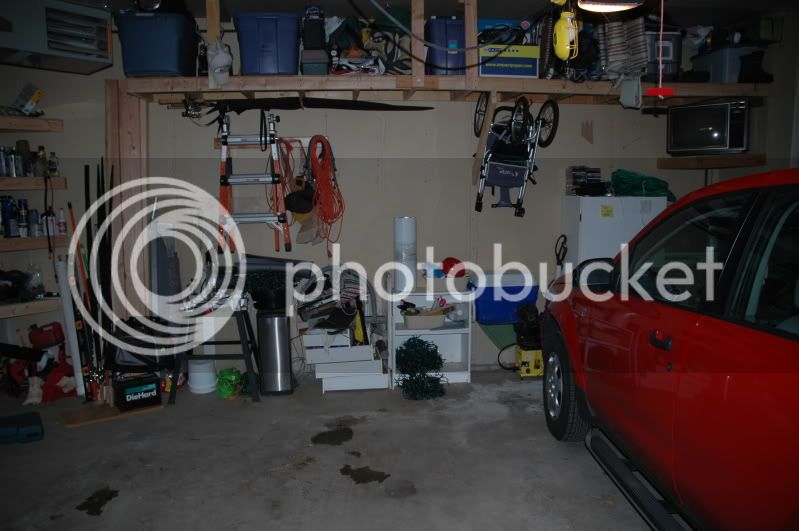
After rebuilding the shelving properly, I planned on this location to be the brewing area.
DSC_3021.jpg


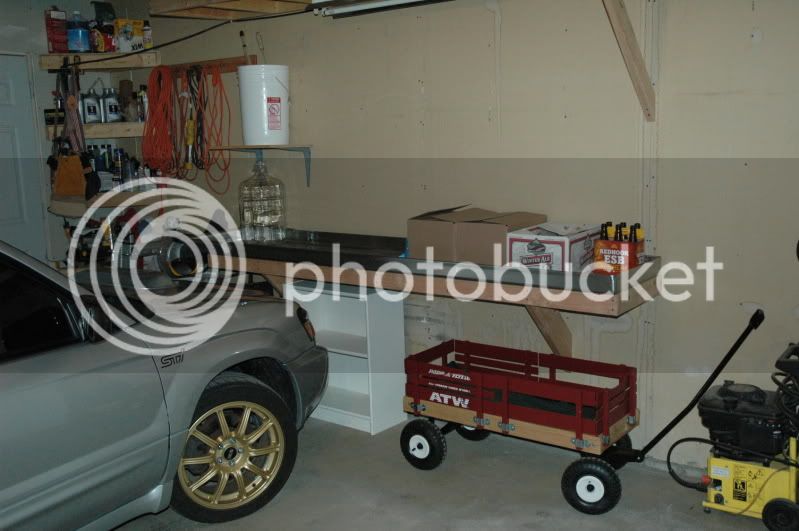
My neighbor had a 20” x 10’ x 4” deep stainless steel sink sitting in her back yard for 2 years. I asked her if I could buy it from her, but she ended up giving it to me for watching her dog.
DSC_3121.jpg


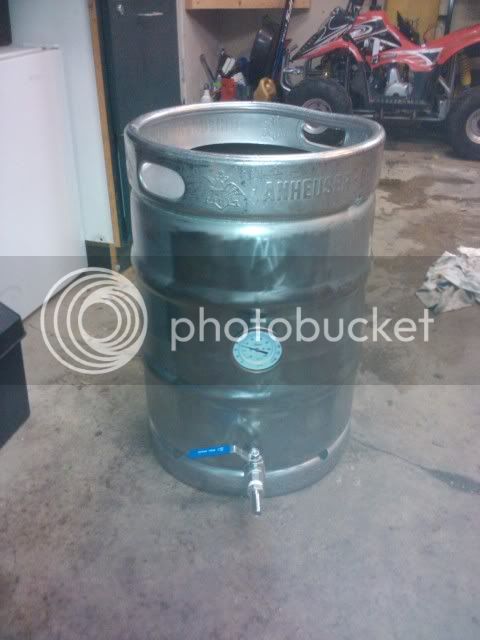
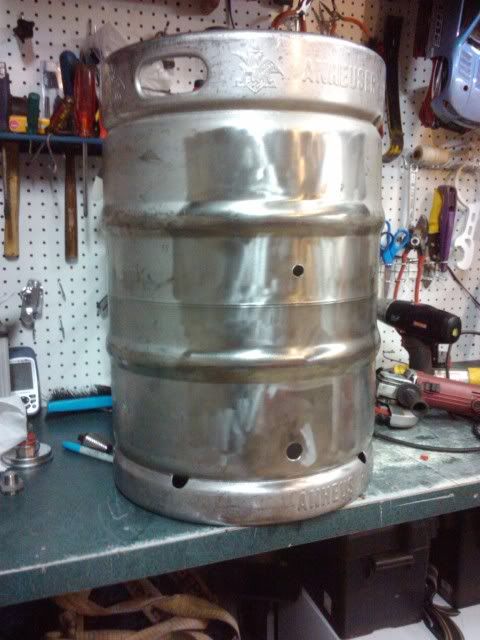
Not long after starting brewing, I purchased a 8 gallon kettle (not pictured) and then upgraded again to Paul's old 10 gallon kettle. I think this was my first batch in that kettle.
2010-07-03160853.jpg


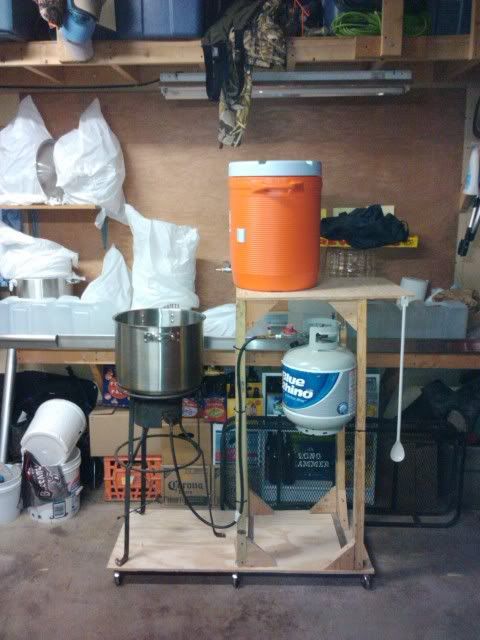
I decided that I wanted to try all-grain brewing and this is the sculpture that I put together the night before my first batch with plywood and crap I had laying around my garage. It has worked since.
sculpture.jpg


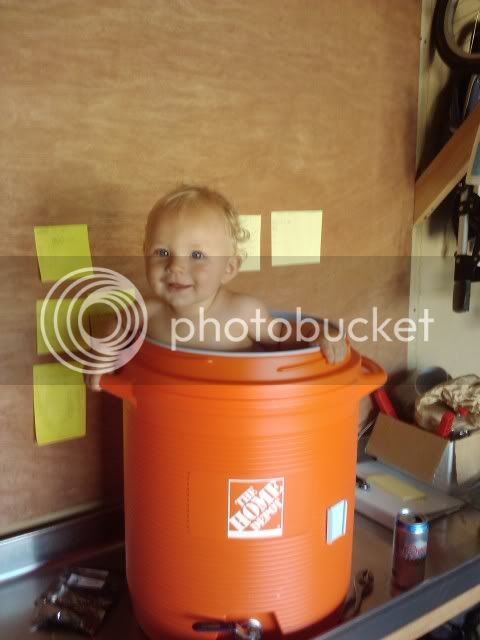
This is my little guy in the MLT.
2010-07-25142540.jpg


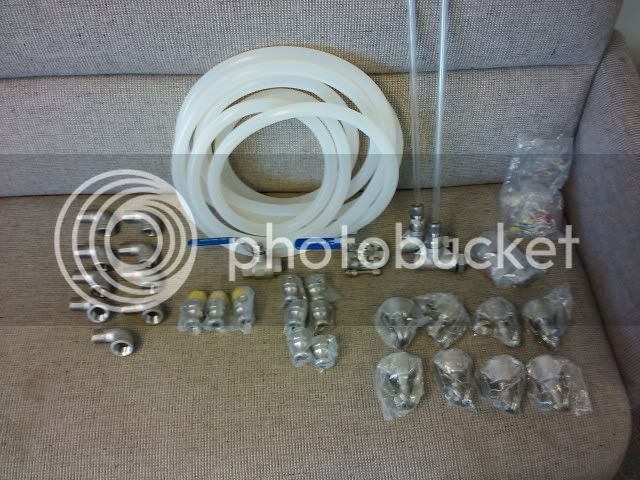
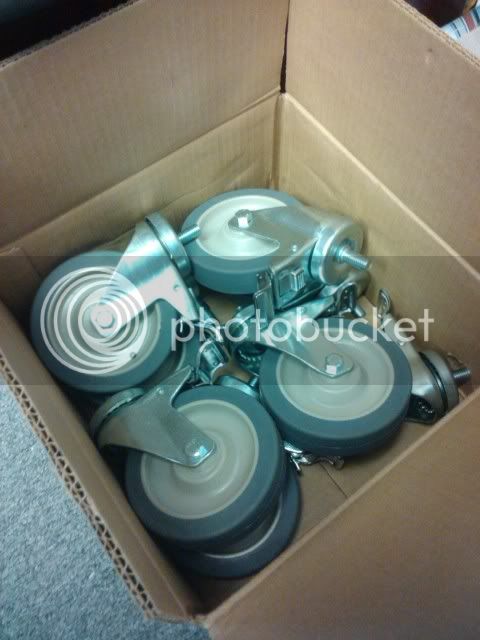
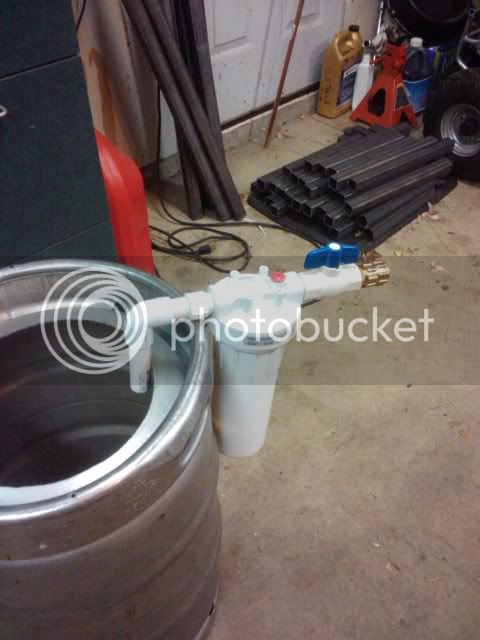
After many, many E-mails with Paulasaurus, we decided we were going to make the move up to 10 gallon systems. So, one day, I got online and got our casters. A few days later I ordered the steel, cut to length, for two single tier systems. You can see the steel pieces in one of the pictures below (with the water filter)
2010-12-20143729.jpg
 
I acquired a keg from Craigslist and started to modify it. I learned two things in this process. The first was to think before drilling. The one in this keg is too high to do five-gallon batches, so this keg will be my HLT. I have two more kegs are waiting for me in Paul’s garage. I just need to find the time to go get them.
2010-11-21164454.jpg


The second thing that I learned is not to take a standard steel angle-grinder brush to a stainless keg. The steel will remove the layer that makes the stainless, stainless. If you DO use one, read this article from How to Brew (by John Palmer), it will help you understand it.
2010-11-21003043.jpg


My city water SUCKS and up until this point, I had to buy 7-8 gallons of water for each of my batches. I finally set up a water filter system so I don’t have to buy water anymore.
2010-11-20214639.jpg


Just last week, I picked up two more thermometers and weldless kits from bargainfittings.com. I would highly recommend them if you’re in the market for anything fitting related.
2010-12-20101946.jpg


I also ordered a hopper for the Monster Mill mm2.0 and assembled at my desk. Also picked up some Revere copper & Stainless cleaner to re-passivate my keg. The hopper should be here tomorrow. I’m sure I’ll add pics of it.
2010-12-20120734.jpg


In these boxes are six BG-14 burners, two regulators and two flex hoses. (half of this stuff is for a buddy’s identical project)
2010-12-20134112.jpg


I can’t believe how big and heavy these are. ~25lbs a burner:
2010-12-20142222.jpg
 
Good to see the progress. Your keg should be fine though. They are solid stainless, not plated or anything. Lots of people polish them on here. Just don't use a pad that you've used on other types of metals already.
 
Hit me up with questions if you have them. I'd be happy to help you learn from my mistakes. :)
 
Latest deliveries:

Monster Mill MM2.0
163173_491719918845_596098845_5881388_3345702_n.jpg


and my monster chiller from nybrewsupply.
165080_491726333845_596098845_5881632_6659122_n.jpg
 
Damn Nice setup and nice STi :D. What's the deal with subaru people being cool as hell in every aspect haha? There's a big homebrew thread on Nasioc. I've got a legacy gt myself.

What'd the wort chiller run you?
 
HA HA! Thanks! That's actually my Forester XTi. Basically a Forester shell over an 04 STi. Good times and lots of fun in the snow. I picked up THIS chiller.

Now that Christmas is over, I plan on using my three days off this week to:
Clean out all of my kegs and lines.
Wash all of my new parts with soap and water.
Disassemble my keg and clean with the Revere.
Brew my home-grown Cascade IPA
Pick up my two other kegs from Paul
and do some ice fishing. :)
 
Damn I didn't even look at it closely. Yeah my buddy just bought his wife an 04 FXT...that things sweet!

Here's my beauty. 05 Legacy gt, downpipe, uppipe, tune, RA flaps and incoming Koni struts with Swift springs later this week :D
2010-12-04_20-39-18_357.jpg


Thanks for the link...brewed my first batch yesterday and I was surprised when it took 45 minutes for my wort to chill in a bucket full of snow/water.
 
Yeah, I love my toaster. I'm rocking a ported and polished VF39 (from an STi) turbo, Invidia up pipe, K&N cone filter, 04 Sti ECU with a Cobb stage 2 shelf map, WRX springs over AGR2's, Cobb 3" stainless turbo-back, short-throw (which I don't really like) and a bunch of other little junk. Putting around 290 to the wheels. :)

Congrats on the first batch! One of the first brewery additions that I purchased was a immersion chiller - well worth it!
 
Thanks guys! I'm taking Wed-Friday off this week, so I hope to have plenty-more updates soon! Including one secret-addition: Adding a hot water line and a drain to the sink in my garage...
 
Good deal, I'm looking forward to it!

Little Chugger pump delivered yesterday:
I'll add a picture in a bit.

And, I'm preparing for a three-day brewing expansion with lots of pics...
 
Subaru owner here too, sort of. My wife drives a '04 FXT with a VF39, gutted up pipe, STi axle back and tune. I'm at the other end with a Evo IX. :)
 
In the past 48 hours I was able to get ingredients from Midwest, assembled the mill, brew three batches, cleaned all of my kegs and lines, repassivated the kettle that I hit with the wire wheel, picked up the two other kegs from Paul and cut the tops off of them. Tomorrow I hope to get the fitting holes poked into the kegs and thermometers and ball valves installed.

165575_497090118845_596098845_5977357_2878929_n.jpg
 
Can't believe I didn't see your thread sooner, great thread Ted. Makes me think back to my own brewery and how its grown over the 2 years i've been addicted. Can't wait till we can add pictures of our stands and of course brew on them!
 
I borrowed a welder from a buddy so I said screw the keg work, I want to do some welding.

The tubing
166680_499581258845_596098845_6032525_828630_n.jpg


A couple tack welds per corner to hold everything in place
166265_499581293845_596098845_6032526_881576_n.jpg


The outer frame tacked.
167502_499581328845_596098845_6032528_6492297_n.jpg


And just because I wanted to see what it was looking like
162808_499581213845_596098845_6032523_2771813_n.jpg


and here's the plan:
167825_499765003845_596098845_6035319_3327745_n.jpg
 
Oh my, brings a tear to my eye. She's a beauty already.

I also had me a Furious last night :)
 
Nice work so far! I just acquired 3 kegs and started the polishing process last night. I am relatively new to the home brewing world (only 3 extract batches in), but I'm hooked. I already have a full bar in my basement and am already drafting plans for a brewing room in the unfinished side of the basement. I have been searching HBT looking for good places to buy supplies/parts for keg conversions, so thanks for the recommendation. I am on the fence between fabricating a welded tubular steel frame or a weldless peforated angle iron frame. I haven't welded since metal shop in high school, but have been considering buying a cheap welder from harbor freight, doing a little practicing, and giving a go at it. Please keep updating this thread often with your progress. Keep up the good work!
 
Thanks hip-hoppopotomus.

I've gotten all of my keg conversion parts from bargainfittings.com. Their prices are awesome and the guy gets the products out the door amazingly fast. I think I'll be ordering up the camlock quick disconnects and silicon tubing this week.

I haven't welded in many years (since we built the roll cage for the rally car we ran for a few years) either but it's so easy and a hell of a lot of fun. Clean, ground and go. Just make sure you tack the whole thing together and when welding a tube, weld the whole thing at once. Don't weld one side and let it cool without doing the other side.

Here's the progress as of last night. I went with the vertical supports centered between cross braces simply because I wanted two posts to use as mounting locations for the gas piping. Before I had any of them welded in, I stood on the thing and jumped. The steel didn't move AT ALL. I WAS going to weld in just one, middle support and actually had the frame prepped but then stopped because of the gas piping.

162856_500820708845_596098845_6052746_761062_n.jpg


169005_500820683845_596098845_6052745_2506863_n.jpg


Another addition: Little Chugger pump #2.
 
nice work! I think I may drop the cash for a welder. My dad has an old arc welder that I can have, but like and IDIOT, when I built my house I didn't put 220 in the garage! HF has one that works off of 110 that seems to be doing the trick for many people.
 
SWMBO wants me to finish up on my little basement projects before I start building ANYTHING else for brewing :confused: I don't see what the big deal is.......I've only been working on the basement for the past 2 1/2 years. Priorities woman! I started a thread earlier today with my Basement Bar Build on the DIY thread. Check it out and you can see why I have my hands full!
 
Casters: check.
166817_10150089026133846_596098845_6072780_4101412_n.jpg


Angry Ted says this an acceptable height.
163412_10150089026038846_596098845_6072776_7974028_n.jpg


Squaring up the burner
163182_10150089026163846_596098845_6072782_2562534_n.jpg


The third time was a charm.
Notice the "wrong" black marks on the string and the tack welds that I had to remove. Whoops.
168313_10150089025983846_596098845_6072774_4188624_n.jpg


I wanted to do this differently but I think this will work well.
166256_10150089027023846_596098845_6072805_227344_n.jpg


after a little cleaning and moving crap around, I found out that the stand fits right under the stainless table. It was going to go here but I thought I was going to have to move the 2x6 braces. Turns out I have a half inch on each side. It was meant to be.
168715_10150089026948846_596098845_6072802_1917389_n.jpg
 
can't wait to help you brew on this sucker!! :D

For everyone else: Ted, Paul, and I meet though the local subaru club. Here's my '05 wrx wag:
drift1.jpg
 
My MLT burner mount is adjustable from 2 3/4" to 6 1/2" below the frame
164763_10150090099958846_596098845_6090600_5726409_n.jpg


Me rocking the welders mask and octobeard.
168988_10150090099993846_596098845_6090601_7154163_n.jpg


The wife told me not to be in the garage all night, so I had to stop here.
163732_10150090100028846_596098845_6090603_6938743_n.jpg


and a side profile
33810_10150090099903846_596098845_6090599_3258824_n.jpg
 
All three burners are in! I'm going to give it a once over and start seam welding it.
I want basically everything to stay within the frame so it's protected. Like a roll cage.

167797_10150091301248846_596098845_6103429_2320606_n.jpg


166884_10150091301398846_596098845_6103431_101893_n.jpg
 
Thanks Shawn!!! I'm at work so I'll have to read through your thread this weekend or something. Funny that you contacted me, though. I've got three or four of the pics that you posted saved onto my computer that I've used for examples and ideas! so thank you for the indirect help!!!! :) We basically used the stand you built as a model.
 
Well, I've been sicker than a dog for about 2 weeks so not much work has been done in the garage. But, I have been busy online and am close to having all the final pieces and parts I need to go to a 10 gallon system.

Ordered 3 stainless lids from amazon for $13.00
each. Yes, I have 10" holes in the kettles.
31PaHdARllL._SL500_AA300_.jpg


Ordered a scale from amazon for $25.00. So now I'll be able to measure my ingredients instead of saying "Meh, that looks like about an ounce..." (spoosh)
416V6KgaMuL._SL500_AA300_.jpg


and some flat-black paint for the brew cart. The plan is flat black with yellow old school hot-rod pin striping.
41Ky%2B8SDNKL._SL500_AA300_.jpg


And, a TON of stuff from bargainfittings.com
I sure hope I'm healthy enough to get some holes poked into the keggles.
2011-01-26124234.jpg
 
Last edited by a moderator:
I was able to spend a few hours in the garage tonight.

I got the pump mounting locations mocked up
168909_10150101010168846_596098845_6239229_3079029_n.jpg


164741_10150101010193846_596098845_6239230_2063095_n.jpg


and the pieces of angle to keep the kegs in place
179260_10150101010243846_596098845_6239233_2043333_n.jpg


and just before I welded on the pieces of angle, everything came off of the frame and the seam welding began.
179481_10150101010123846_596098845_6239226_4566858_n.jpg
 
Just stumbled on this thread...any idea on the cost for the cart, with burners? Also, any welding tips?
 
dwpumo,
I actually worked out a trade with a buddy of mine for the steel cut to length. I'm not sure where you're located, but if you call a few local steel yards, you should be able to ge the steel cut to length for under $150 or so. The burners were ~30 a piece. http://www.agrisupply.com/product.asp?pn=64494&sid=&eid=

Welding tips - get a welder and practice. I just learned by doing it. Clean the metal with an angle grinder and wire brush. Wipe with acetone to remove any oil. Get a good ground. Tack the entire frame together before seam welding anything. When you seam weld, do the whole connection. Don't just do one side and let it cool, the weld will tighten as it cools pulling the opposite side away.
 
I hit the frame with the angle grinder tonight and put a light coat of flat black on so it doesn't continue to rust.

180511_10150102150138846_596098845_6255485_7487727_n.jpg


179627_10150102150103846_596098845_6255484_355167_n.jpg
 
Back
Top