ccfoo242
Well-Known Member
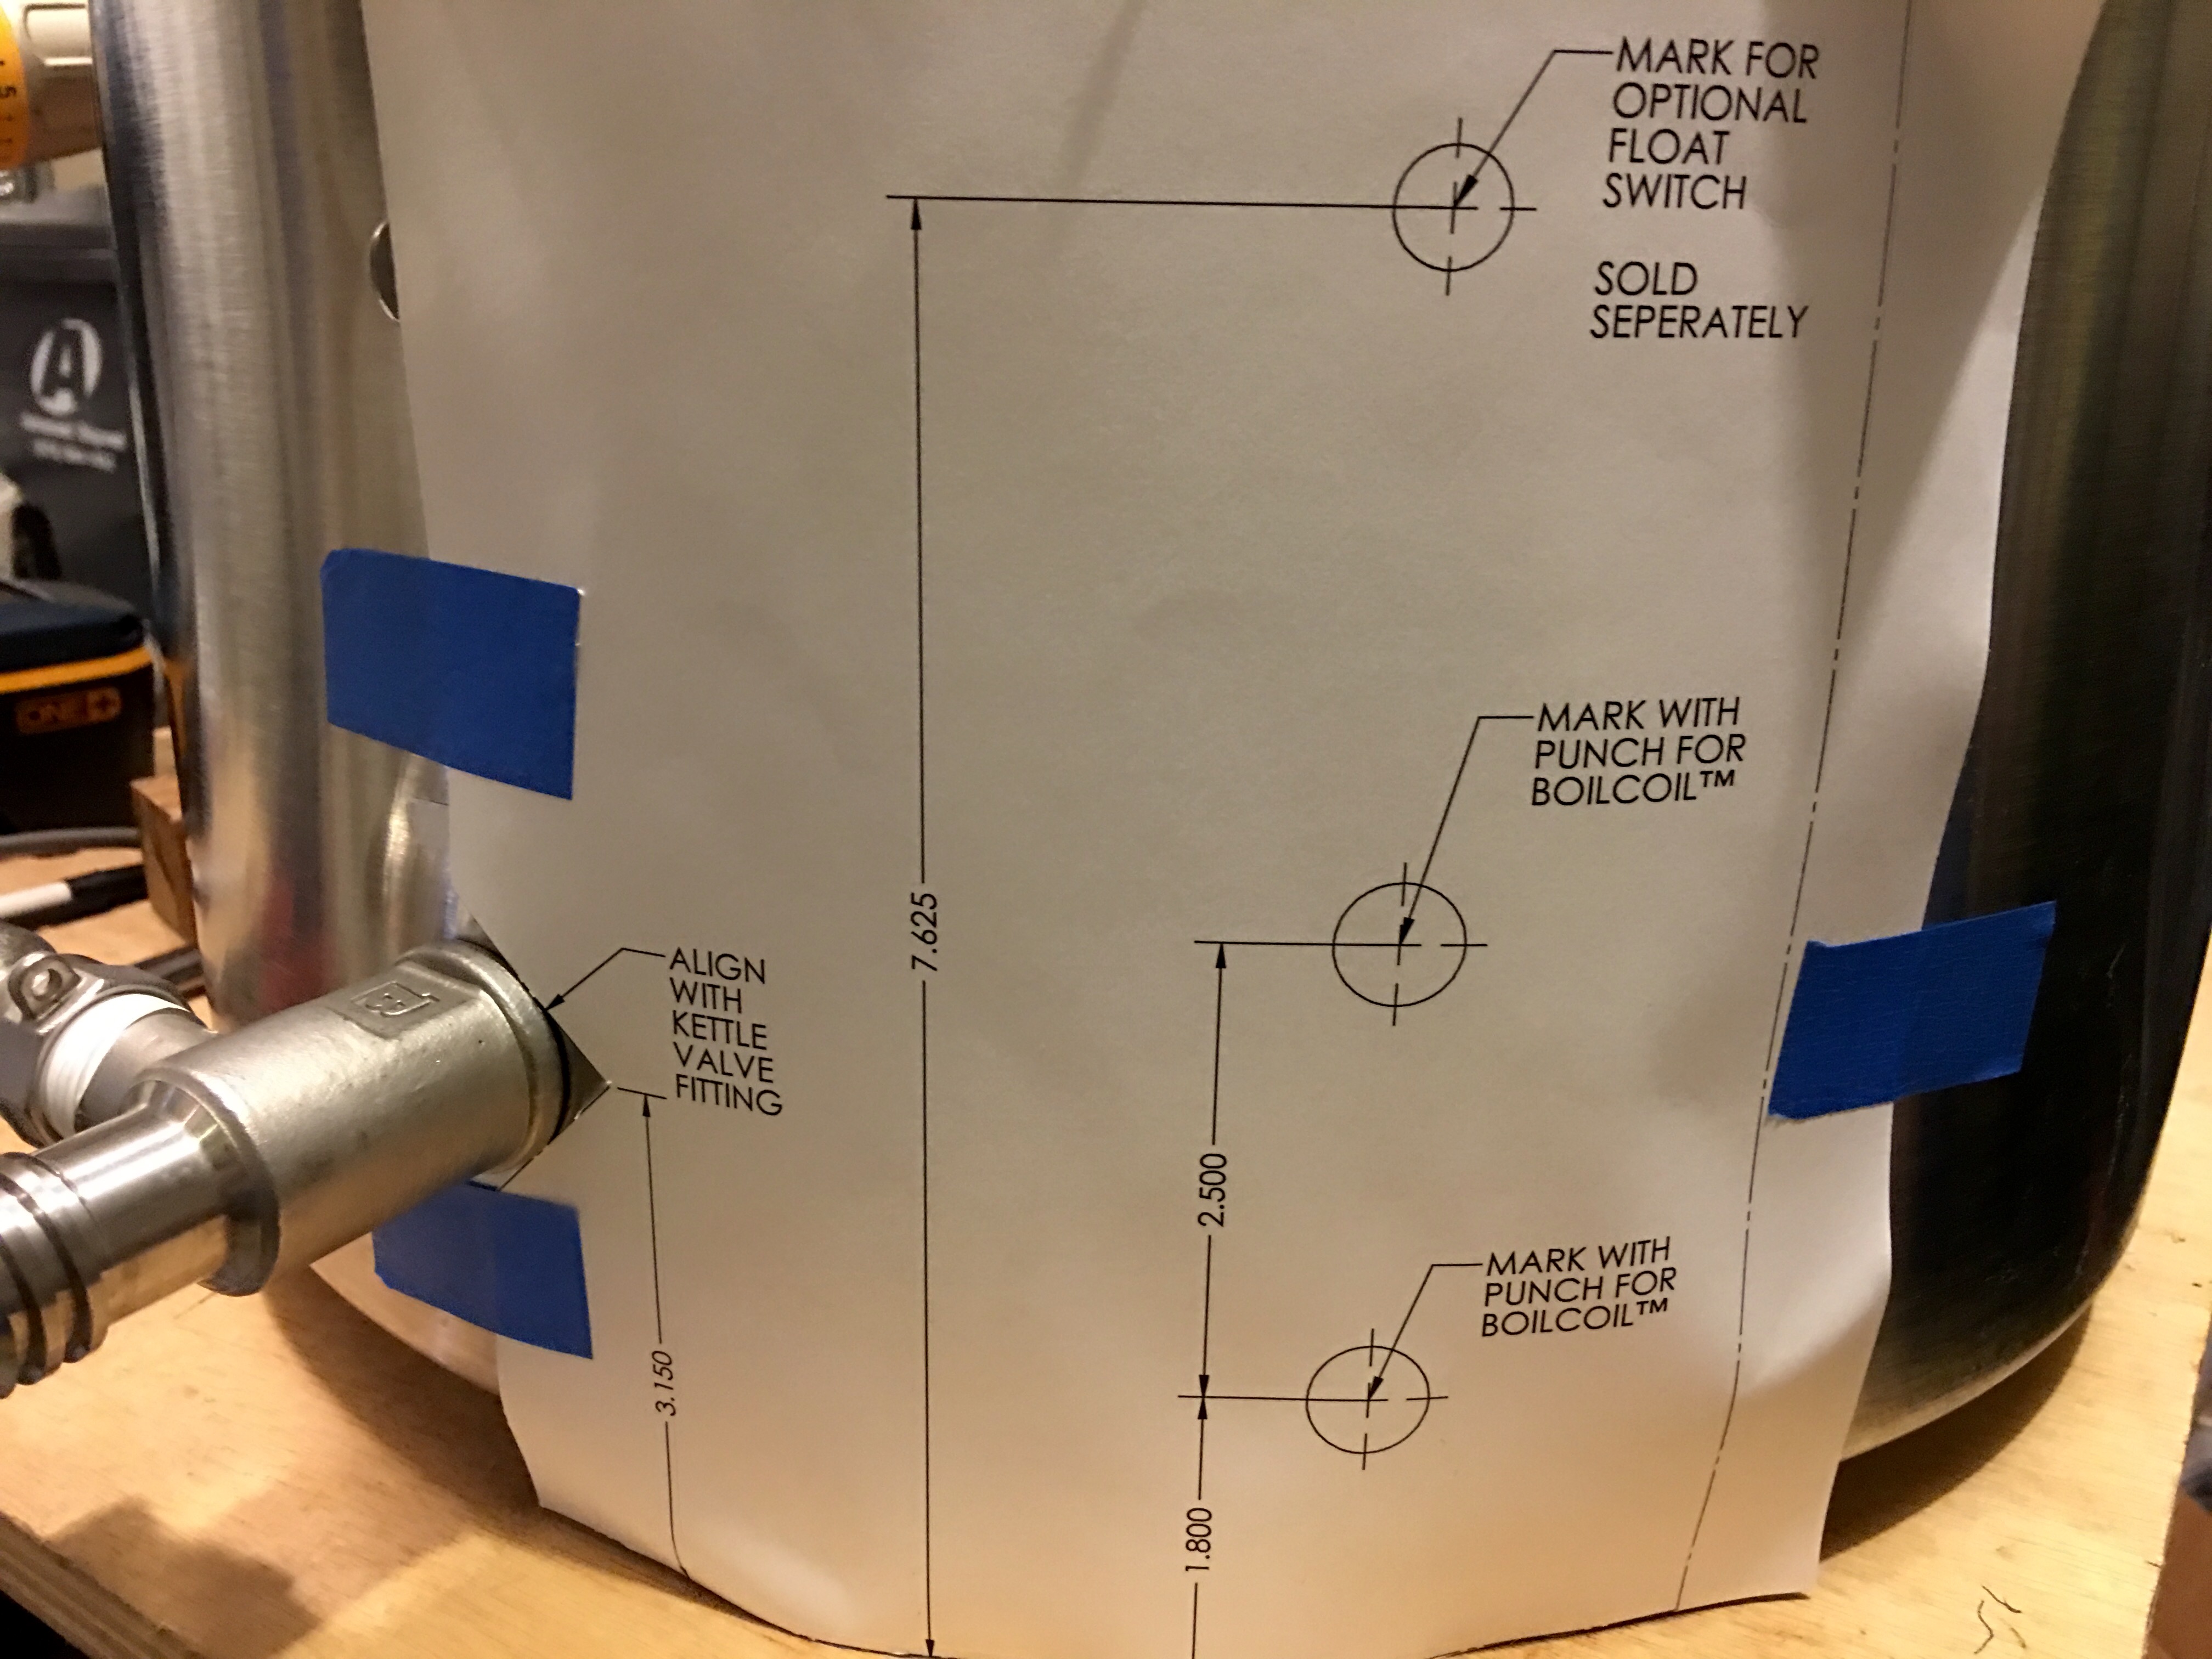
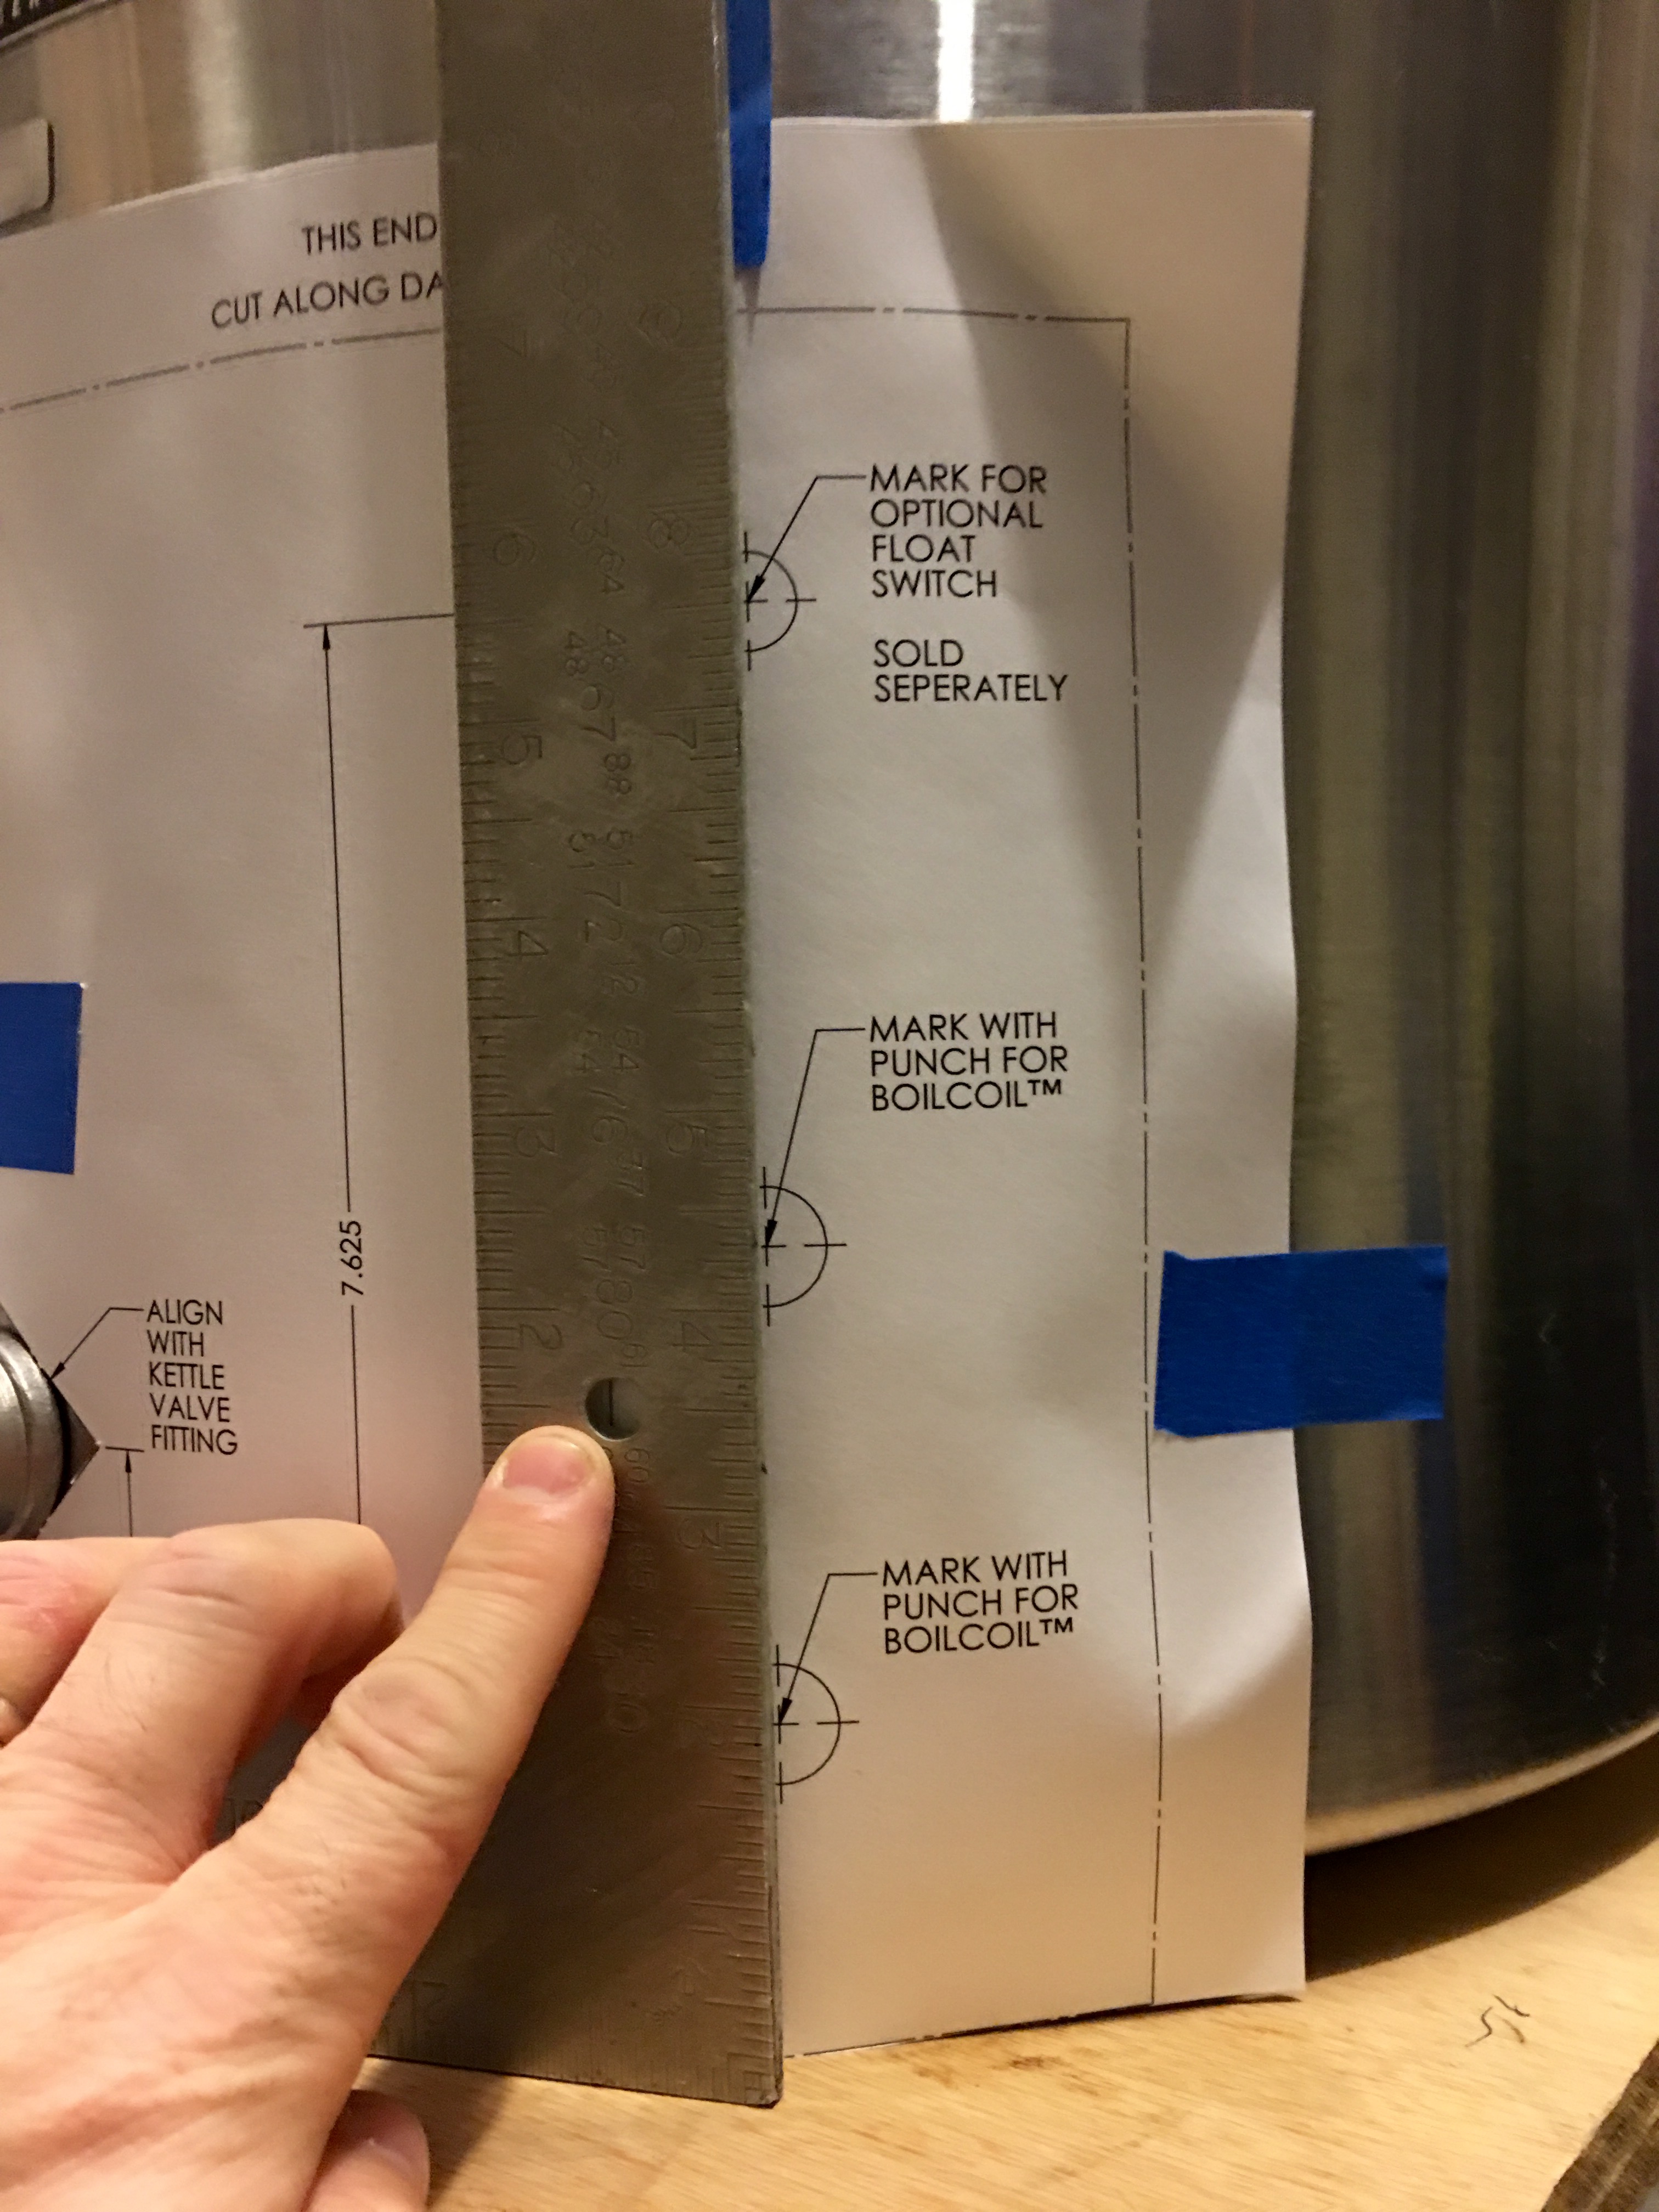
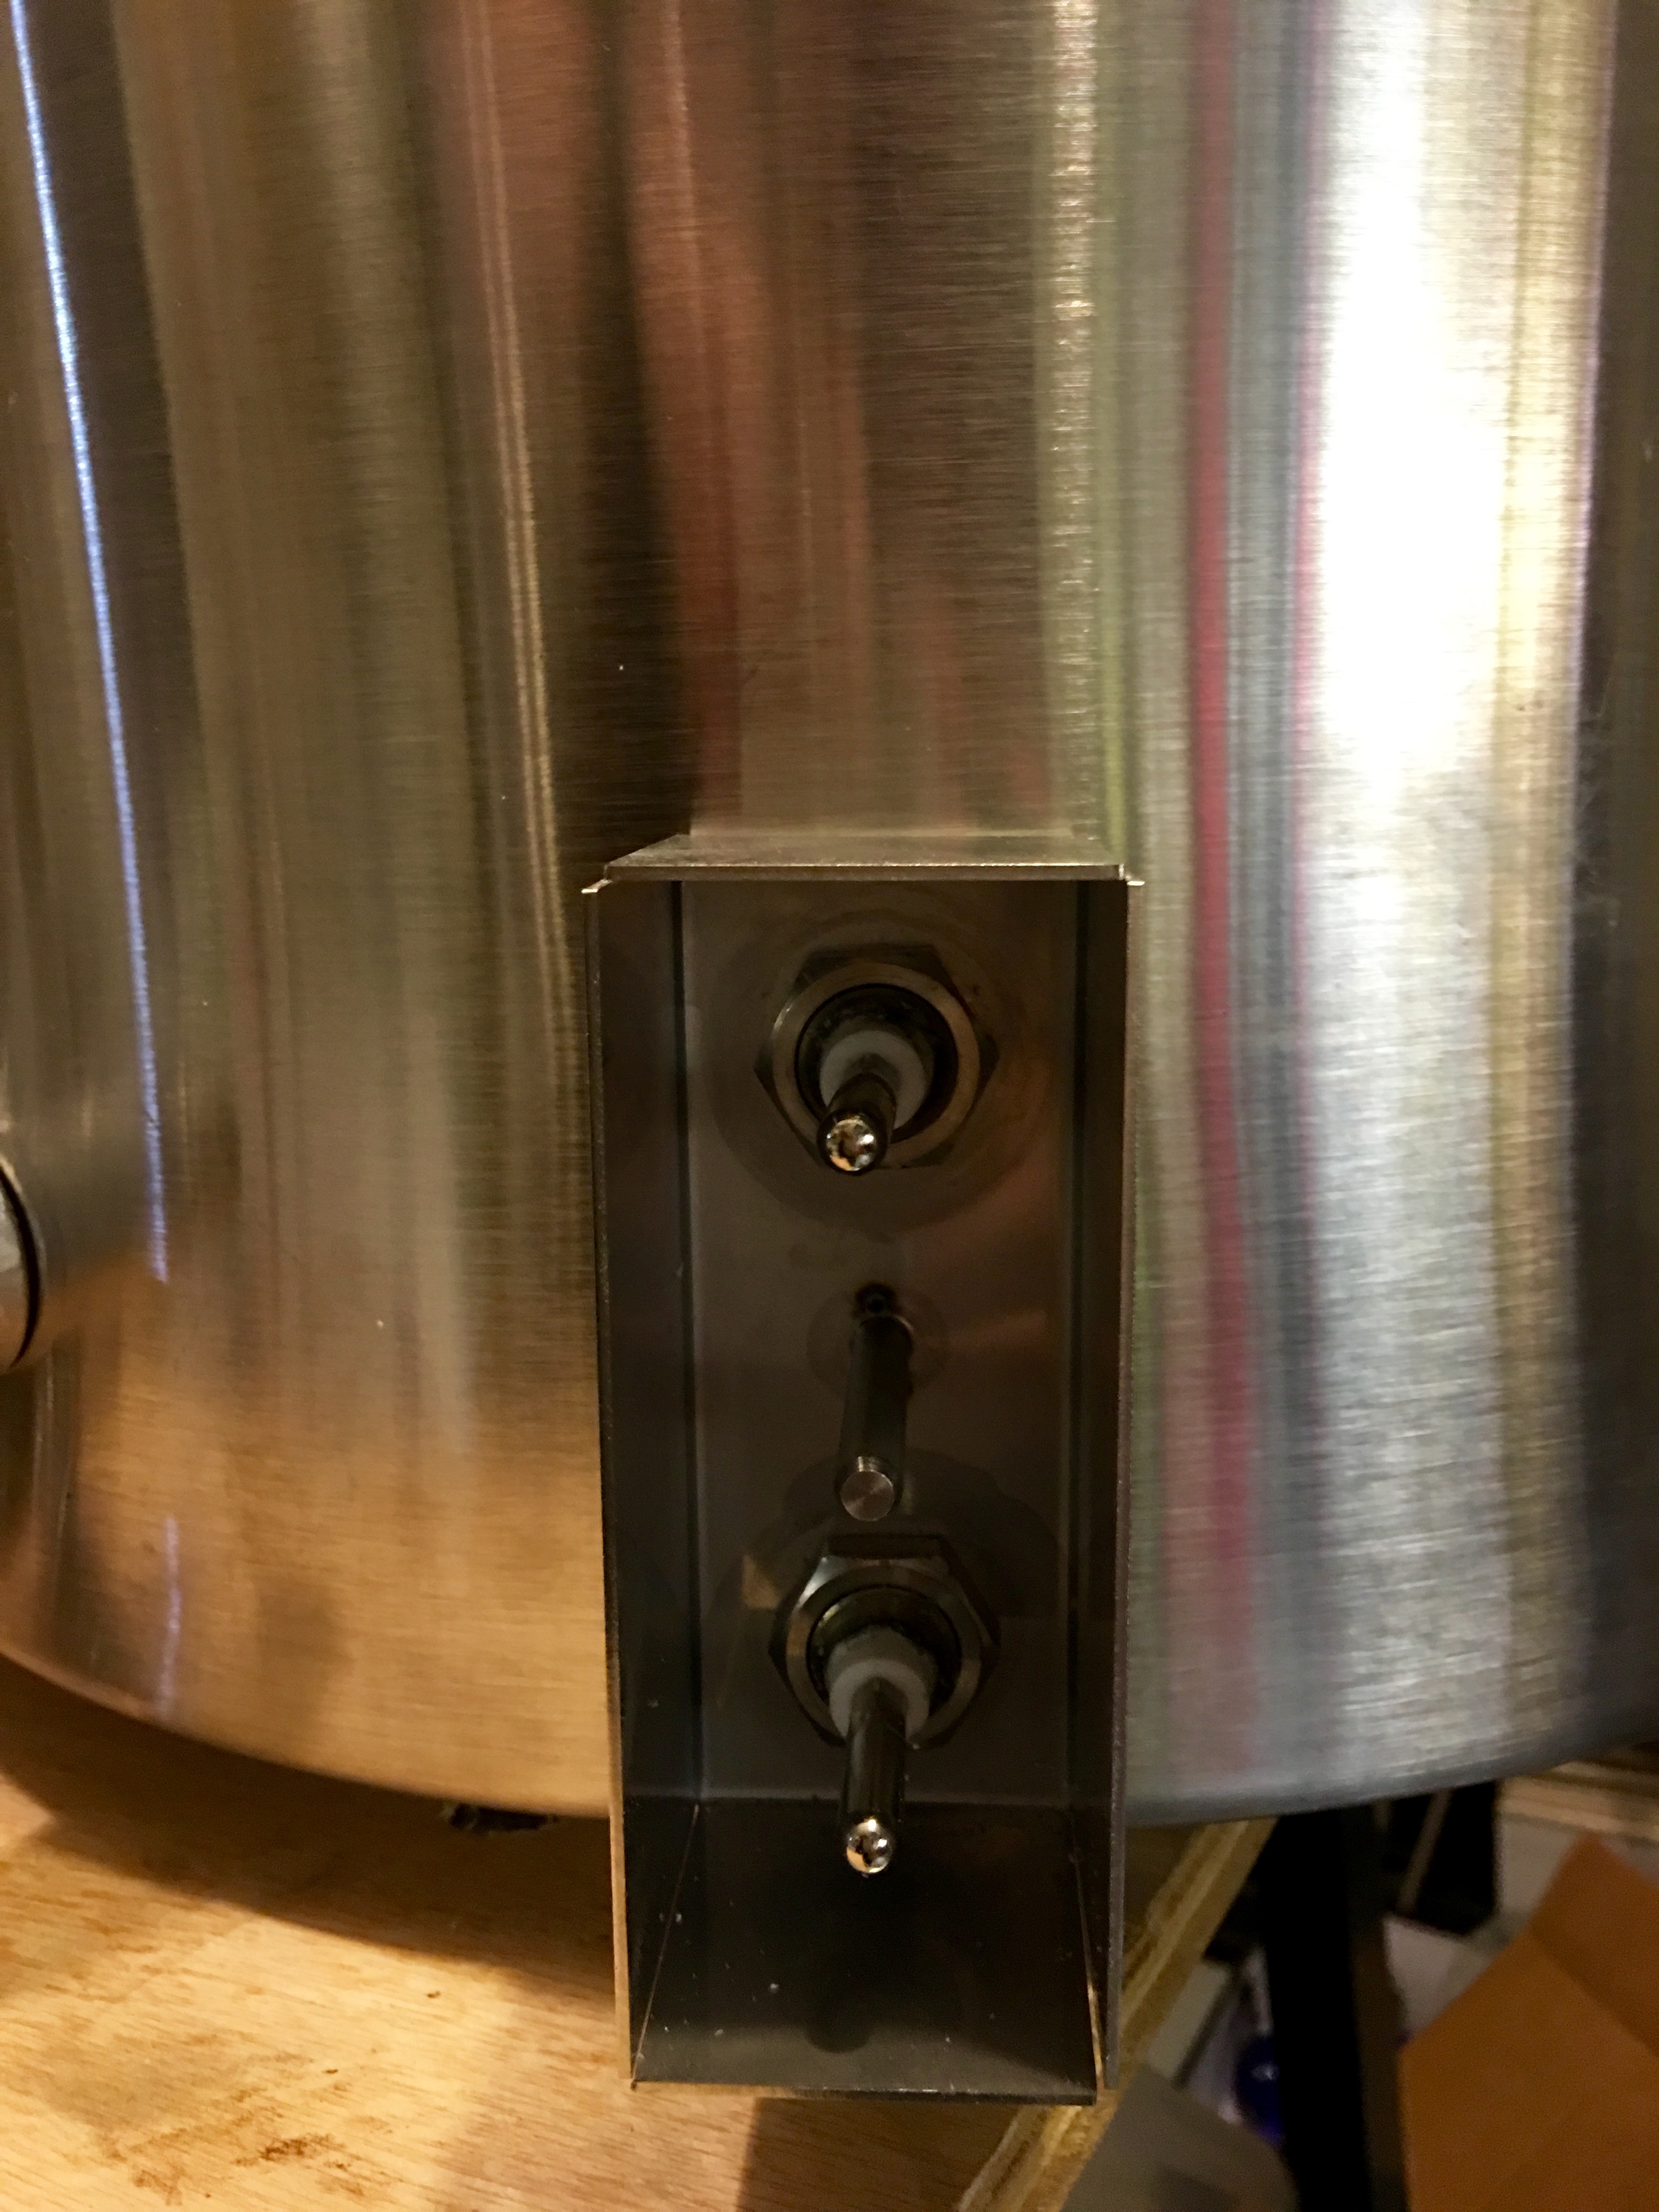
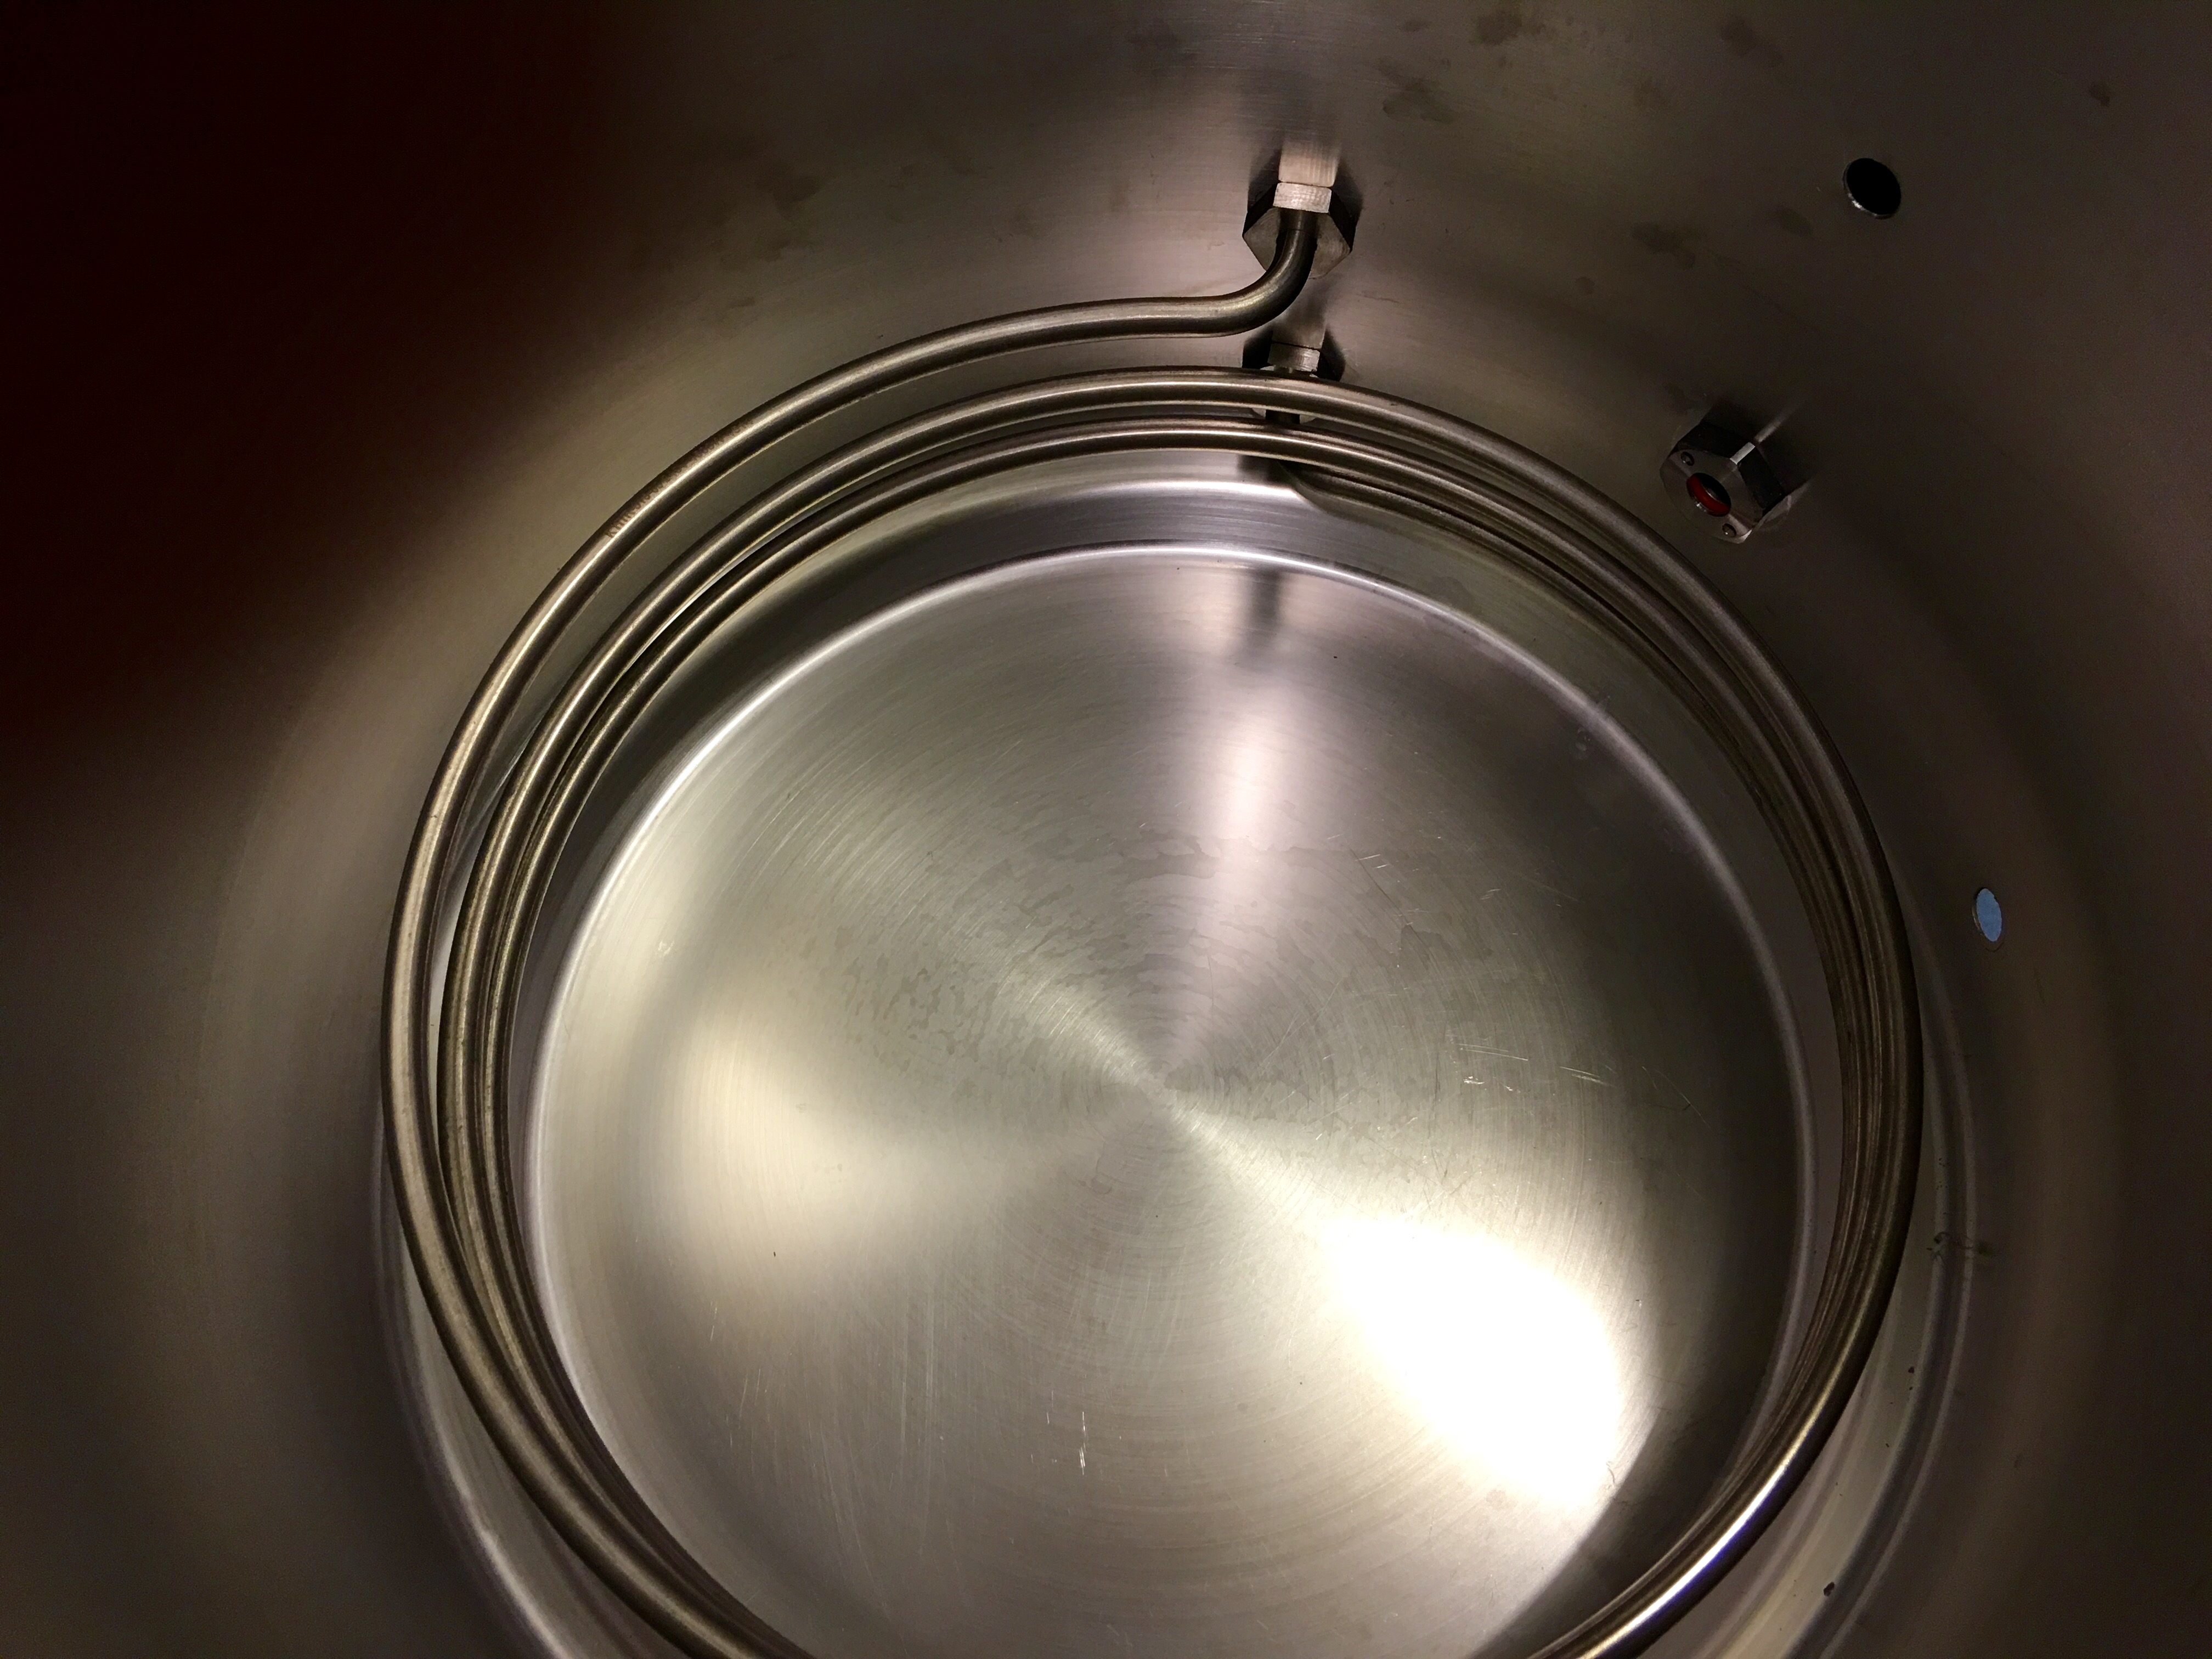
After way too many delays I got started on my control panel today. I originally thought I was just going to update my current batch sparge setup to use electricity but after buying all of my parts and having a delay in building it I decided to simplify things and make a BrewEasy clone. I like the simplicity of just two pots and a single heat source. I understand that efficiency is lower than traditional 3 vessel systems but my goal is ease of use and a smaller footprint.
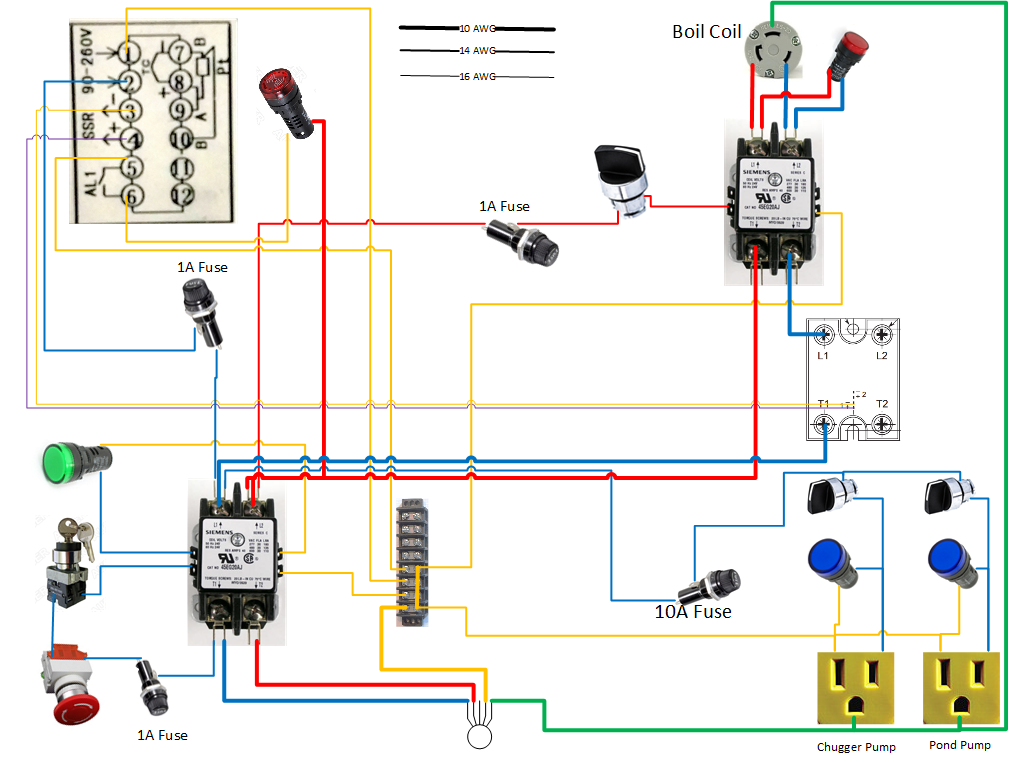
Wiring diagram:
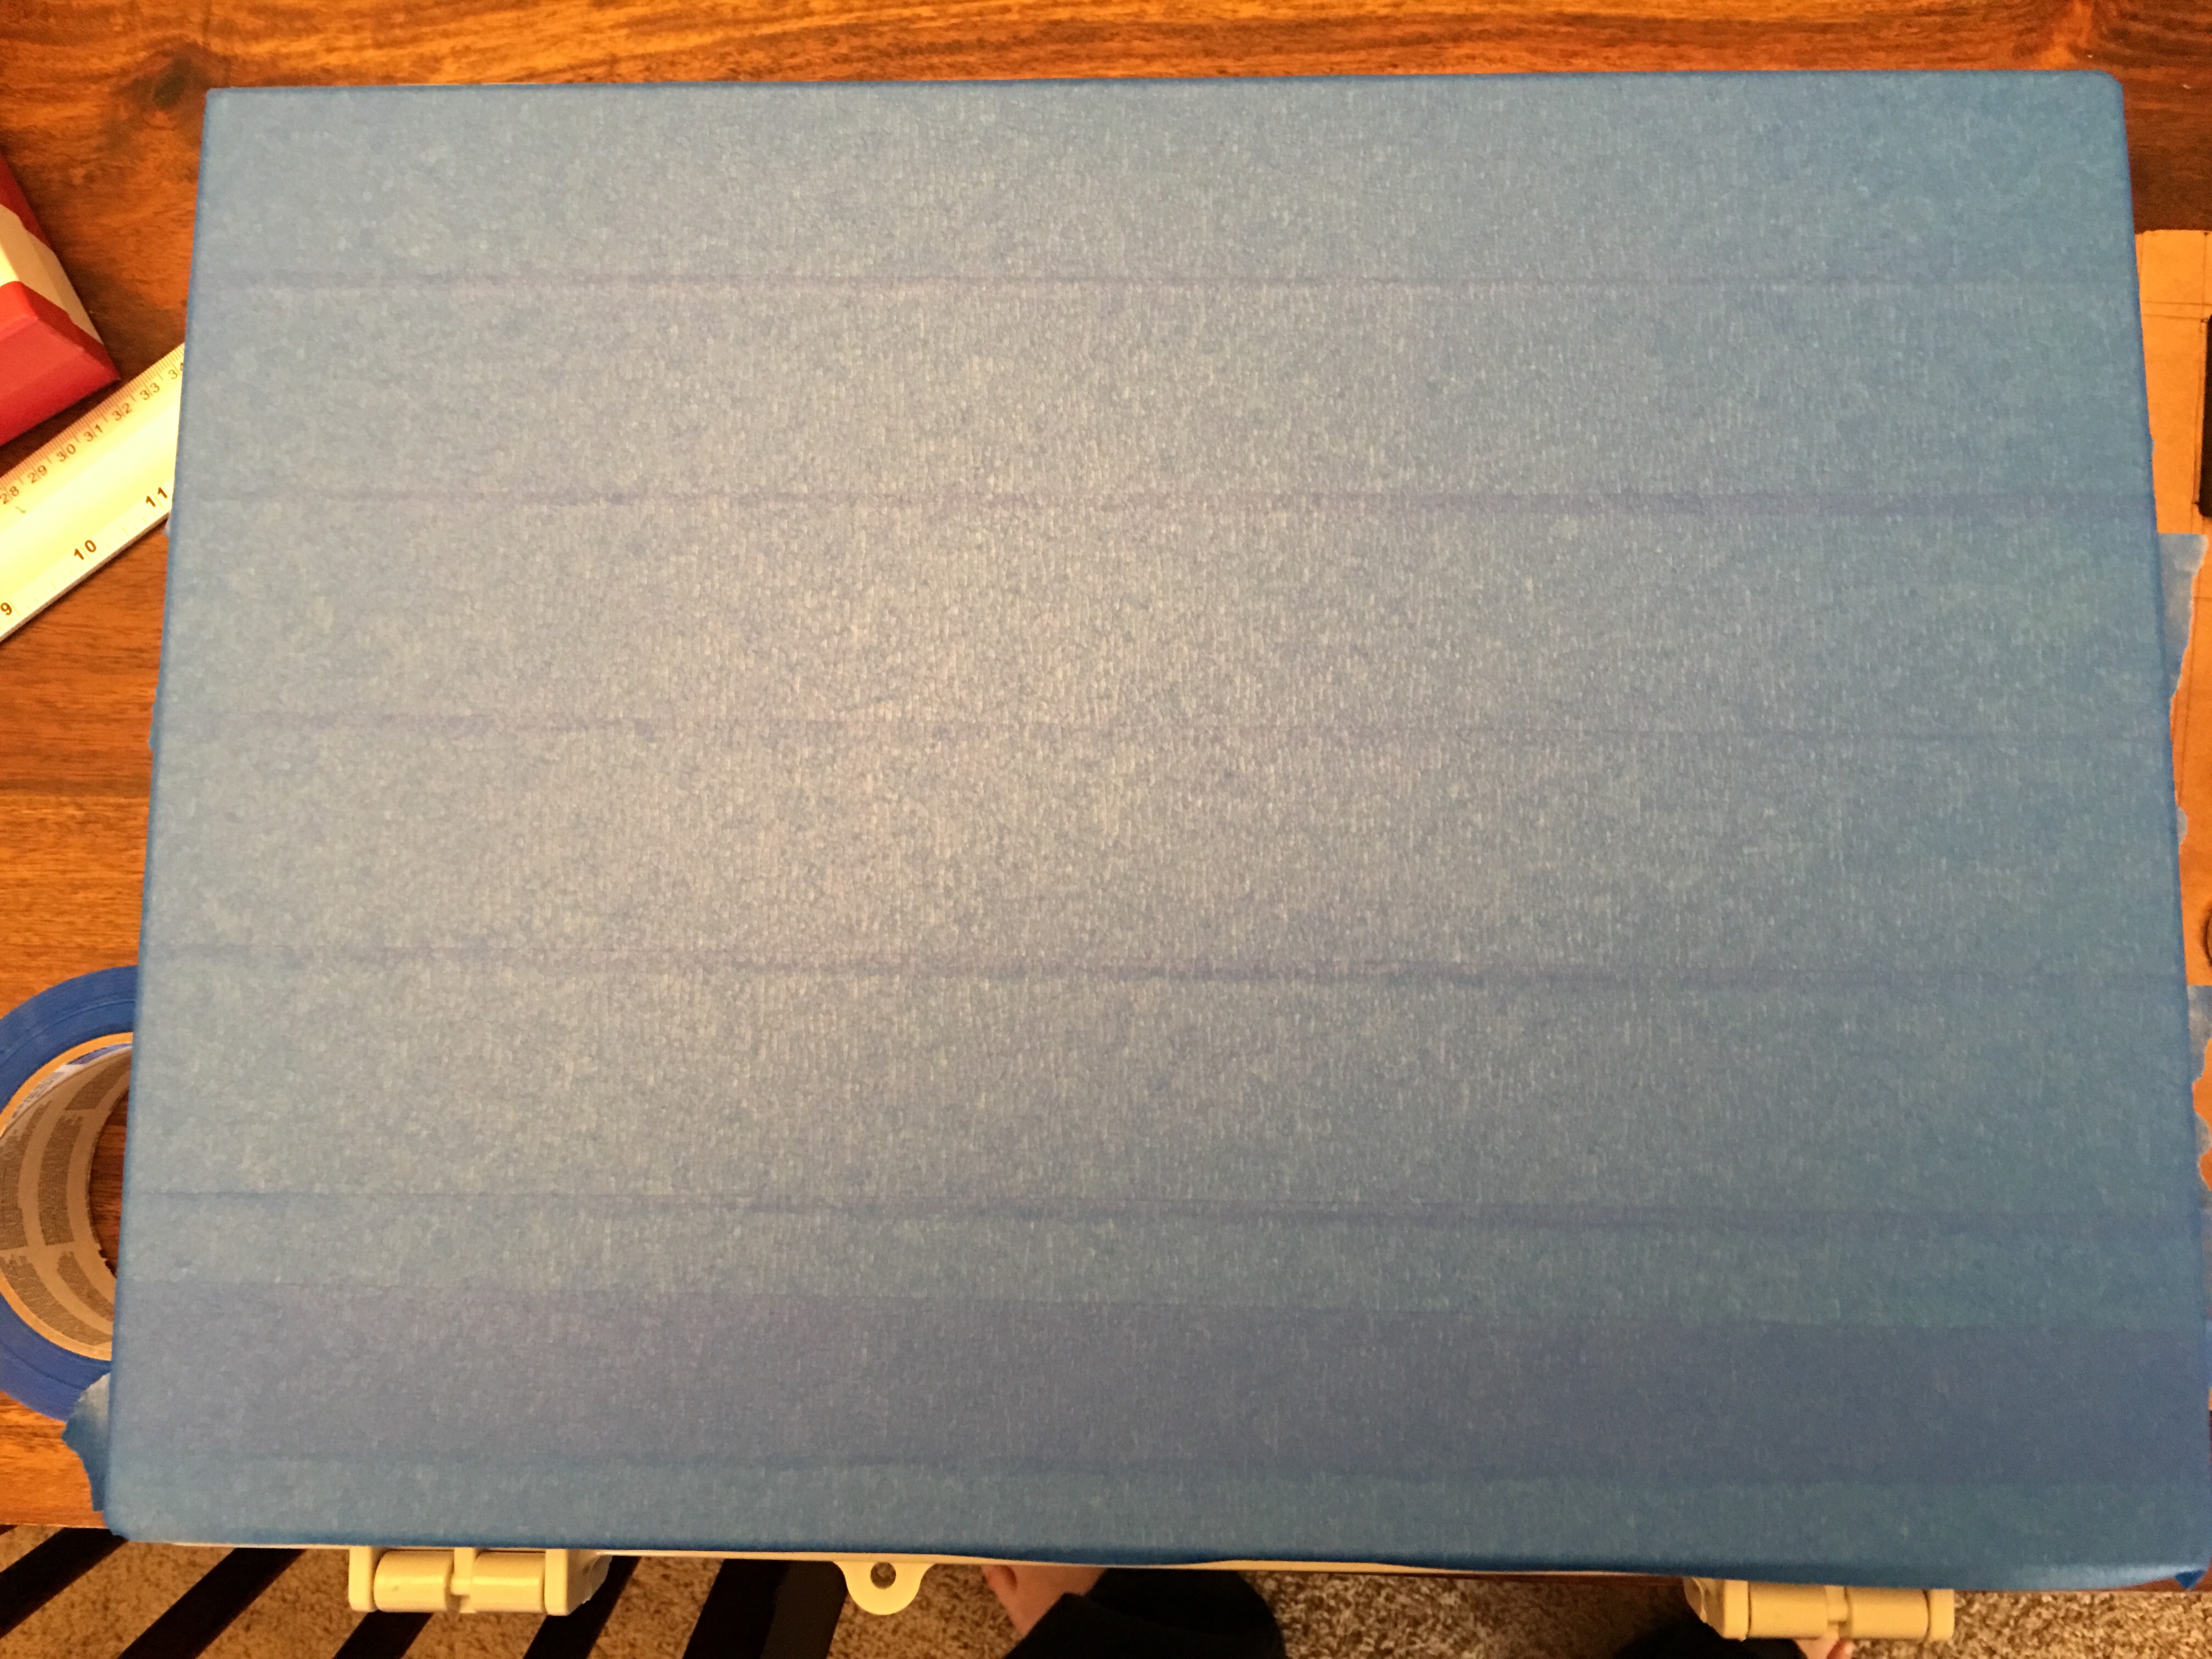
I started playing around with the layout using cardboard. As you can see I went through several changes and even this isn't what I settled on:

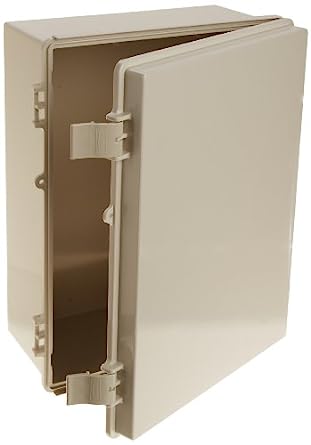
The box I bought was bigger than I wanted but will give me room for expansion later, because I get bored.
BUD Industries NBF-32026 Plastic ABS NEMA Economy Box with Solid Door, 15-47/64" Length x 11-51/64" Width x 6-9/32" Height, Light Gray Finish
I'll post a complete part list later.
Prepping the front:
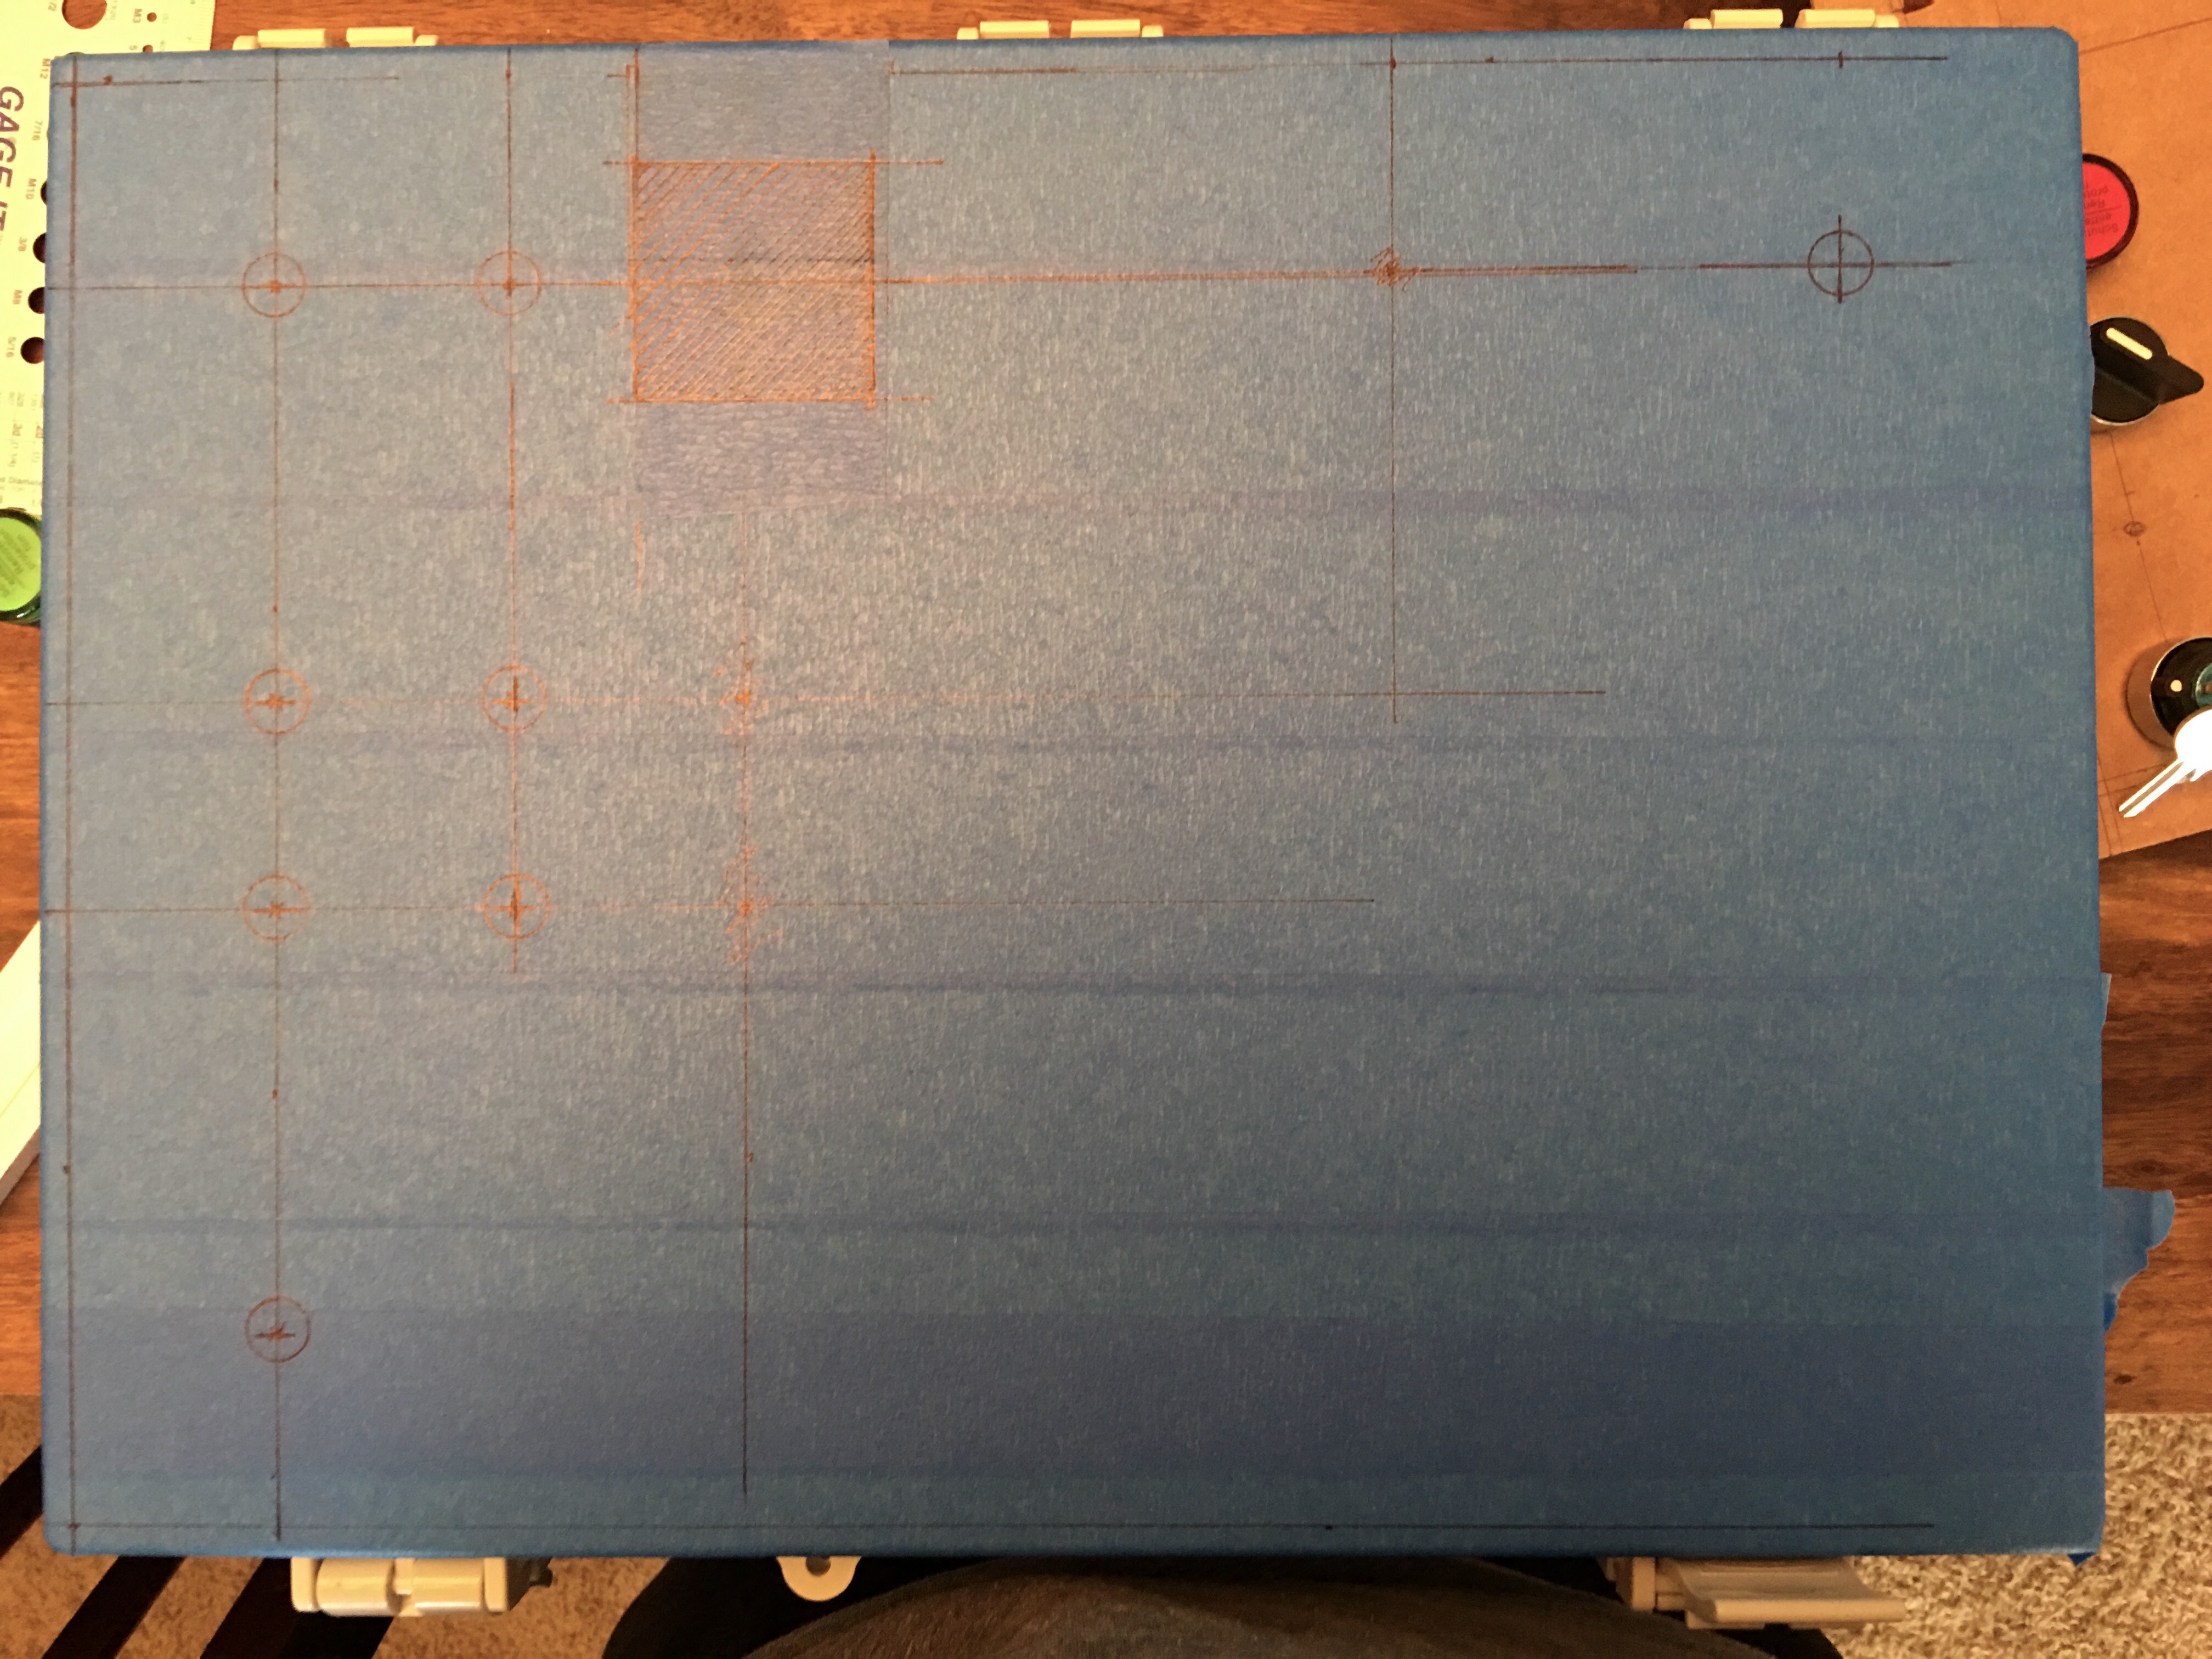
Drawing where I want the components to go:
The box didn't include a base to mount the parts on. I decided I wanted to save $10 by making one myself. First mistake. This took me an hour probably.
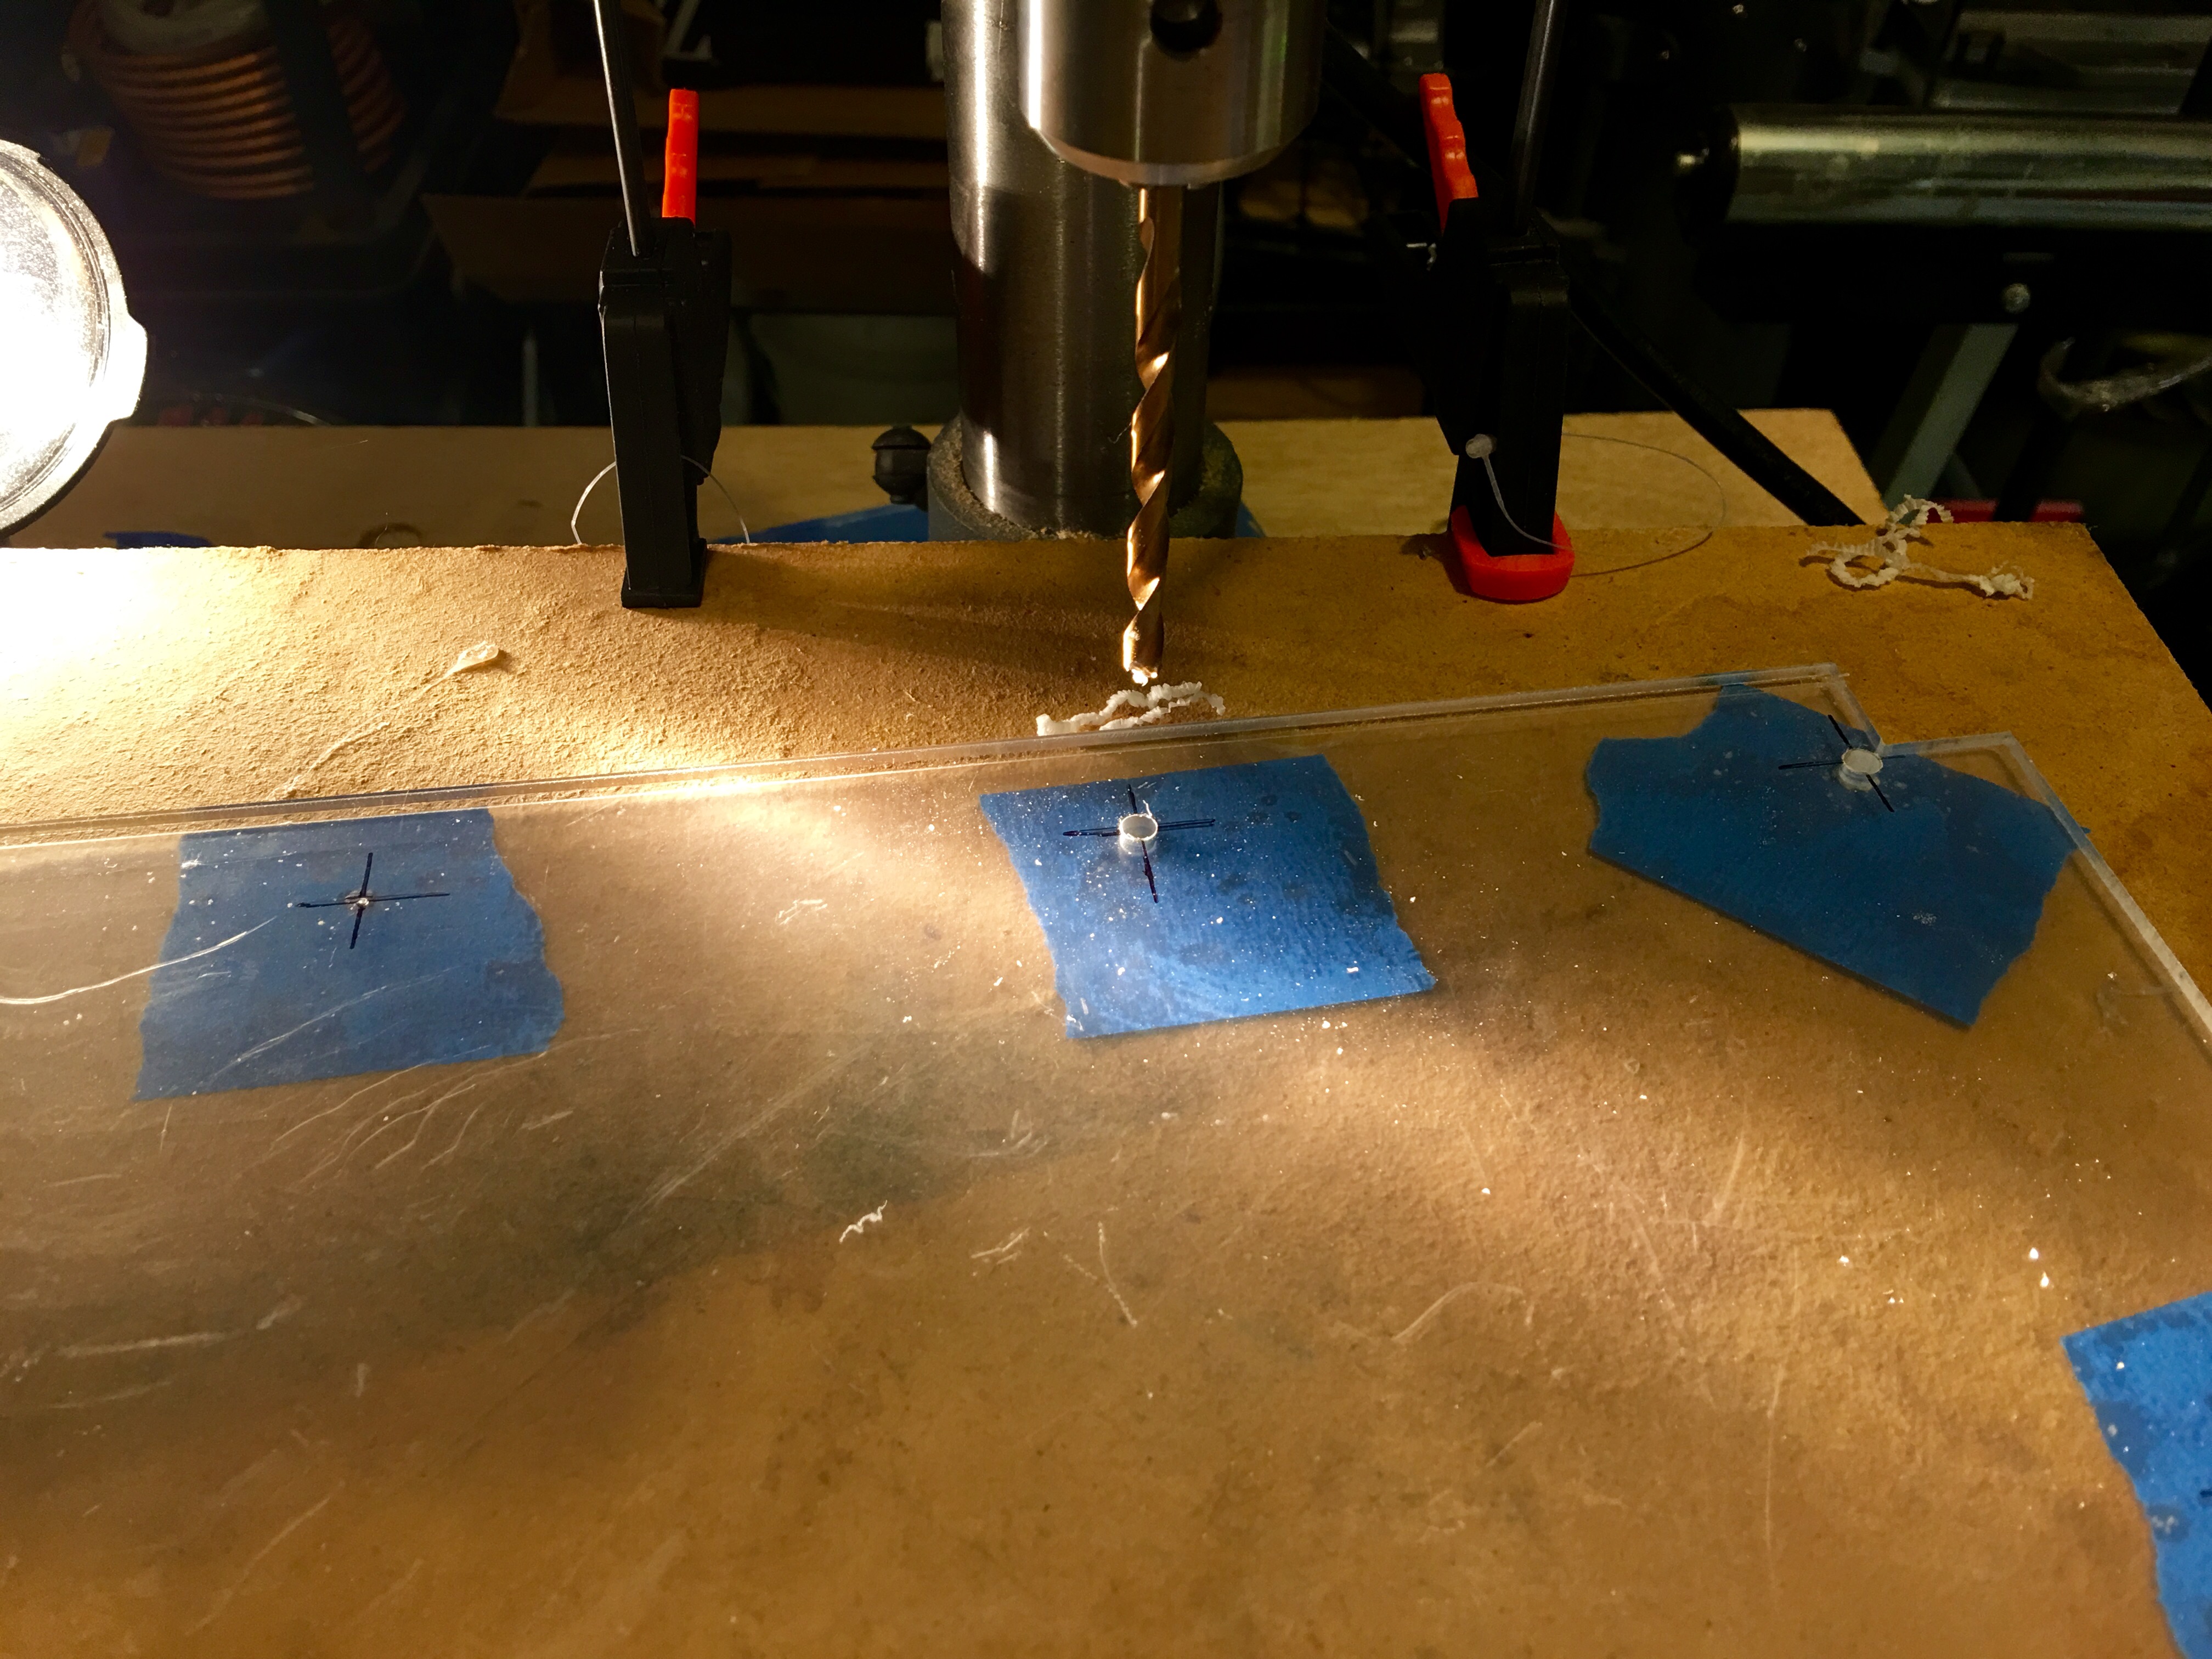
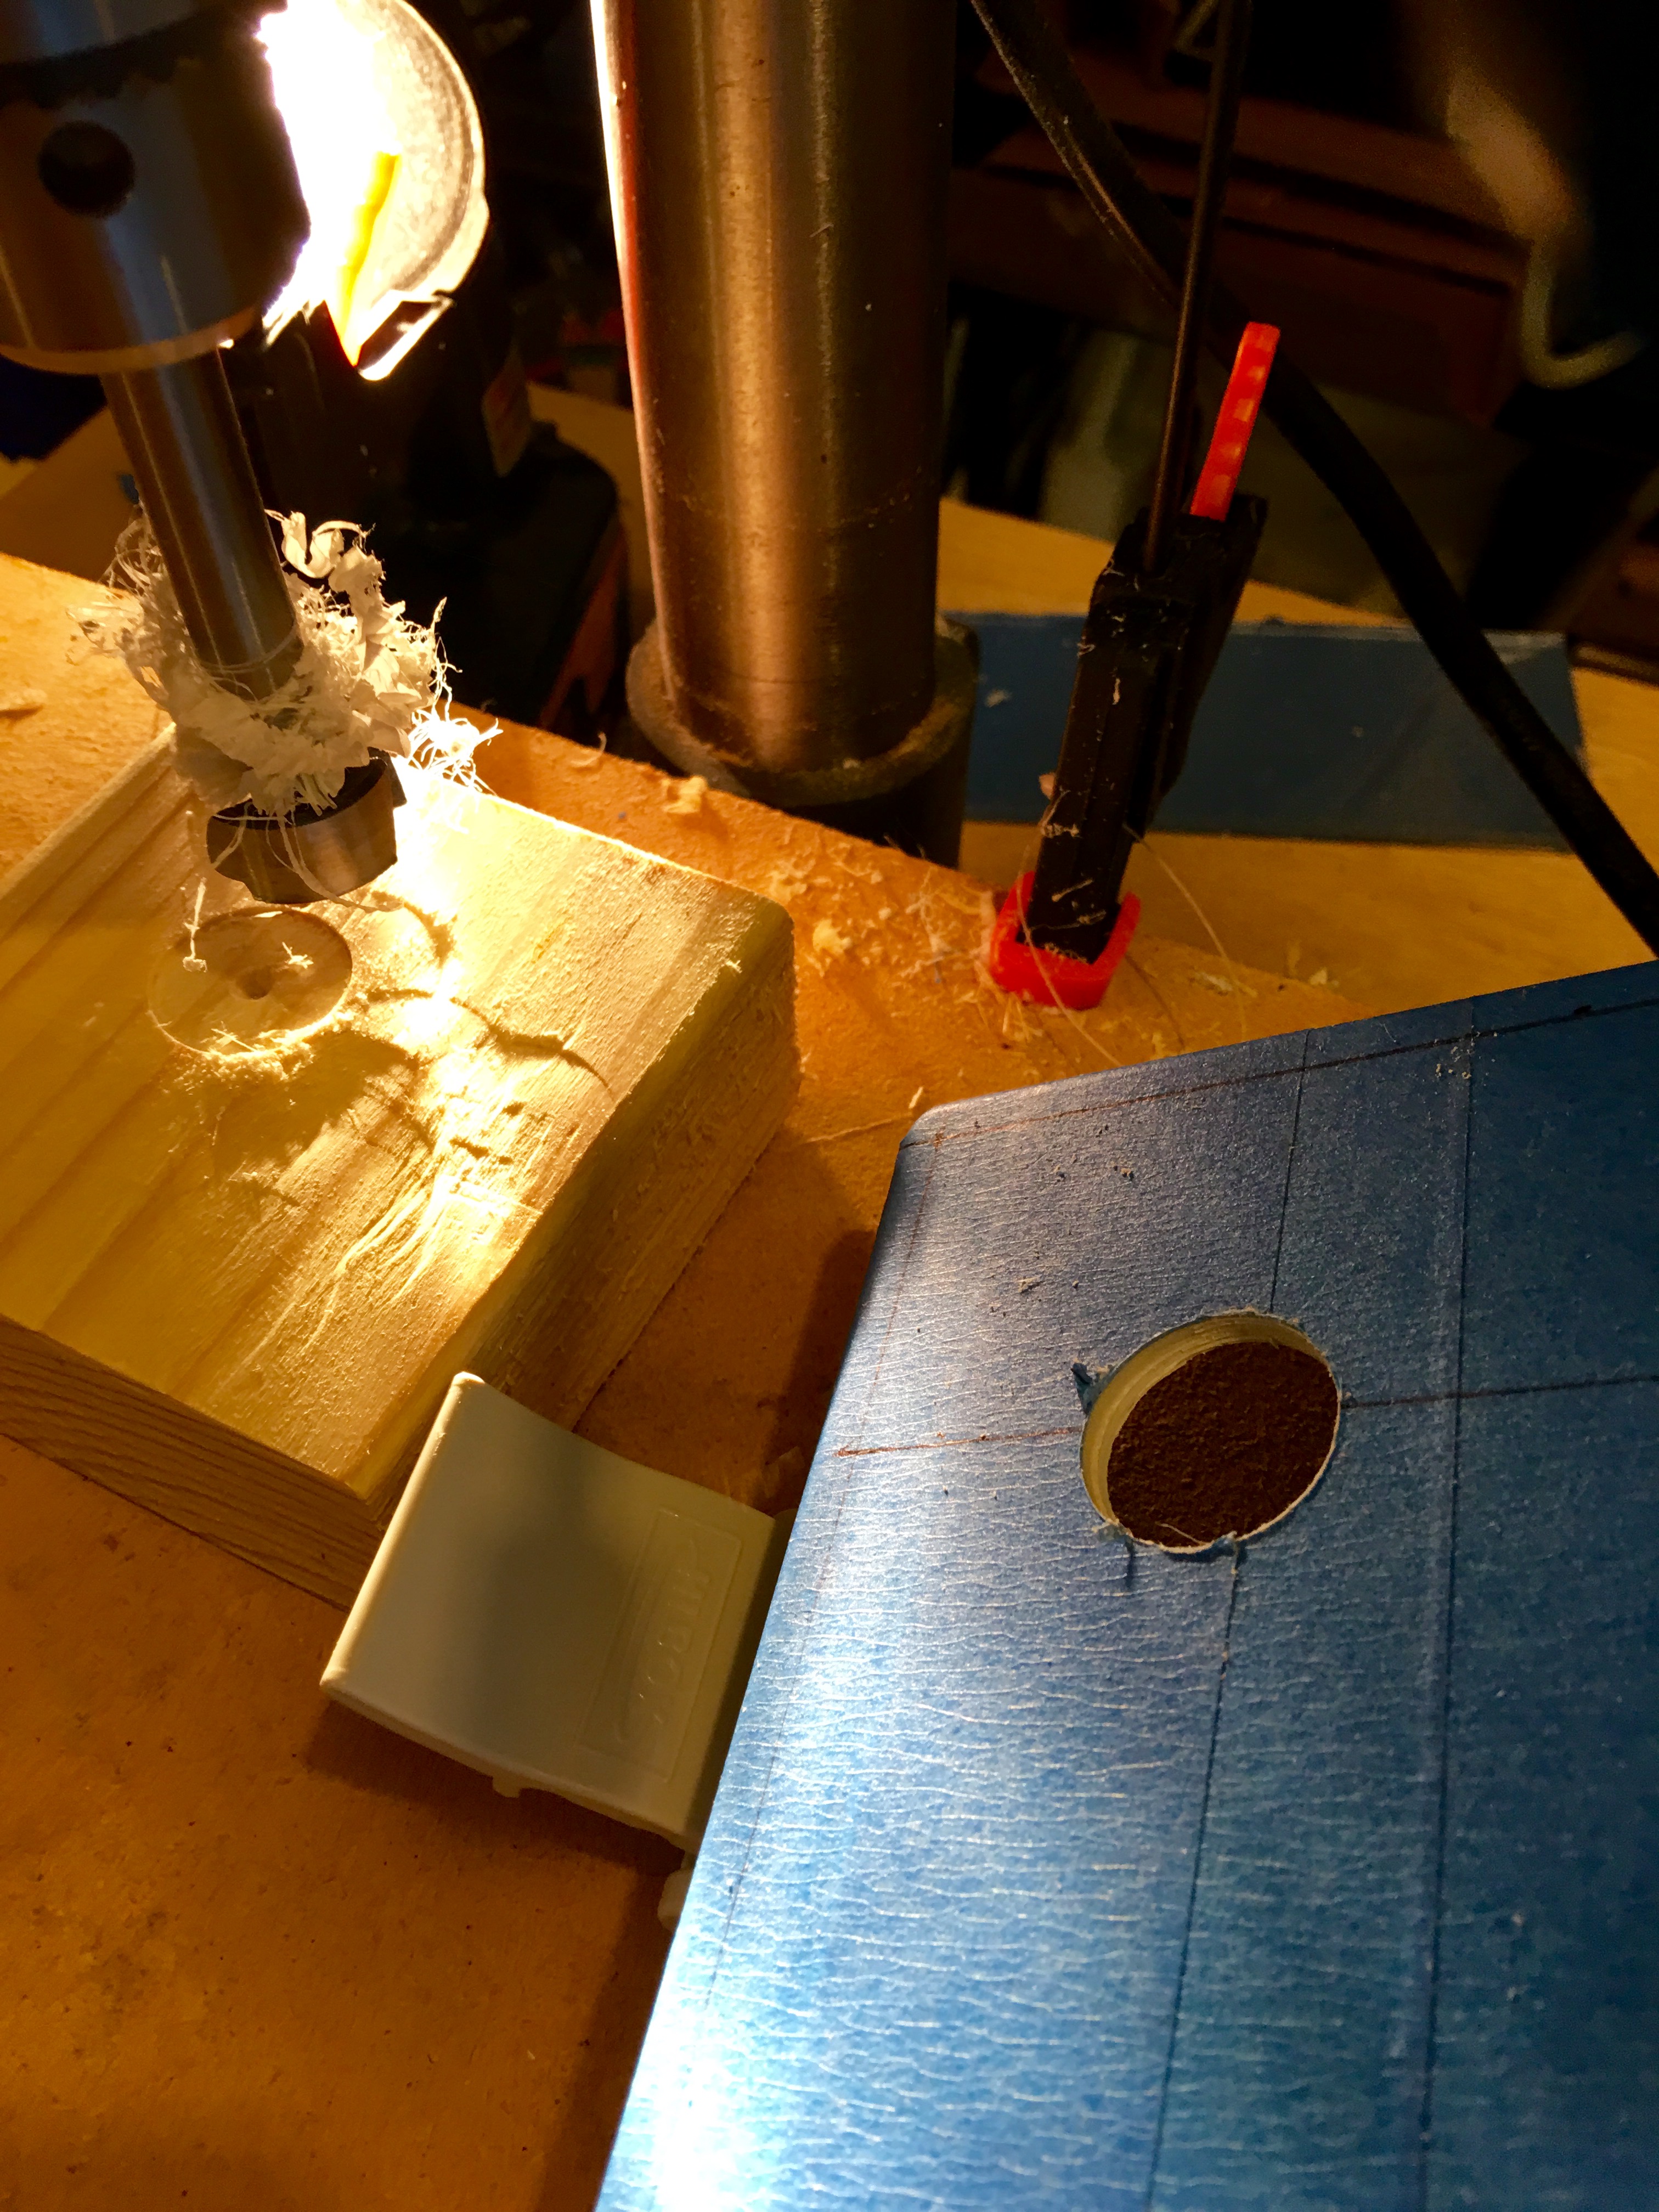
Using forstner bits to cut the holes. These came out nicely but I couldn't get the front panel off and was afraid I would break it accidentally so I made do. This slowed things down a lot.
I used a 20 TPI blade in my jigsaw to cut the straight bits:

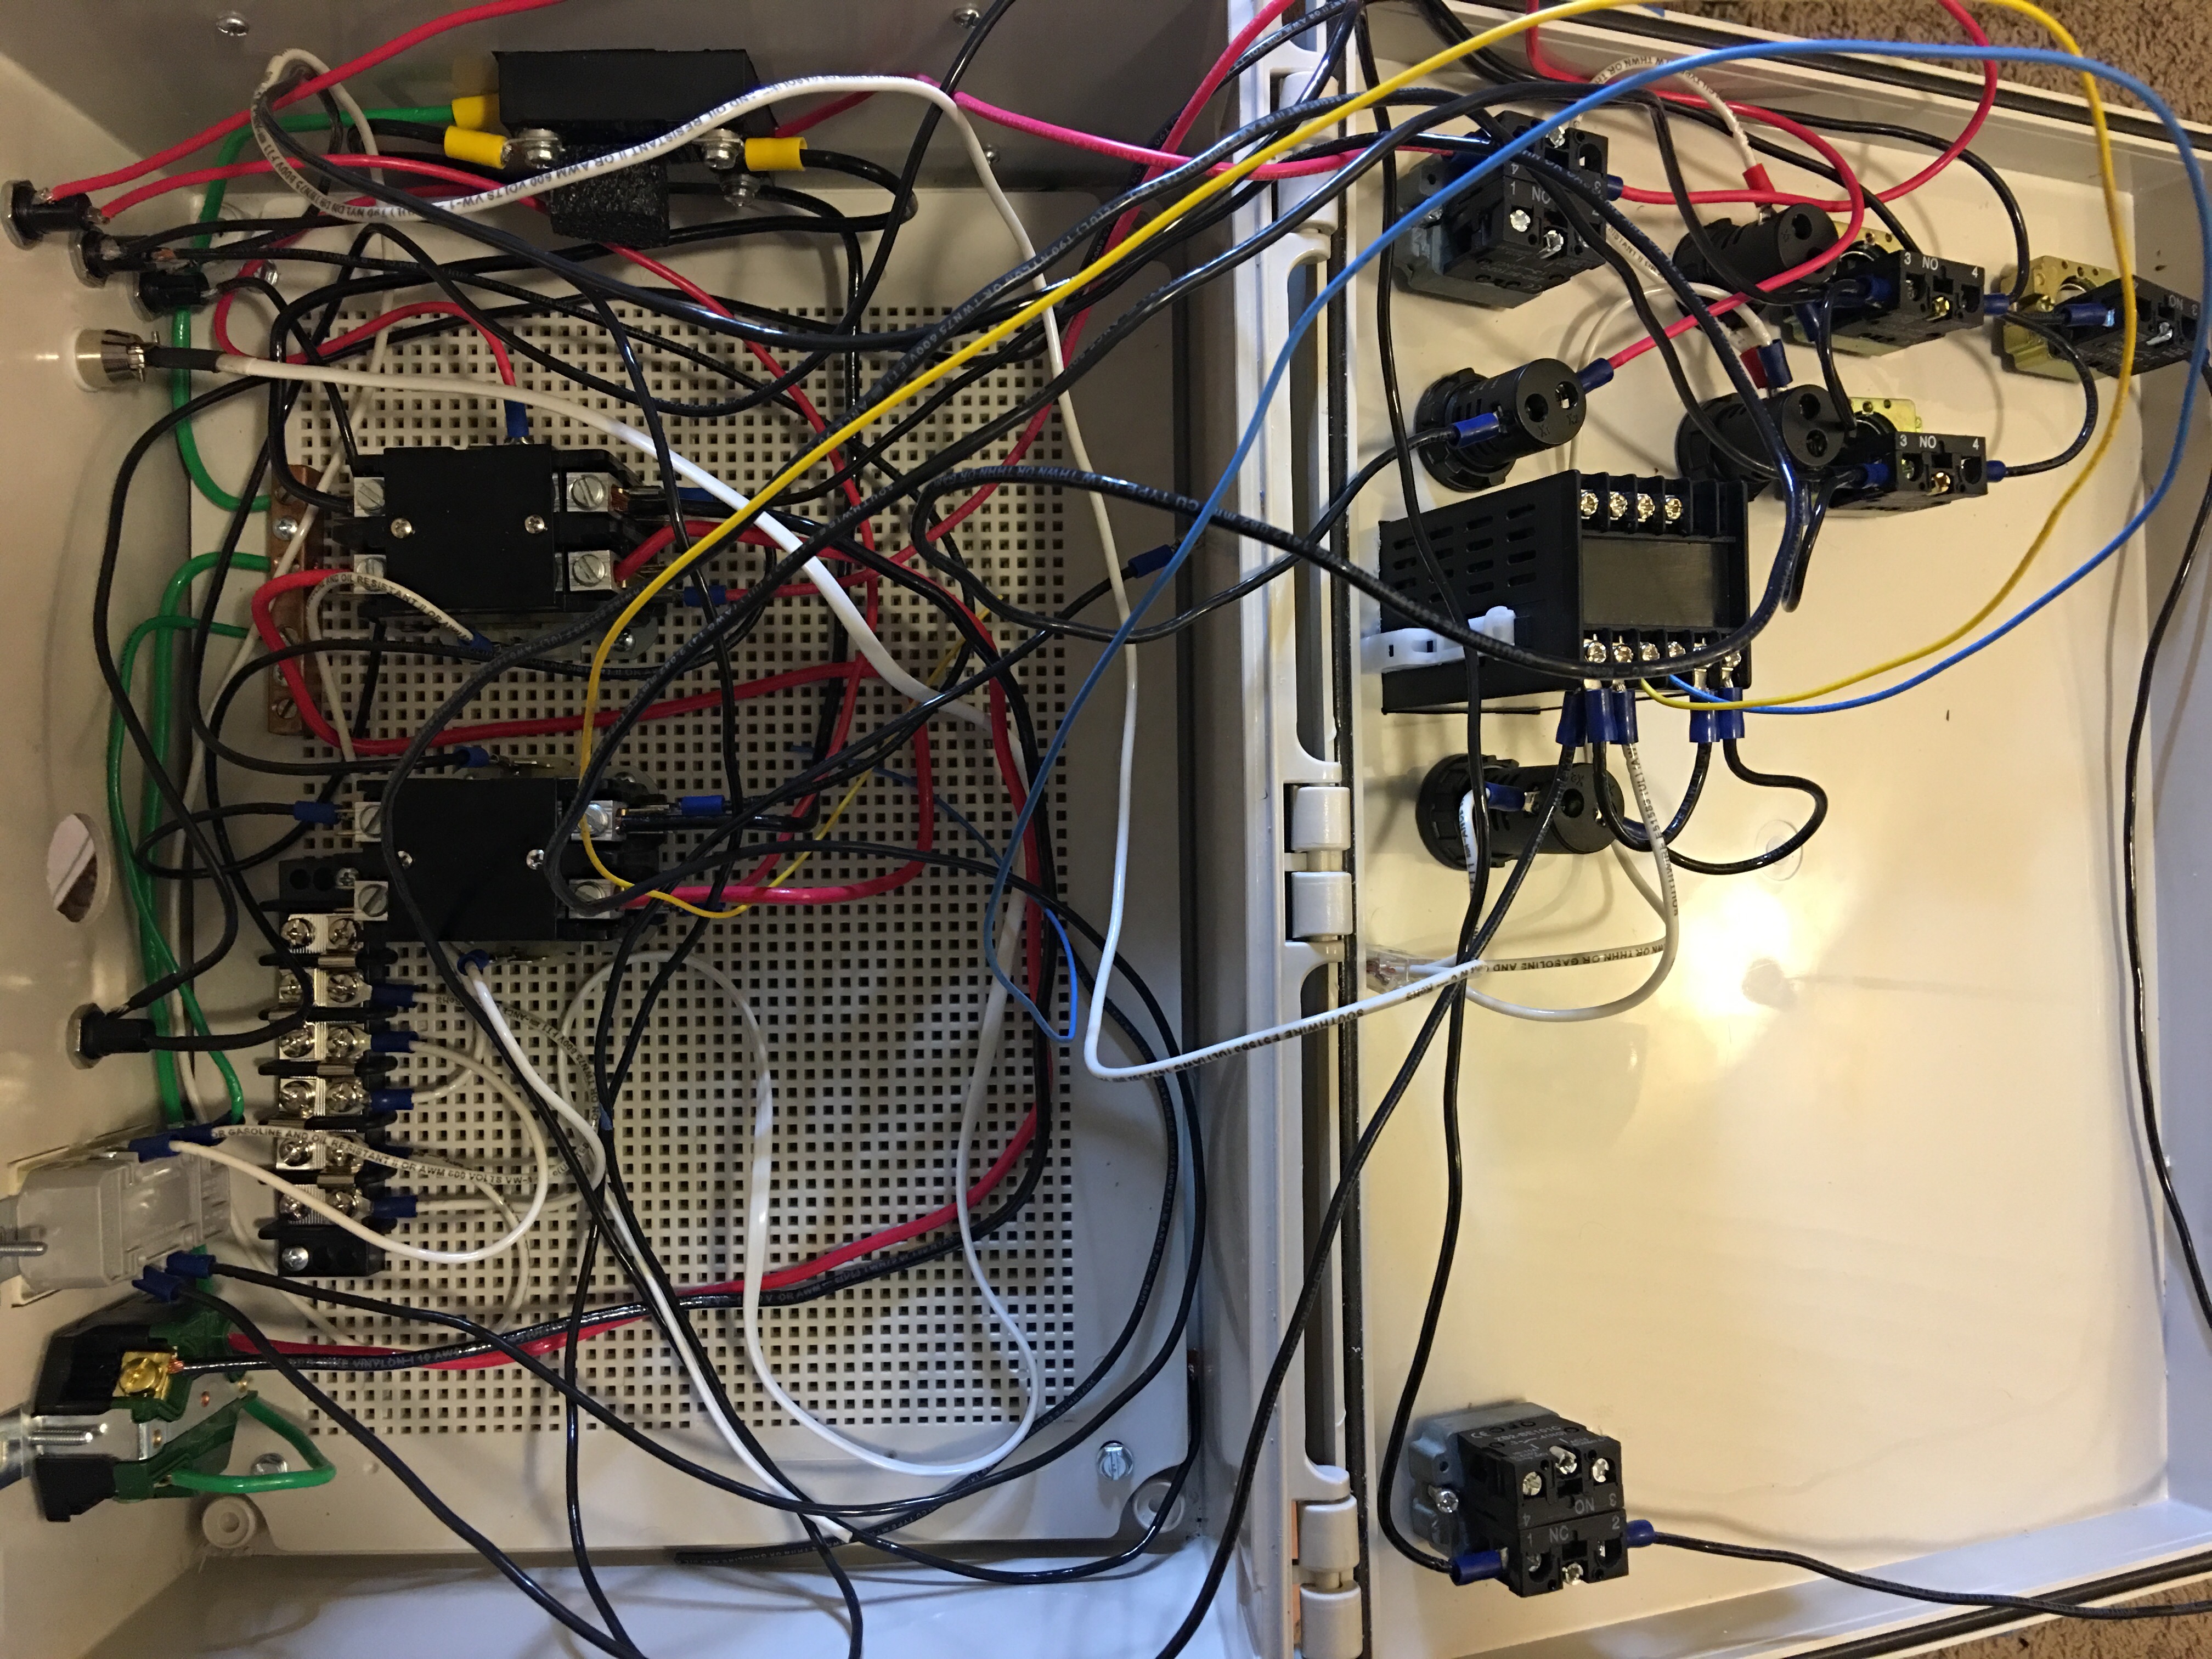
Test fitting the front components:
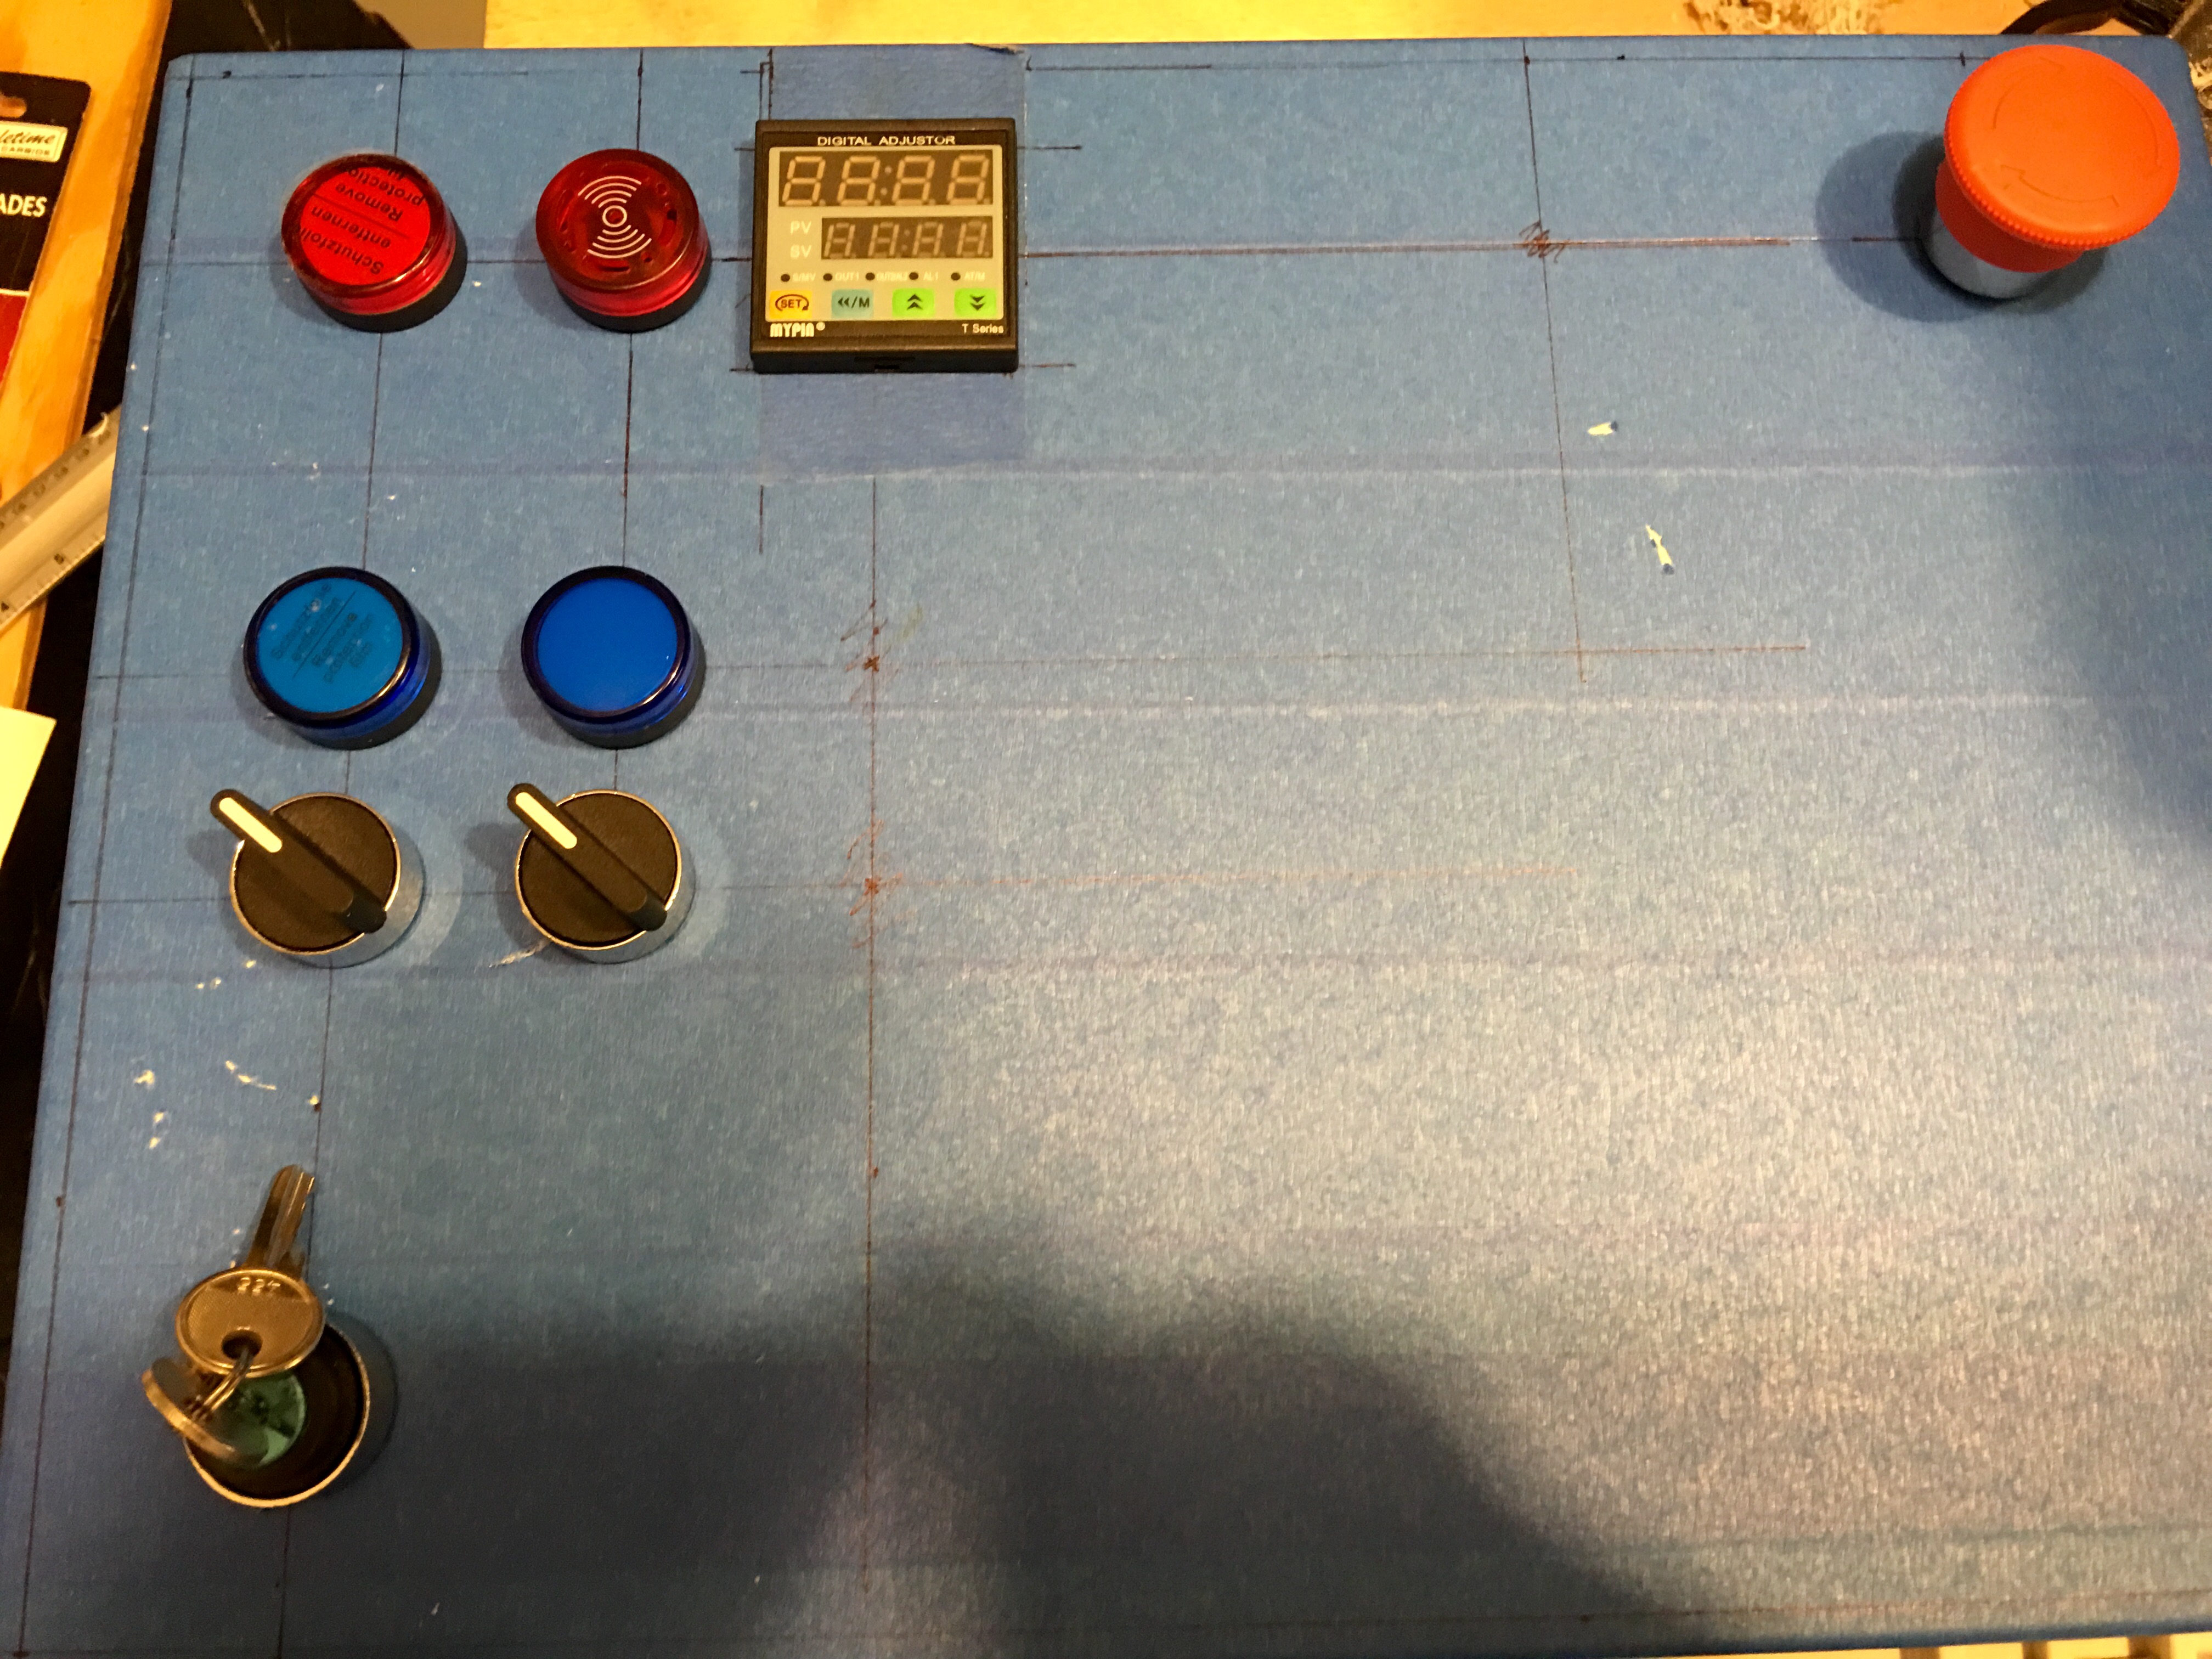
Boatloads of room leftover:
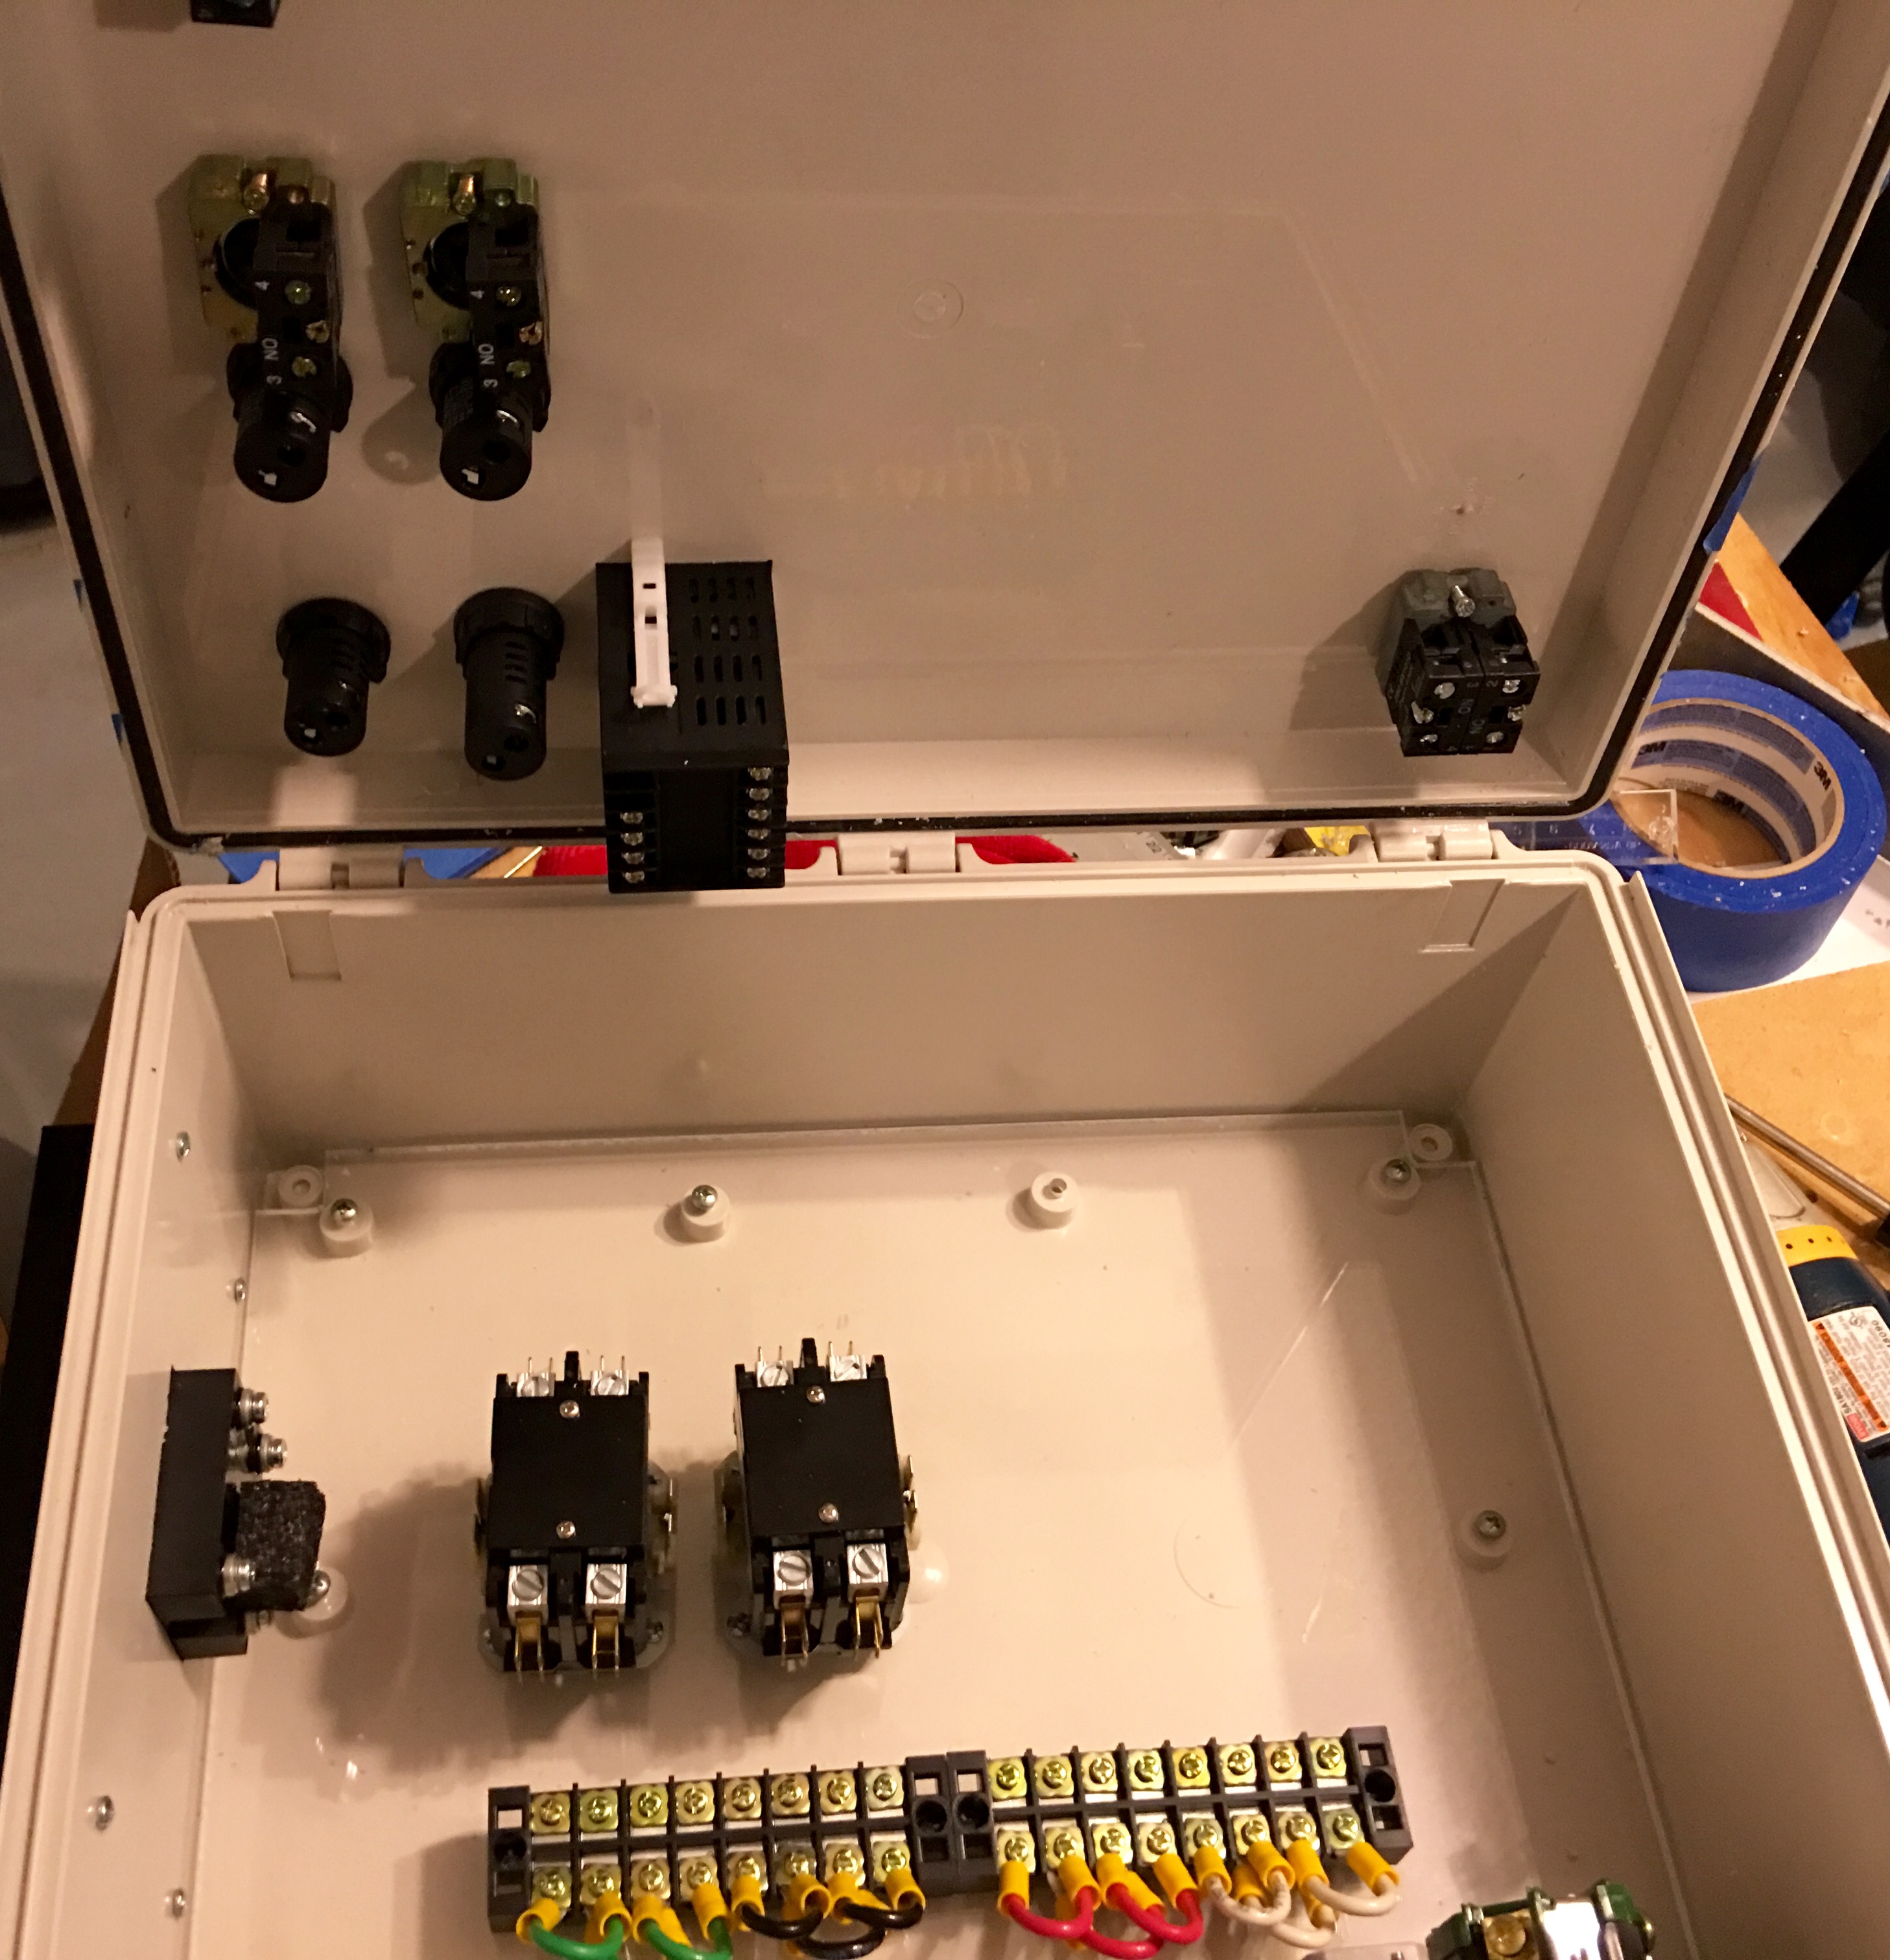
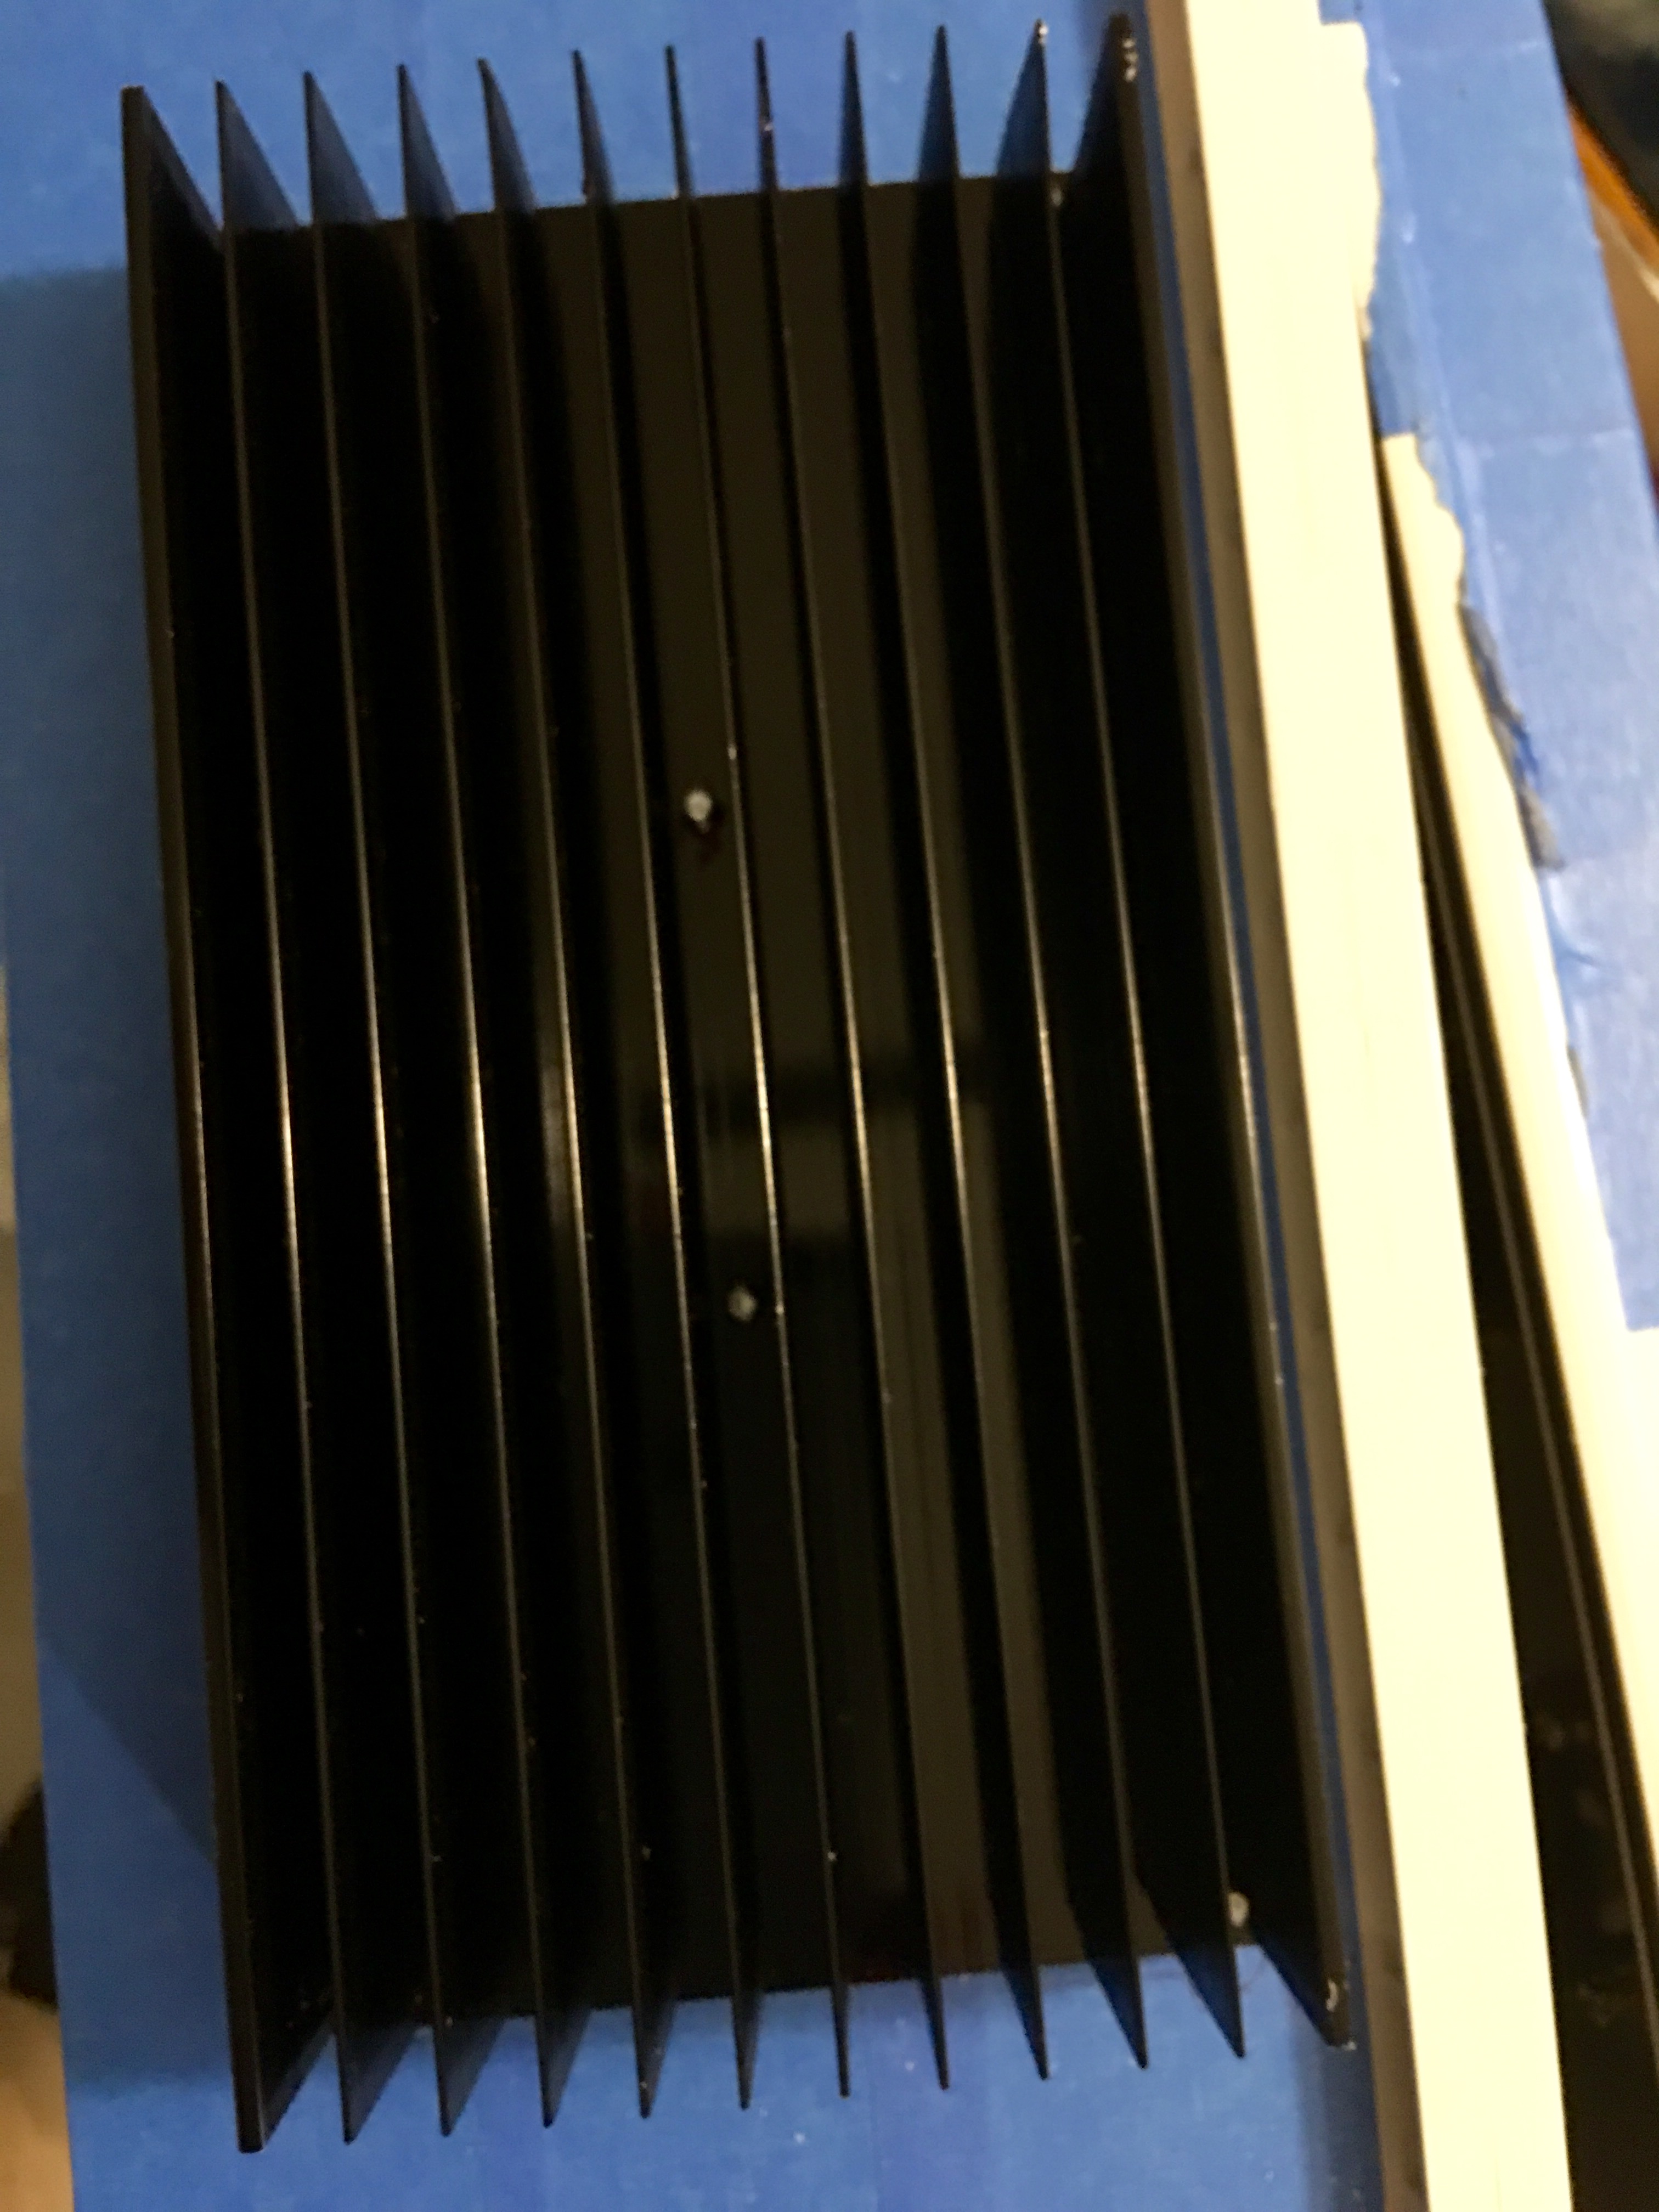
My original plan had two SSR's so I bought a large heat sink that could handle both. Then I bought a Teledyne SSR which is like two SSR's in one. Then I changed my plans and only needed one SSR. So, the heat sink is a bit over sized.
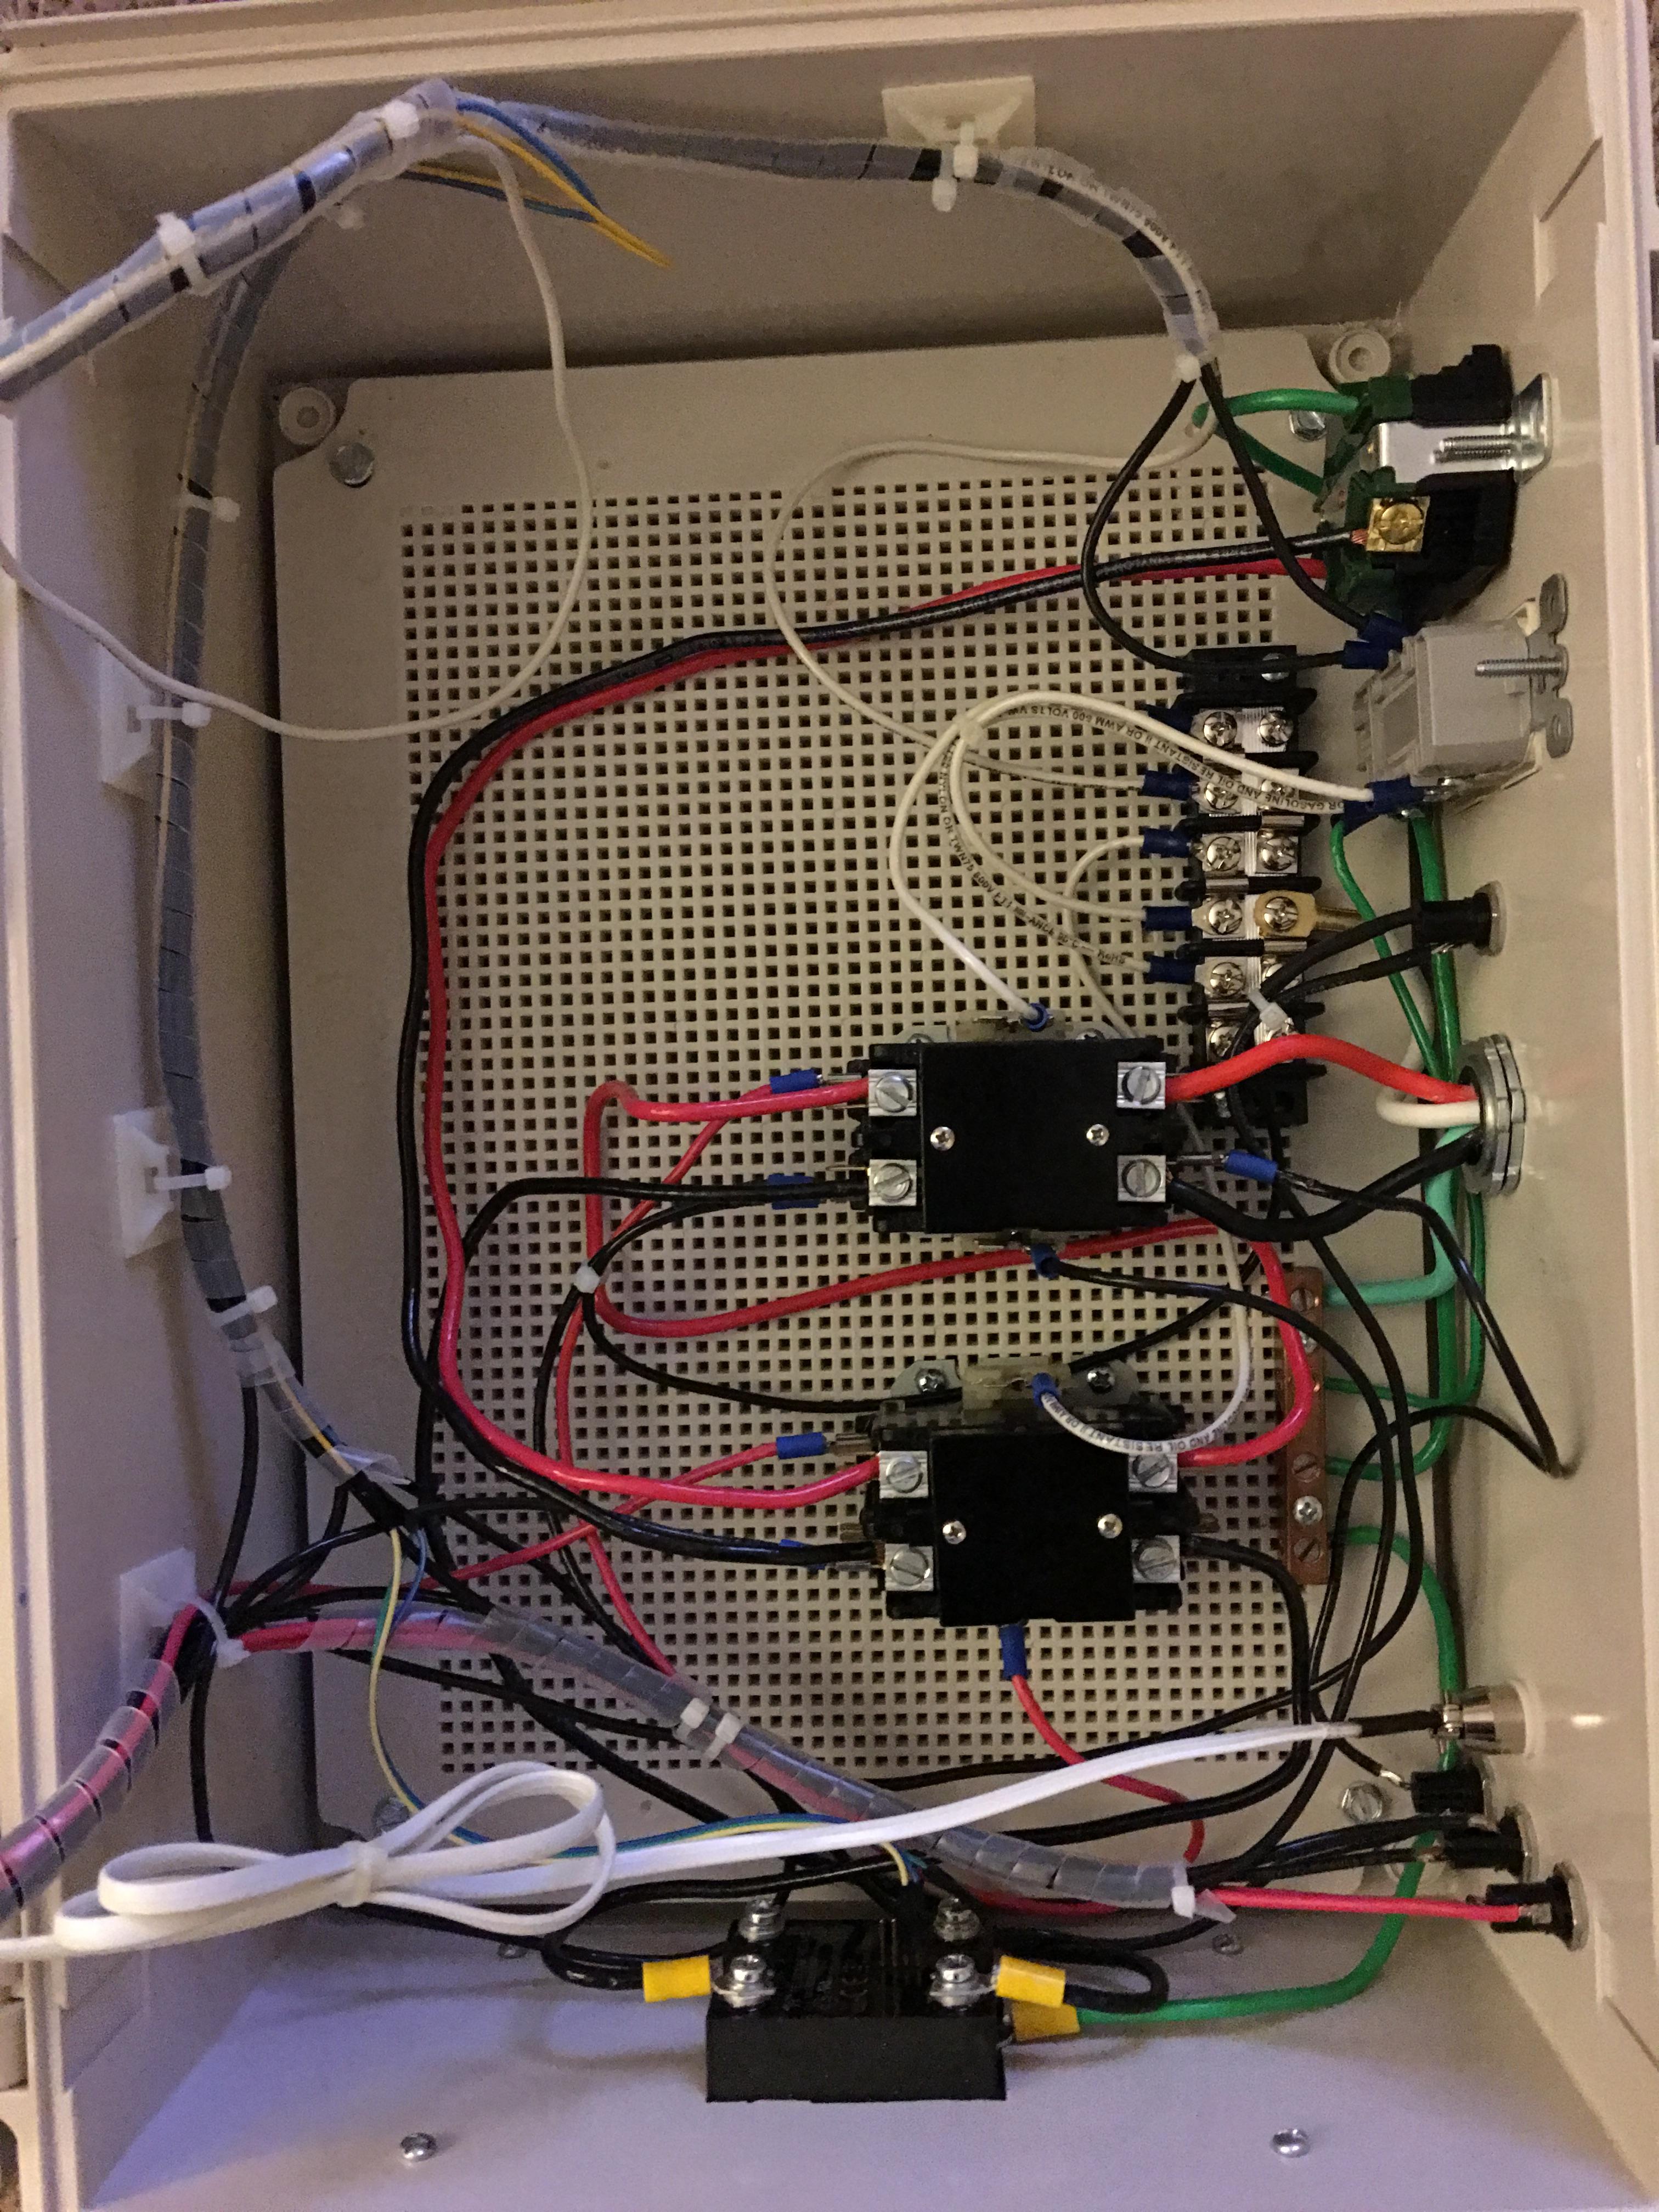
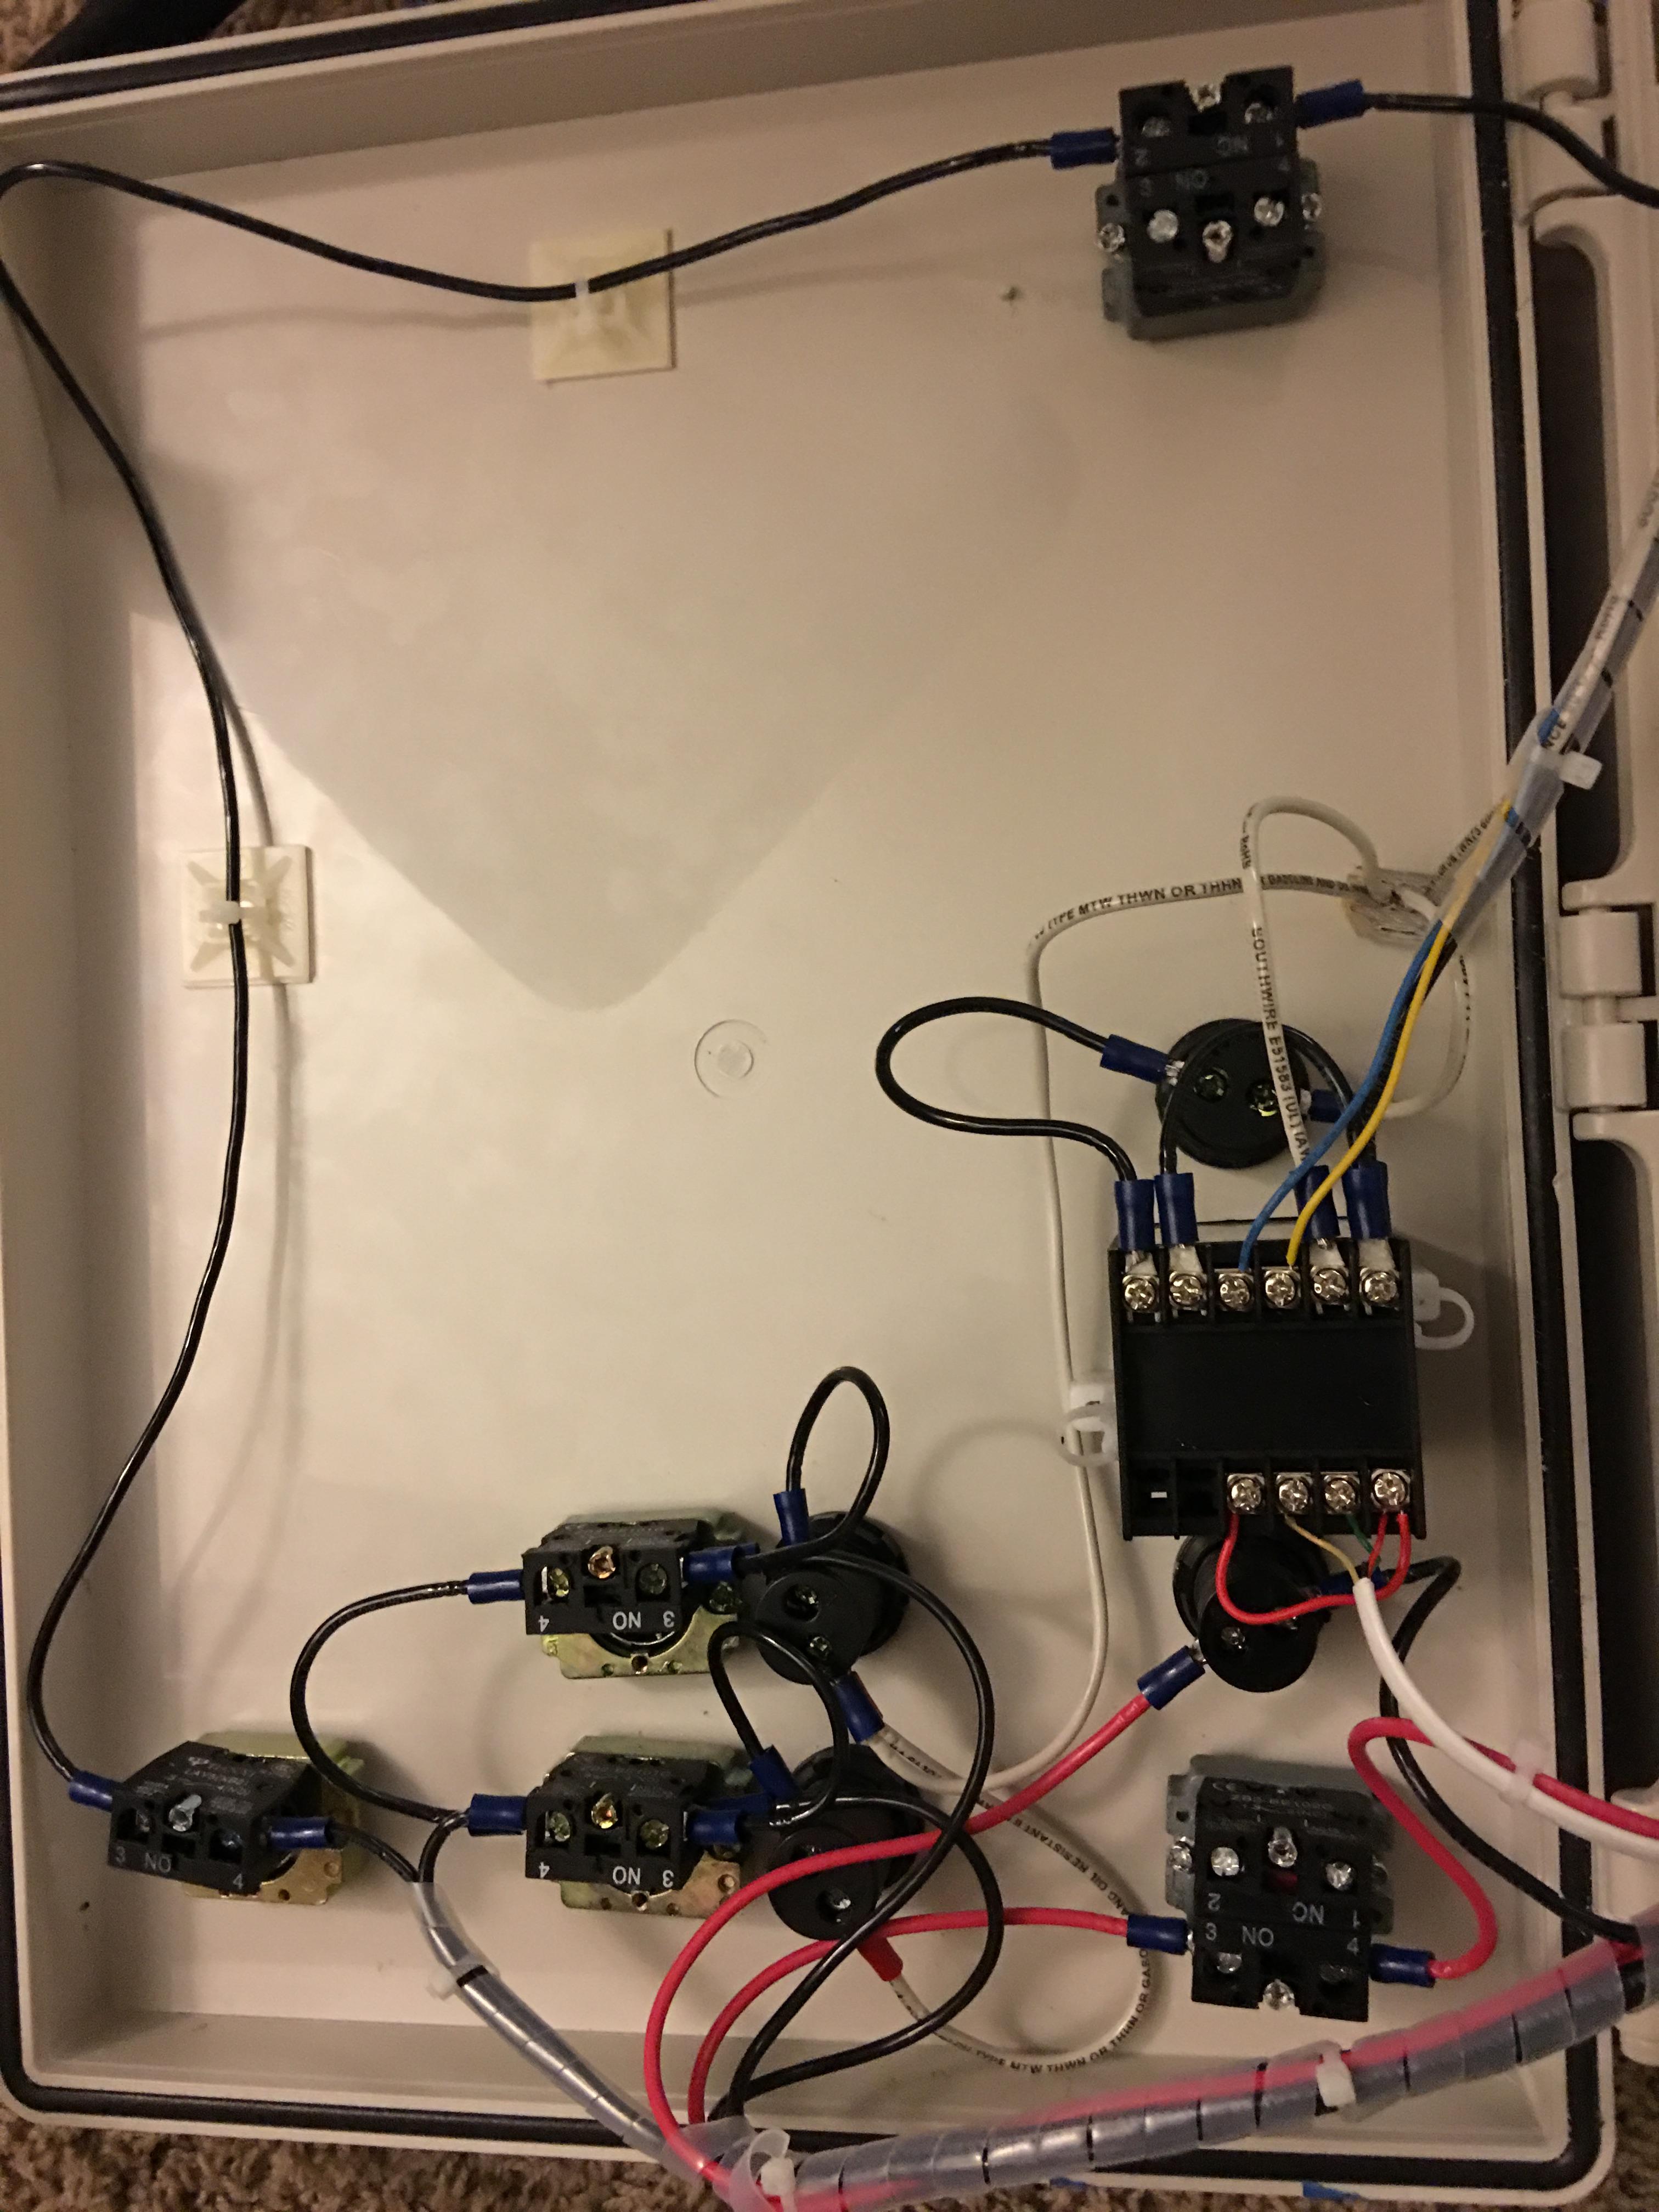
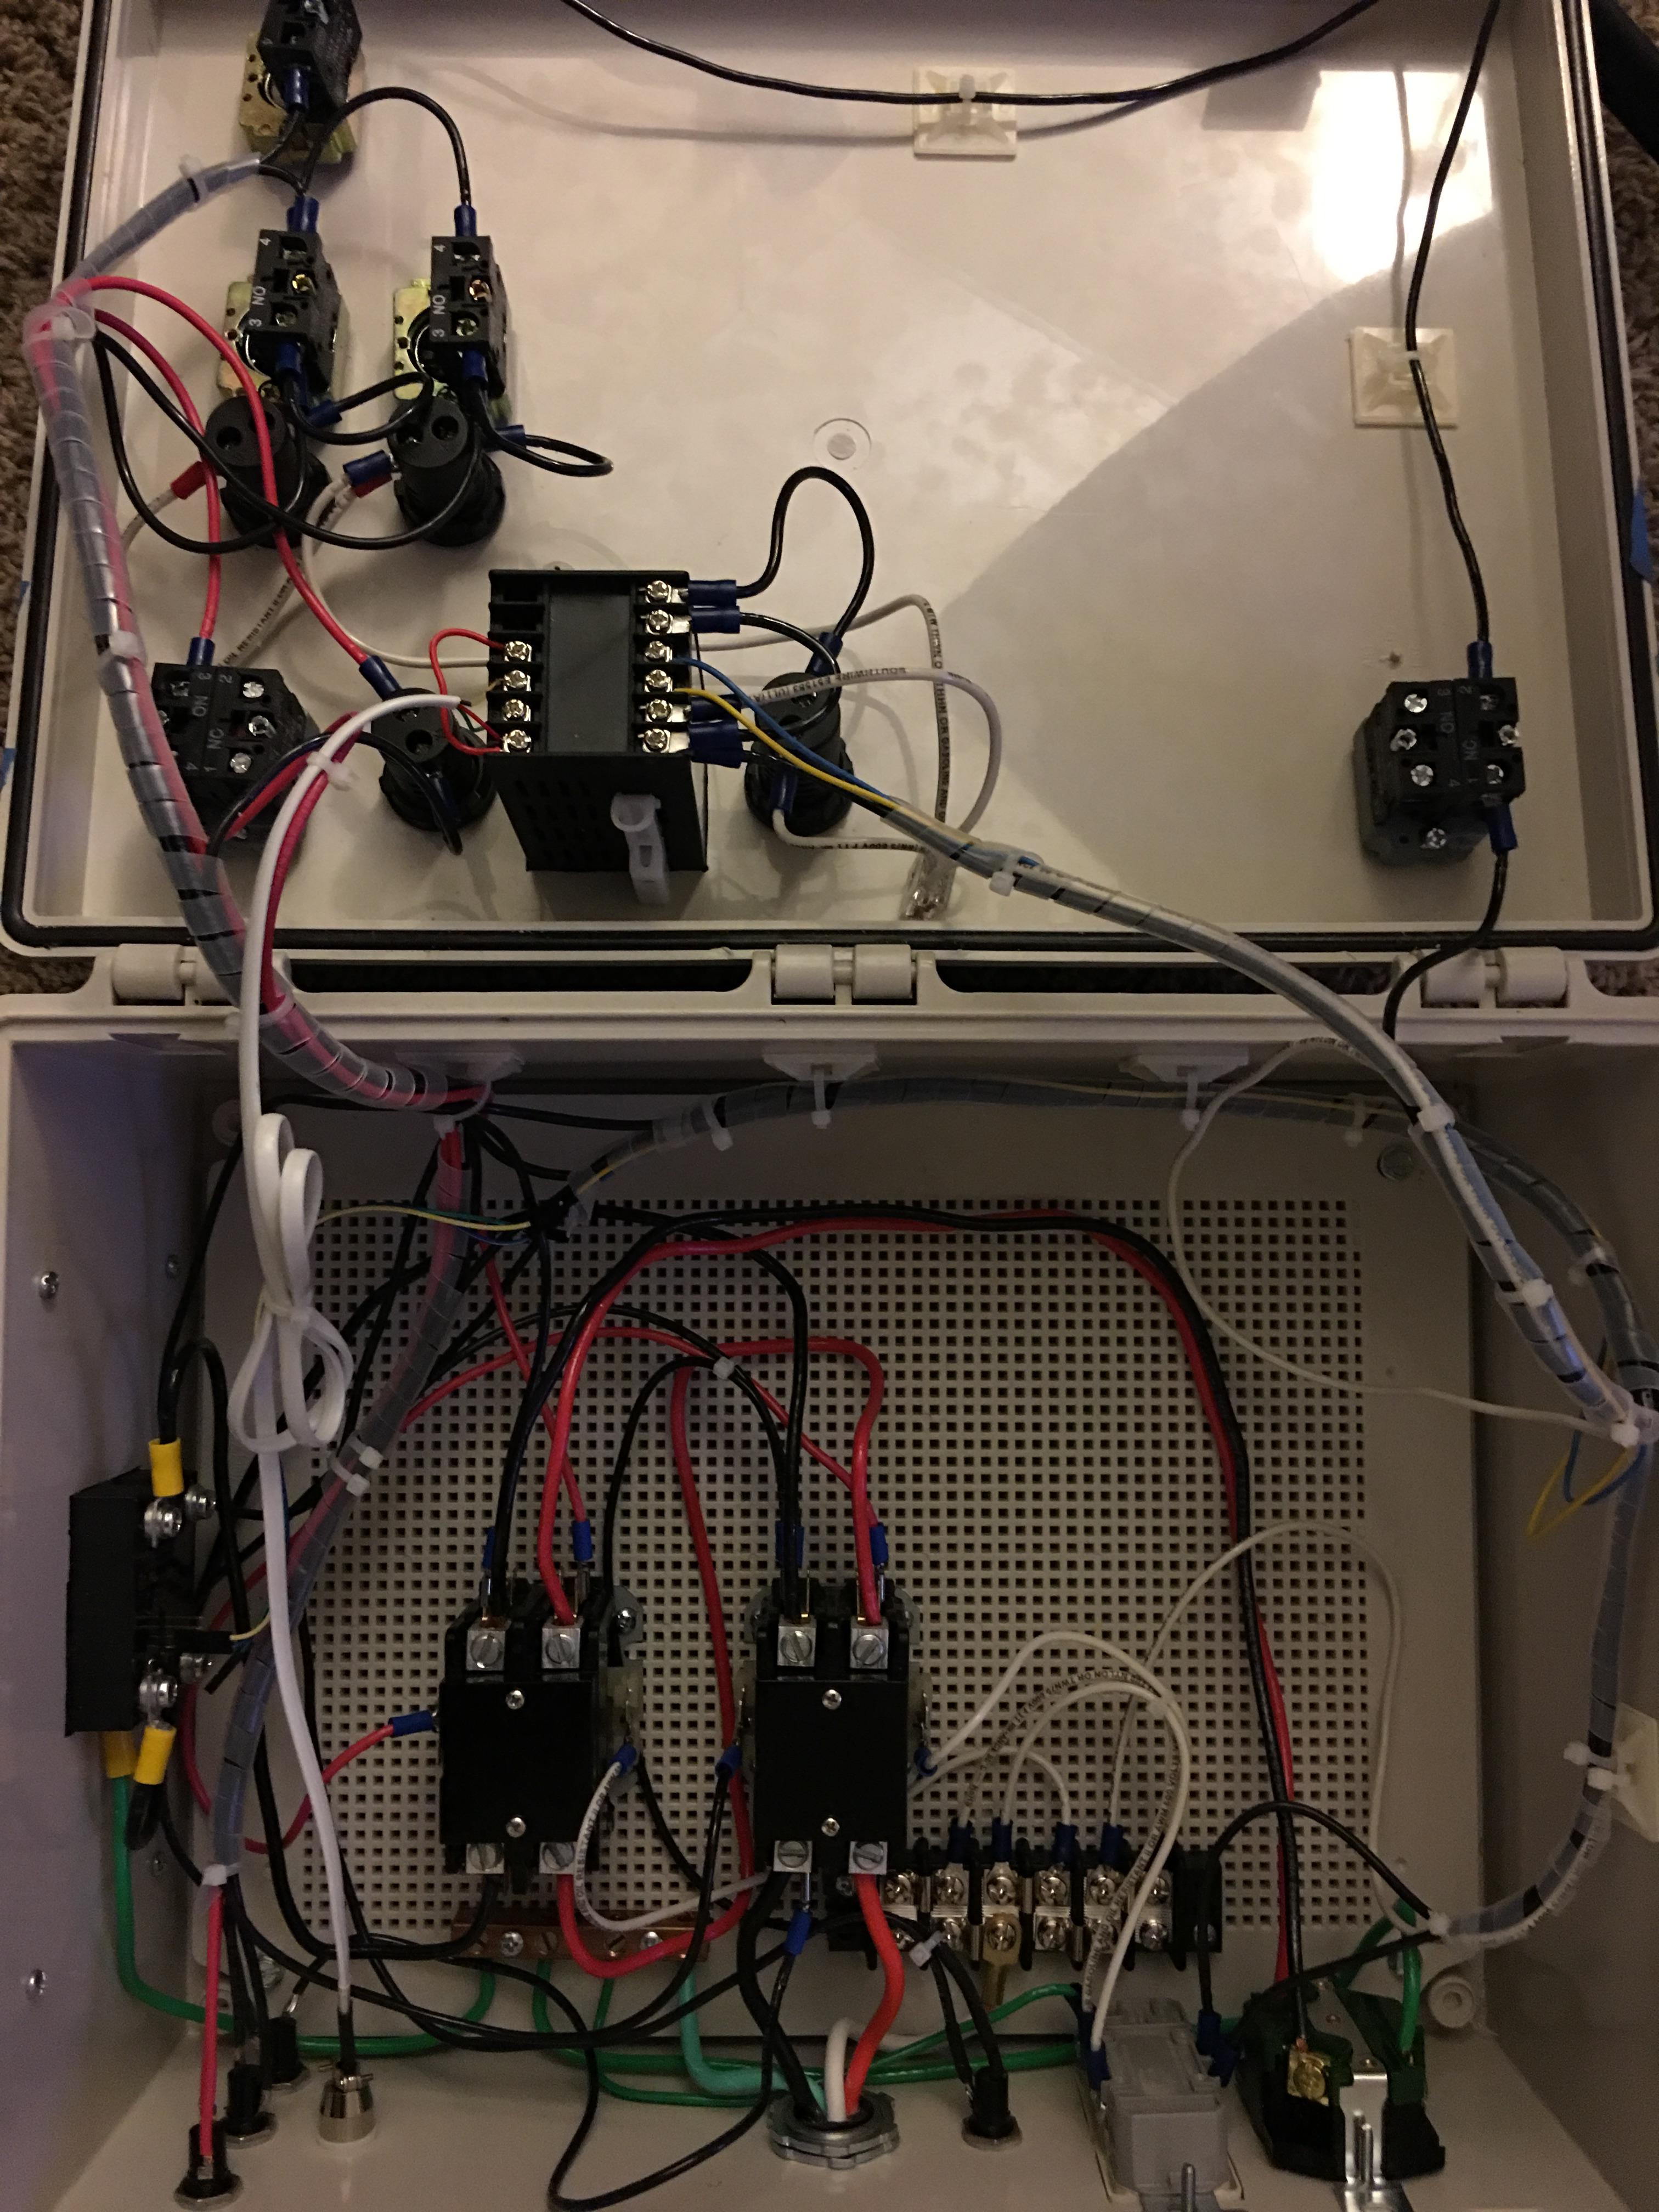
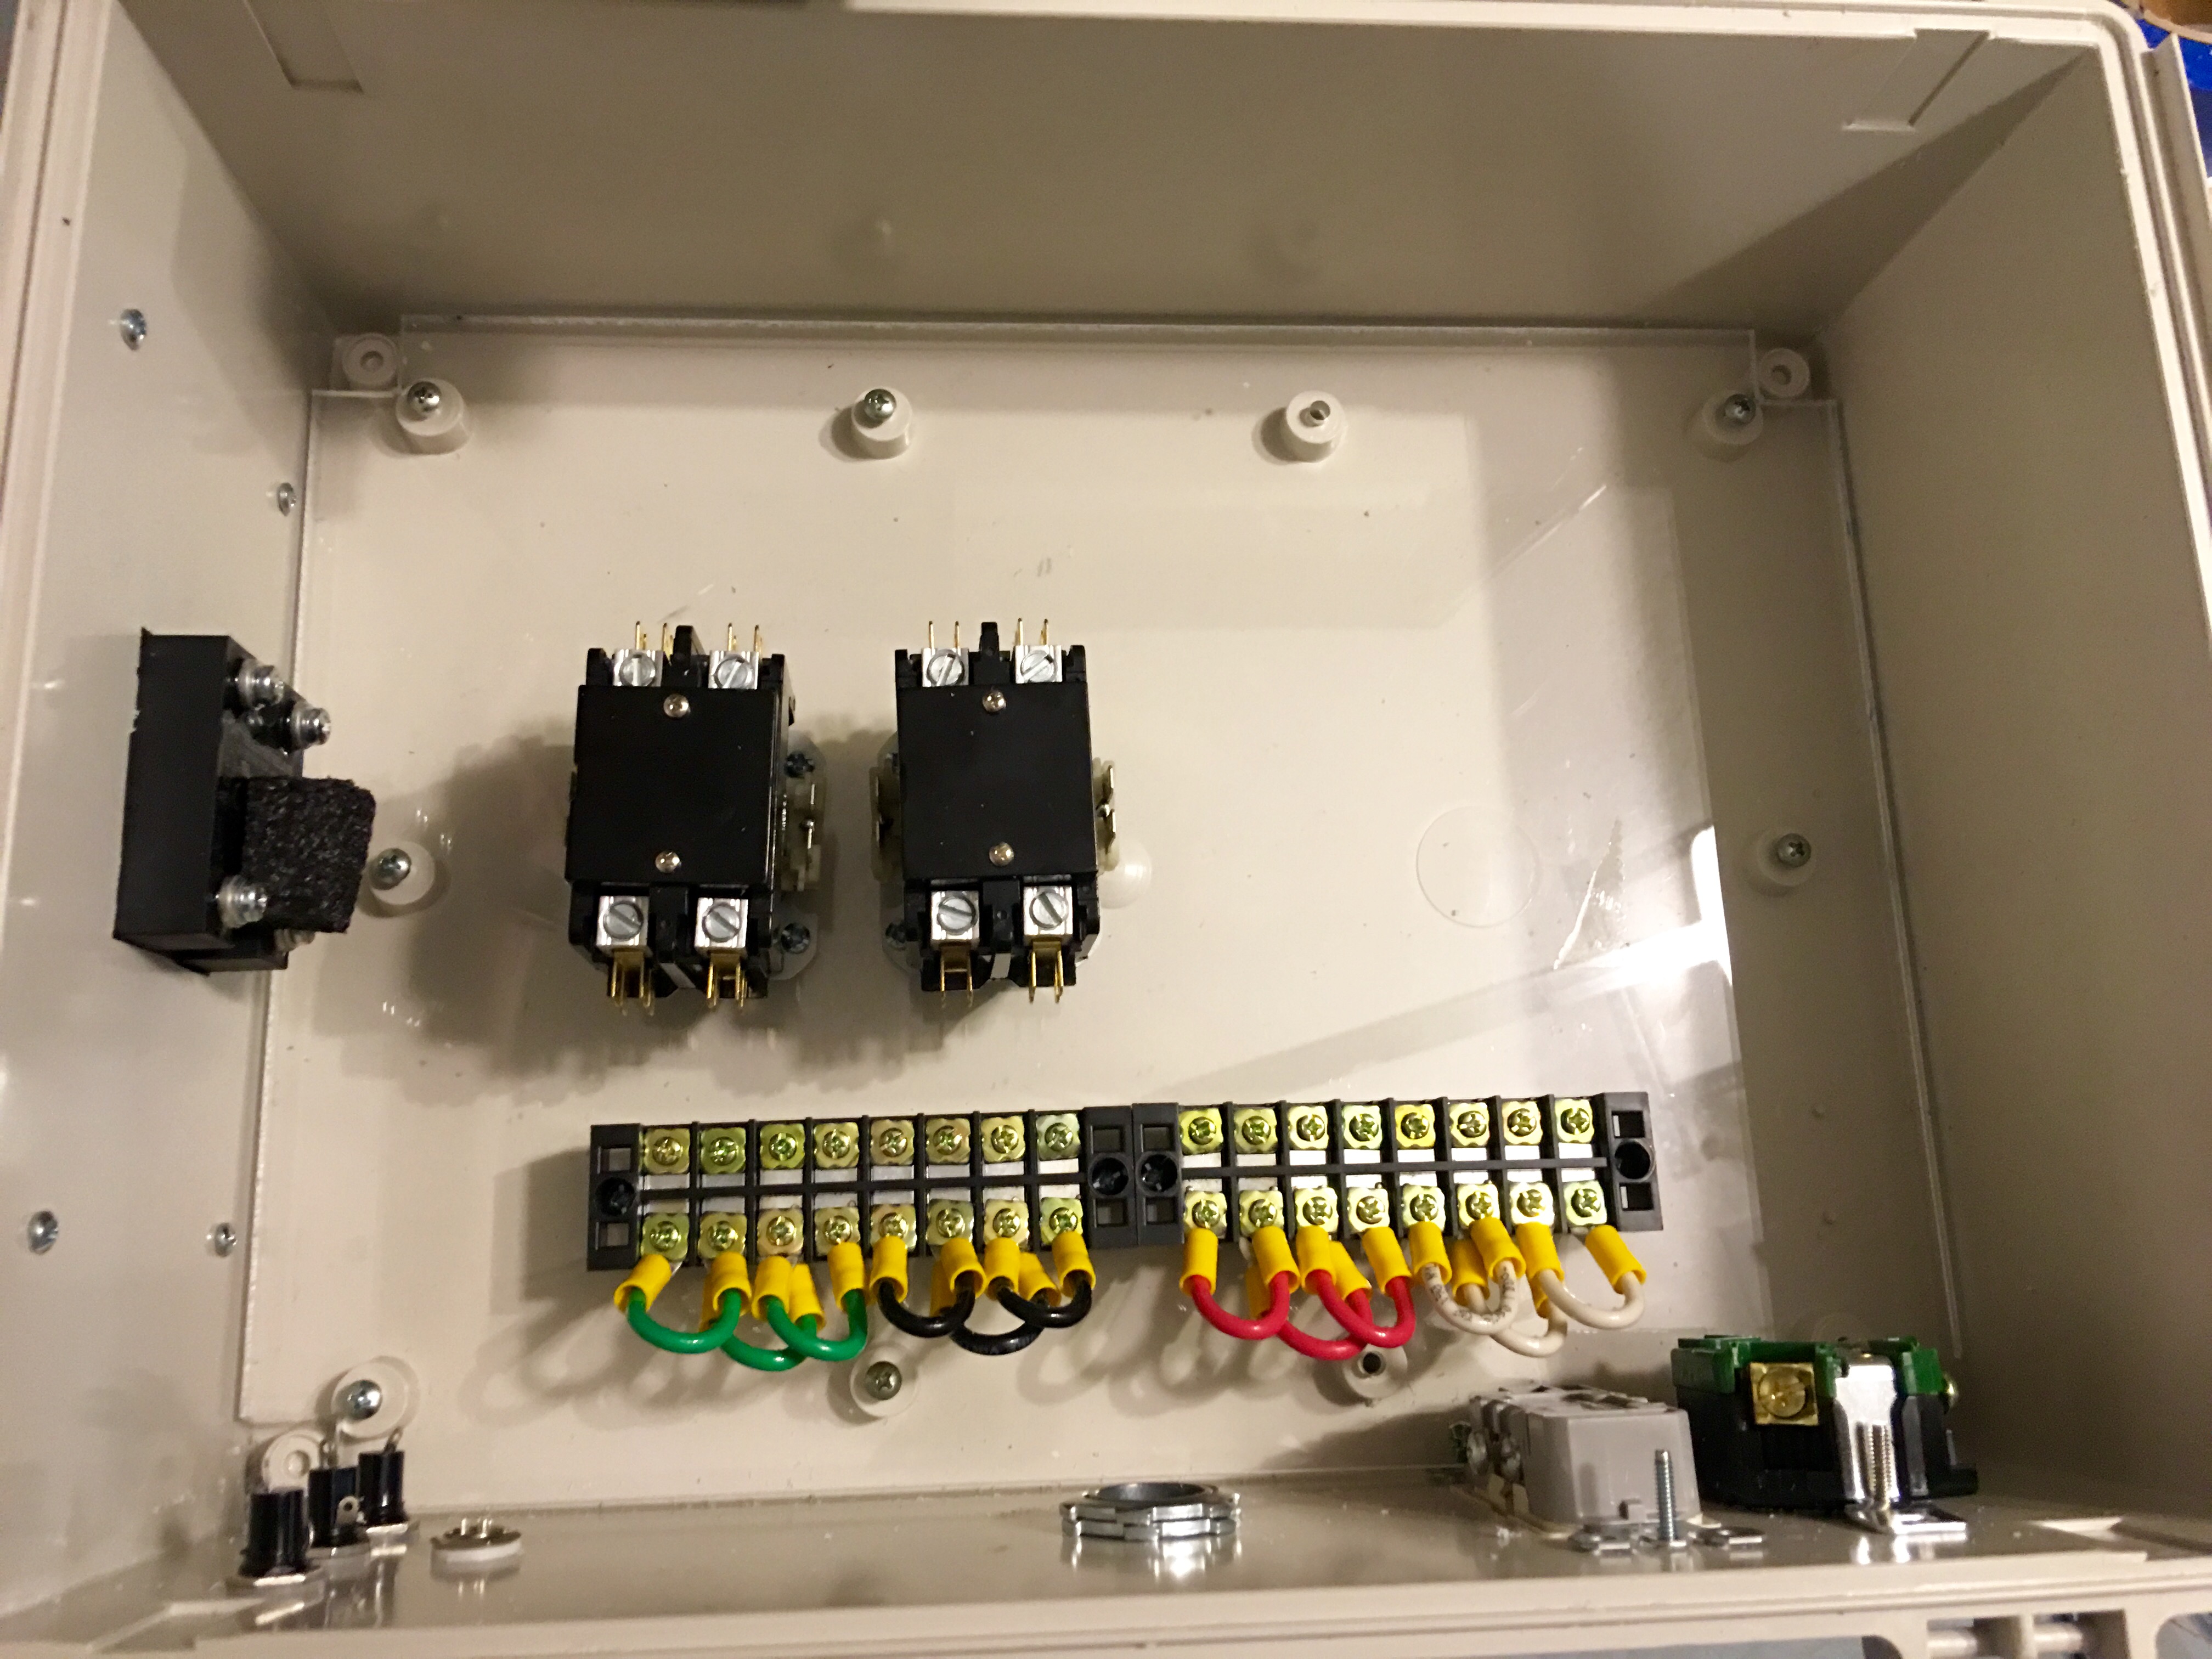
Bottom view:
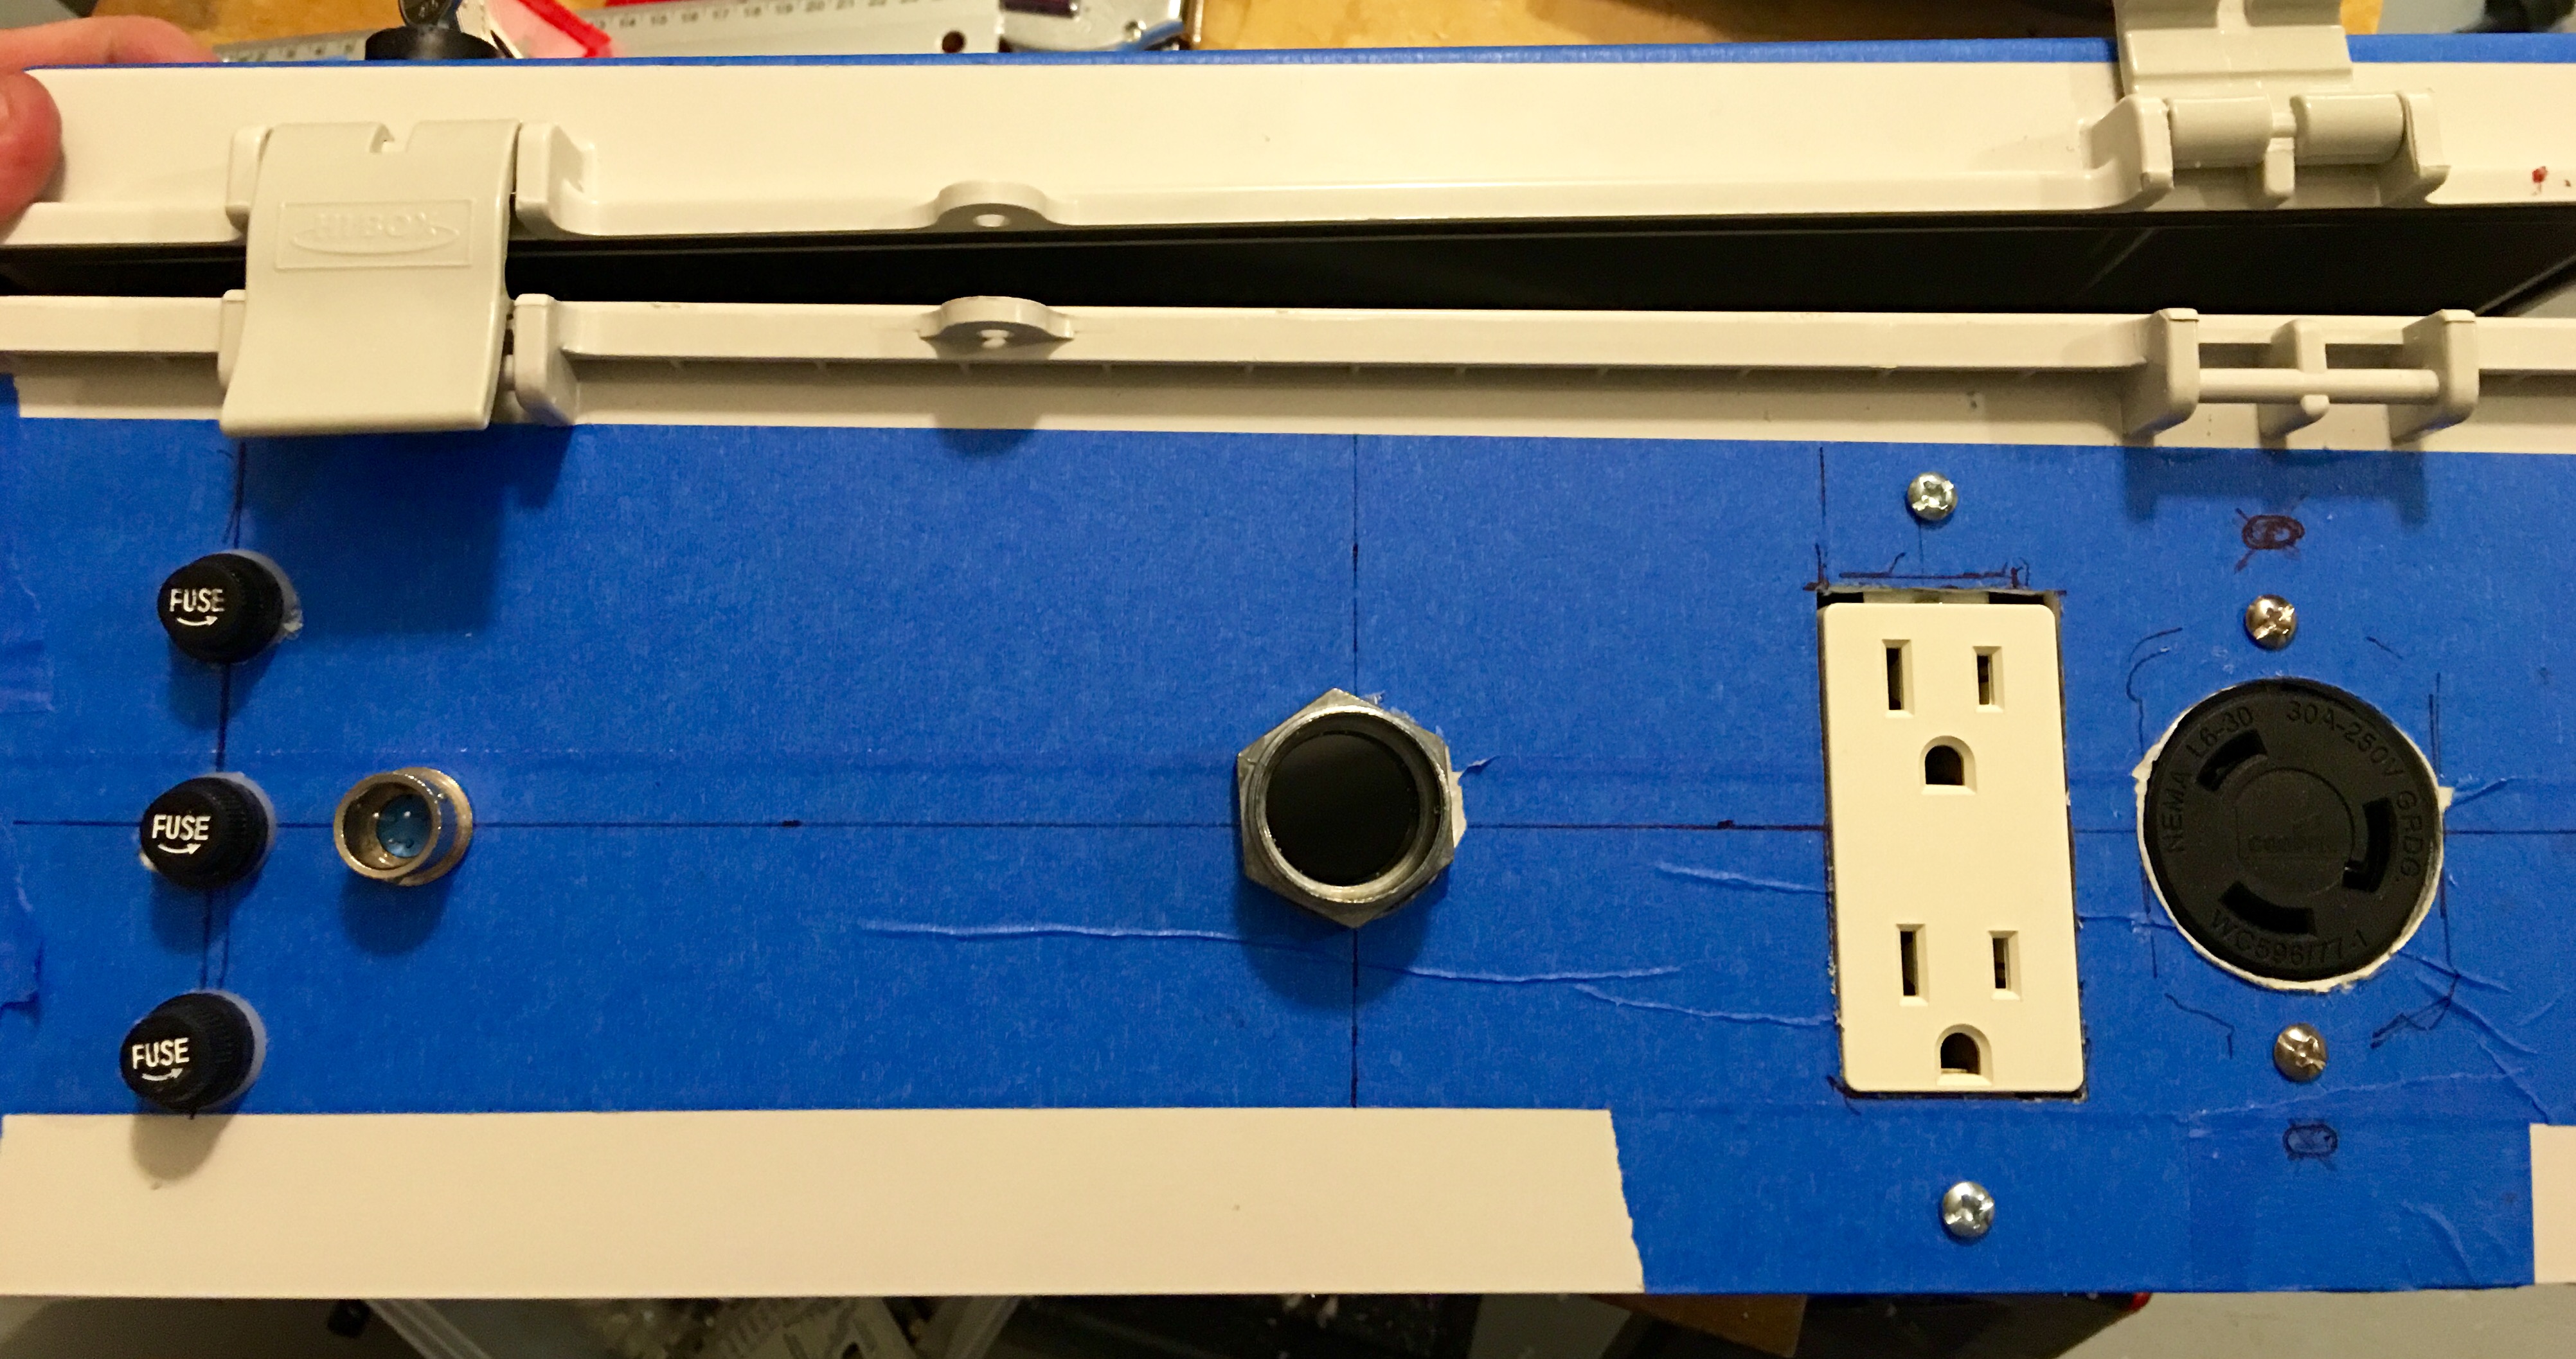
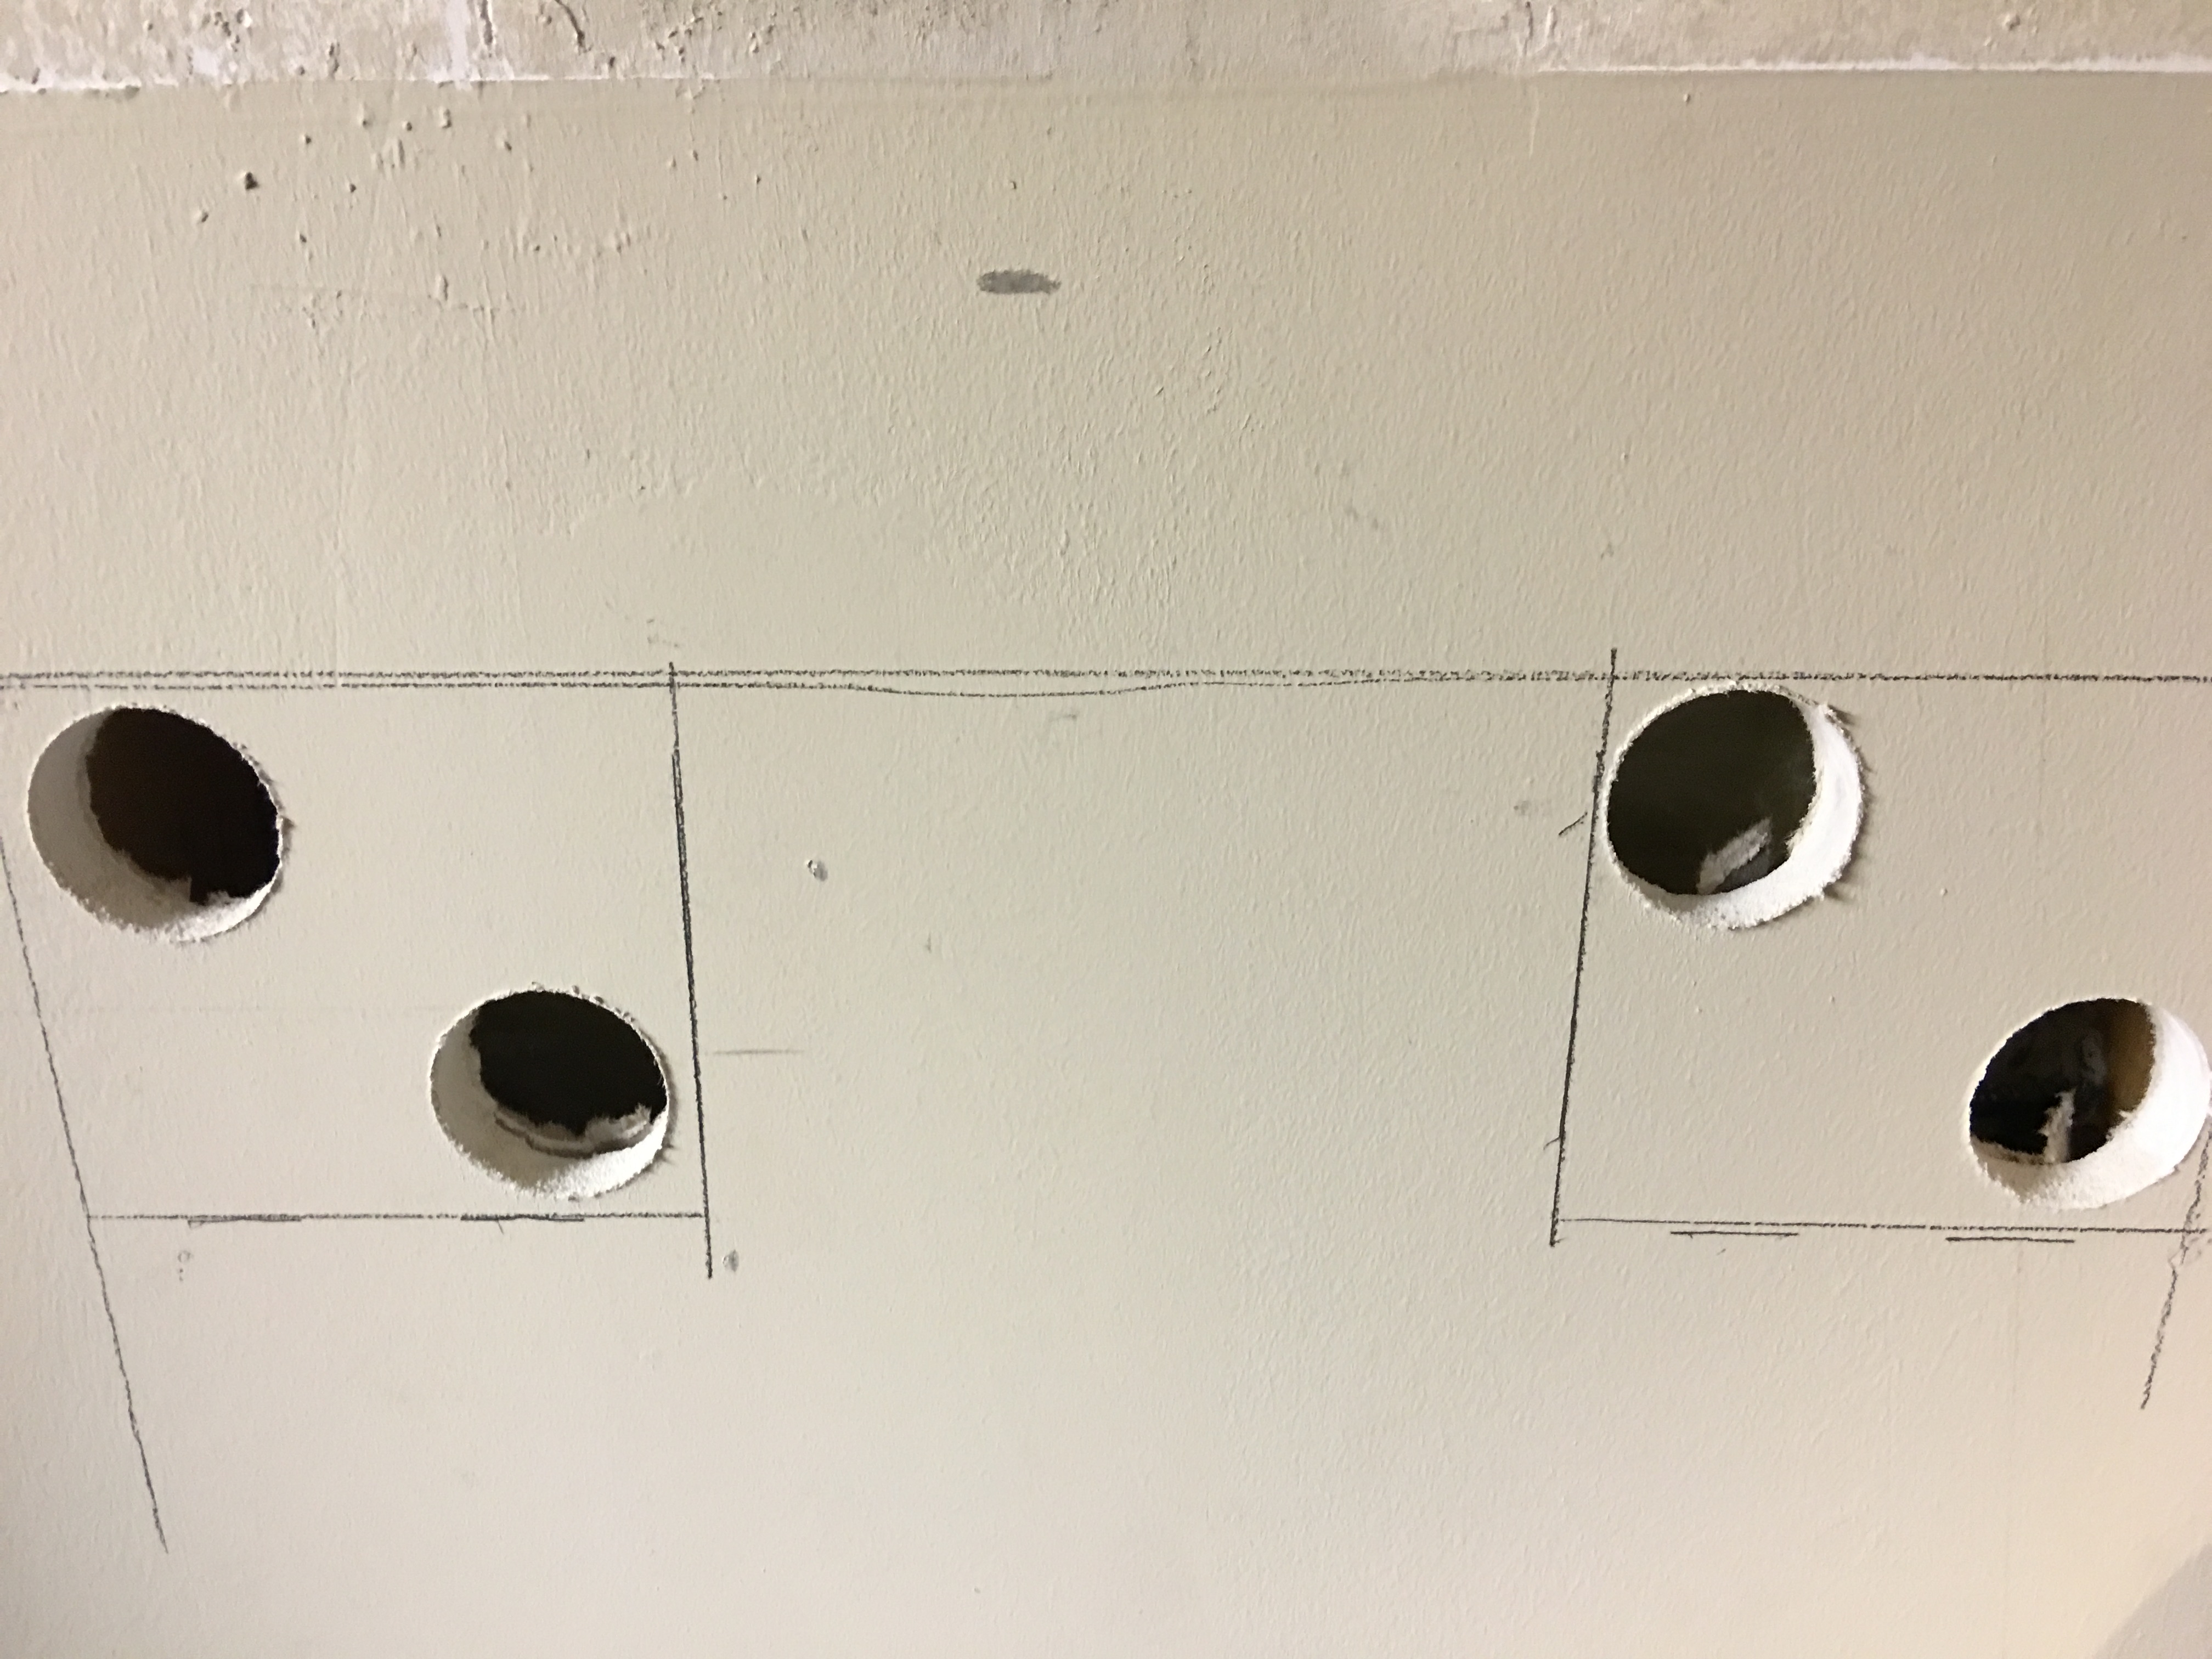
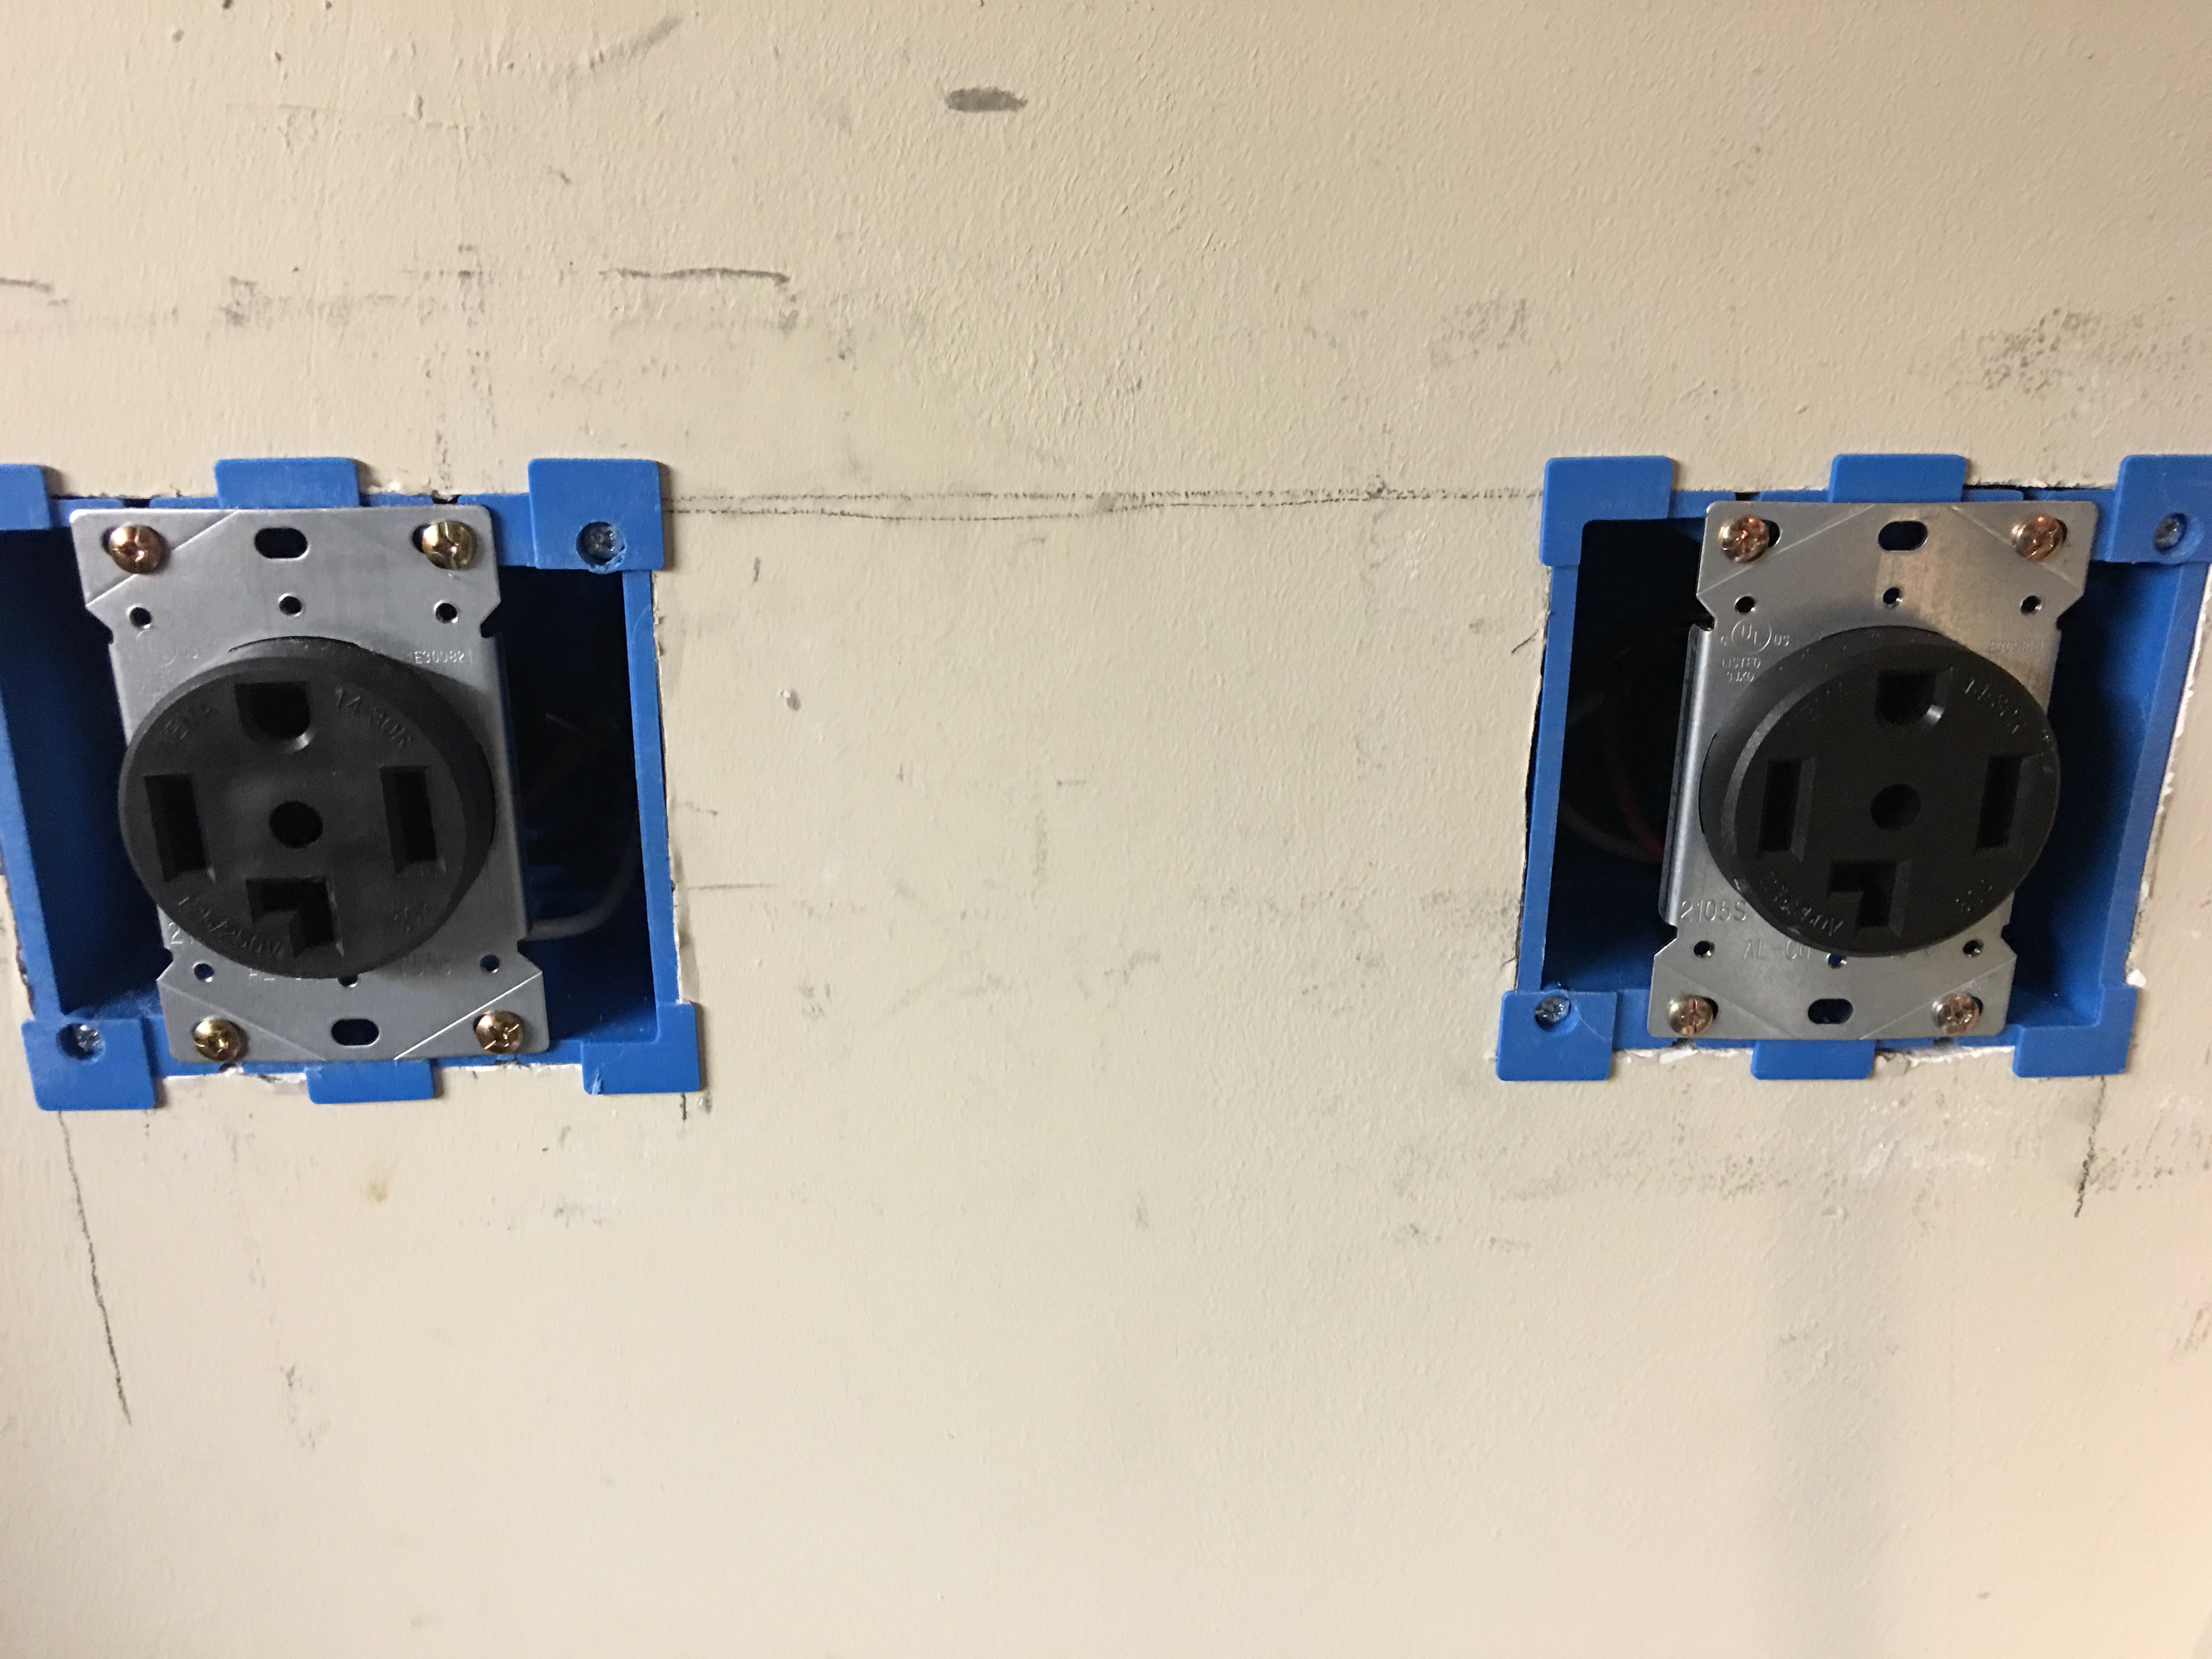
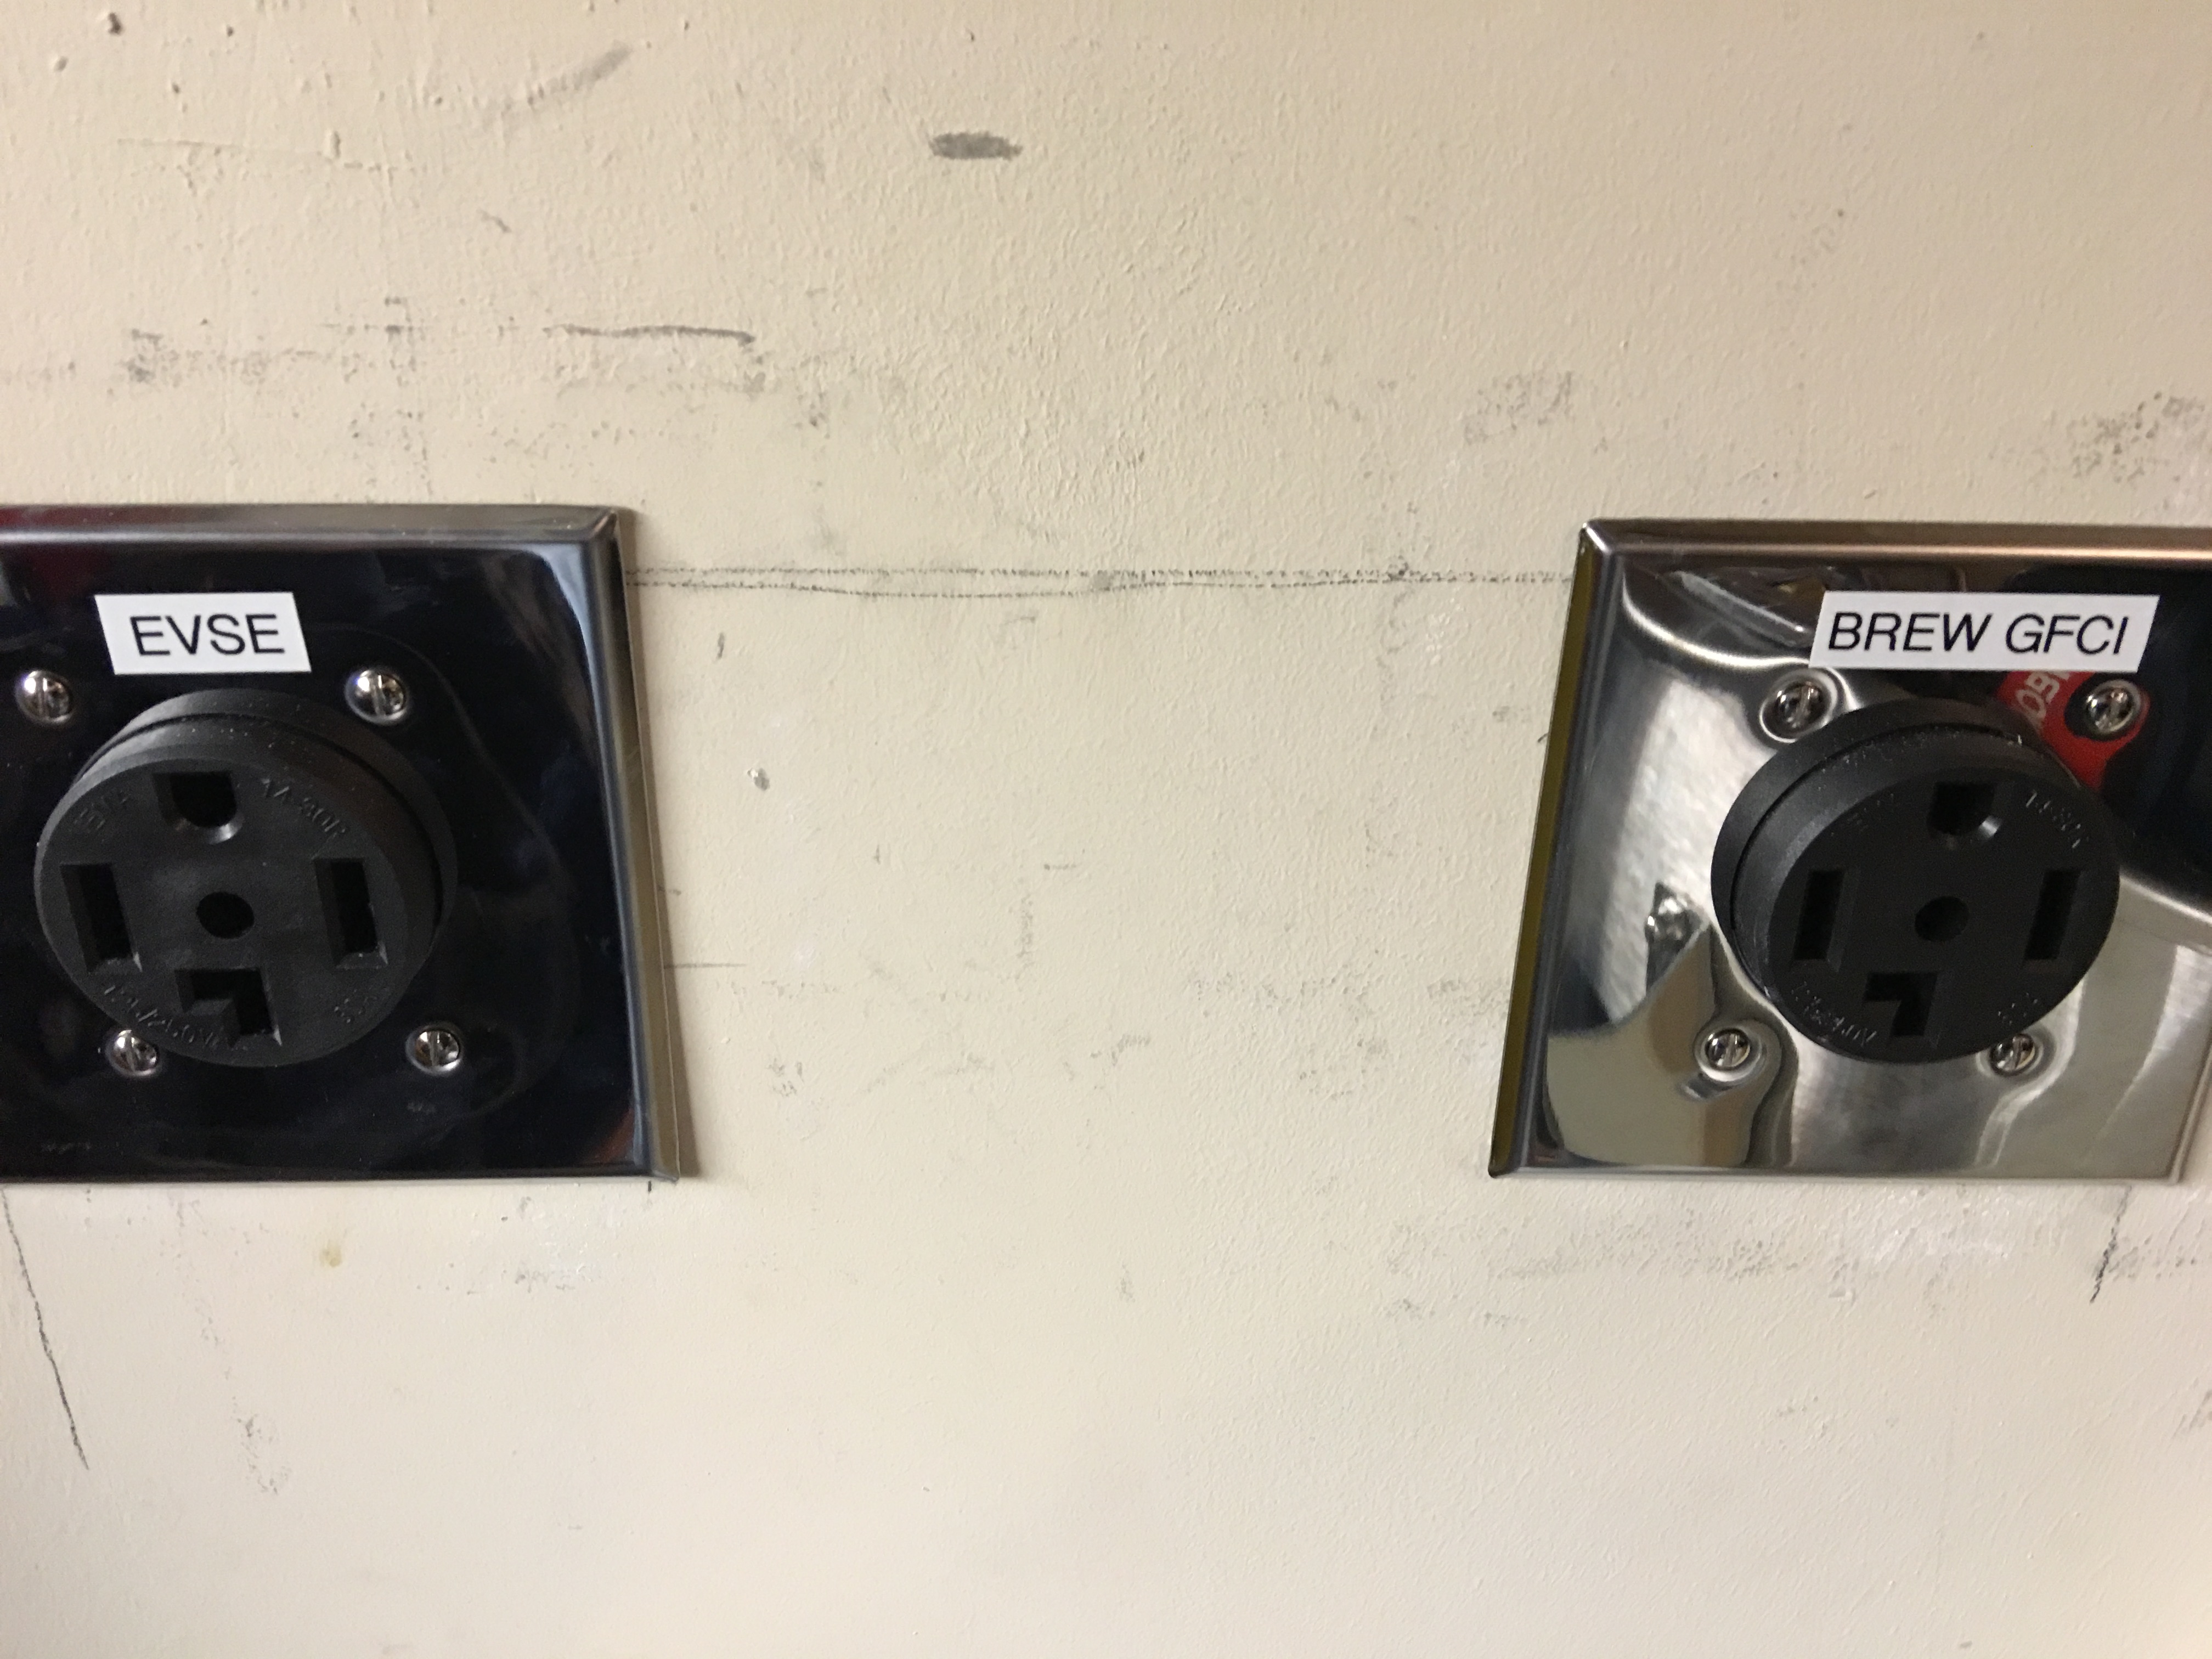
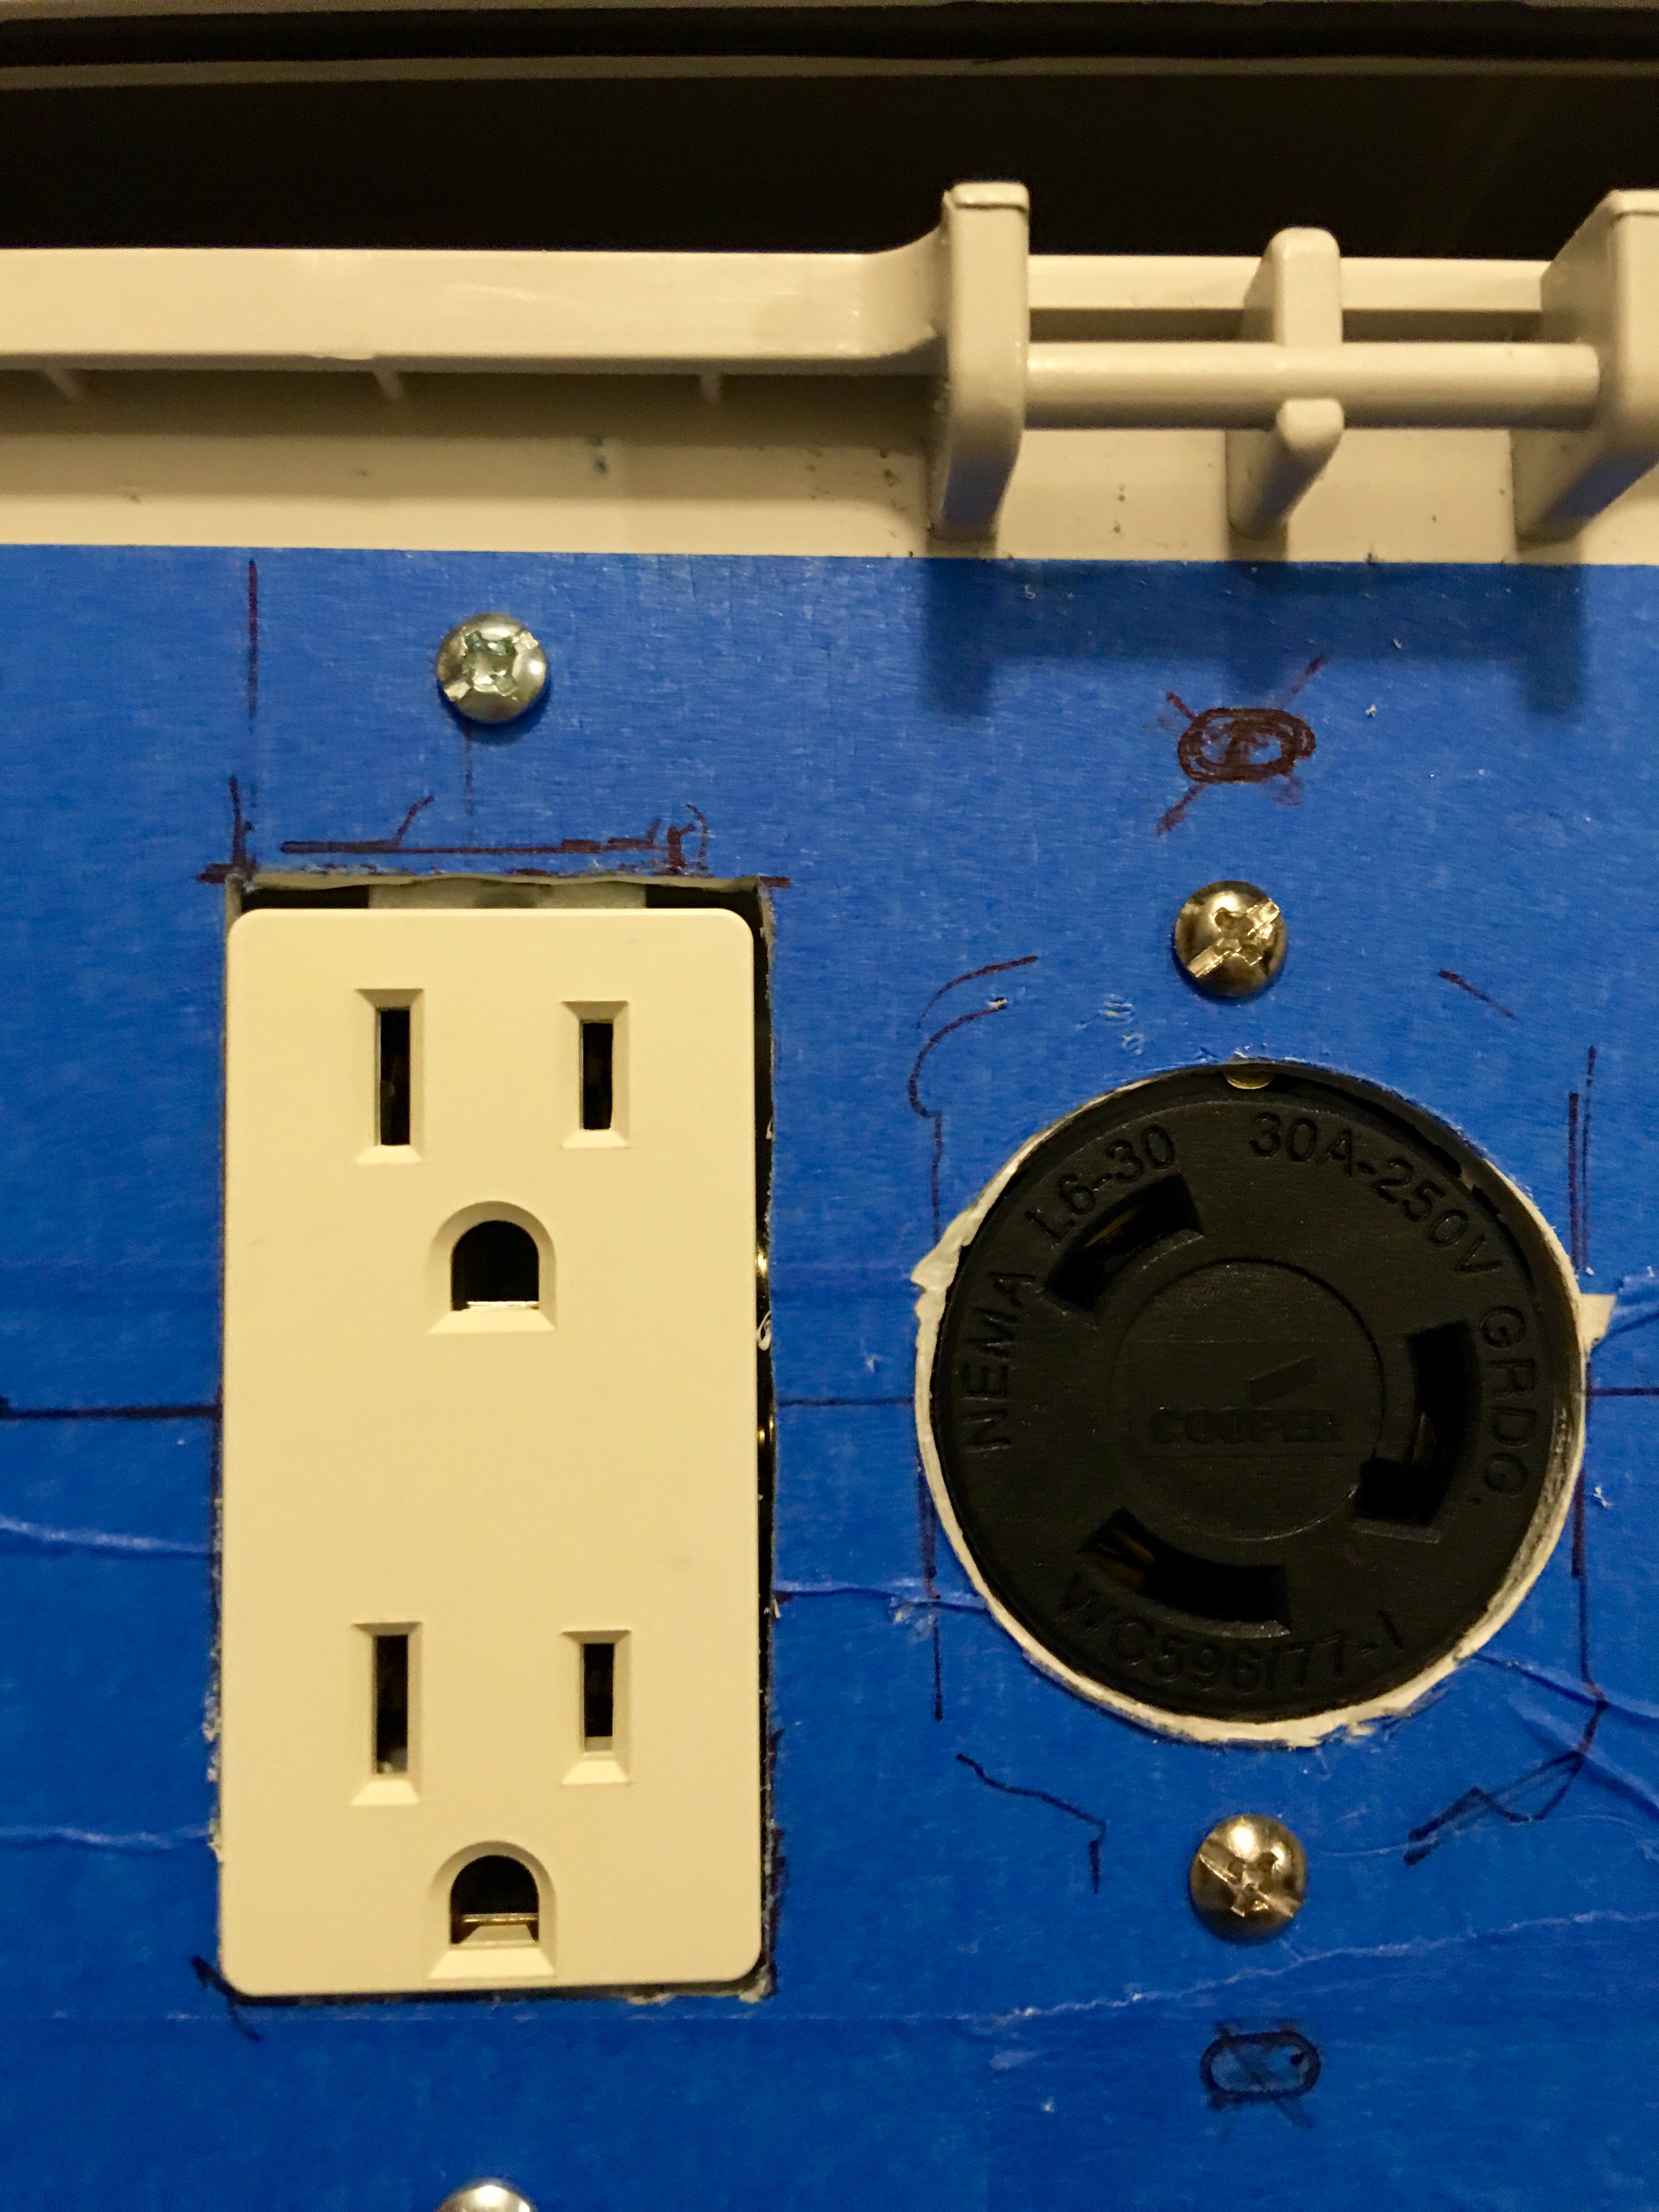
Pissed about the hole for the 120V outlet. I had bought some single plug outlets but after I cut the holes for them I found out they were made for thinner project boxes and the tabs for them just wouldn't work with the thickness of this box. So I grabbed what I had and made do with a hole that's slightly too big. I'll fill the gaps with some silicone caulk later. Typing this up I realize that I forgot to snip the tab connecting both receptacles.
You can also see the rough job my hand drill did cutting the hole for the 30A recepticle. This part of the box wouldn't fit on the drill press. My cordless drill was too weak. So I tried a cheap corded drill that I use to crush grain. Ugh!
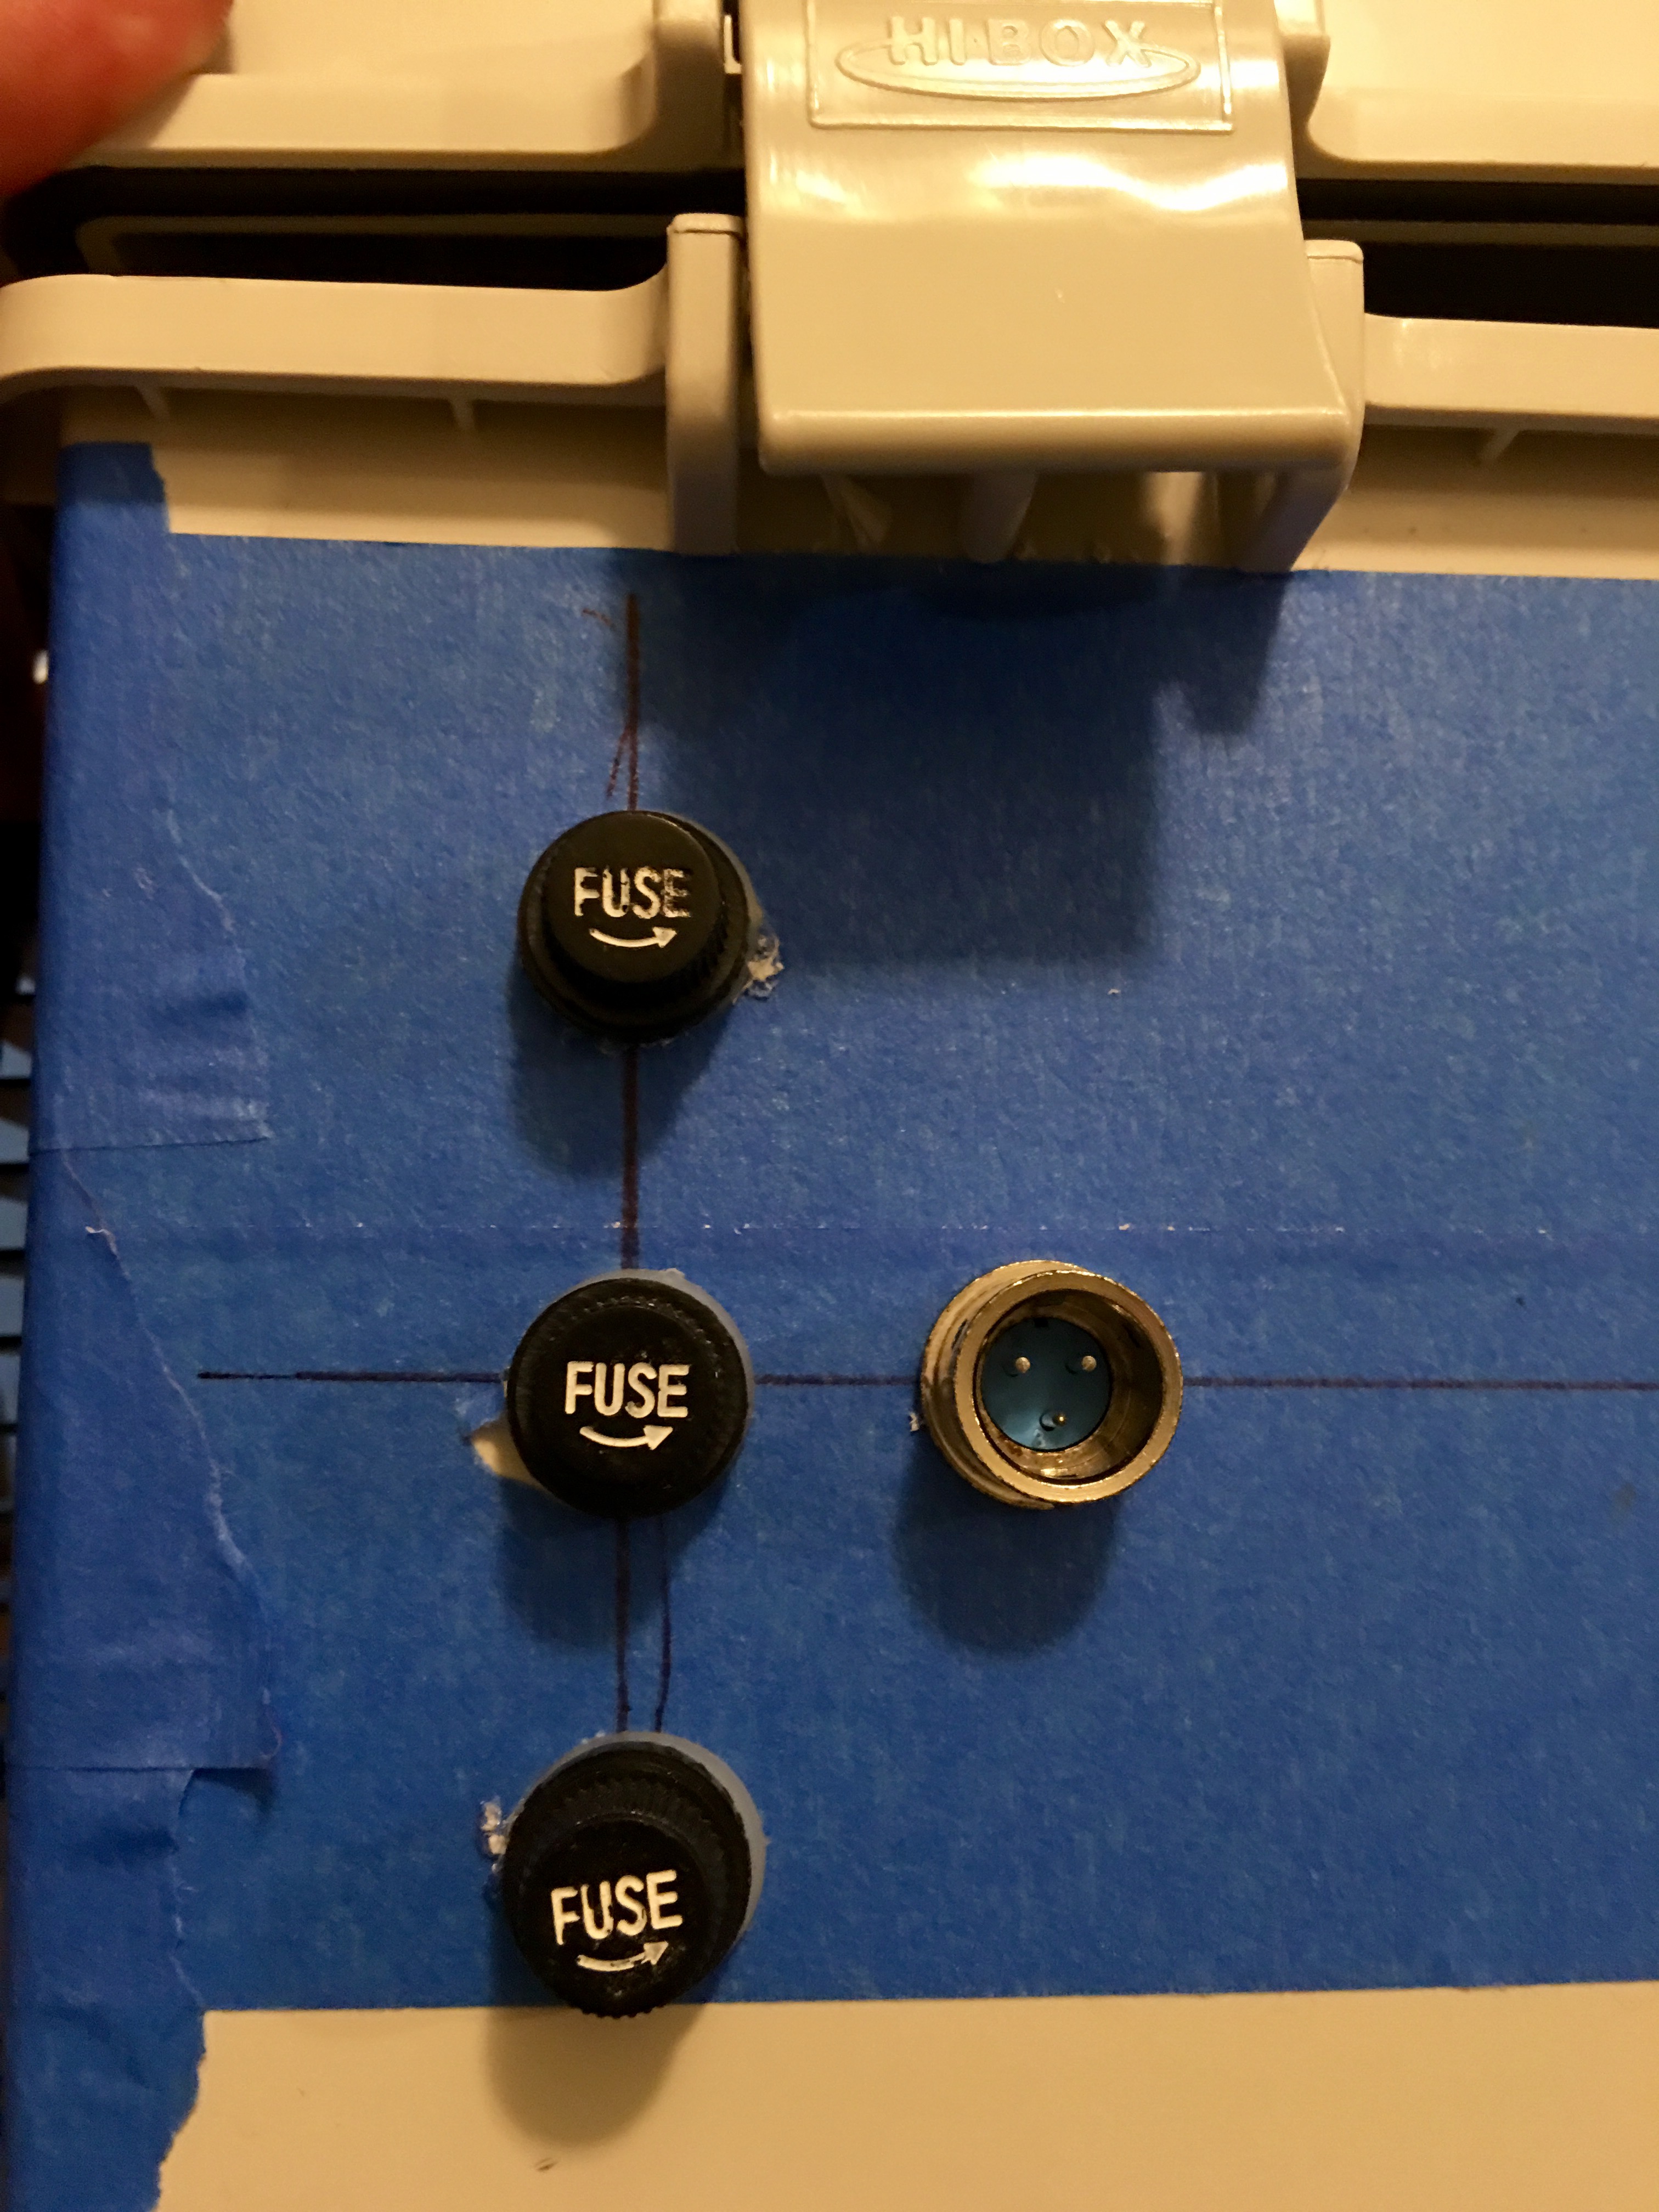
Fuses and temp controller connection:
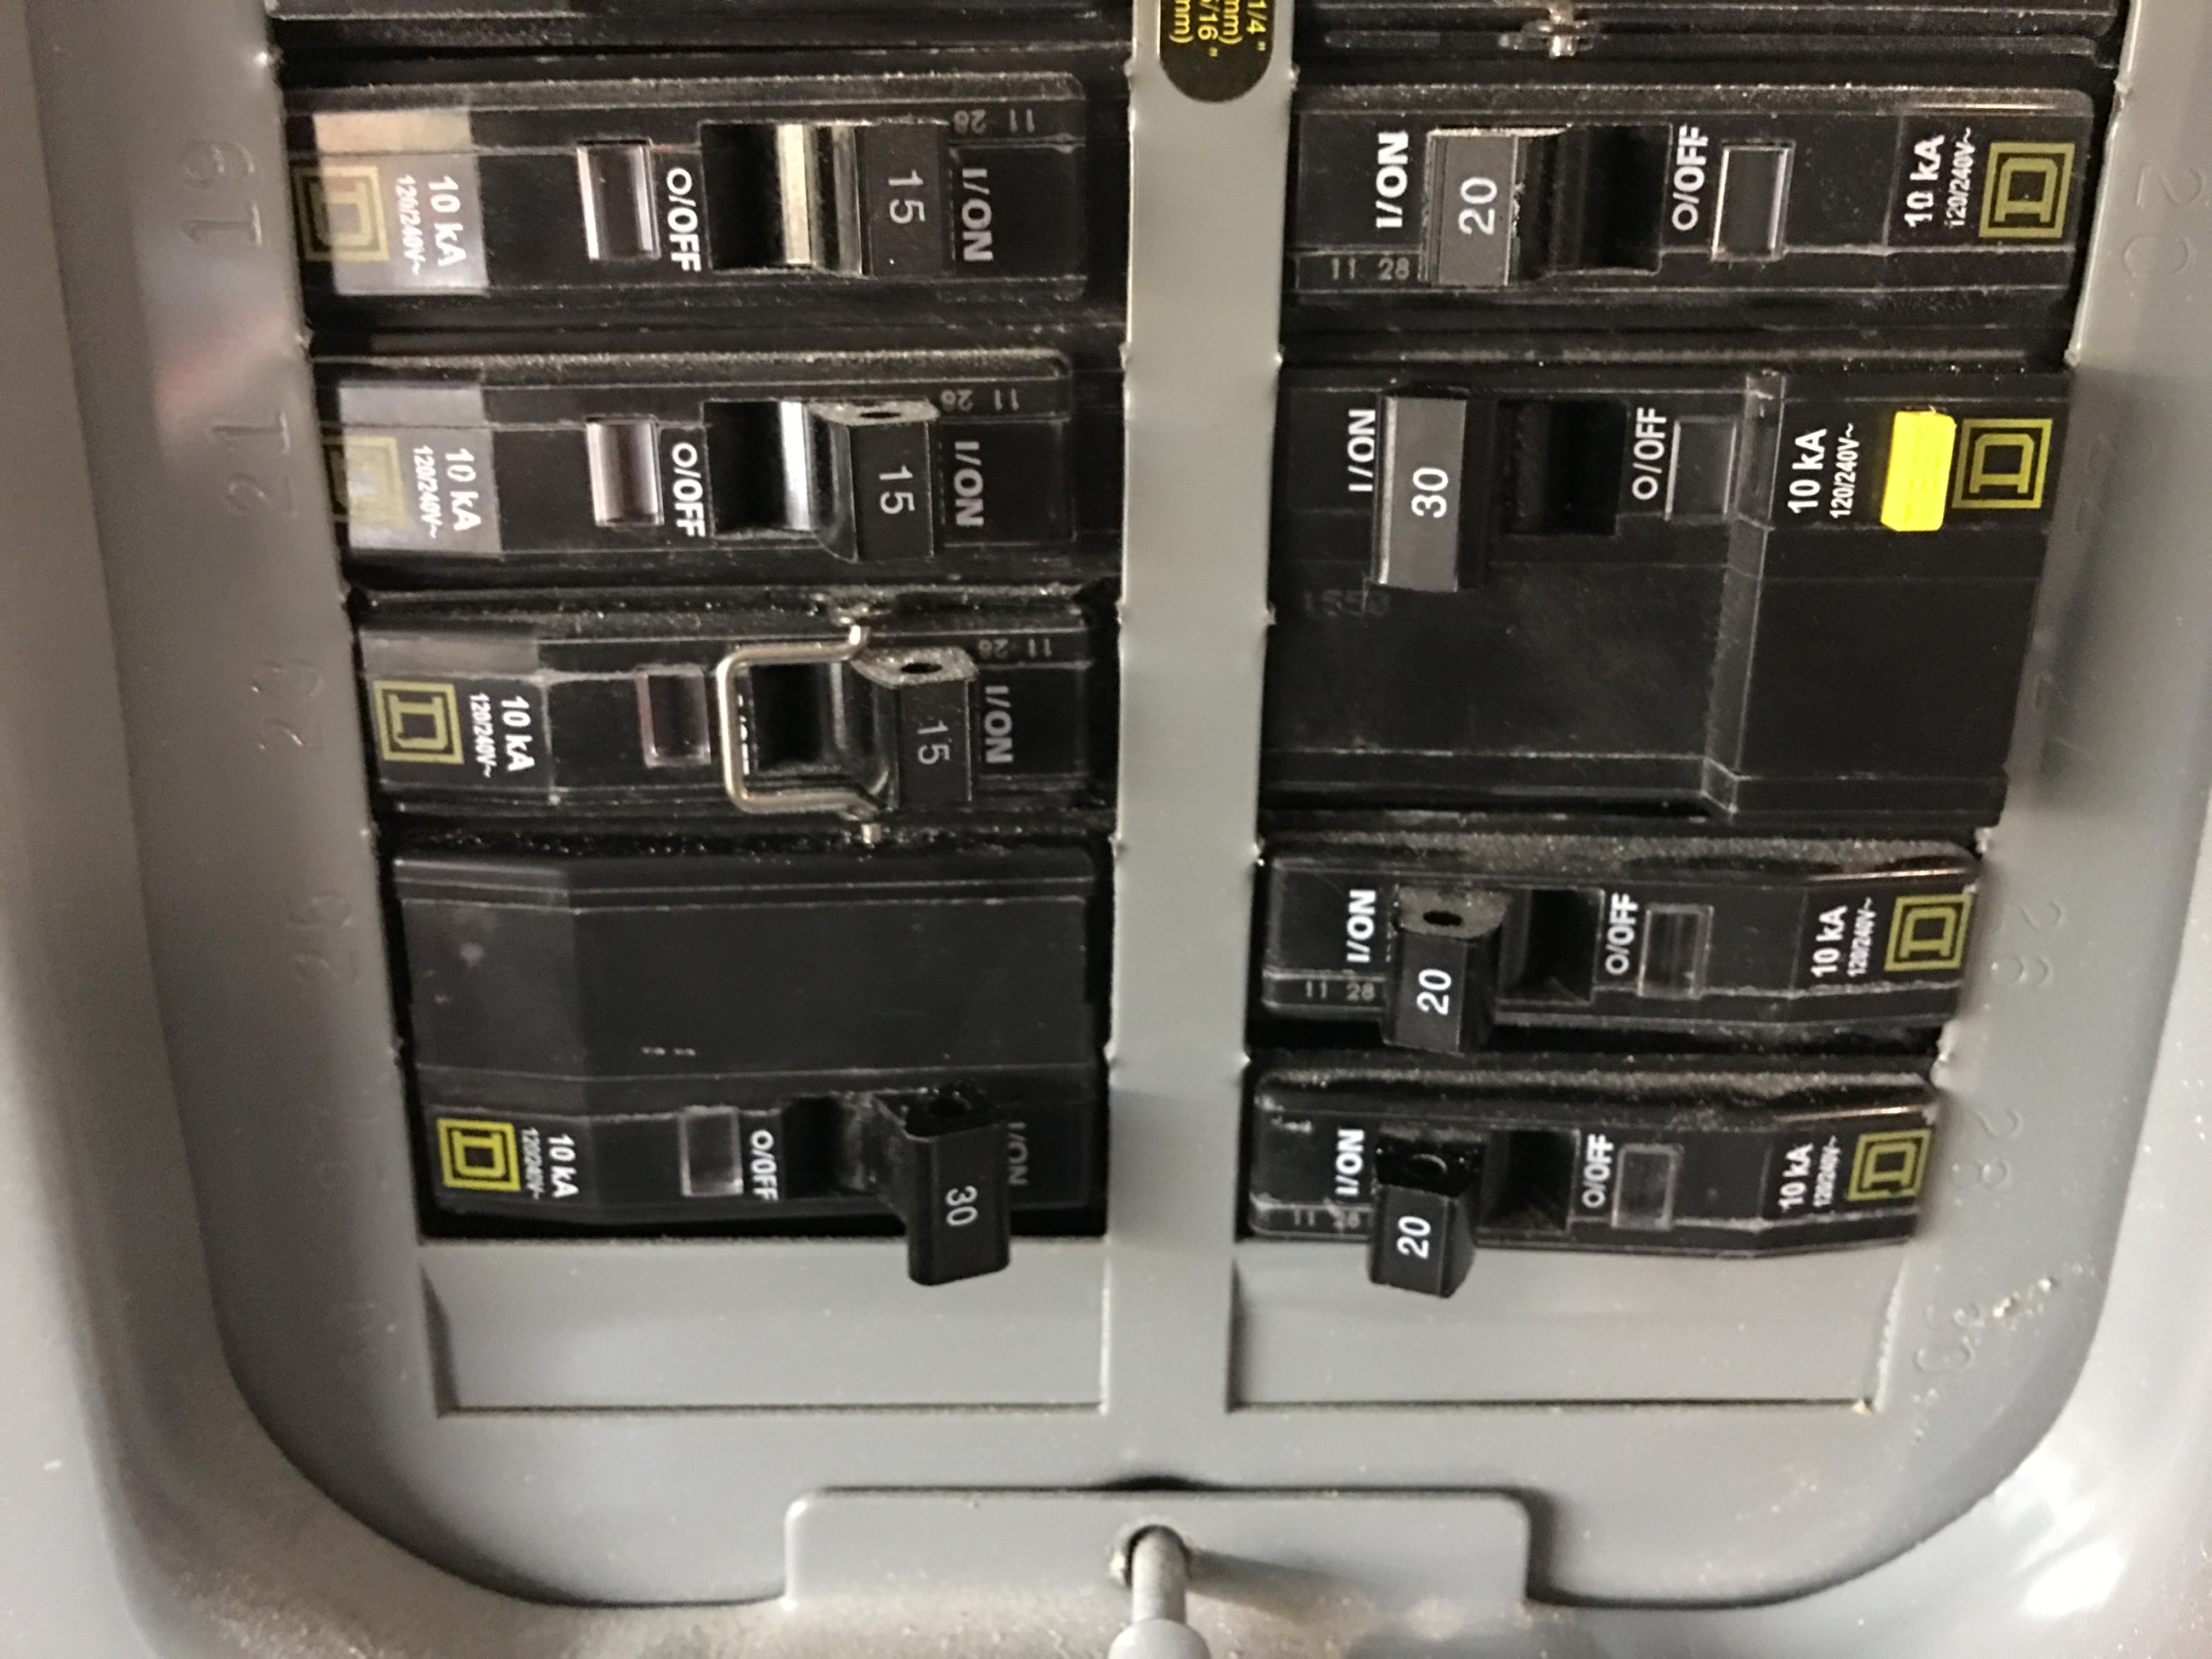
Tomorrow is my last day off where I'll have a chance to add the GFCI breaker so I'll do that then. Will post pics when I get that done.
Wiring diagram:
I started playing around with the layout using cardboard. As you can see I went through several changes and even this isn't what I settled on:
The box I bought was bigger than I wanted but will give me room for expansion later, because I get bored.
BUD Industries NBF-32026 Plastic ABS NEMA Economy Box with Solid Door, 15-47/64" Length x 11-51/64" Width x 6-9/32" Height, Light Gray Finish
I'll post a complete part list later.
Prepping the front:
Drawing where I want the components to go:
The box didn't include a base to mount the parts on. I decided I wanted to save $10 by making one myself. First mistake. This took me an hour probably.
Using forstner bits to cut the holes. These came out nicely but I couldn't get the front panel off and was afraid I would break it accidentally so I made do. This slowed things down a lot.
I used a 20 TPI blade in my jigsaw to cut the straight bits:
Test fitting the front components:
Boatloads of room leftover:
My original plan had two SSR's so I bought a large heat sink that could handle both. Then I bought a Teledyne SSR which is like two SSR's in one. Then I changed my plans and only needed one SSR. So, the heat sink is a bit over sized.
Bottom view:
Pissed about the hole for the 120V outlet. I had bought some single plug outlets but after I cut the holes for them I found out they were made for thinner project boxes and the tabs for them just wouldn't work with the thickness of this box. So I grabbed what I had and made do with a hole that's slightly too big. I'll fill the gaps with some silicone caulk later. Typing this up I realize that I forgot to snip the tab connecting both receptacles.
You can also see the rough job my hand drill did cutting the hole for the 30A recepticle. This part of the box wouldn't fit on the drill press. My cordless drill was too weak. So I tried a cheap corded drill that I use to crush grain. Ugh!
Fuses and temp controller connection:
Tomorrow is my last day off where I'll have a chance to add the GFCI breaker so I'll do that then. Will post pics when I get that done.
Last edited by a moderator: