
This will be a lengthy write up with a lot of pictures, so patience... ")
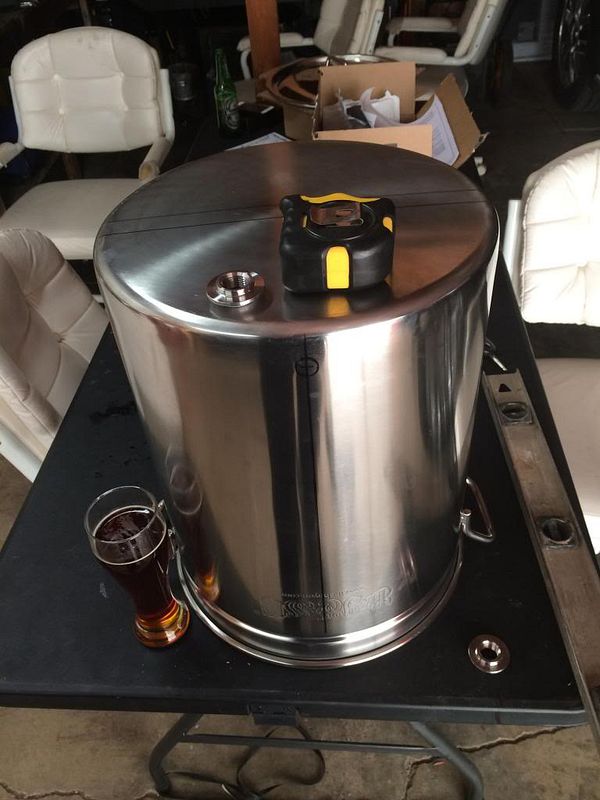
Homebrew, Check
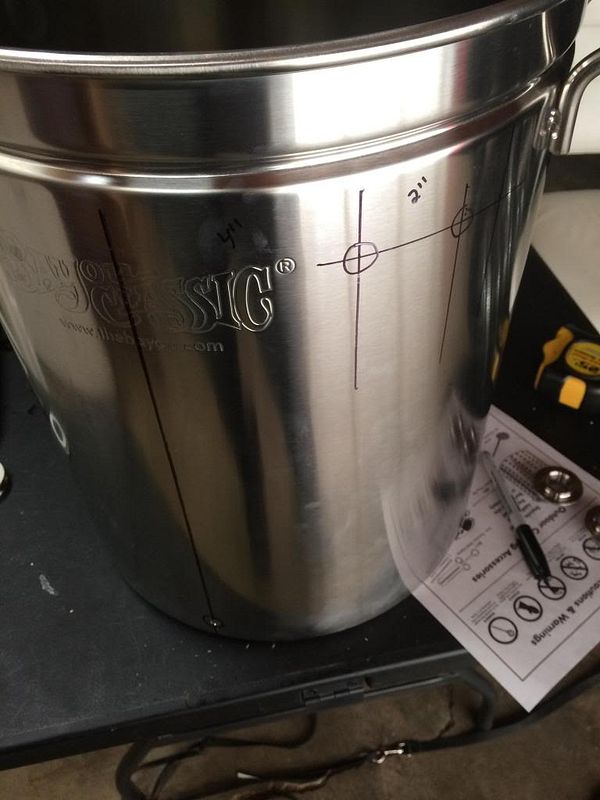
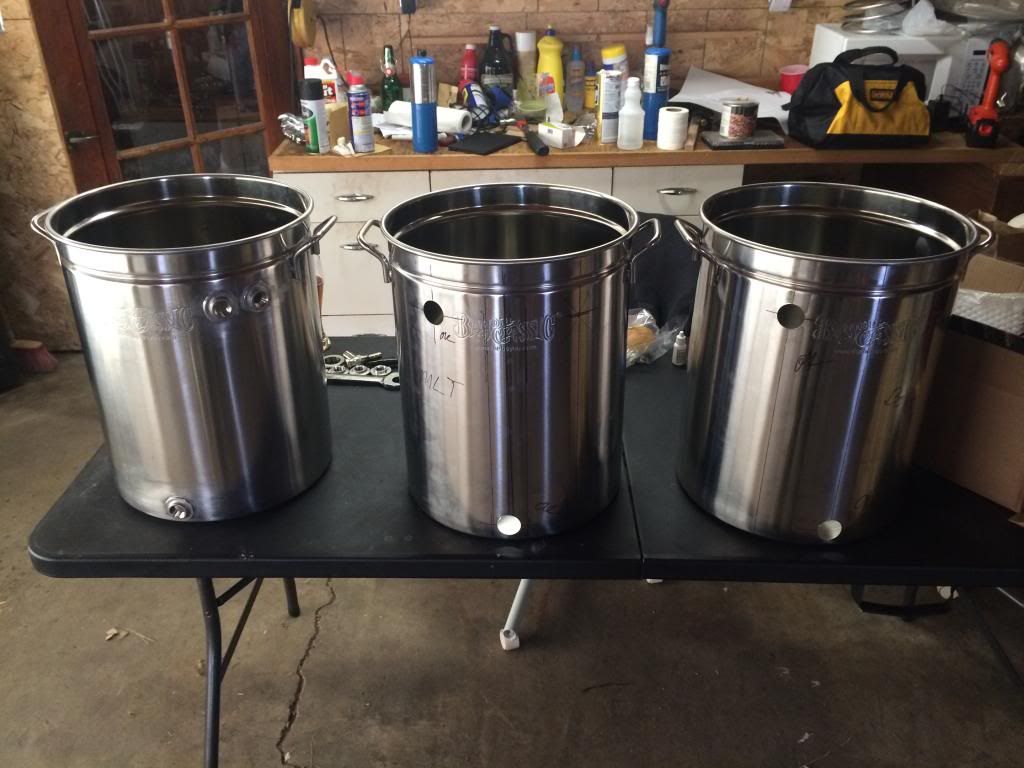
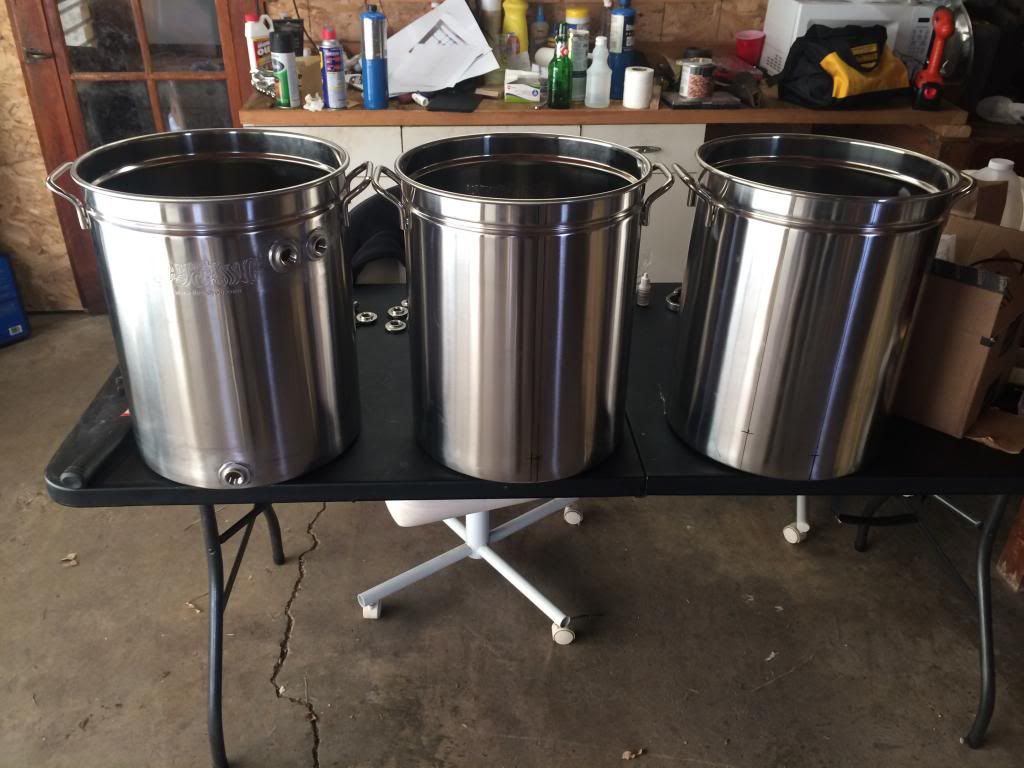
Marked holes with sharpie, and drilled out with 1/16, then 3/8 for knockout
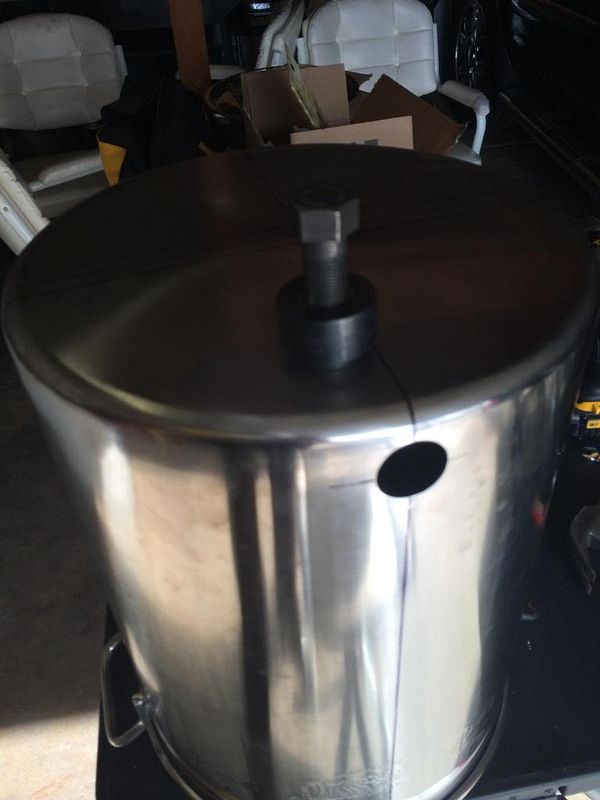

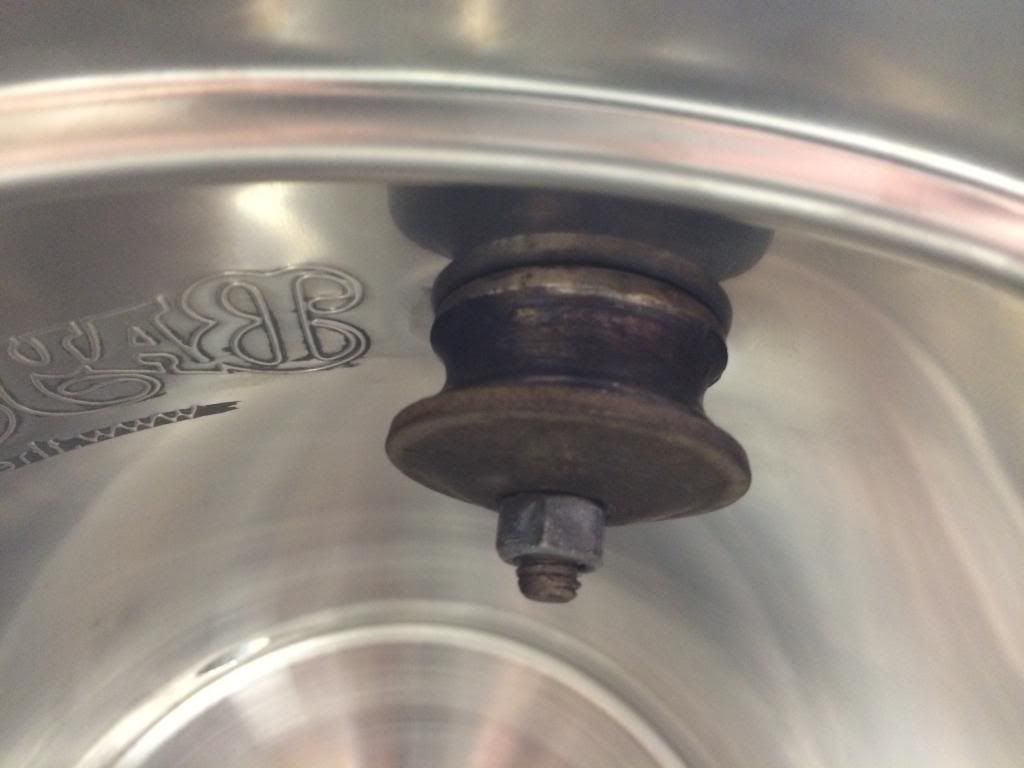
Made a "special" tool to hold the weld fittings...
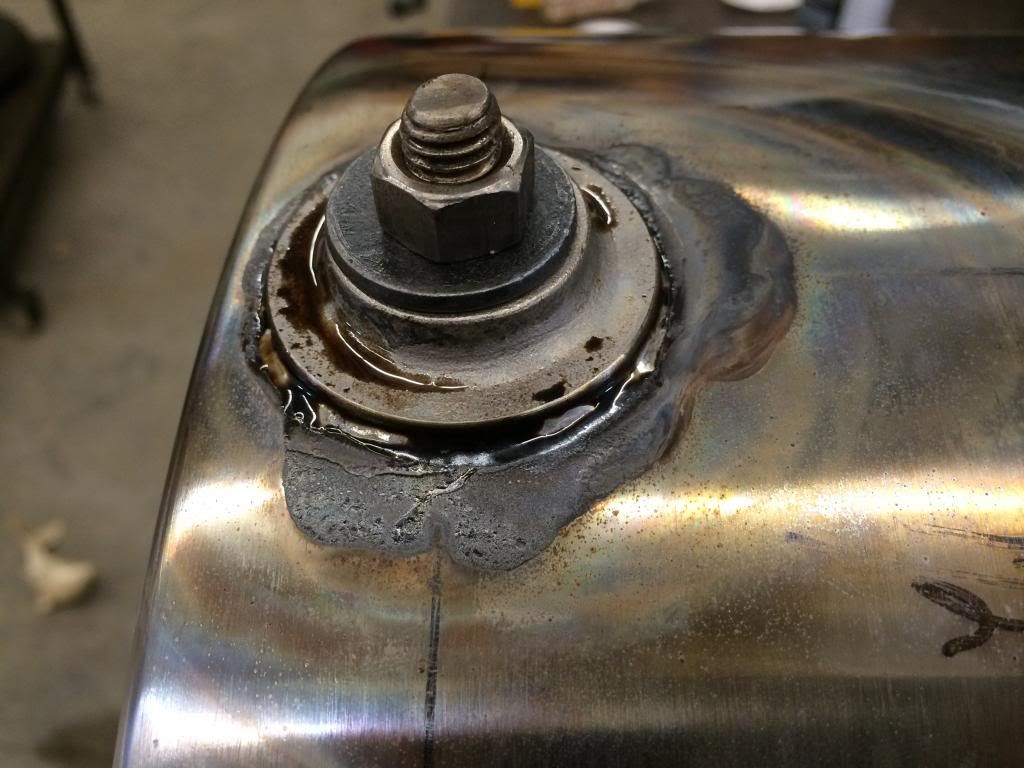
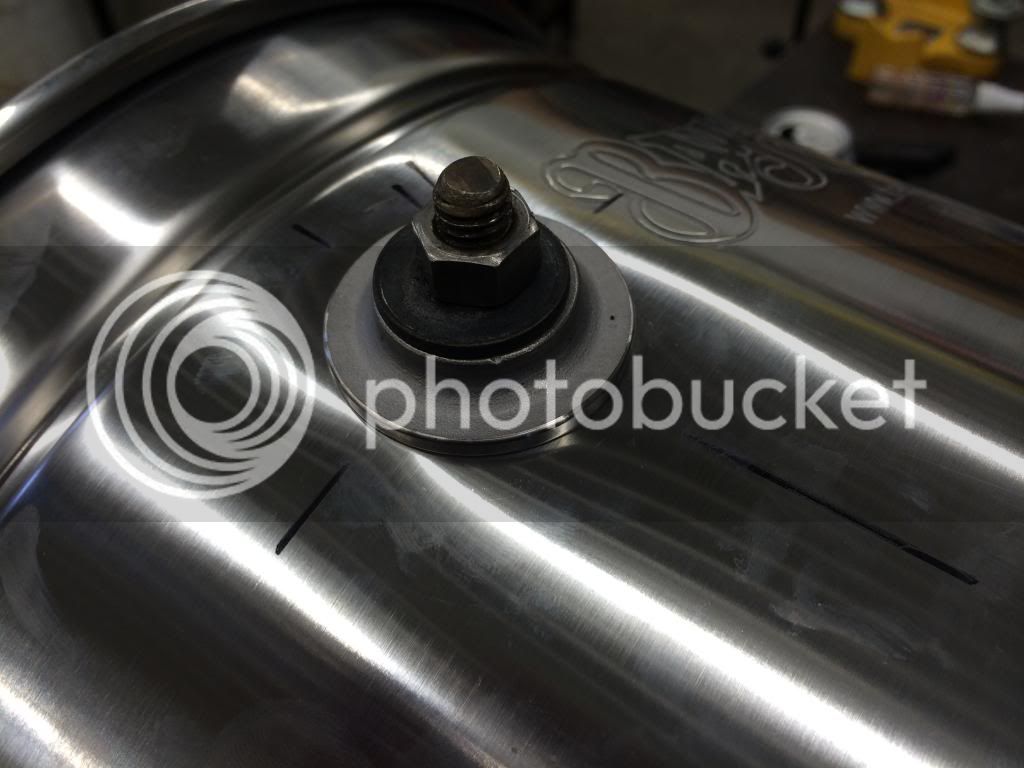
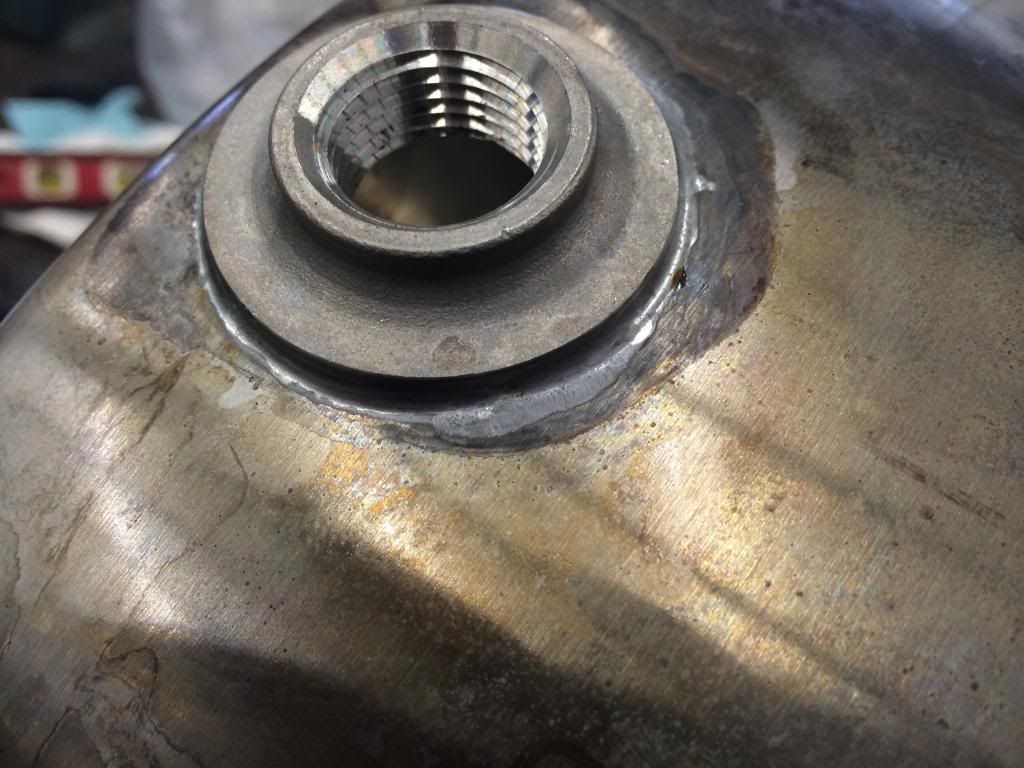
After welding, the flux wipes right off with a soaked rag when its still hot, BUT you have to wait till the solder has set, if you dont then the liquid solder will get sucked right into the joint and leave holes, and it messes up the finsih(talking from experience) so basically you just wanna leave it for 3 min or so after your done soldering before you touch it(with a wet rag)

Homebrew, Check

Marked holes with sharpie, and drilled out with 1/16, then 3/8 for knockout


Made a "special" tool to hold the weld fittings...


After welding, the flux wipes right off with a soaked rag when its still hot, BUT you have to wait till the solder has set, if you dont then the liquid solder will get sucked right into the joint and leave holes, and it messes up the finsih(talking from experience) so basically you just wanna leave it for 3 min or so after your done soldering before you touch it(with a wet rag)


