My Future Keezer

Homebrew Talk - Beer, Wine, Mead, & Cider Brewing Discussion Forum

Help Support Homebrew Talk - Beer, Wine, Mead, & Cider Brewing Discussion Forum:

This site may earn a commission from merchant affiliate links, including eBay, Amazon, and others.

NocturnalEMT

Well-Known Member
Joined
Jan 7, 2012
Messages
175
Reaction score
3
Location
Fairfield
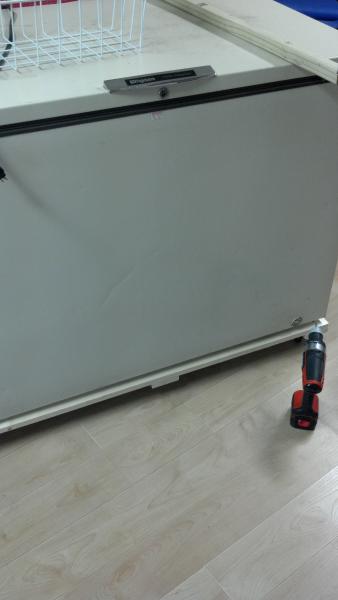
After seeing all these kick a** Keezers, well, I had to get one. So here is the beginning of my project. And thanks to those whose Keezers are enshrined throughout this forum, because thats exactly how I got my SWMBO on board. If anyone has any suggestions, please add, because I am going to have this done by the end of Feb.
 
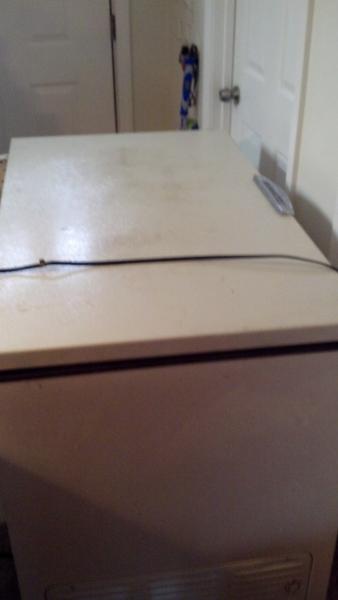
Oops, forgot the pic....

003.jpg
 
Man, I seriously looked at Craigslist and found this beaut for $50 bucks...it was a dude's grandpas and he just needed to get rid of it. My gain I guess.
 
Good luck with the keezer build.....the sky is the limit with these things. You first have a bunch of decisions to make. Are you building a cabinet around it to match your decor? Do you want a keezer with a collar, a coffin on top, or both? How handy are you? What's your budget? If your doing a coffin, how are you going to cool it? What kind of temp. control are you using? There are lots of things to take into consideration, but lots of us die hard DIY'ers to help you out along the way. I have a ridiculously long thread that chronicles my "rustic" coffin keezer build from start to finish if you are interested, as do many others. To save you time, just look at the last page of my thread to see the end result, then decide if you want to go down the coffin keezer path or do something simpler with just a collar. Let me know if I can help. Good luck! :mug:
 
That is completely awesome information and i greatly appreciate it. I will have plenty of questions to ask and me being quite the perfectionist, i appreciate someone helping along the way.
 
I just responed to your PM. I don't have exact measurements/specs, but most of the steps that I used to build my keezer are in the thread. With you being a perfectionist, you may want to use something like google sketchup or another design softwared to produce blue prints to work off of. I sort of shot from the hip on my build (and all of my other builds for that matter), but I'm happy with the end result. Let me know if I can help along the way. Can't wait to see it come together......subscribed! :mug:
 
Do I really need clearance from the wall of the freezer to the surrounding coffin?

Do you mean the cabinet? I would say yes, some would say no. Some would say if you are gonna have clearance then you need vents and / or a fan to move the air.

Different people did different things, check out the Coffin Keezer list here - https://www.homebrewtalk.com/f51/coffin-keezer-list-256871/

Off the top of my head both Jester369 and Hoppopotamus (the two builds that I looked at the most while working on mine) did gaps. Jester did the fan option and Hoppo did the vents. Personally I have just a 3" gap between the freezer walls and the cabinet, and the air escapes out the back as it is not surrounded by a cabinet.
 
Nocturnal, did you ever decide how you are going to make your coffin? If you want to learn from my mistake, I would recomend making it more along jesters design than the route I went, mine is too difficult to keep the coffin cold even with a computer fan circulating cool air up into the coffin, and as a result the first few pints are always foamy. I plan on revamping mine this summer to fix the problem.
 
Nocturnal, did you ever decide how you are going to make your coffin? If you want to learn from my mistake, I would recomend making it more along jesters design than the route I went, mine is too difficult to keep the coffin cold even with a computer fan circulating cool air up into the coffin, and as a result the first few pints are always foamy. I plan on revamping mine this summer to fix the problem.

Hey Josh.....not sure how I missed your build. I'm gonna jump onto your thread and check it out. Maybe we can figure out a way to get your coffin more efficient with cooling. I'm getting ready to start working with patients, but I'll check it out over the weekend to see if I can come up with any suggestions. Thank you for your service to our country! :tank:
 
@ Hop: I'd appreciate any input, still going to do a slight rebuild, wife isn't 100% happy with it's looks, and if it's going to stay in the living room she needs to be happy with it.

@ Noctural: I left the back of mine open, and I also placed the plywood right against the body of the keezer. Mine turns on about once an hour for about 10 minutes. and I haven't had any issues thus far. I don't know if that is compareable to the mileage of others
 
IMHO....I agree with Jeebas that venting or fan cirulation may not even be necessary as long as the back is left open. I built the cabinet with a 3 1/2" air gap around the front and sides, with the back left compeletly open. Since air space can serve as an insulator, I went overkill with venting. I put a decorative vent in the front of the cabinet near the top, vents near the top on both sides, and a large vent on the right lower side where the compressor vent is located on the unit to allow heat to dissipate. My unit sits in a cubby space where the sides are not openly visible, so I was not worried about the asthetics of the side vents. Honestly, I'm not sure if any of that was necessary, because as Jeebas said, the back is completely open to allow heat to escape. Do what you are comfortable with. What I can tell you is that in my set up, I have had absolutely not overheating issues. I'm sure that Erik (Jester) would say the same with his fan cirulation system. Several guys....with no venting or fan circulation (like Jeebas) have not had overheating issues either. I think that the major key is to leave the back open and give it the recommented space between the back of the unit and the wall it's going up against. I'm sure if the cabinet were built around the entire unit or in the instance of just the front/sides, the unit were pushed tight up against the wall.....then there could certainly be overheating issues. Keep in mind these few basic principles and you will be fine. Good luck! :tank:
 
I love it when people post these step by step of how you got to the final product. This looks like a promising outcome of awesomeness. :mug:
 
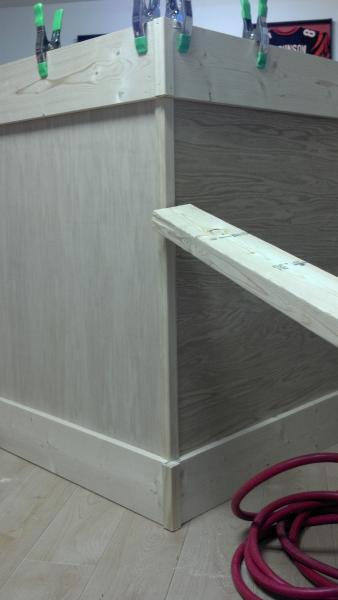
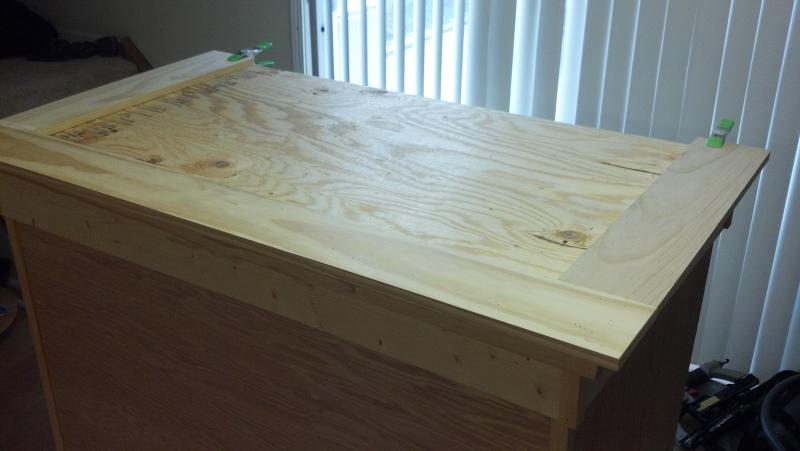
Just about done...well, minus sanding and staining...Done for the day so the liquid nails can dry overnight. I can't stress enough how help a finishing nailer has been. PHENOMENAL.

001.jpg
 
I did however cut the boards the wrong way. not that big of a deal, but the front panel's grain goes horizontally while the 2 side panels go vertically. Not to happy about it, but i will live.....more to follow.
 
I did however cut the boards the wrong way. not that big of a deal, but the front panel's grain goes horizontally while the 2 side panels go vertically. Not to happy about it, but i will live.....more to follow.

I think I may have done the same with mine. One way to look at it is that you're never gonna be looking at all three sides at once, or even two sides at once most times. And if you trim out each panel its a lot less noticeable too. One thing that I learned quickly with my build was to let go of perfection as a goal, it became more fun after that :p
 
I'm no brew or keezer expert but i'm very excited to see where this project is going. Keep us posted! :)
 
Looking good. Subscribed because I'll be making mine soon.
Cheers!
 
The tile I'm using...i'm gonna have to put layers of sealant on it but oh well. Wood will be stained with a black stain/poly mix which should make it be a psuedo semi-gloss.

005.jpg
 
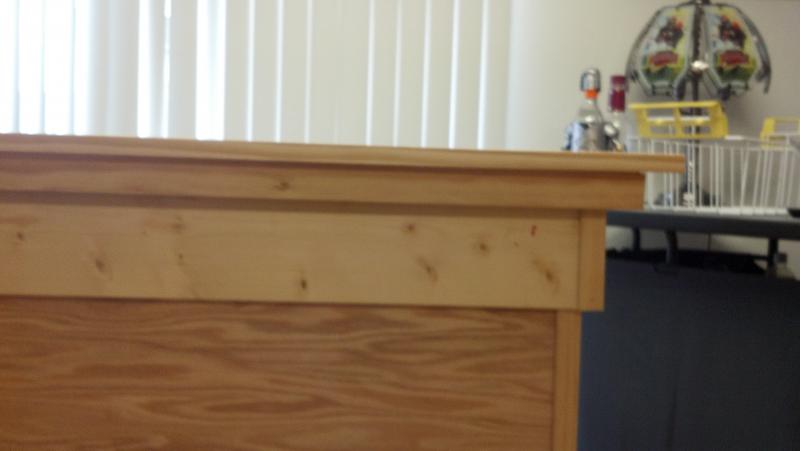
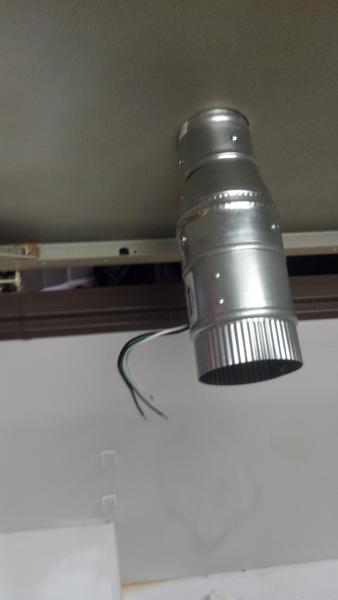
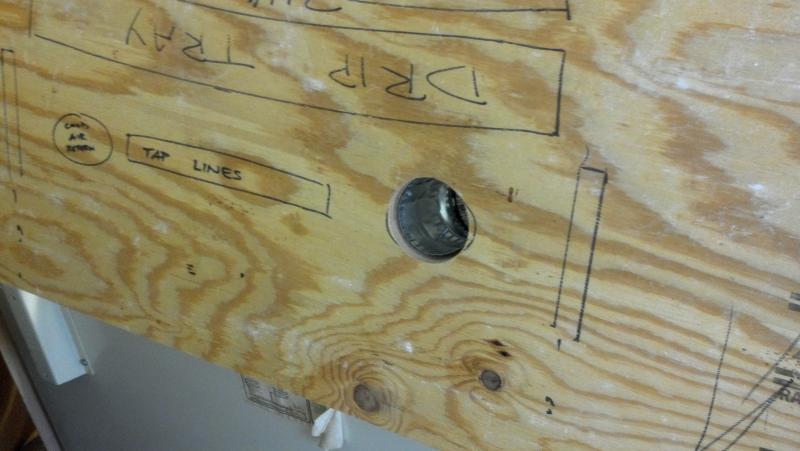
Sorry but I've been in Mexico for over a week and havent been able to update but here you go.......Here is my fan set up. It's a 4" inductor fan from HD. It's cost was $30. I have it set up to where I can run the electrical out the back hole of the lid to my furture temp controler. it's reduced to 3" to the top. With it sitting quite a bit below the lid, hopefully it will be able to draft colder air to where the taps will be. Also, I have a custom made drip tray that a friend made for me, at no costs. Pics in the future.

2012-01-27_13-19-58_360.jpg


2012-01-27_13-20-13_766.jpg
 
Sweet! Someplace on my thread, you can find the correct parameters/ settings to use in this application, once you get it wired up. Don't ask me what page it's on, but I recall listing them out for someone along the way. Good luck! :mug:
 
The tile I'm using...i'm gonna have to put layers of sealant on it but oh well. Wood will be stained with a black stain/poly mix which should make it be a psuedo semi-gloss.

Have you already purchased your shanks? Maybe its just the angle of that pic, but it doesn't look like that coffin box frame is gonna be deep enough for 4 1/2" shanks... Unless I am misunderstanding what I'm looking at here?
 
I have 3 1/8" stainless shanks in route to the house. After measuring, that works best for me. I wasnt wanting a huge coffing box.
 
Back
Top