Keith's Cut Keggle

Homebrew Talk - Beer, Wine, Mead, & Cider Brewing Discussion Forum

Help Support Homebrew Talk - Beer, Wine, Mead, & Cider Brewing Discussion Forum:

This site may earn a commission from merchant affiliate links, including eBay, Amazon, and others.

kzimmer0817

Well-Known Member
Joined
Dec 3, 2011
Messages
263
Reaction score
15
Location
Athens
Fellow HBT DIYers,

My son was given a dented up keg by his boss at the bottle shop. I had agonized over trying to rig up a jig in order to cut out the top to make a keggle. I saw a photo where someone had cut the keg straight along the weld line in order to make it more like a regular kettle, so that's what I did.

For some reason, I find that I cannot click on the little icon that assists in posting picture, so I'm entering them manually using the codes.

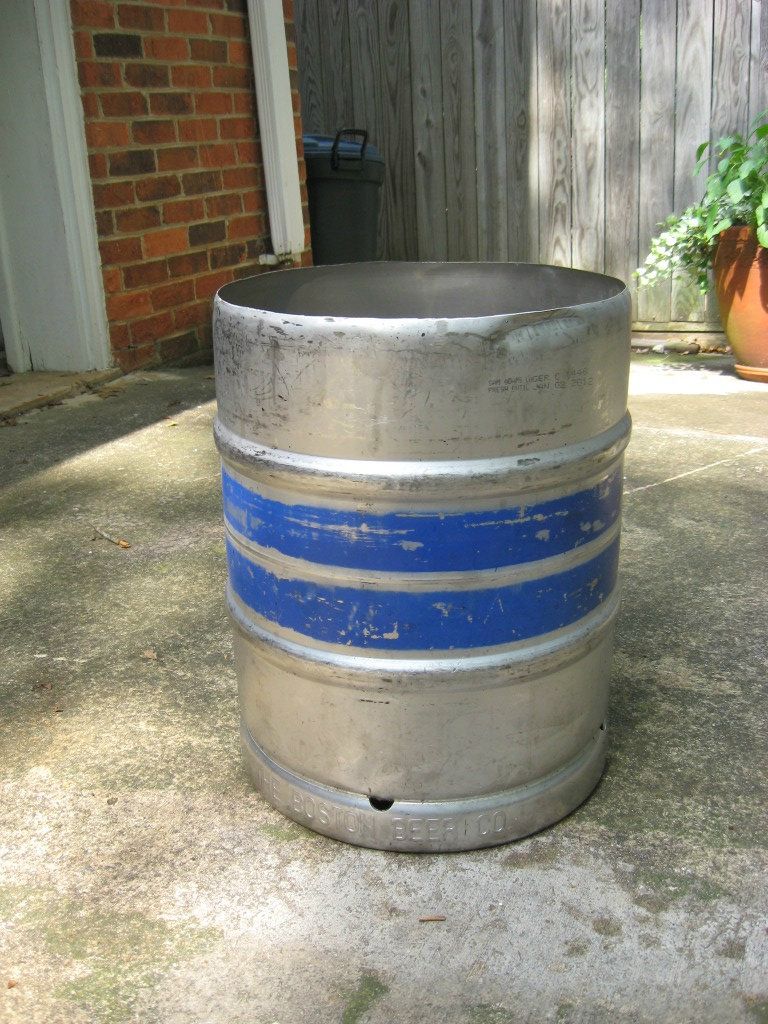
Here's the keg prior to cutting (truthfully, I didn't get a "before" picture, so I laid the top back on and took the photo):
IMG_1343_zpse6c4c3e0.jpg


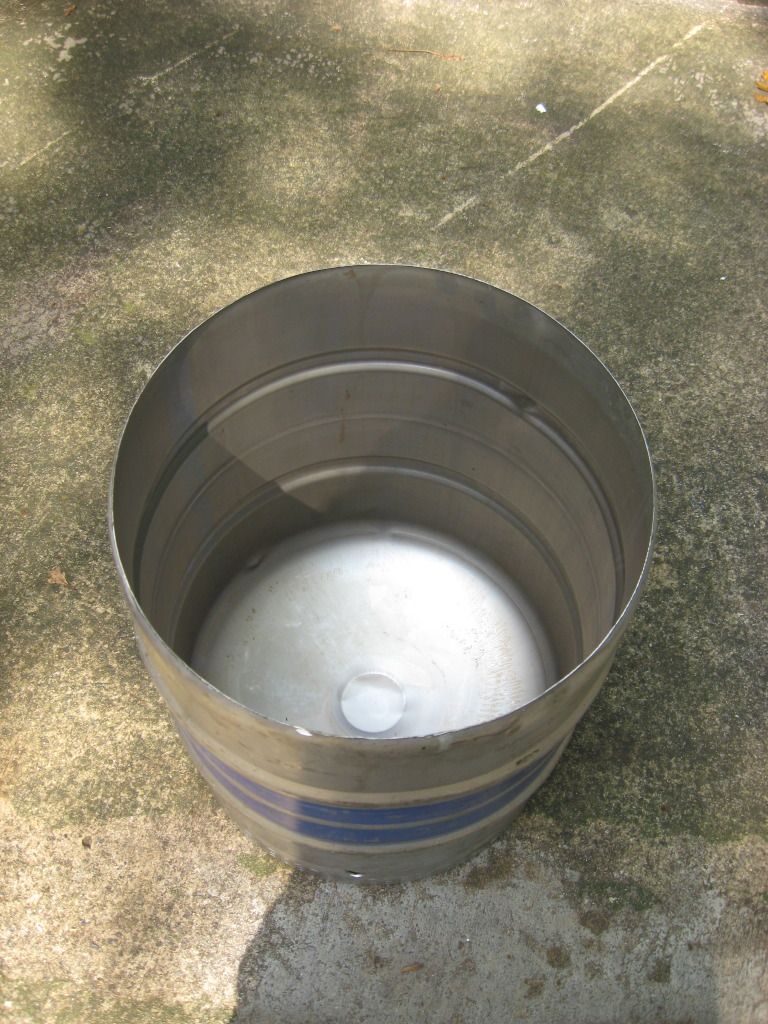
Keg after top is cut off at weld line:
IMG_1344.jpg


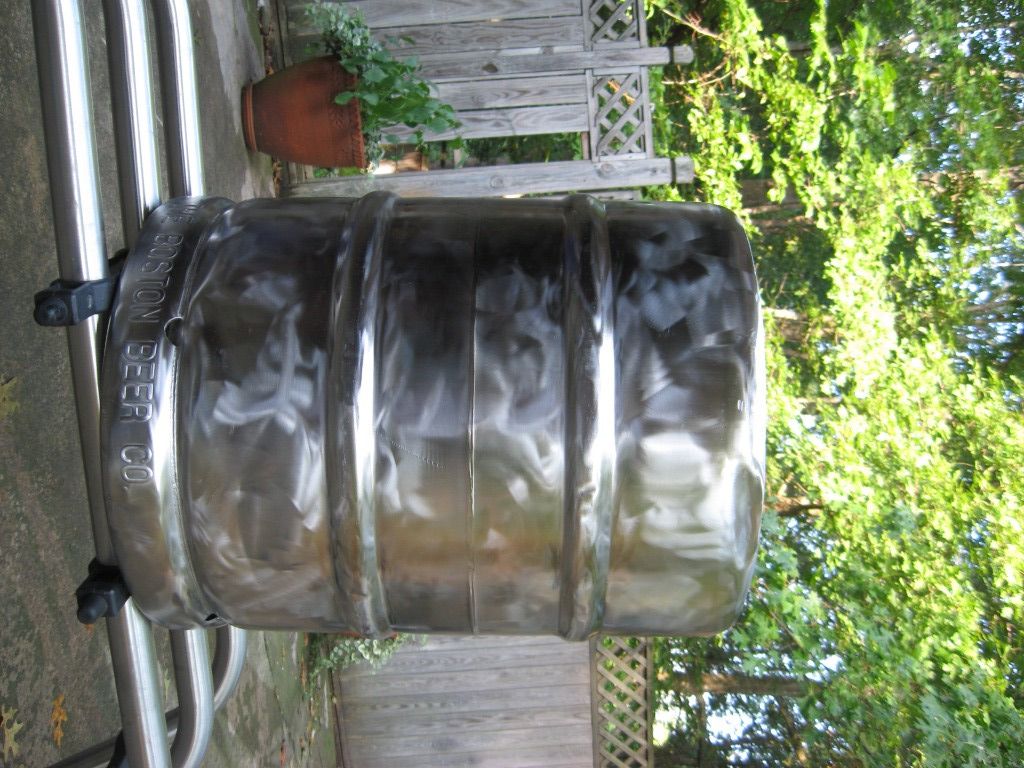
Other view of keg after cutting:
IMG_1345.jpg


Keg after medium buffing pad:
IMG_1347.jpg


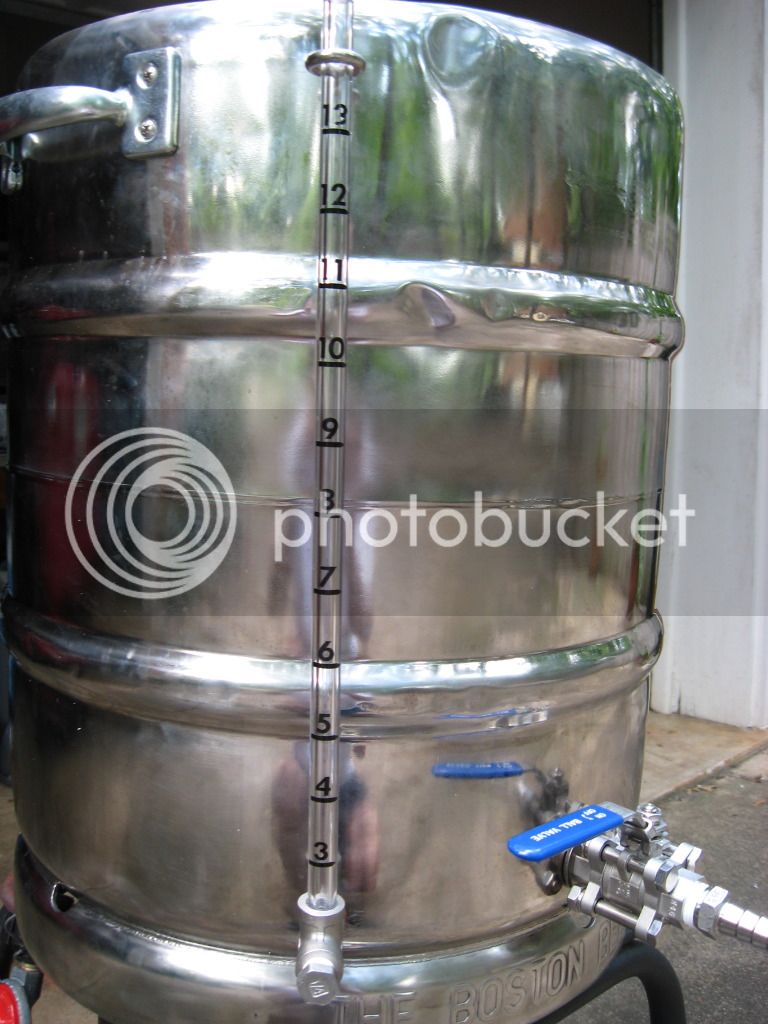
Keggle with weldless ball valve and sight glass from Bobby at Brewhardware installed:
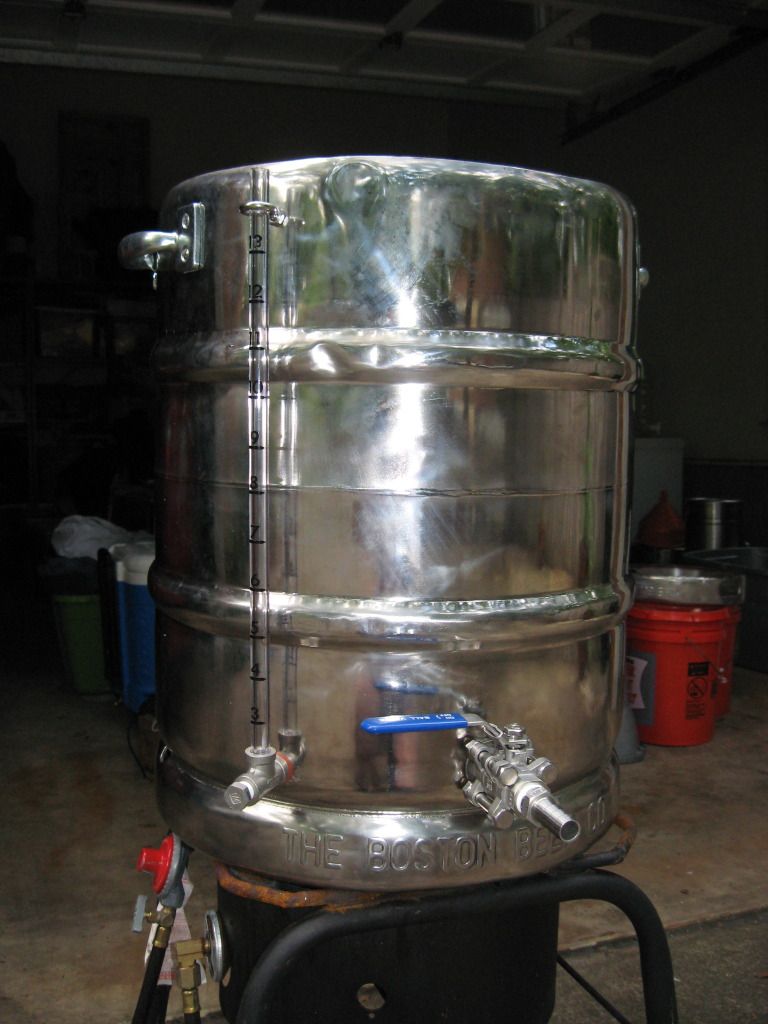
IMG_1349.jpg


Close up of keggle:
IMG_1356.jpg


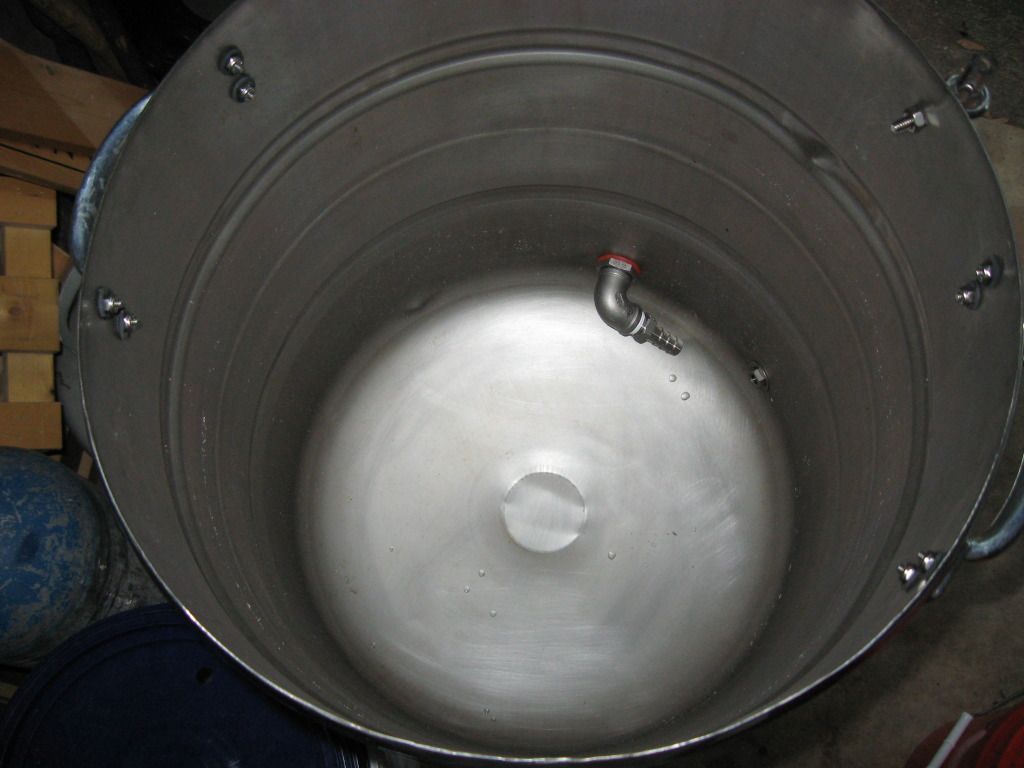
Inside keggle showing pick up tube:
IMG_1360.jpg


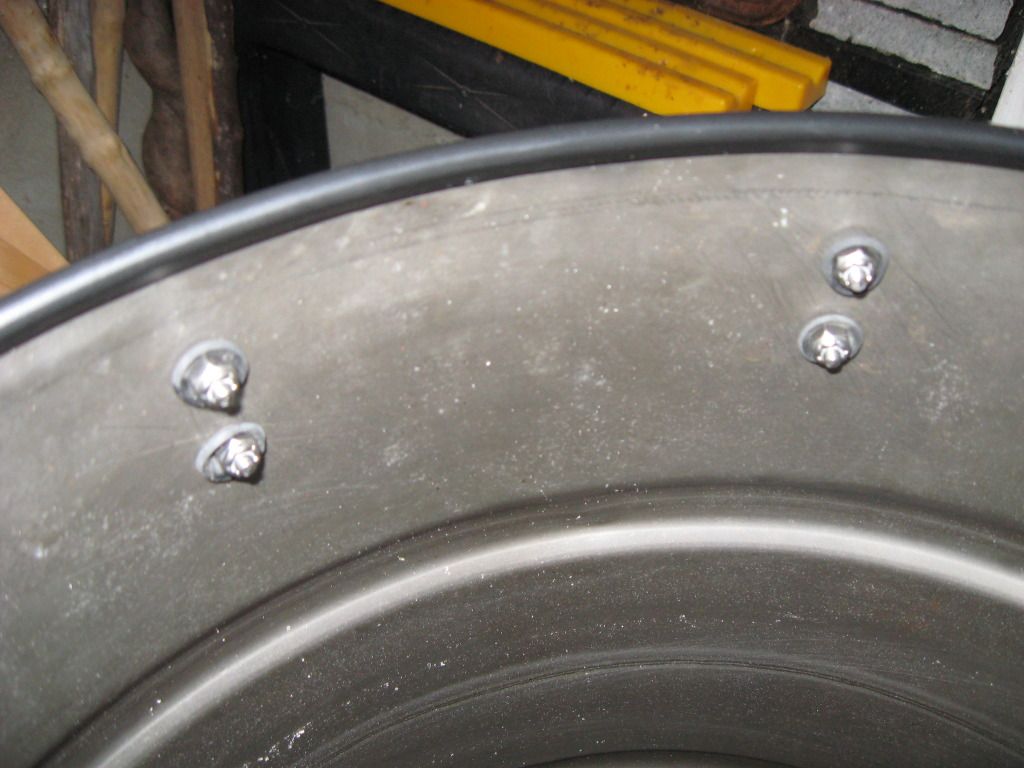
Plastic split tubing from Brewhardware stuck along edge of keggle:
IMG_1362.jpg


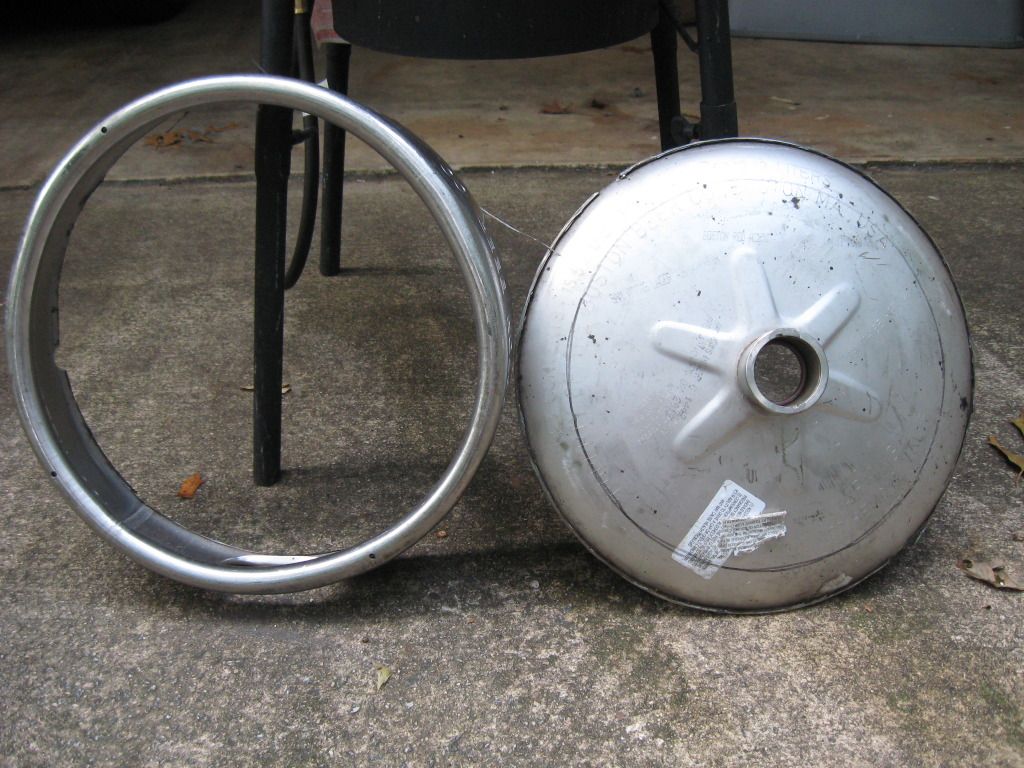
I cut the top rim off the top of the keg today. You can see the circle drawn by my son where he was hoping to cut it. I hope to fashion a lid from it:
IMG_1353.jpg


This is my son and I doing our first brew together. I think it was an extract with steeping grains brew.
IMG_1288.jpg


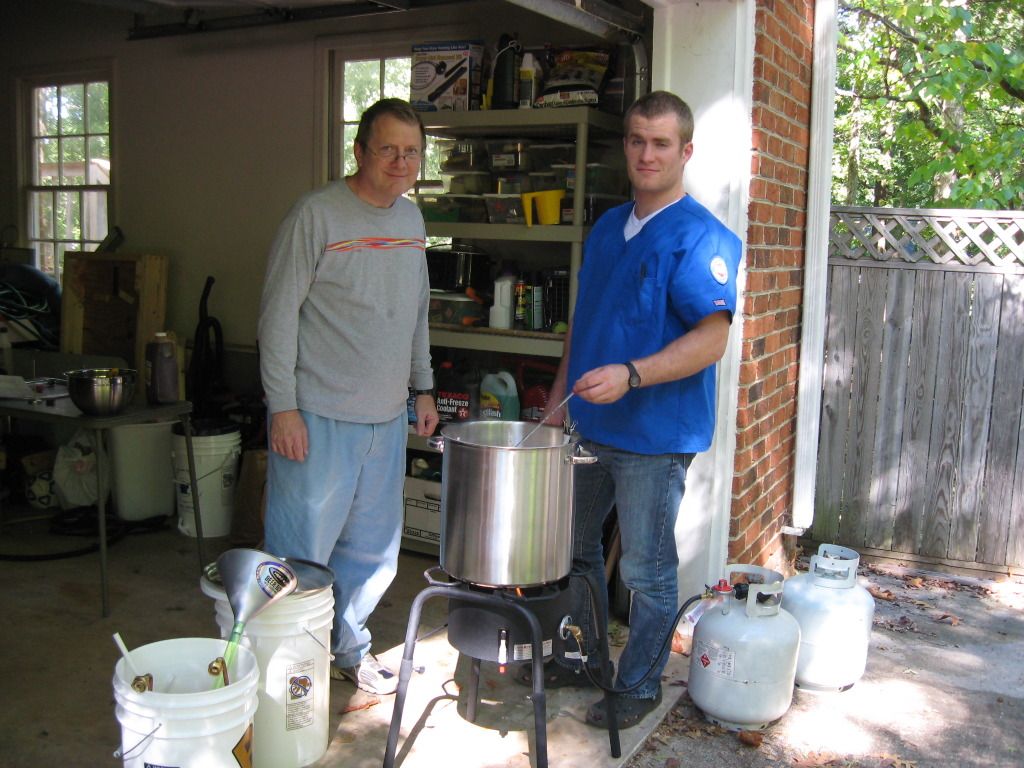
We will be moving in the next couple of months to a house that has a great area outside the basement for brewing. At that time, I plan to mount a heating element into it to make an e-kettle.

Thanks,
Keith
 
Looks good Keith. Now drop that bag I sent you in the keggle and brew us some beer!

---Todd
 
I LOVE the handles, and I need some for my keg MLT since I turned it upside down to make it bottom draining. Where did you find those?

Yooper,

I got those at Lowes. They are gate handles located on the aisle where cabinet hardware is located. They are not cast steel, but appear to be pressed. They are held onto the keggle by #8x32 1/2" stainless steel bolts, rubber washer on inside, and #8x32 SS locknut. Each handle requires 4 bolts (I only got 4 total on my first trip). I got the phillips head bolts that have the flat top and the head is slanted underneath so they countersink in the indentations on the handles. These screws are not open on the shelf, but are in those drawers where they keep the specialty items.

Hope that helps,
Keith
 
Great call adding the handles back. Now you have a clean straight sided pot, and handles. I've never liked seeing kegs cut like this becuase I think handles are so important. With this, you have the best of both worlds. Glad to see the bolts you used for them are stainless. You may want to consider silicone washers instead of rubber there, is my only suggestion.

Great job
 
Yooper, great job! I think the handles of yours look awesome. You may just have persuaded me to do my kegs the same way! Where in U.P. are you? Im originally from Menominee but reside In green bay at the moment
 
Great call adding the handles back. Now you have a clean straight sided pot, and handles. I've never liked seeing kegs cut like this becuase I think handles are so important. With this, you have the best of both worlds. Glad to see the bolts you used for them are stainless. You may want to consider silicone washers instead of rubber there, is my only suggestion.

Great job

Thanks. I knew that I didn't like the big bulky keggle that so many folks use (not dissing them, just my preference).

My first idea was to try to do this:
https://www.homebrewtalk.com/f11/how-lighten-your-sanke-keggle-214694/

My 2nd idea was to try what this guy did in posting #18 of the following thread. His video left me a little confused, but I liked his idea.
https://www.homebrewtalk.com/f51/made-my-own-biab-314523/index2.html#post3932317
This gives you strong handles, yet opens the mouth of the keggle wide open so you don't have a ledge to catch grain when dumping/cleaning. One negative side to this method is that the handles make it more difficult to store your keggles upside down on a shelf.

Thughes sent me a photo of an old keggle he had that was cut straight. Also, I read a posting where someone was worrying about how to cut the keg, and another brewer suggested that he simply cut the keg straight and bolt gate handles to the top. So . . . that's what I did.

I'm going to look into the silicone washers. I'd like something hard as the rubber ones want to squeeze out of the way.

Thanks,
Keith
 
Yooper, great job! I think the handles of yours look awesome. You may just have persuaded me to do my kegs the same way! Where in U.P. are you? Im originally from Menominee but reside In green bay at the moment

Oh, that's not MY keg! Those awesome handles are kzimmer's work- that why I asked about them. (I "quoted" the picture, I think so it looks like my photo).

I don't have handles on my keg MLT at the moment, since I turned it upside down and have it bottom draining. But I love his idea and handles, and so I think a trip to Home Depot may be in my future. (No Lowe's around here yet).

I live in the central UP, in Iron County, right on the Wisconsin border.
 
Yea I see that. Sorry kzimmer! Doesn't change the fact that they look great!

No offense taken. This idea is certainly not "my" idea, but I'm surprised that there are almost no examples of this type of cut on the forums. I will have to look around for a lid to fit.

This type of cut would be great for those doing BIAB. It's important to make certain that the bolts holding the handles on - as well as the eye bolt for the sight glass - are short with smooth edges so as not to snag the bag.

Thanks,
Keith
 
I cut mine along the weld like yours, but when I got close to the handles, I just cut upward and left the handles on. So I have a nice wide opening, and very strong and comfortable handles. Plus, I can turn the keg upside down and it sits on the handles.
 
Side note: Are you the bad guy from "Lost"?

Are you asking me? I watched a few episodes of "Lost". I lost track of who was good and who was bad. I did watch the final episode and was quite disappointed in how it ended. Certainly wasn't worth all the hype, IMHO. BTW, I thought the doctor on lost was the good guy.

Keith
 
I cut mine along the weld like yours, but when I got close to the handles, I just cut upward and left the handles on. So I have a nice wide opening, and very strong and comfortable handles. Plus, I can turn the keg upside down and it sits on the handles.

I would have rather done it your way. The idea of having welded-on handles is good. If you'll allow me to quote myself, it sounds like you did what this guy did:
kzimmer0817 said:
My 2nd idea was to try what this guy did in posting #18 of the following thread. His video left me a little confused, but I liked his idea.
https://www.homebrewtalk.com/f51/made-my-own-biab-314523/index2.html#post3932317
This gives you strong handles, yet opens the mouth of the keggle wide open so you don't have a ledge to catch grain when dumping/cleaning. One negative side to this method is that the handles make it more difficult to store your keggles upside down on a shelf.

How did you actually make the cuts? To me, the problem is cutting close enough to the inside edge of where the handles attach. Could you post a couple photos of your keggle?

I'm thinking that this would be much easier with a plasma cutter.

Thanks,
Keith
 
kzimmer0817 said:
Are you asking me? I watched a few episodes of "Lost". I lost track of who was good and who was bad. I did watch the final episode and was quite disappointed in how it ended. Certainly wasn't worth all the hype, IMHO. BTW, I thought the doctor on lost was the good guy.

Keith

I was just kidding. You look just like the guy in the show. I think he was the bad guy. I forget what they called him. "Linus" or something like that.
 
I used a 4 " harbor freight angle grinder with Dewalt metal cutoff wheels. It only took 1 wheel, but I had to put the grinder in the freezer several times to cool it off. Just because it's a $10 grinder.

You have to make a rough cut around the handle areas first, and then once the top is removeable, you can go back and clean up part near the handles, because once the top is removable the grinder will fit inside the keg, and you can attack it from that angle.
 
I like the idea of having the handles left on and if I ever do this to any of my keggles I will leave the handles in place. They all look great either way and are functional. Nice job to all.
 
How do you like this cut off keggle mlt now that's its been a few months? I'm thinking of doing this mod.
 
Finally remembered to snap a picture last time I was brewing.

When my boil is finished, I pick up the keggle and pour the wort into a bucket for aeration. I couldn't do that with a different cut. I have no desire to install a valve or deal with siphoning.

20121028162600.jpg
 
How do you like this cut off keggle mlt now that's its been a few months? I'm thinking of doing this mod.

Vince,

I'm assuming that you're asking me. I've only done a few batches since cutting the keg. Please realize that I'm doing BIAB, so it's my mash tun and boil kettle all in one. We have, though, used it as a boil kettle when my son has done a 3-vessel brew. Overall, I'm satisfied with it. In retrospect, I do not wish that I had cut the 12" hole in the top as is often done. But . . . I do wish that I had done as BetterSense did (and, probably, what rekoob is hoping to do) and leave the welded handles part of the skirt in place. I think it works great with the following caveats:

1. it ends up being about 13.5 gallons.
2. I haven't looked for one, yet, but it might be difficult to find a lid to fit
3. I need to turn the SS bolts holding the handles on so that they don't snag the bag when I pull it out - probably not much worse than the BIAB guys who use a keggle with the lid cut off the most common way

Next time I do this, I'm going to try the method that I mentioned in post #7 of this thread. As a reminder, here's the link to the method I referenced:

Go to post #18 of this thread:
https://www.homebrewtalk.com/f51/made-my-own-biab-314523/index2.html#post3932317

Perhaps, this is the method that BetterSense is talking about.

1. If you're heating with gas, make certain that you don't mount your ball valve near one of the vent holes where the skirt attaches to the keg. I'm only a few degrees to the side of one, and I have to use some sort of baffle so that my valve doesn't overheat.

2. Don't grab the bottom skirt of the keggle to dump it out after draining if you no-chill. It's sort of like one of the first rules we were given in Organic Chemistry lab: "hot glass looks an awful lot like cold glass!"

Hope this helps,
Keith
 
Even if you DON'T no-chill, the skirt at the bottom stays hot all the way through the chill if you don't run water on it, so it's working against you the whole time. I use a IC and the first thing I do when I start running water is run the outlet water down the side of the kettle to cool that skirt off. It doesn't take any extra water and my chills have been much faster this way.
 
Back
Top