OP
OP
- Joined
- Nov 18, 2008
- Messages
- 2,058
- Reaction score
- 25
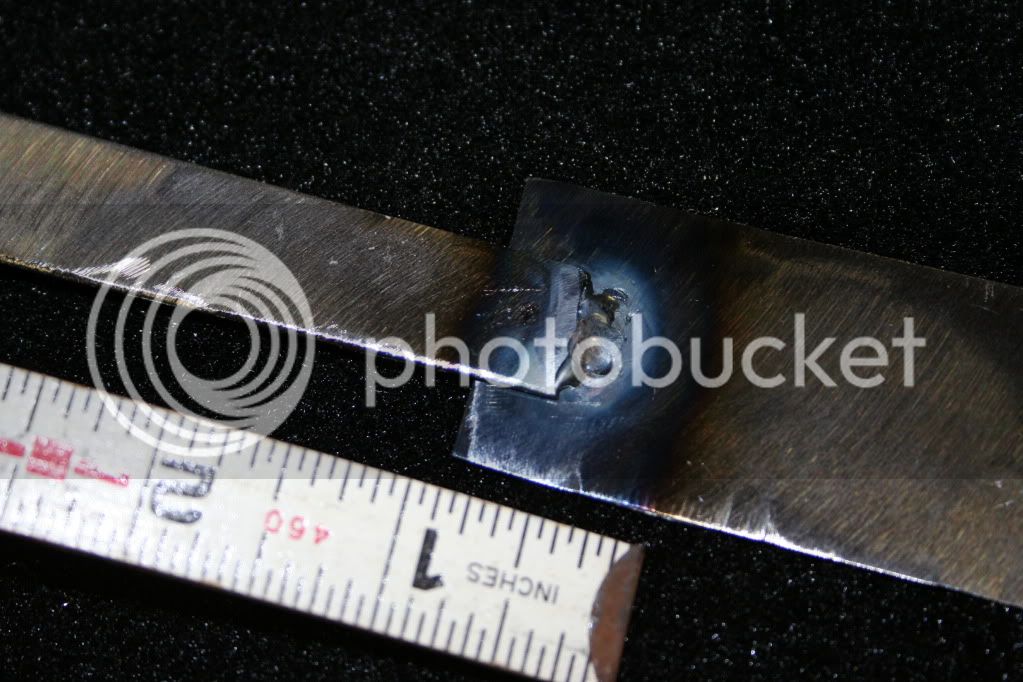
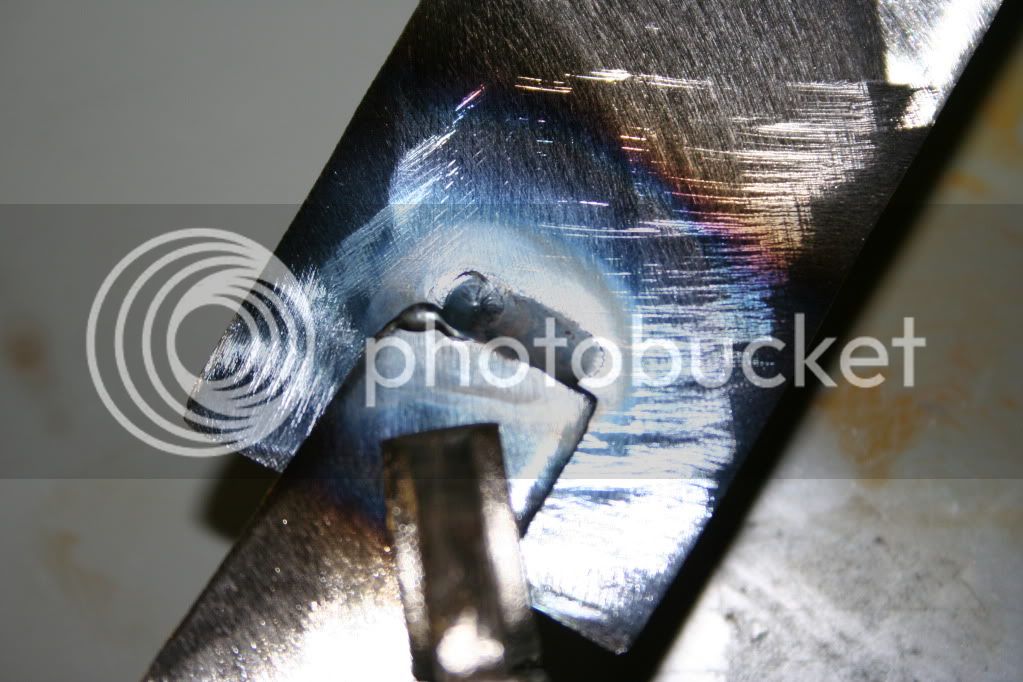
I must be different, I like settings of 40% over range not having the pedal
almost floored during welding.
I like it set this way to heat up quicker forming the puddle with less heat soaking the surrounding area.
BB,
So you tend to have plenty of heat left in the pedal? With my inexperience, I have already seen myself focusing on the torch/arc and standing on the pedal, then trying to speed up the travel to keep up. Then realizing, it was too hot.
Another question on the same line. Is it better to heat and get a puddle quickly and maybe slightly overheat or slowly ramp up the heat until the puddle appears which may take longer to heat?
Ed