
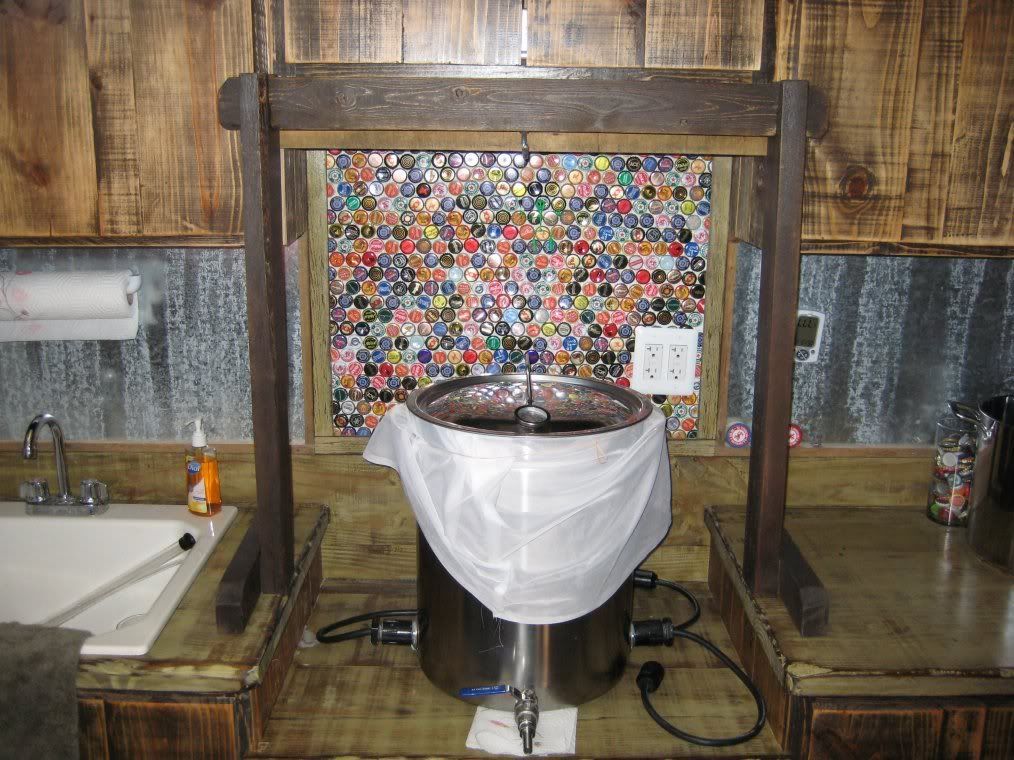
Since I've only done one all grain batch, BIAB, I suppose this qualifies as my all grain setup.
[/IMG]
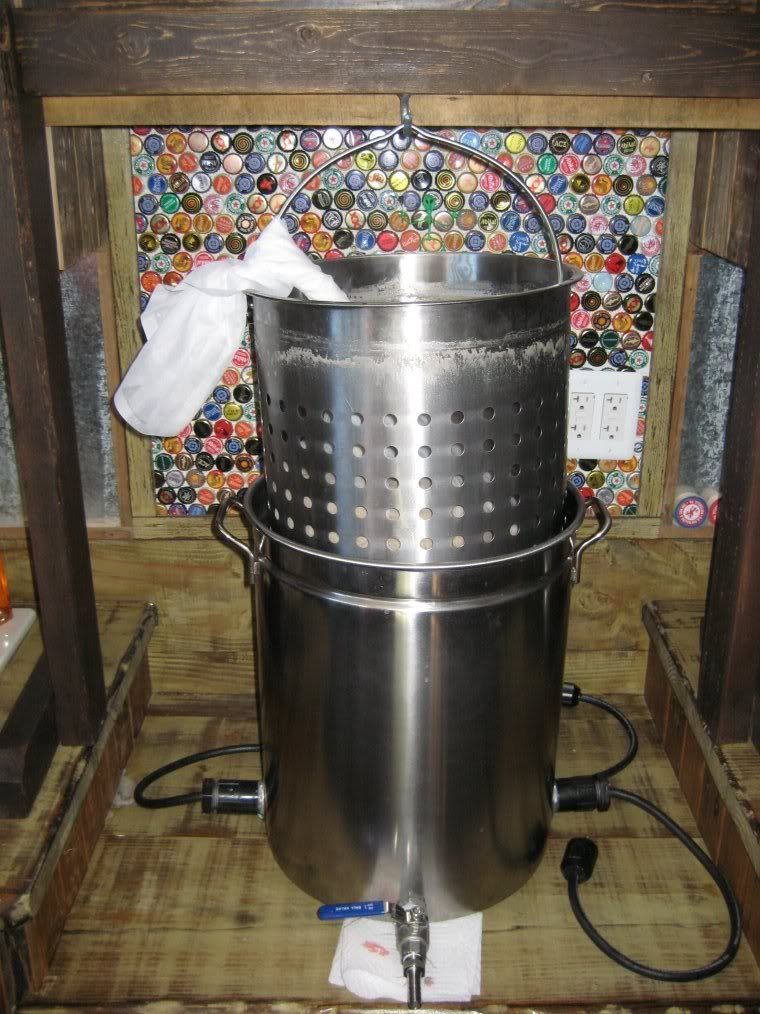
That's really all you need! I might suggest a digital stick thermometer, you can pick one up for 10 - 20 bucks. Not sure I would trust the thermo that comes with a turkey fryer?
My apologies if that's not what I'm looking at.


")


