Electric Keggle Conversion Project

Homebrew Talk - Beer, Wine, Mead, & Cider Brewing Discussion Forum

Help Support Homebrew Talk - Beer, Wine, Mead, & Cider Brewing Discussion Forum:

This site may earn a commission from merchant affiliate links, including eBay, Amazon, and others.

bellinmi88

Well-Known Member
Joined
Apr 16, 2011
Messages
273
Reaction score
34
Location
Albany
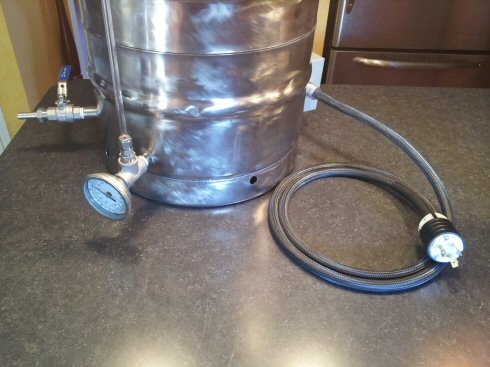
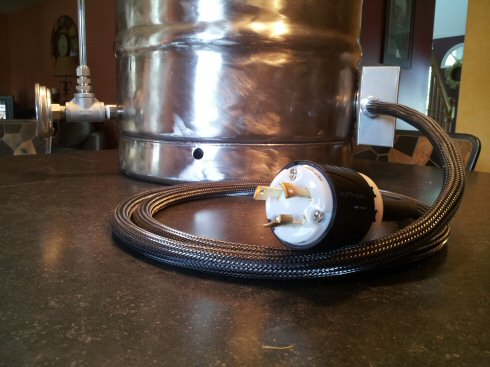
Started to convert my Keggle to electric following Kal's methods:
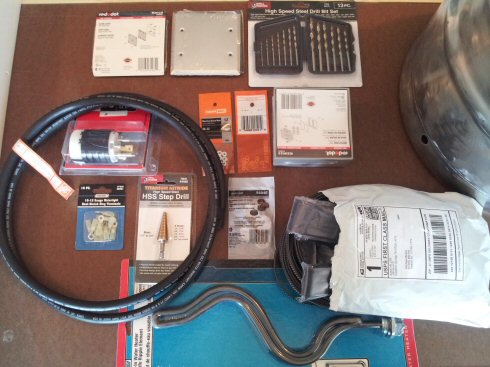
The Materials:
2011-05-22%2017.13.37.jpg


2011-05-22%2017.20.42.jpg


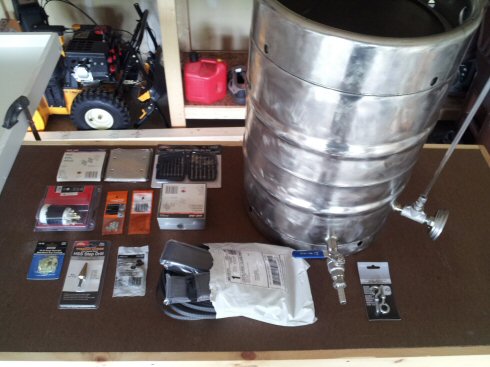
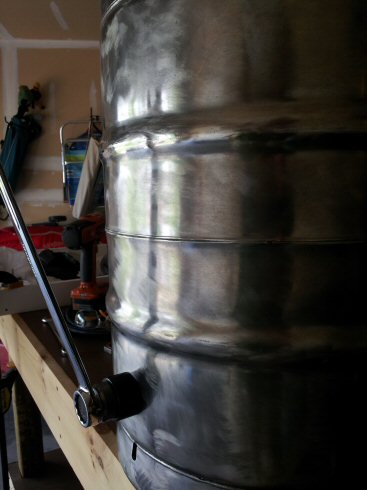
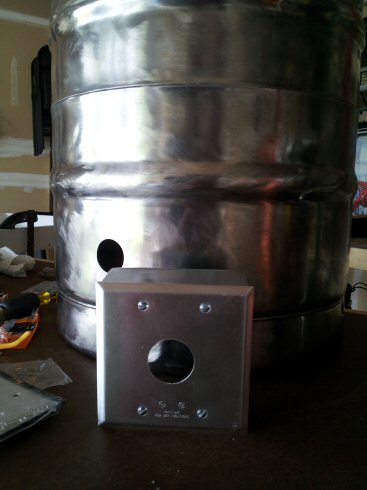
I started with cutting the hole in the keg using the Greenlee Radio Punch (which I would be willing to rent out to anyone on this forum for a weekend):

2011-05-27%2008.57.28.jpg


2011-05-26%2014.12.49.jpg


2011-05-26%2014.12.56.jpg


2011-05-26%2014.13.28.jpg


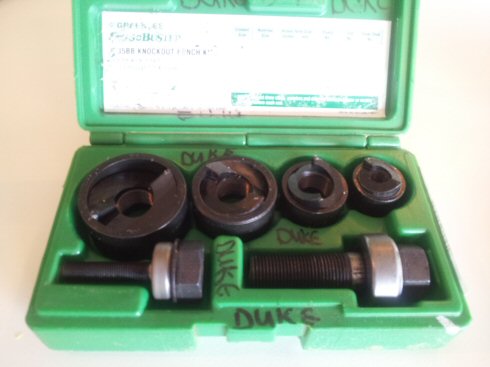
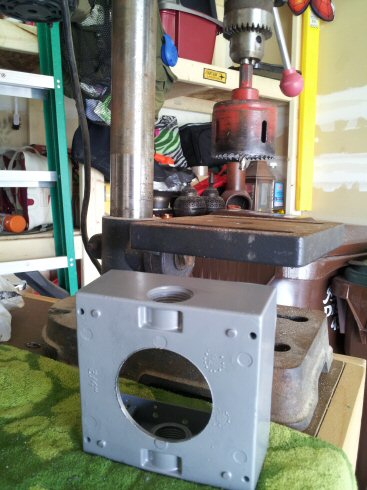
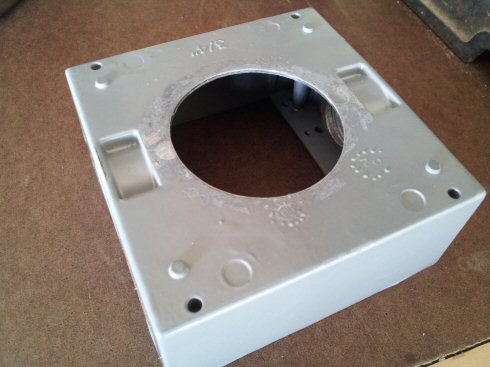
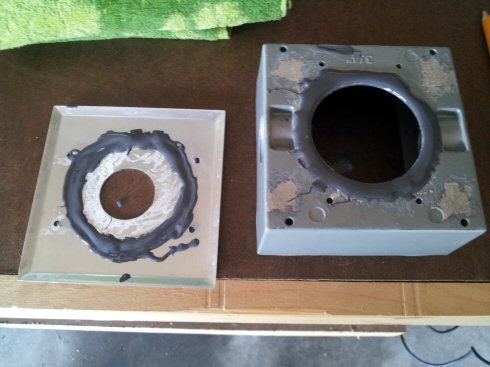
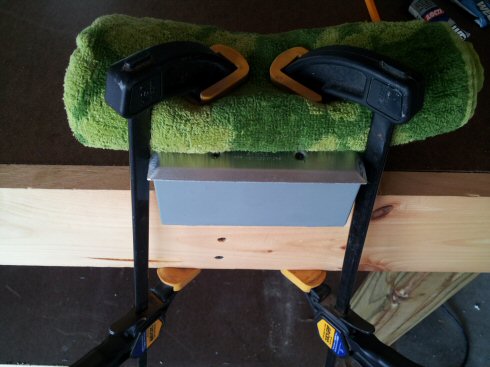
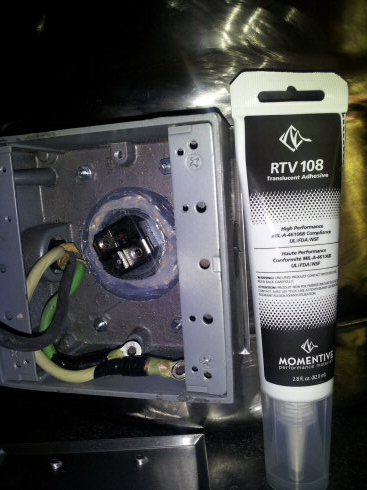
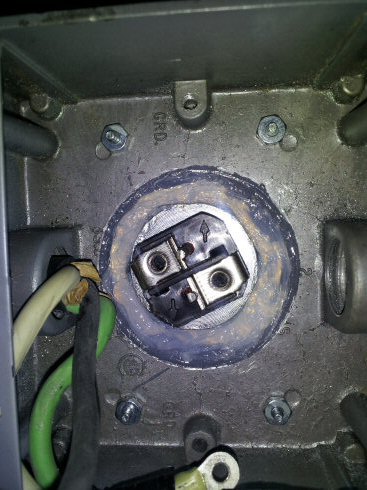
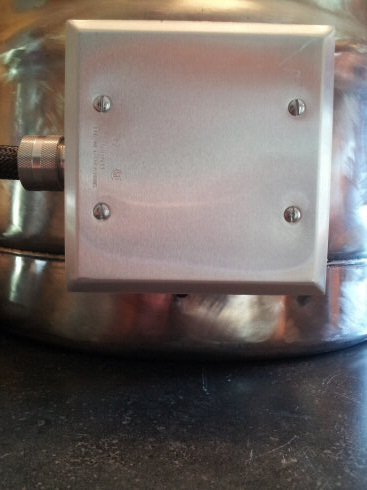
Once the hole was cut in the Keg I used the same Radio Punch which was 1.25" to cut the hole in the box cover. I used a step bit from Harbor Freight to drill the initial hole for the Radio Punch.

2011-05-26%2014.28.53.jpg


2011-05-26%2014.32.34.jpg


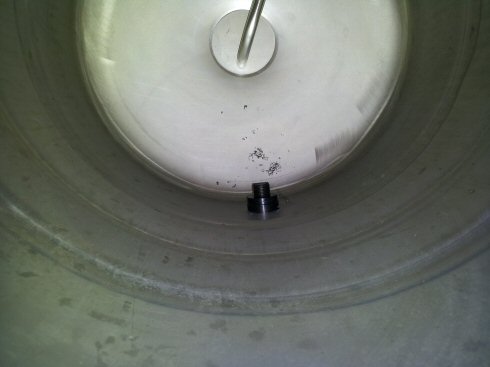
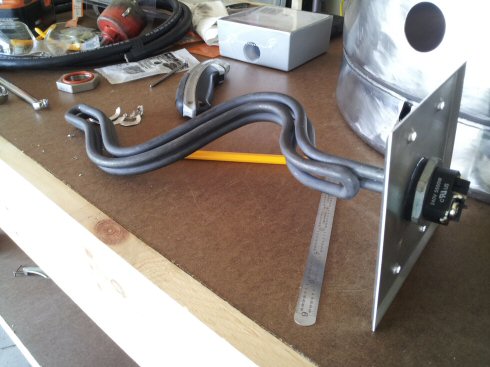
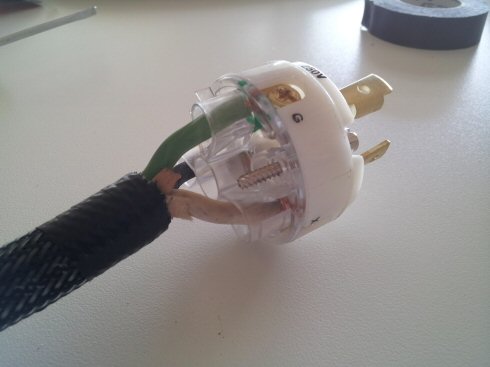
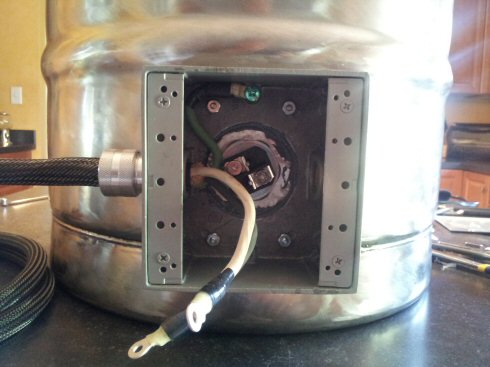
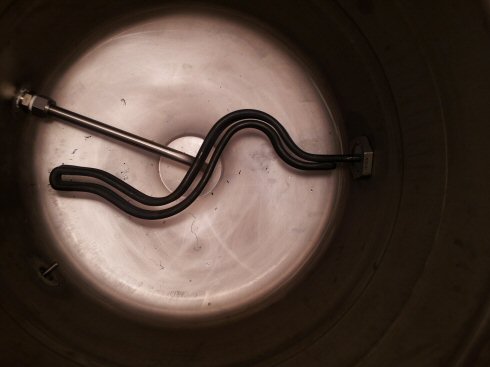
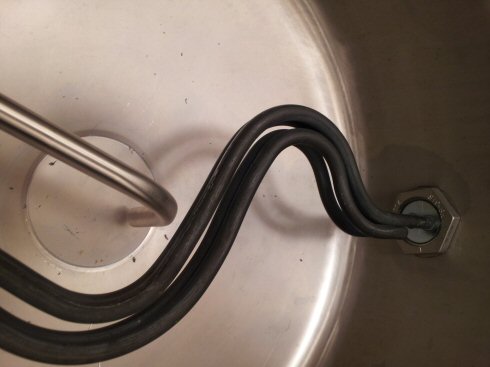
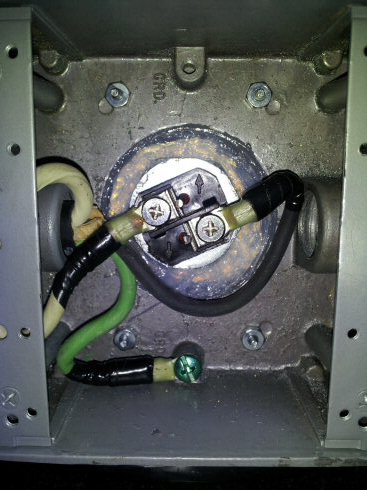
Here is the 5500 Watt ULD Element dry fitted into the new hole.

2011-05-26%2014.34.27.jpg


2011-05-26%2014.34.35.jpg
 
Next I needed to cut the hole for the conduit box. I used a 2.25" hole drill with a drill press at about 3000 RPMs. I also used a little cutting oil, not sure if I needed to but since I had it out I didn't think it would hurt.

2011-05-26%2015.04.34.jpg


2011-05-26%2015.11.56.jpg


You can see in the next picture I had to grind down all the nubs on the conduit box in order to get the cover to lay flat to form a nice bond between the two surfaces. I also applied some pressure overnight between the two while the JB Weld dried and set.

2011-05-26%2015.59.43.jpg


2011-05-26%2016.03.36.jpg


The next day the two were bonded together. Here is the semi-completed conduit box.

2011-05-26%2015.23.36.jpg


2011-05-26%2019.47.24.jpg


Next is the power cord. I found the same Carol brand 10/3 300V UL Water Resistant SJ00W power cord at Home Depot for $2.18 per foot.

2011-05-26%2017.06.38.jpg


2011-05-26%2020.20.10.jpg


2011-05-26%2020.26.21.jpg


I will be finishing up this weekend then moving on to pouring the concrete countertop I am making for my Brew Rig!
 
Okay I final finished my eKeggle project. Here are some more photos from where I left off.

I mounted the conduit box to the Keg using the 1.5" ID 2.25" OD .075" thick washer/shim. You can see from this photo the messy JB Weld job I did.

2011-05-31%2016.37.37.jpg


Here is the washer/shim pressed up against the keg with the silicon gasket sitting between the element and the shim.

2011-05-31%2016.38.53.jpg


A view from the inside. It was a trick trying to keep the element parallel, the box parallel and tighten the 1.5" nut inside.

2011-05-31%2016.38.00.jpg


2011-05-31%2016.38.13.jpg


Once everything was snug the way I wanted it. I sealed the element nut with FDA Approved Silicone. I bought a 2.8 ounce tube and have about 2.4 ounces left if anyone needs some!

2011-05-31%2016.51.45.jpg


2011-05-31%2016.54.07.jpg


I put a generous amount on then once it started to set (within 20 minutes) I pressed it into the seam between the two surfaces to make sure there were no gaps or air bubbles. It also cleaned it up a bit more. I then connected the terminals.

2011-05-31%2017.15.04.jpg


I used some connectors I bought at Harbor Freight that required a heat gun to mold it to the wire. I ended up also putting some electrical tape.

Placed the conduit box cover back on and that was it. All done. I plan on wet testing it this weekend.

2011-05-31%2017.18.08.jpg


Finished Product.

2011-05-31%2017.19.51.jpg


2011-05-31%2017.20.19.jpg
 
Wait, so ya don't have to use expensive temp controls? That was the only thing really stopping me from doing this in the first place.
 
You certainly don't have to but I will be using a controller, the BCS-460. This eKeggle will plug into a receptacle on my brew rig which will be wired to the controller.
 
Nice clear post belinmi88. Thanks. I'm wanting to make an electric HLT like what you've done. Are there any other less complex, cheaper ways to control the temperature than the BCS-460?
 
You could use a PID with a SSR, I think those two devices combined might be around $68. A 40Amp SSR is only $13 and a PID will run you around $45.
 
There is no vinegar in the silicone. It is releasing ammonia during curing.
 
Actually it is releasing Acetic Acid not ammonia as a by product of the curing process. Acetic acid is an organic compound and is the main component of vinegar.

See the description from the Momentive Data Sheet.

"RTV102, RTV103, RTV106, RTV108, RTV109, RTV112, RTV116 and RTV118 one-component, ready-to-use adhesive sealants are extremely versatile. They cure to a tough, durable, resilient silicone rubber on exposure to atmospheric moisture at room temperature. Acetic acid vapors are released from the sealant surface as a by-product of cure"
 
Very nice walk through and pics. I am going to be doing something similar to my HLT. I did a somewhat hack-job the first time, the element blew because I accidently turned it on without liquid in it, and now I have to start from scratch basically.
 
Bellinmi88,

So how long does your 5500 watt element take to heat water up from say 60*F to 170*F? I'd only be using mine for a HLT so I don't need to boil in it but I don't want to wait forever for the water to heat up every time.

thanks
 
No I made my own...the one on the thread was posted by someone else on HBT as you can clearly see from reading the thread.

I made my own derived from the formula i posted in my original question in the thread I started.

Someone else was nice enough to share that link. I was not claiming I created the one in the link...just stated I use a spreadsheet I made based on the formla in my thread.

This is my no frills spreadsheet I was referring to...

Time to Boil
 
I have only wet tested it. I have not run the required outlet for the service to where I brew yet.

I intend to do this before spring.
 
Your rig look great!!I plan on converting to electric. I currently am using the BCS-460 for low pressure propane setup and I was wondering if you would post a wire diagram along with a parts list for the automated set up. Any help would be awesome.
 
I have no wire diagram yet as I have not settled on a complete electric design. I am moving towards a RIMS setup but not sure how automated I will go. Most likely I will use a BCS-460 but not sure how many pumps..valves...etc will be part of the final design.
 

Latest posts

Back
Top