Electric Brewery - Start to Finish... hopefully

Homebrew Talk - Beer, Wine, Mead, & Cider Brewing Discussion Forum

Help Support Homebrew Talk - Beer, Wine, Mead, & Cider Brewing Discussion Forum:

This site may earn a commission from merchant affiliate links, including eBay, Amazon, and others.

cbenn22

Active Member
Joined
May 20, 2014
Messages
25
Reaction score
5
I've been planning my electric brewery for ~ 10 months, and I want to document the entire build project. I am planning on relying 90% on the plans from theelectricbrewery.com.

First about myself, I'm 23 years old and recently graduated college. I've brewed a couple times with friends, and I really enjoyed the process. I also really enjoy good beer so I decided the only rational decision would be to get into brewing. With a new job, and the necessary money, I thought I would skip extract brewing and partial mash, and skip straight to an all-grain operation. I've got 30 days before I start my job, so I'm hoping to get the majority of it done in the next month. I'm still waiting on a good amount of the parts to arrive, but as soon as they get here, this thread should take off.


The build will be very similar to the electricbrewery.com plans except for the following:

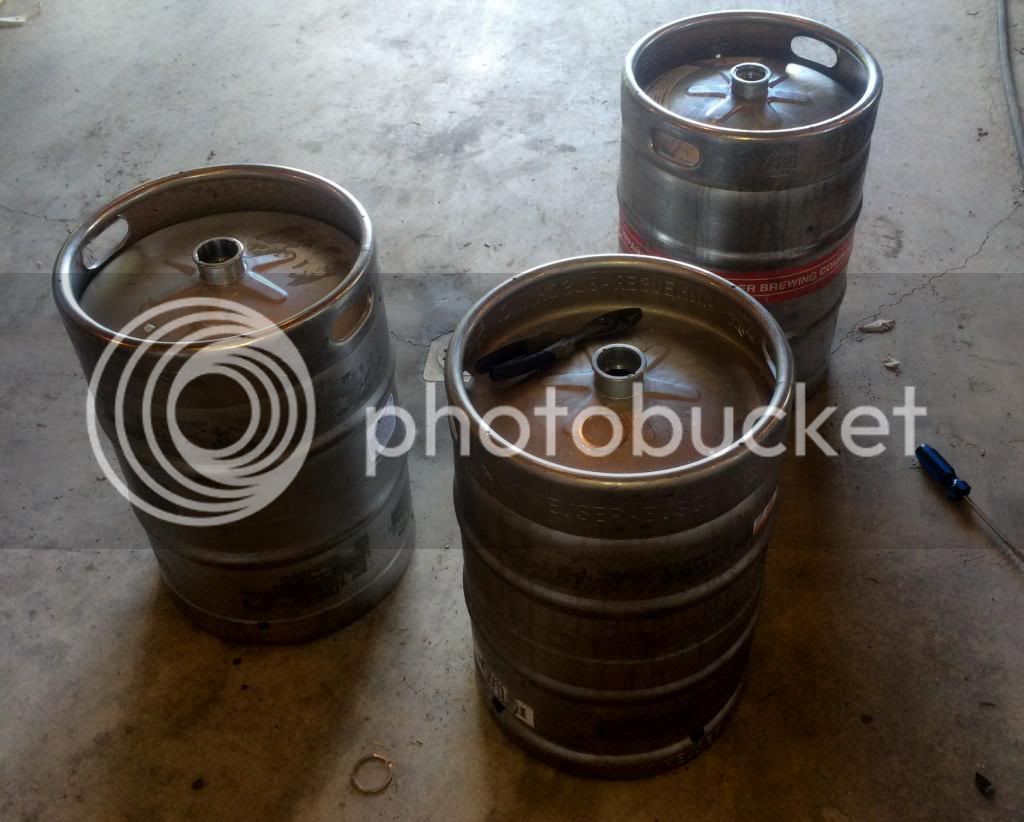
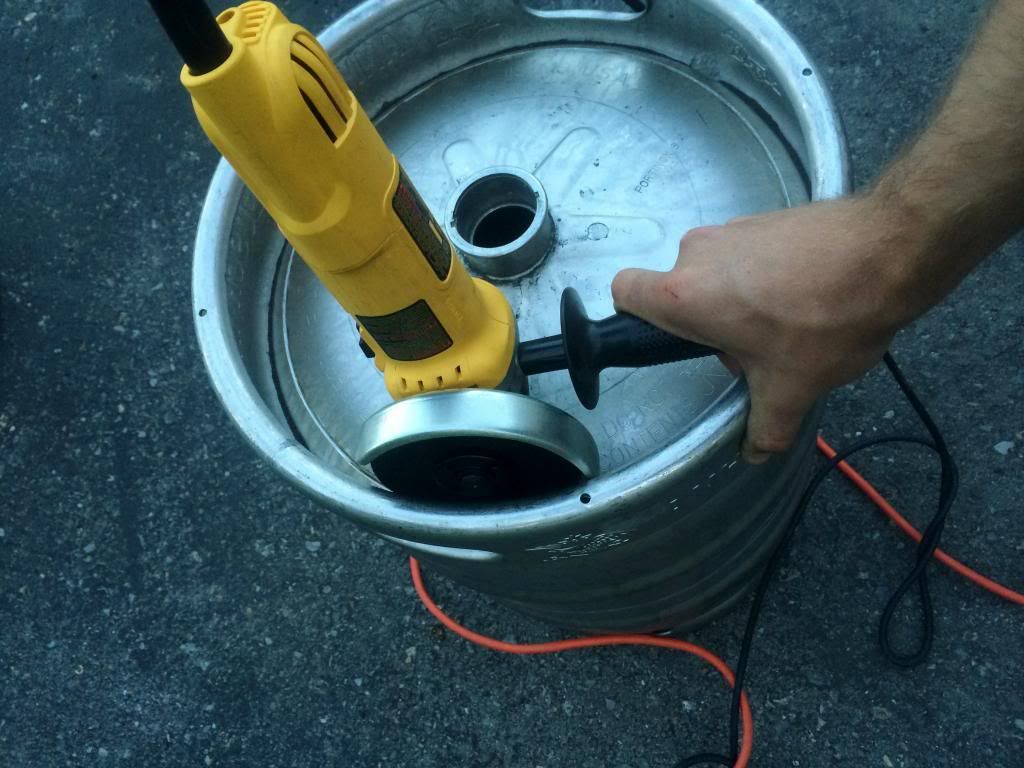
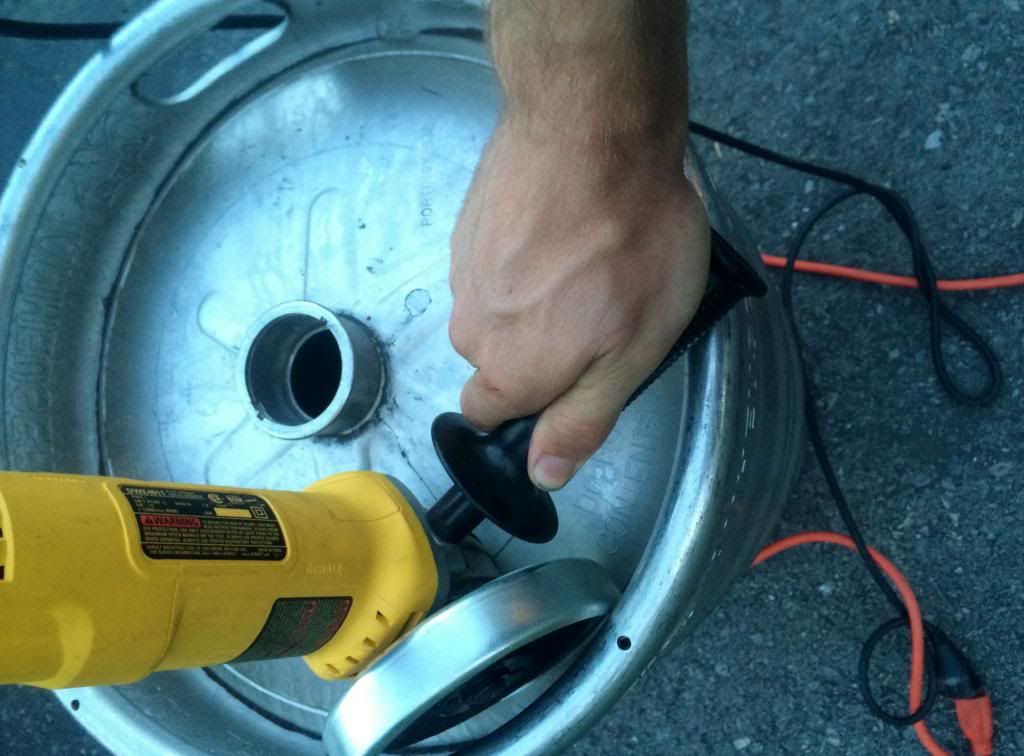
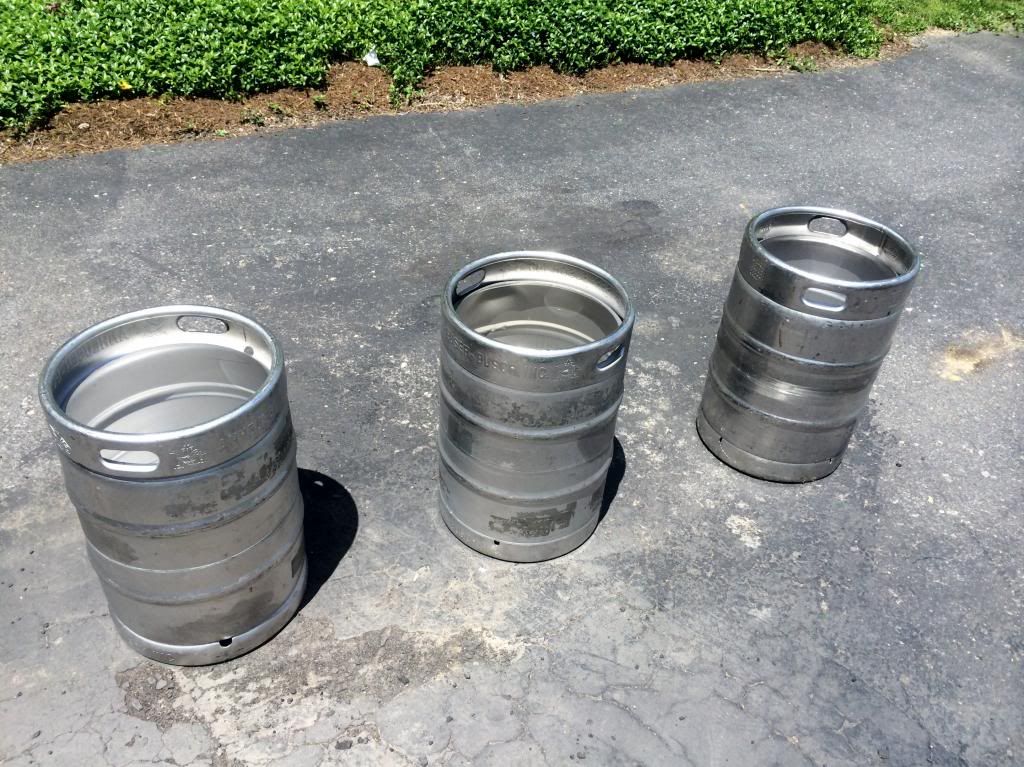
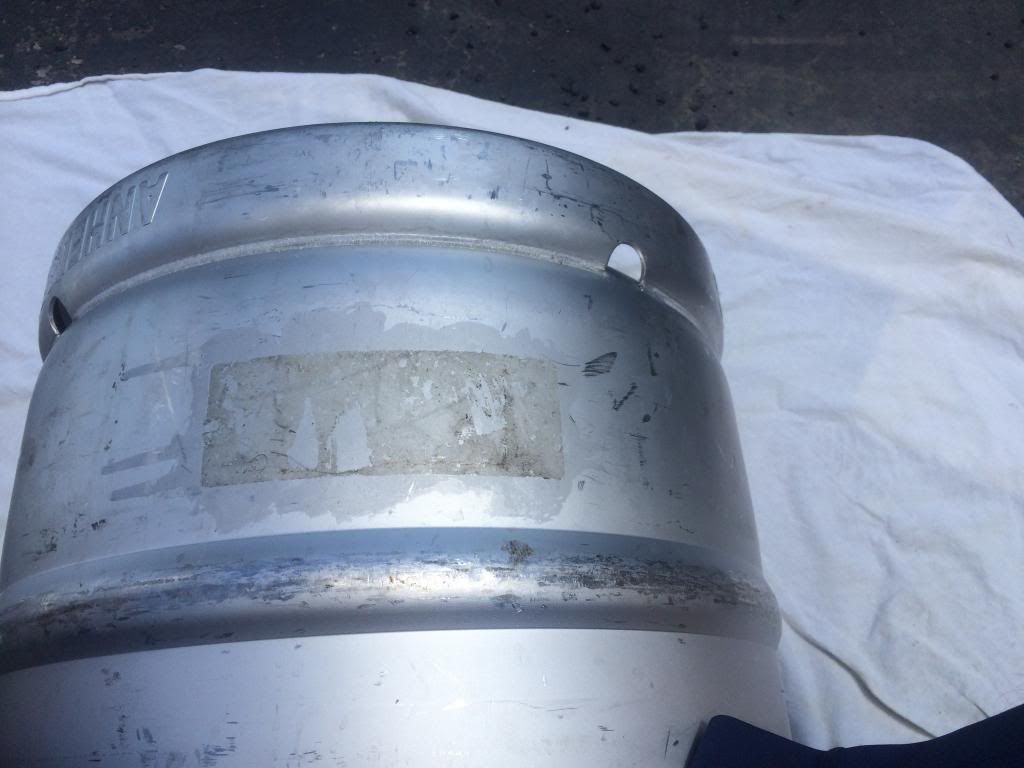
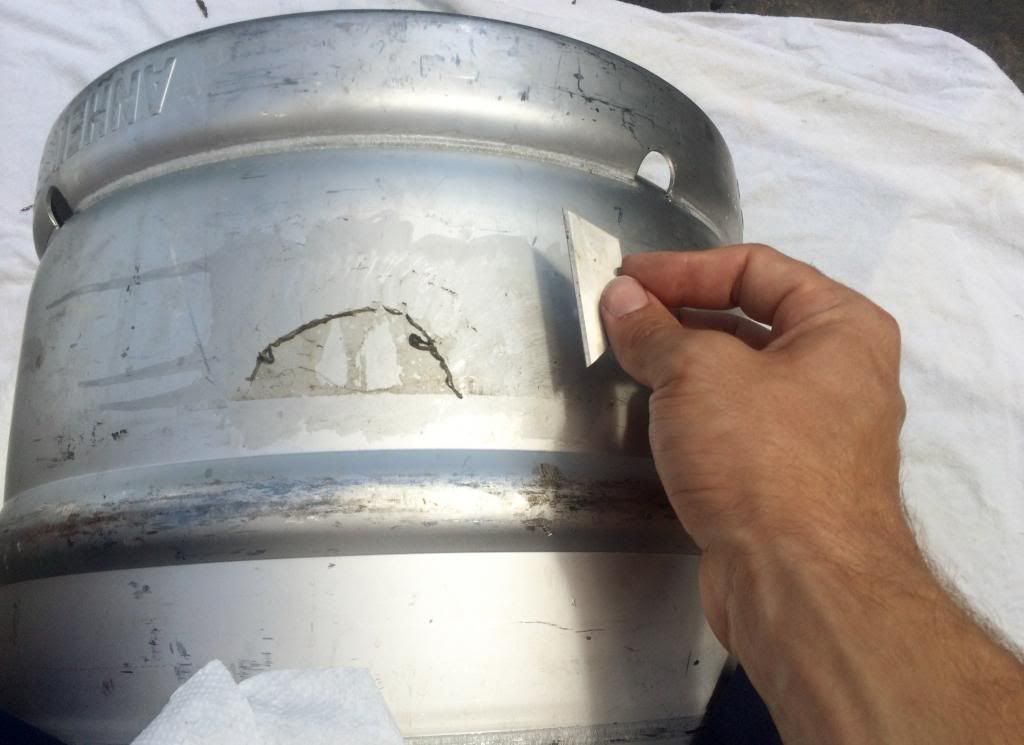
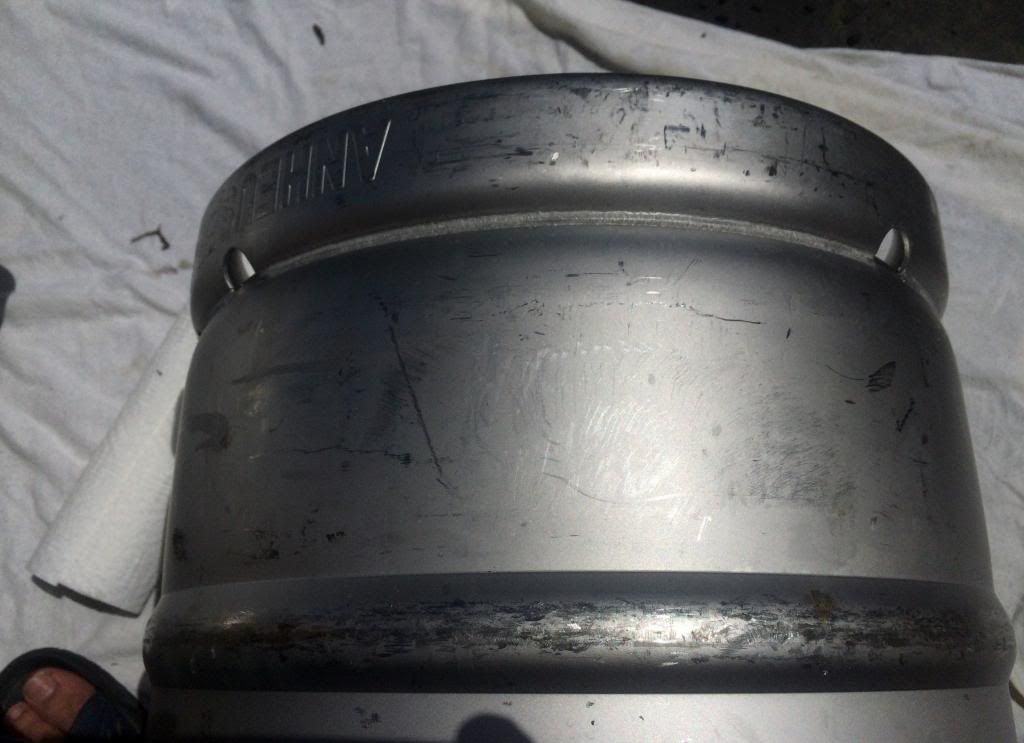
-I'm using kegs for the MLT, HLT, and Boil Kettle

-I intend to use silver solder for all of my fittings. I talked to a local welder, and he wanted to MIG everything for me. I decided to read the soldering stainless thread, and think I will enjoy the entire soldering process myself.

-I intend to use the BCS-462 controller opposed to the control panel from theelectricbrewery.com


:mug:

Cameron
 
Please bear with me as I figure out the posting of pictures/formatting of my text.

The first thing I needed to do was acquire three kegs. Not the easiest of tasks, and after 6 months, I was able to acquire three kegs in good condition. SearchTempest is a great website to search all of the craigslists in your surrounding area.

IMG_1786_zpsc48ed850.jpg


First I cut the openings for all of the kegs. I was going to make a jig out of PVC, but found that I could hold the angle grinder steady by keeping the guard against the rim of the keg, the head of the angle grinder on the top of the keg, and the handle of the angle grinder on the lip of the keg. I ended up using 2 cutting discs for the first keg, and 1 each for the other 2 kegs, for whatever reason, the cutting disc on the right worked significantly better. I believe both discs are the same model so I'm not exactly sure why. As the blade began to penetrate the wall of the keg, I took the blade guard and handle off the angle grinder, and free handedly spun the angle grinder around the center axis of the kegs to finish them off.

6bc8dfb0-7d4d-4c86-8907-d8863d80781f_zps1c5aa868.jpg

IMG_1798_zpsaa919565.jpg


The image below shows the handle of the angle grinder sitting on the lip of the keg.

IMG_1799_zpsa78ab27f.jpg


I wanted the holes as large as possible, and they came out to be ~13.5 inches in diameter. I used the grinding disc that came with the angle grinder to smooth out the metal, and finished them off with metal files.

IMG_1800_zps523e8f50.jpg


Next I removed the stickers/adhesive from the kegs. I found the best way to do this was to generously apply mineral spirits to the adhesive, wait about 30 seconds, then scrape off with a razor blade. Working in the shade was slightly easier because the mineral spirits did not evaporate as fast... so much for working on my tan. I didn't try acetone or paint thinner so they may work better.

Before:
IMG_1805_zps32f4ff5d.jpg


During:
IMG_1807_zpse9831e93.jpg


After
IMG_1808_zpsba4d96a9.jpg


I'm waiting on my stay-clean liquid flux, couplers, and step-bits before I can silver solder the fittings into my kegs.

:mug:
 
Subscribed. I am planning much the same build. Waiting on the electrician for my spa panel. Keep the updates coming. Looks great so far.
 
Nice! Good idea for a thread. I've gone back and forth about hooking up an electric setup of some kind. I'm looking forward to following your progress. Keep those pics coming!!
 
Step bits were such a pita to use. A good hole saw was easier and procuduced as good of a hole. Unless you're using the step to just get started and then using a punch.
 
Good luck. You might want to review a thread I made awhile back about "mistakes I made" when I was doing my Kal clone
 
I've always wondered...Do you sand down the edges of the cut afterwards? It seems like a good way to slit your wrist cleaning the inside.
 
I've been thinking/reading more about my electrical set-up, and I'm planning on using a 60-amp spa-panel GFCI. I'll be moving around a lot in the next couple years, so I'm going to over-build my spa-panel for the event that I ever decide to do back-to-back batches with the 5500W (50-amp GFCI would be cutting it too close) heating elements. I know the 60-amp spa-panel and control panel will increase the overall price by ~$500, but it seems like it's more adaptable if I have a 30-amp dryer hook-up, 40-amp oven hook-up etc. When I move to a new location, the only thing that I will have to adjust is the wiring from the wall to the spa-panel, and also possibly some wires in the spa-panel depending on if it's a 3 or 4 plug outlet.

I know there isn't going to be anything too ground breaking throughout this thread, but I want to track my progress for myself and also make a simple to follow "instruction" on my build. My goal is to gather all of the information that I've learned from HBT into one place.

I'll make another long post with pictures when I think that I've done enough work to justify it.


Step bits were such a pita to use. A good hole saw was easier and procuduced as good of a hole. Unless you're using the step to just get started and then using a punch.

I agree about the step-bits being a PITA. I also ordered a 13/16 greenlee punch because of the number of holes I'm making for 1/2 couplings. The step-bits are used to make the initial hole for the punch. The punch wasn't cheap, but the price was justified for the number of holes that I'll be using it for.


I've always wondered...Do you sand down the edges of the cut afterwards? It seems like a good way to slit your wrist cleaning the inside.

I just took the grinding wheel that came with my angle grinder and removed the burrs with that. I then filed the edges down with a hand file to remove any other sharp edges. I don't really know if the filing was necessary, but it made me feel better.

Good luck. You might want to review a thread I made awhile back about "mistakes I made" when I was doing my Kal clone

I'm definitely going to be checking out your thread. I've already made a "slight mistake" in drilling the holes for the sight glasses about 1" too high. If I drilled the holes a little lower I would have been able to read 2 gallons on the sight glass instead of it starting at 3 gallons.


Subscribed. I am planning much the same build. Waiting on the electrician for my spa panel. Keep the updates coming. Looks great so far.

Are you using one of the following set-ups for your spa-panel? P-J looks to be the master when it comes to wiring diagrams. Depending on if I have a 3 or 4 prong electrical outlet will determine which wiring scheme I use.

3-prong wall outlet

4-prong wall outlet


:mug:
 
Last edited by a moderator:
Back
Top