Mini Fridge Build Mods

Homebrew Talk - Beer, Wine, Mead, & Cider Brewing Discussion Forum

Help Support Homebrew Talk - Beer, Wine, Mead, & Cider Brewing Discussion Forum:

This site may earn a commission from merchant affiliate links, including eBay, Amazon, and others.

eryk4381

Well-Known Member
Joined
Jan 6, 2012
Messages
145
Reaction score
0
Location
Wilsonville
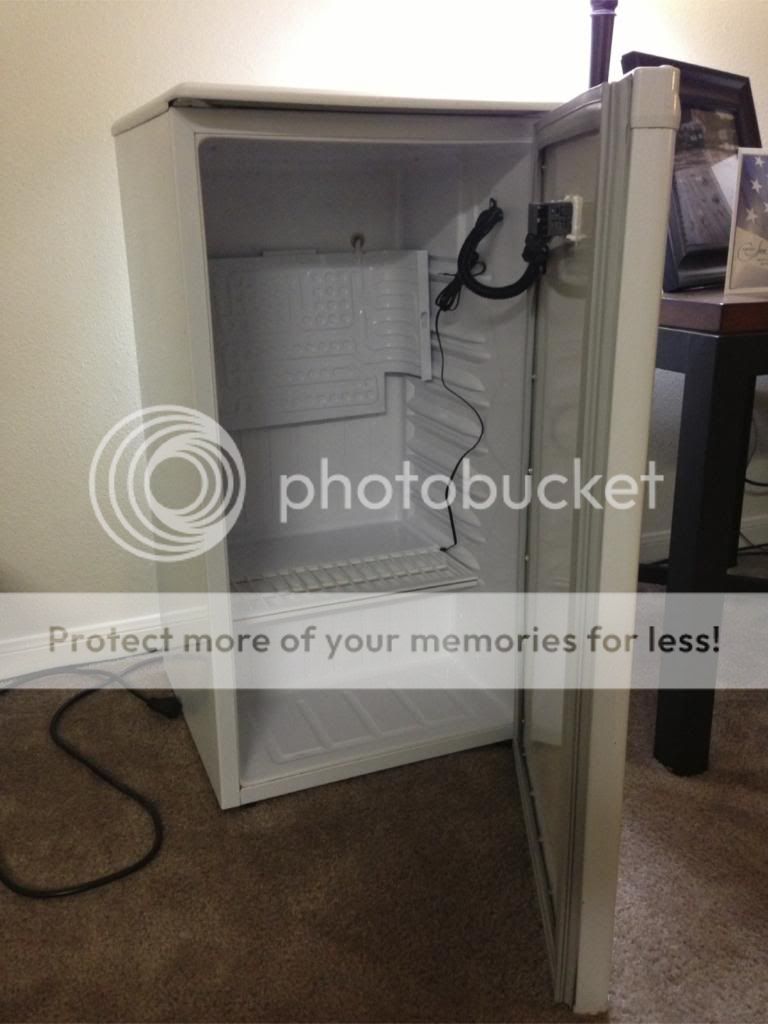
I am going to work on a GE mini Fridge this weekend to add a temp controller for a Fermentation chamber. I will take photos for a build guide later but I'm wondering if anyone has had some snaffus with what I want to do.

The fridge has that little shelf on the bottom. It was to possibly cut it and move it back a bit to be able to insert 5 gallon buckets. I will also have to shave off the door molding on the inside where the soda container and stuff are. I'm wondering if it worth trying to moved that little shelf part that "houses" the compressor or if it more trouble than its worth.

This is not my fridge, just borrowed for the interwebs for a good example:
Any advise or previous experience with breaking or doing this will be helpful. Thanks!!!

Fridge.jpg
 
you should have looked at wine chillers........you can get them for 100-125 bucks and you have to do is plug them in

I actually have one. The problem is that the cheaper ones are A. Not big enough and B. they mostly use cooling fans and not refrigerant.

They are nice but i need it to get colder than 52 ish degrees ( standard cooling for wine) and didn't want to spend a few hundred on a big wine chiller.
 
I wouldn't mess with the compressor hump too much. You may or may not run into coolant lines in it. If there is room for a ale pale and air lock, it'd be best to build a shelf that sits right at the top of the hump.
 
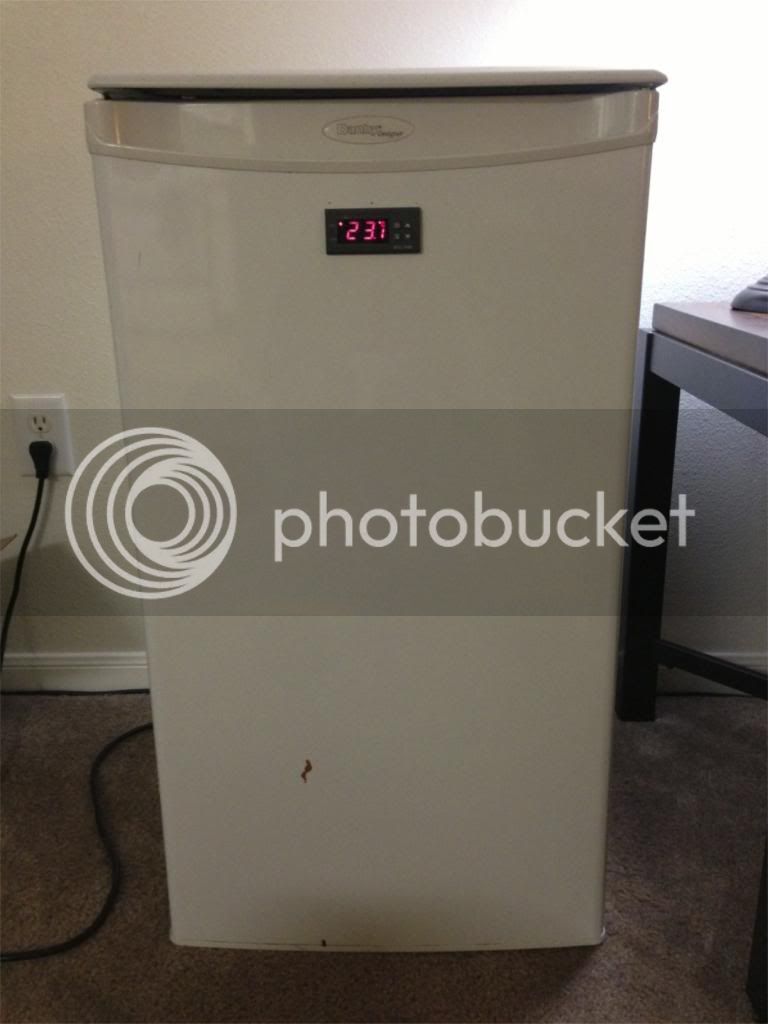
So this is how i did my fridge this weekend. I thought I would share as it was a bit different than what I have seen on here. I bought a $50 craigslist fridge and decide to use it for Fermentation fridge and also Lager with it. Its a GE black mini fridge (not sure right now which one but if someone wants to know I'll re-post). So here we go:

First things first, i need the temp controller built. I followed the Ebay aquarium build on this site and that helped a lot!:

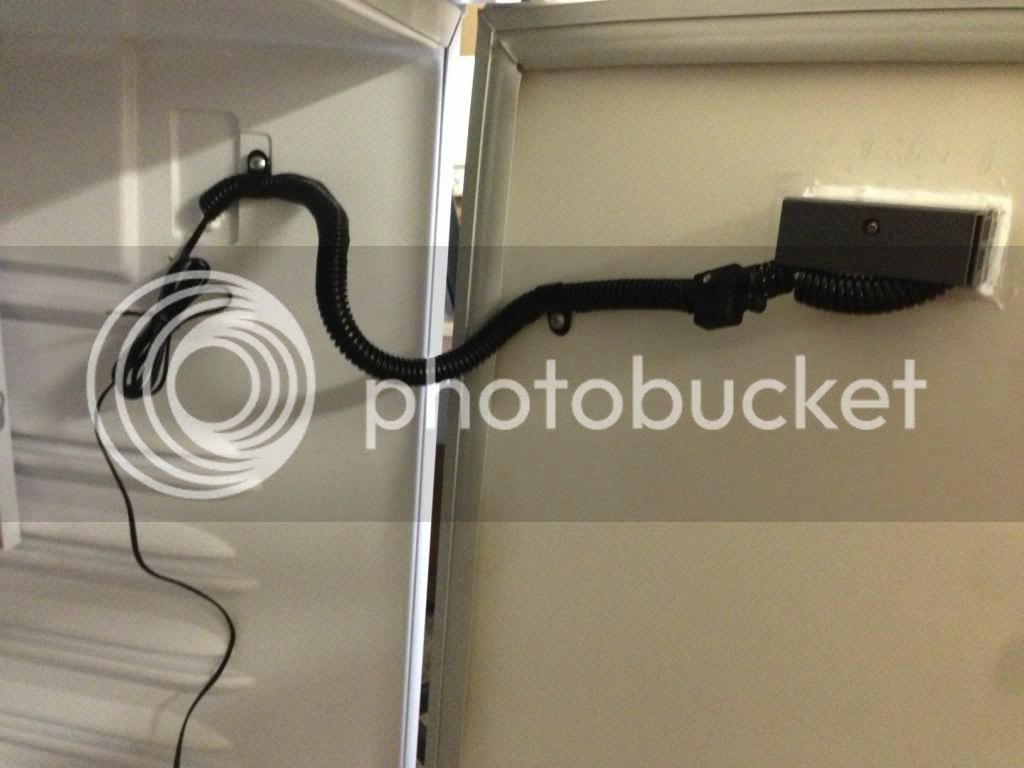
This is the project box all wired up. A dremel and files came in handy when cutting out the holes.
dsc05472h.jpg


Plugin and faceplate installed on back:
dsc0549z.jpg


I put both the Temp controller and plugin on the end so you can set the box on things or mount it and still be able to read it as opposed to putting it all on the top of the box.

dsc0548ef.jpg


ON TO THE FRIDGE:

So I started with the freezer part as I thought the door modification was going to suck. The fridge "shelf" holds the refrigerant lines running all through it so DO NOT CUT THIS or you will have to buy a new fridge!!!
dsc0551fm.jpg

The goal here is to bend as carefully as possible to make more headroom for you ferm vessels. You want to unscrew the shelf from the roof and lightly bend it down to form around the back of the fridge.
dsc0553u.jpg

This is what it will look like when you have it bent back
dsc0556td.jpg

Now we just need to affix it to the back so it will stay. I had some plastic wire clamps that fit into the screw holes so I used those with some hot glue to just tack it to the back of the fridge so it doesn't move around.
dsc0558yt.jpg


Next we can look at the door. This needed to be cut down so I have the room i needed when the door was shut. I had heard and read that if you peel back the black seal around the edge, there were screws that you can take out and then remove the plastic "pop' holder piece from the door. For my project, this was not the case. They had molded it to the styrofoam underneath and it was just glued in place. I thought it was going to be a lot harder than it really was.
dsc0550ej.jpg


You will have to get a razor knife in between the seal and the door and just cut a slit on the top like so:
dsc0552l.jpg


No need to cut around the whole door, just enough for the next steps.
I found that the plastic cut rather nicely with the razor knife and you can slowly cut sections of it and pull it out from underneath the seal. Be careful because this plastic is sharp!
dsc056s0.jpg

dsc0561w.jpg

dsc0560h.jpg


Next if you take a long kitchen knife or whatever you have to shave the styrofoam down to an all flat surface you can either leave it like that or cover it with a flat piece of plastic or something to make it look cleaner.

Then you have to calibrate your temp controller and your all finished.
Any questions I will be happy to answer or take more pictures..
Thank you
 
I have fitted the same fridge build now with a heat lamp. I can take more pictures and explain the install a bit better when I get some time and hopefully it will help people with the heat regulation part of fridge builds as I didn't see many tutorials on heat and more on the cooling. Let me know what you think.

2013-01-06 19.54.09.jpg


2013-01-06 19.54.05.jpg
 
Subscribed waiting details. Exactly what I was wanting to do but needed to figure out the heat control part of it.
 
I am converting a fridge that has a freezer tray like the one you have. Was the coolant connector lines running into the freezer compartment rigid? One of mine is flexible the other is rigid and made from aluminum. I am worried the aluminum will break when i bend it? Did you take any other precautions?
 
I am converting a fridge that has a freezer tray like the one you have. Was the coolant connector lines running into the freezer compartment rigid? One of mine is flexible the other is rigid and made from aluminum. I am worried the aluminum will break when i bend it? Did you take any other precautions?

The line was rigid but still kind of bendy, like a light copper or maybe aluminum. I was just careful because when you bend the tray back like I had it will twist or bend the line slightly obviously so i just took my time to watch where the bends happen, where I can make it bend in other places so I don't break it or crimp.
 
First I went to a regular hardware store. Lowes, Ace, etc will work. I got an 8 ft extension cord. ( Cheaper than buying a length of wire plus the plug end to attach)
acext.jpg


Grab a light bulb fixture. (Found one at Lowes that is relatively small as shown below)
porcelainlampholderlamp.jpg


Also get a reptile lamp. Mine is 75 watts and seem to work great.
31mc9hkcvql.jpg


Then cut off the female end. There will be a white, black and green wire. The green is not used. Drill a hole through the inside of the fridge toward the top. It will pass through the plastic and insulation foam through the sheet metal covering on the back. Pass the cutoff end through that hole.
Make sure when you mount the light bulb base it has enough room not to touch the sides with the bulb and it;s still out of the way of the fermenter.

Wire one side with the white wire and the other with the black ( you can cut the green short if you want). I tested this all outside the fridge with a regular cheap light bulb to ensure it worked properly.
dsc0033vxz.jpg

dsc0032ei.jpg


Hook the end of that extension cable to the HOT side of your temp controller.
Mine is not currently insulated with sealant but it will be after this beer is finished. Just to keep the air from escaping any bits of the hole you drilled. Also I put a cable strap on the back to secure the wire as well.
dsc0038bw.jpg


Test your temp controller to adjust your settings. I made it so the heat lamp shouldn't have to come on for very long to heat. Working great so far. I hope this helps. Any questions, let me know.
 
Perfect and thanks for the updates. Maybe I missed it but what is the exact fridge you are using? I have been looking at some but the hump in the back has me worried about trying to fit my 6.5 gallon carboy and driving all over the place looking for a fridge is probably not going to work.
 
Perfect and thanks for the updates. Maybe I missed it but what is the exact fridge you are using? I have been looking at some but the hump in the back has me worried about trying to fit my 6.5 gallon carboy and driving all over the place looking for a fridge is probably not going to work.

I had the same issue!! Pain in the ass!! Mine is a GE model # WMR04GAZAB.
Looks about 4.4 cu. I Googled it and other fridges come up but mine but I had the same worries about the bump. Just look on Craigslist or something and measure from the bump to the door. Should measure to be enough for a normal 15" in diameter fermenter ( 5 gallon bucket or glass carboy) The trimming of the door and insulation will give you extra inches also. I have an 8 gallon shorter fermenter that's wider and the shelves mine came with allow me to use those also above the bump with a blow off tube ( too tall for an airlock :))

frontwuw.jpg

insidetb.jpg
 
Could you by chance measure from the bottom edge of the bump to the edge of the frame so I could get a general idea of a measurement? The one I linked to below looks to be the same as the one you have but it's something I could ask people to do as well. From my house to this persons house would probably take me 1.5 hours driving :( but it saves me money for sure

http://seattle.craigslist.org/sno/app/3530233853.html

It looks like from the bottom of the bump is about 11 1/2 inches
20130108204406.jpg

Top of the bump about 17 1/2 deep
20130108204424.jpg
 
How difficult was it to "bend" the coolant line that runs to the outside of the fridge. The fridge I am modifying has the coolant line run straight out the back of the fridge (unlike yours that runs straight down out the bottom). I'd like to just take the whole "U" shape and bend it straight down so the bottom of the "U" is at the back of the fridge and faces out the front.

Any advice on how not to kink the coolant line?

Yes. Go very slowly! bend it slightly the direction you are going with it and check the bends while doing it. If you see a slight crimp coming on, STOP!.
See if you can immobilize that crip by using pliers ahead of it so the bending can continue in a different spot. As long as your careful it should be fine.
 
Thanks for the advice, I successfully (I think) bent the freezer section down today. The only problem I had is where the thicker diameter coolant pipe comes into the actual freezer panel itself. The thicker material started to crack the paint, but I was able to stop it (like you suggested). Once the STC-1000 is wired up I'll see whether it worked or not!
 
Thanks for the advice, I successfully (I think) bent the freezer section down today. The only problem I had is where the thicker diameter coolant pipe comes into the actual freezer panel itself. The thicker material started to crack the paint, but I was able to stop it (like you suggested). Once the STC-1000 is wired up I'll see whether it worked or not!

If you didnt hear any hissing, I'm pretty sure your good to go my friend:rockin:
 
Thanks for the advice, I successfully (I think) bent the freezer section down today. The only problem I had is where the thicker diameter coolant pipe comes into the actual freezer panel itself. The thicker material started to crack the paint, but I was able to stop it (like you suggested). Once the STC-1000 is wired up I'll see whether it worked or not!

Did you get yours successfully working?
 
Yup, success! I've fermented two batches in it already and about to brew a third (a saison so it may not go in there). Here's some photos.


Very neat conversion.. I am a klutz at times, (do things in a hurry) so I bought a freezer to convert. Bending down the coolant coils had me "scared" I'd throw away money. THE freezer wired into the STC1000 the same way. I demo'ed the original thermostat. I just Ignored the "other contacts on the unit" for heating thou.

We used to use a "regular" light bulb in a old fridge to keep welding rods warm, I am not real sure the infrared "reptile" light is needed since the heat is real gradual change. thou it would direct the heat downward. As someone who has been blistered probably thousands of times by temporary lighting in ceilings.. they get real hot.

I used one of them IR bulbs in a puppy doghouse, with a "line voltage" thermostat ie, a lowes unit that turns on 120 for a heater and-or ac unit.. (some have both contacts) I looked out to see the near year old pitt bulldog running across the yard dragging the heat lamp, the wire, the thermostat behind him bumping on the ground. He tore it all out. All was trashed. I think I had near sixty dollars in that rig.. but.. I had fun.. my daughter who was small asked me why "Butchie" had a light in his house? I said we had to put him outside since he kept us up all night reading.
 
I have added my new taps to the Fermentor/Kegerator (Ferminator??)
Here are some pics. I would almost like to add that temp controller inside but I'm not sure how well those things stand up to condensation and changing temps.

wf7o.jpg


ifb3.jpg
 
eryk4381 said:
Any condensation issues so far with mounting the temp controller inside the fridge??

Zero condensation issues whatsoever. I'm5 batches through that chamber and have checked the walls, floor, etc for moisture and not found any.
 
Back
Top