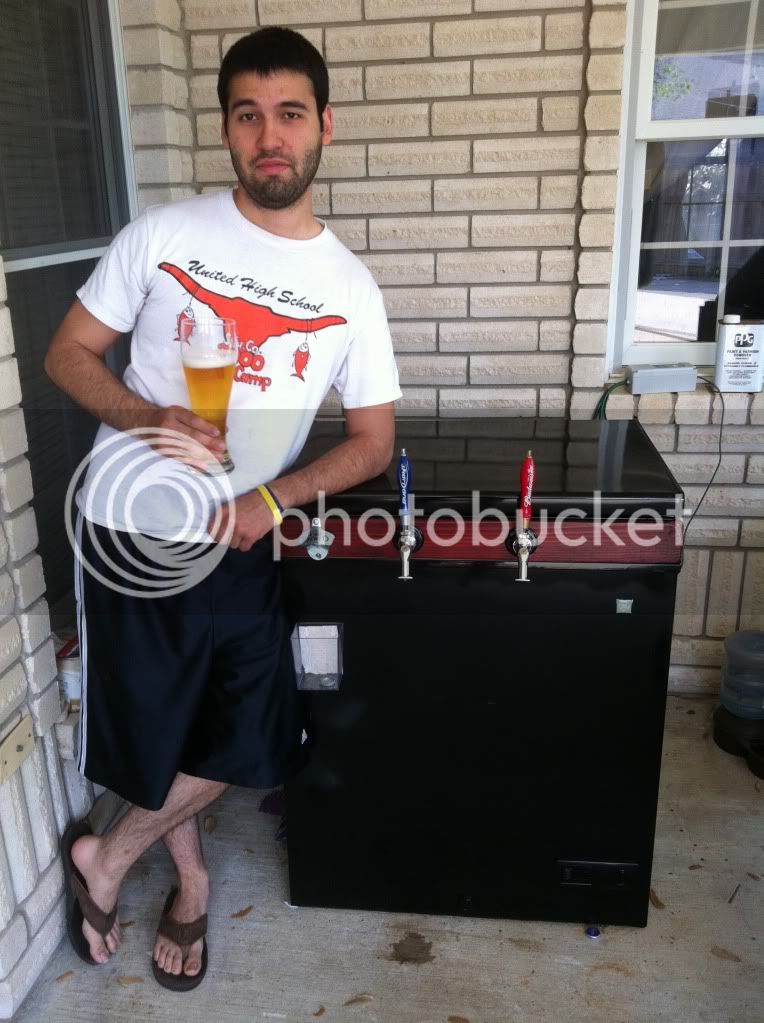
Hello! My name is Alex. I am a 21 year old college kid. Unlike any college kid who went to the beach, or went on vacation, I decided to make a keezer this spring break (plan for the future right?)! However, just like any college kid, I am broke, and a had a budget of around $400...more or less what an out of town trip would have costed me. I decided to follow brewit2it's cheapest keezer build found here:
https://www.homebrewtalk.com/f51/cheapest-new-2-keg-keezer-224848/
I got additional ideas from:
Rick 500's Black Frigidaire
https://www.homebrewtalk.com/f51/converting-frigidaire-7-2-cu-ft-chest-freezer-162225/
Heyjaffy's "my version of Brewit2it's "Cheapest New 2 Keg Keezer"
https://www.homebrewtalk.com/f51/my-version-brewit2its-cheapest-new-2-keg-keezer-229122/
And MysticPhantom's "Keezer with aluminum collar"
https://www.homebrewtalk.com/f51/keezer-aluminum-collar-229956/
...and of course some creativity from my end.
Before starting: The first thing I did was order the ranco temperature controller. I was debating between a johnson and ranco. I ended up going with the ranco because I found one at around $50 not pre-wired. Wiring was not really a challenge, I just followed this guide, and it worked just fine:
http://www.susanminor.org/forums/showthread.php?644-Ranco-ETC-111000-000-120V-Wiring-Guide
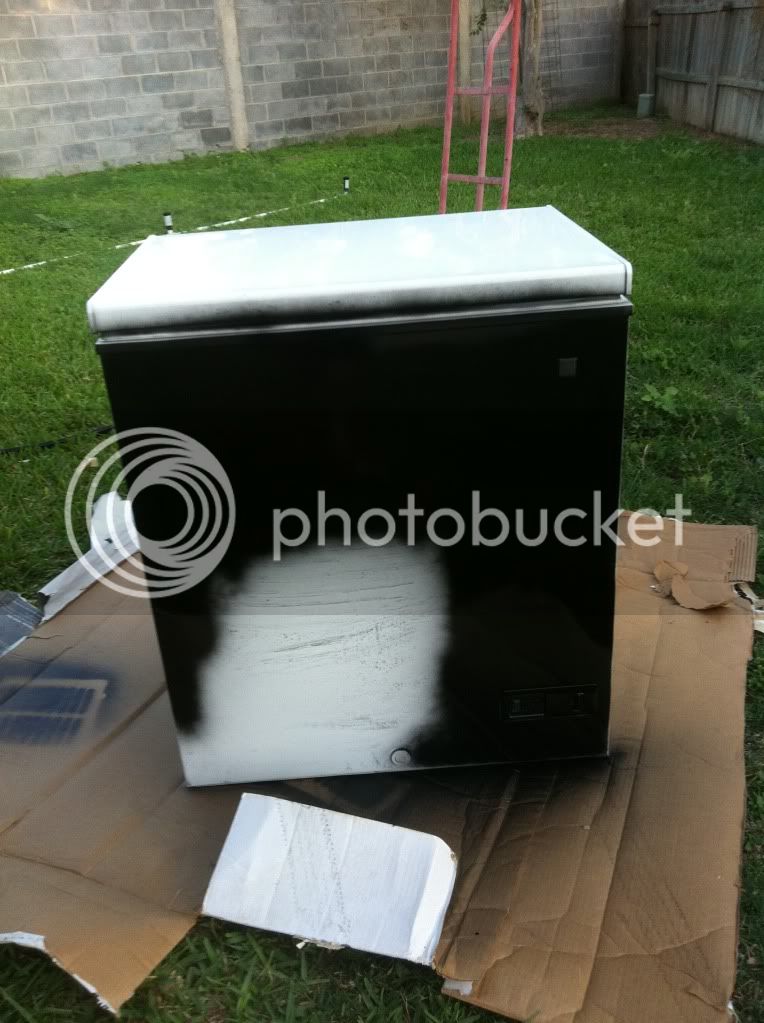
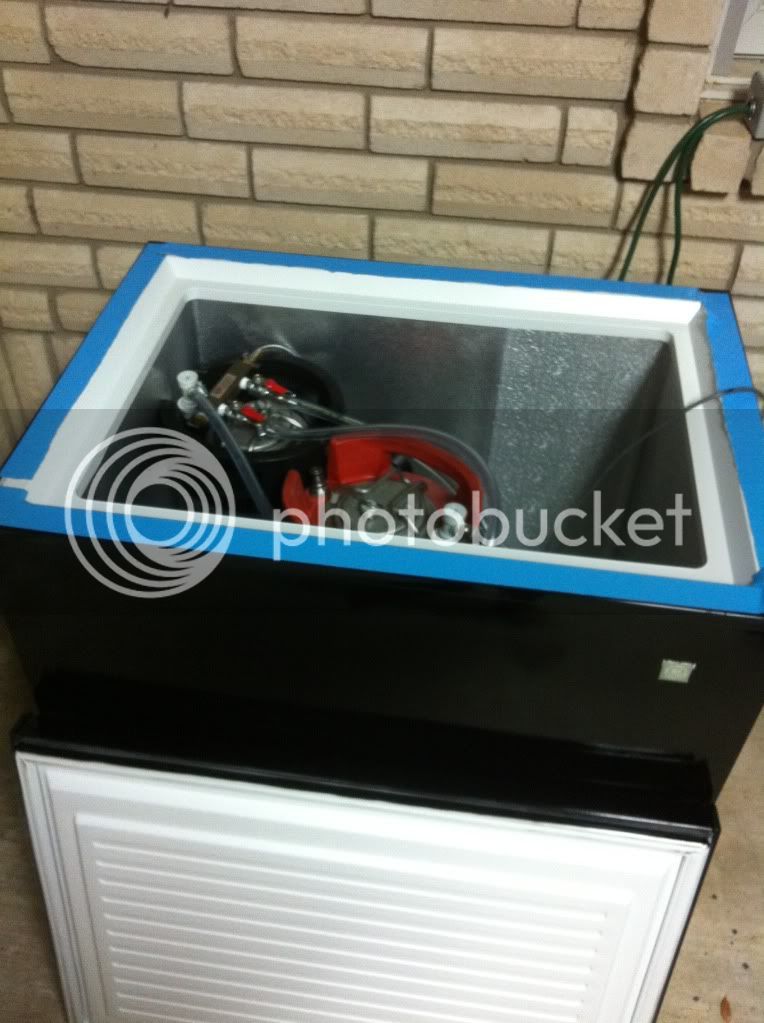
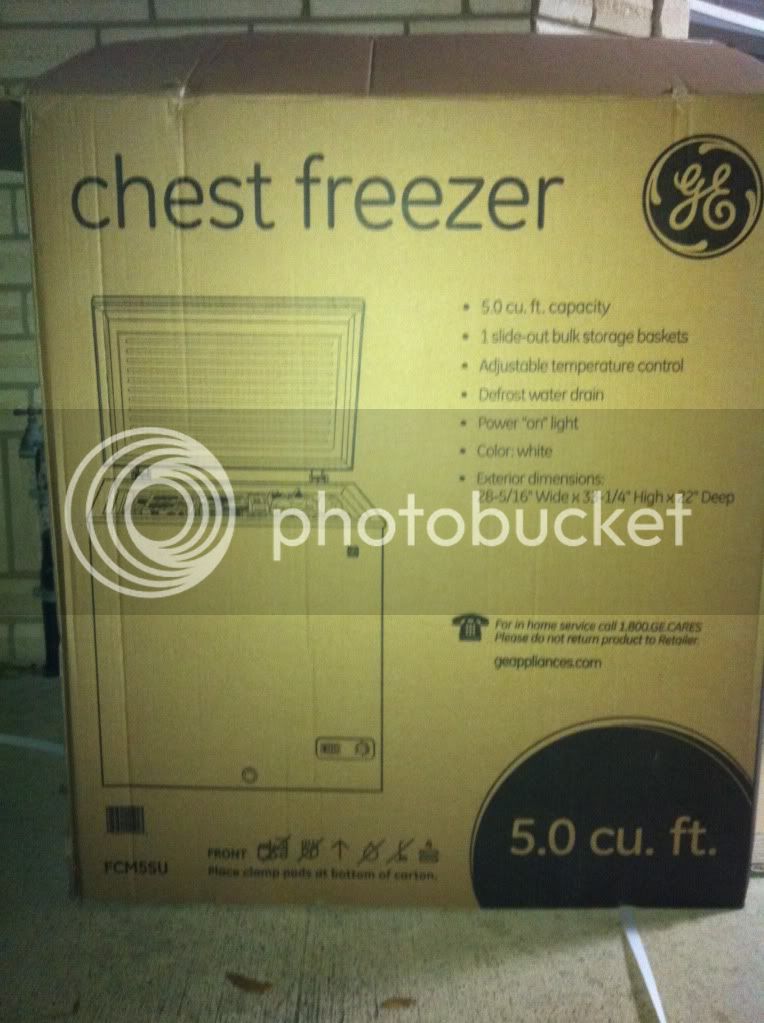
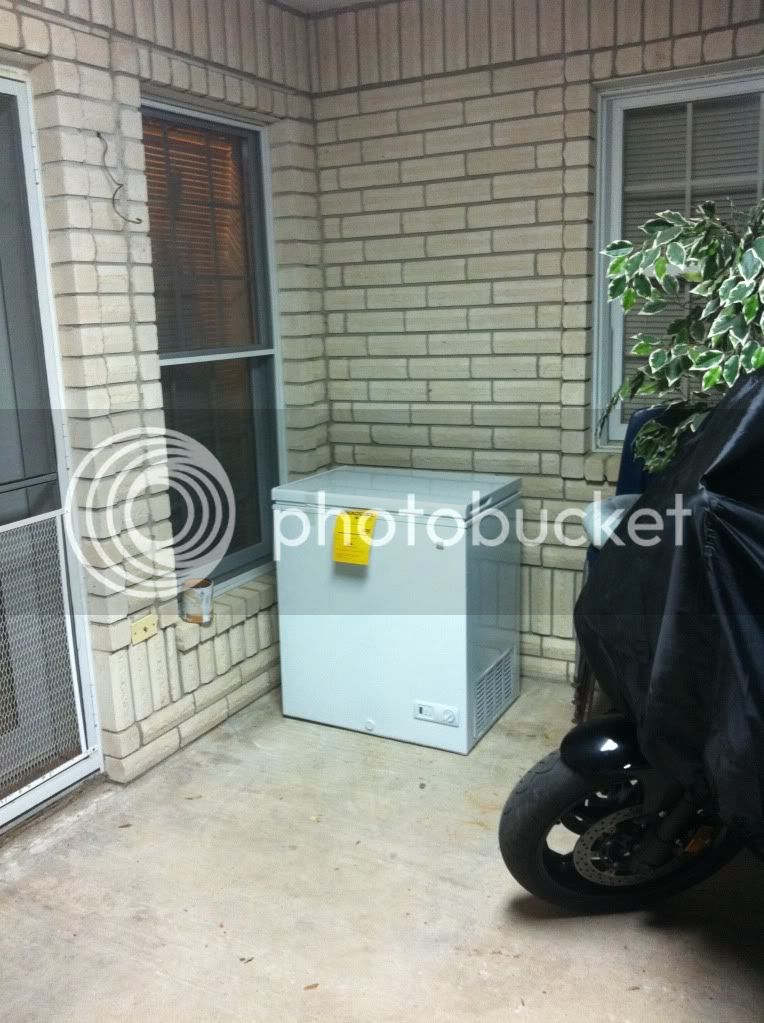
The second thing was to buying the freezer. I decided to go with the Sam's 5.0' freezer, costed about $140.
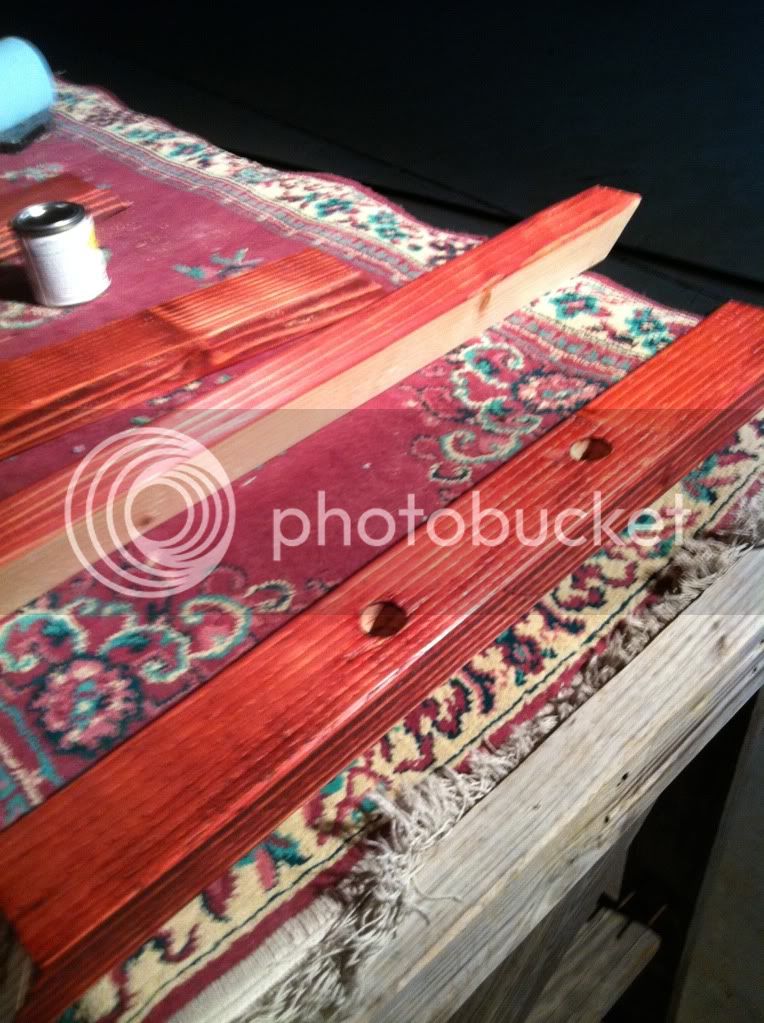
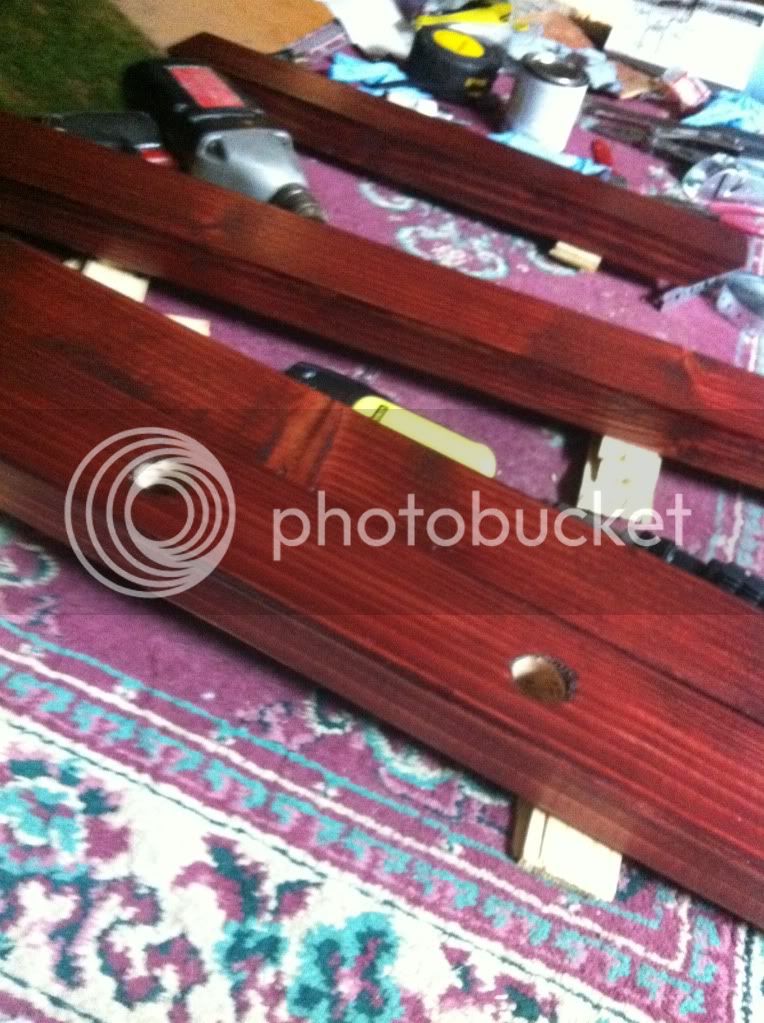
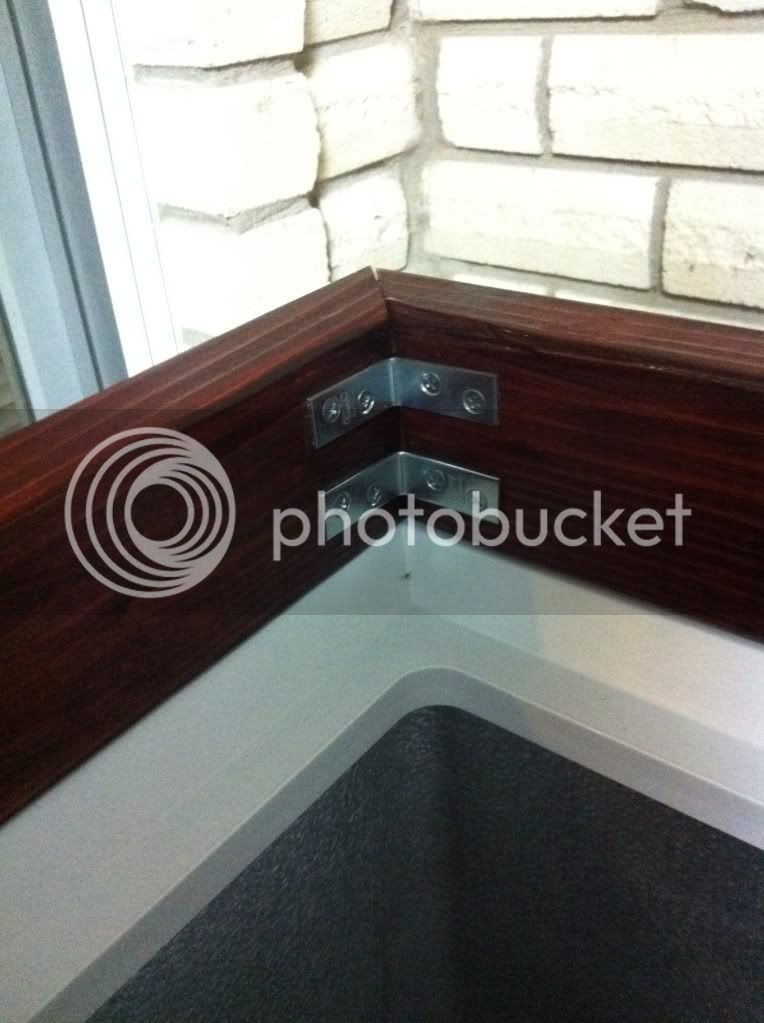
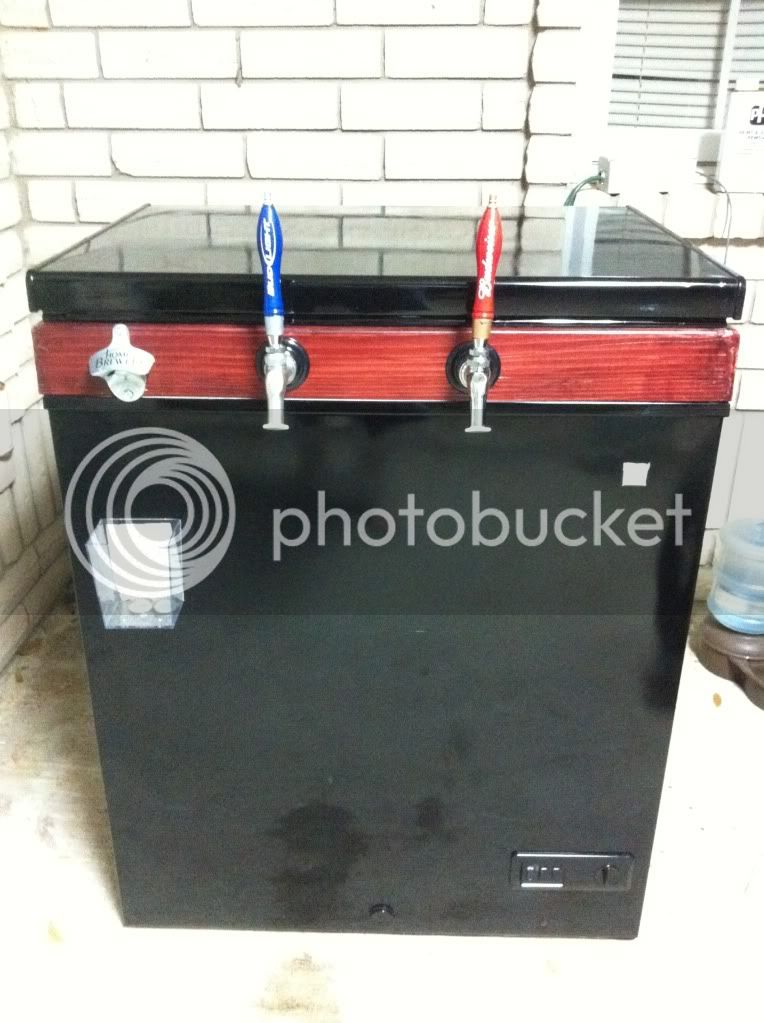
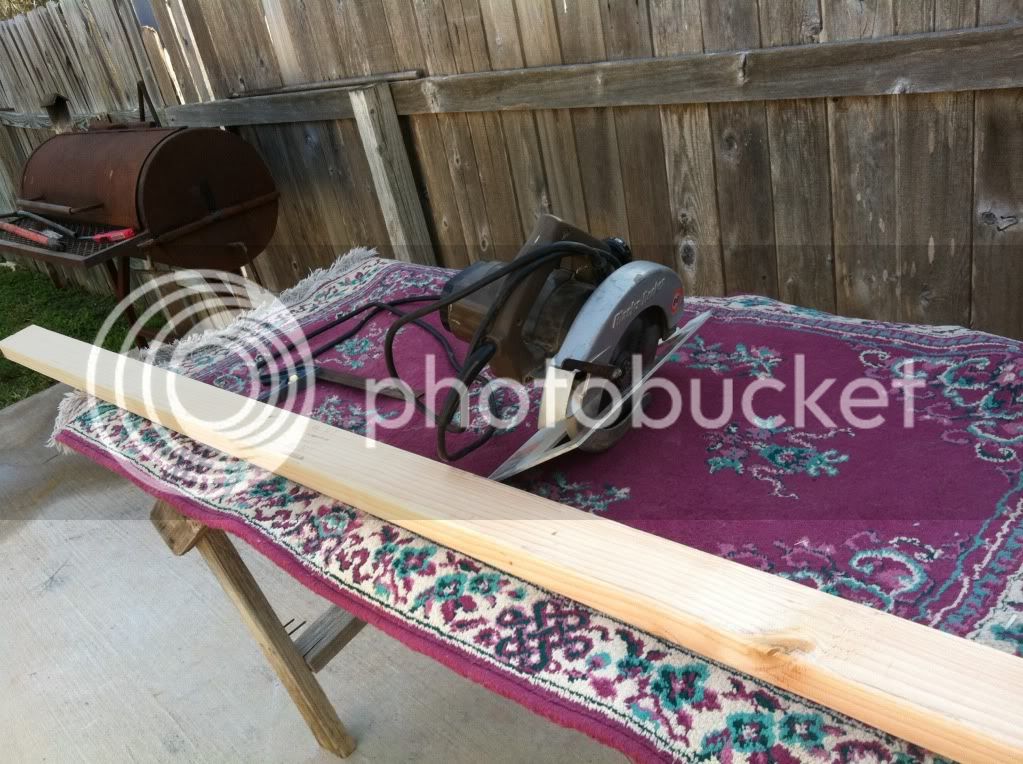
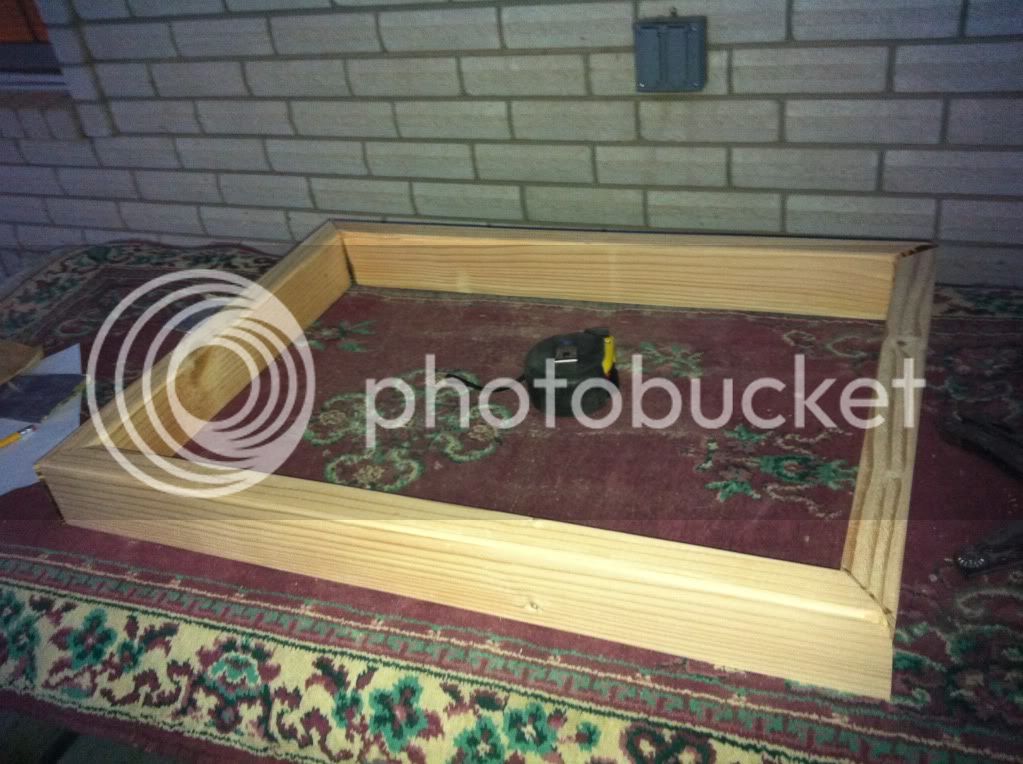
Day 1: I used a 2x3 stud for the collar. Brewit2it cut his sides with flat corners, I decided to cut at 45 degree angles for a cleaner finish given the fact my dad has an electric saw.
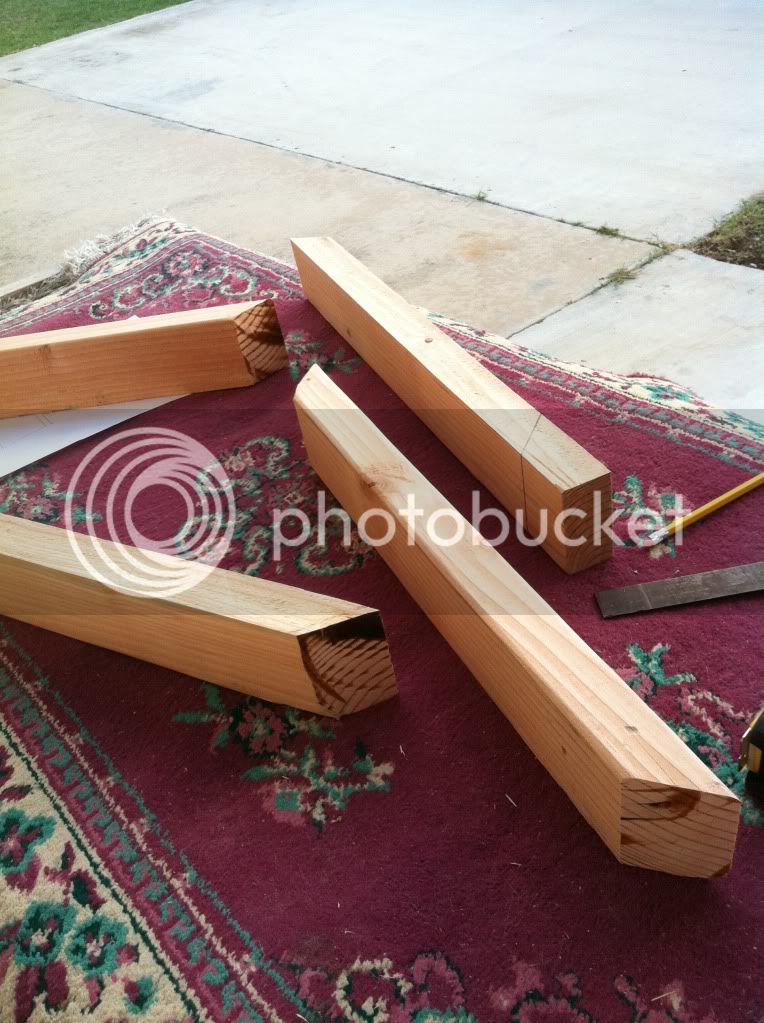
Tested, and seems to fit fine to make a collar.
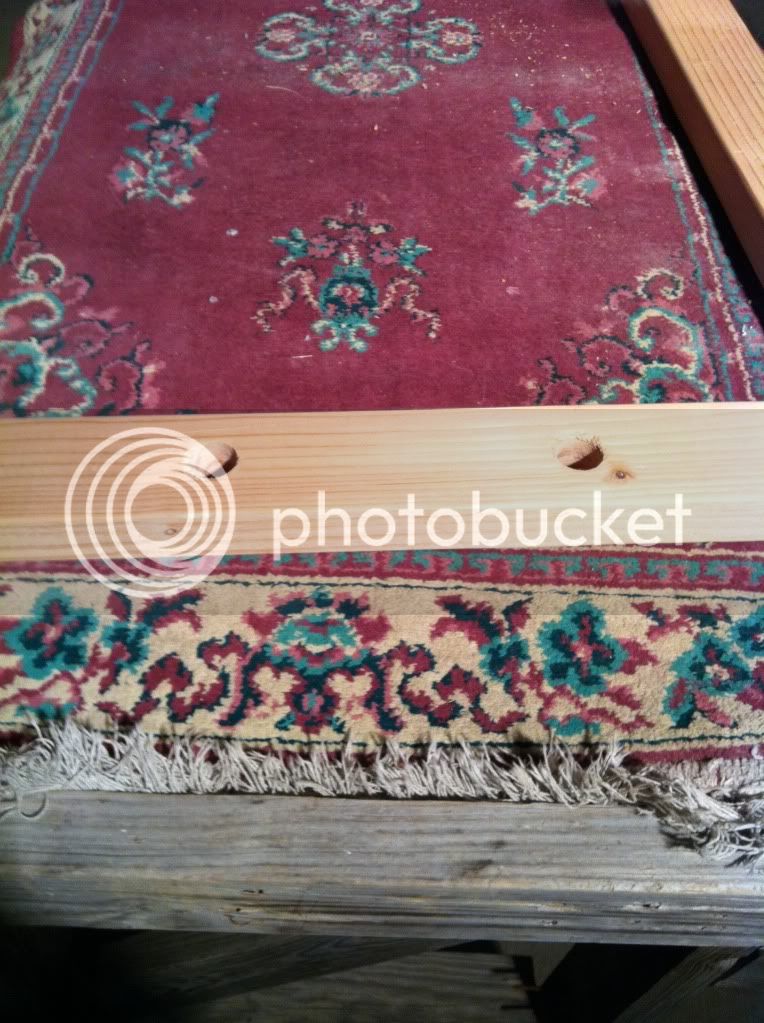
Next step was to drill holes. The closest size I had for my shanks, was a 1" drill bit, and it turned out just fine.
https://www.homebrewtalk.com/f51/cheapest-new-2-keg-keezer-224848/
I got additional ideas from:
Rick 500's Black Frigidaire
https://www.homebrewtalk.com/f51/converting-frigidaire-7-2-cu-ft-chest-freezer-162225/
Heyjaffy's "my version of Brewit2it's "Cheapest New 2 Keg Keezer"
https://www.homebrewtalk.com/f51/my-version-brewit2its-cheapest-new-2-keg-keezer-229122/
And MysticPhantom's "Keezer with aluminum collar"
https://www.homebrewtalk.com/f51/keezer-aluminum-collar-229956/
...and of course some creativity from my end.
Before starting: The first thing I did was order the ranco temperature controller. I was debating between a johnson and ranco. I ended up going with the ranco because I found one at around $50 not pre-wired. Wiring was not really a challenge, I just followed this guide, and it worked just fine:
http://www.susanminor.org/forums/showthread.php?644-Ranco-ETC-111000-000-120V-Wiring-Guide
The second thing was to buying the freezer. I decided to go with the Sam's 5.0' freezer, costed about $140.
Day 1: I used a 2x3 stud for the collar. Brewit2it cut his sides with flat corners, I decided to cut at 45 degree angles for a cleaner finish given the fact my dad has an electric saw.
Tested, and seems to fit fine to make a collar.
Next step was to drill holes. The closest size I had for my shanks, was a 1" drill bit, and it turned out just fine.